Travel Gear We Use: family tents for camping

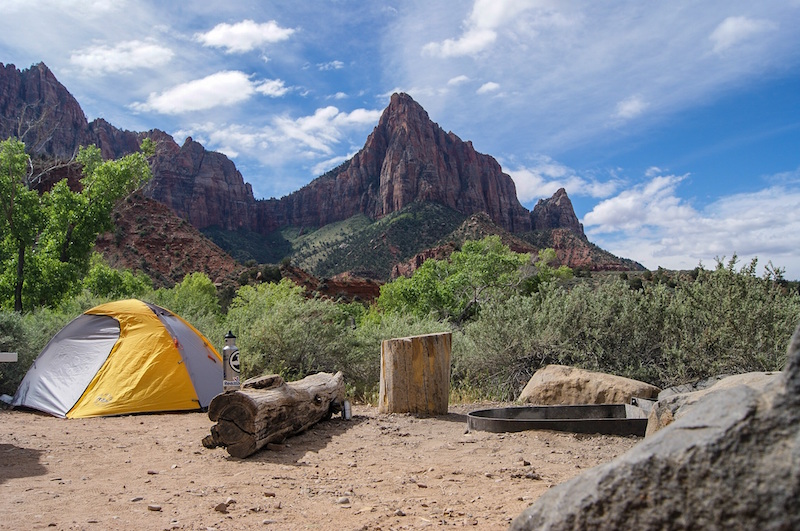
This week in our Travel Gear We Use series, we’re talking about best family tents for camping. There are a mind-boggling array of family camping tents on the market, in a very wide price range. What’s best for your family will depend on where you’re camping, how often you camp, and the size of your family.
camping-tips

Best family tents for minimalists or backpackers:

All purpose: We love, love, love Kelty’s Trail Ridge tent.The Trail Ridge 4 is affordable yet high quality, making it a great double-duty tent: it can be used backpacking or car camping. It falls in the middle weight range for family backpacking–not the lightest tent you’ll find, but also not the most cumbersome-and it’s beautifully affordable at only $279. It technically sleeps 4, which to us, means it sleeps 3 (we always reduce the sleep number by 1 to be comfortable). Another solid option is the REI Half Dome tent, which is one of the easiest to set up of any we’ve tried.

Ultralight: Want to carry as little tent weight as possible? Camping with just one kid or as a couple? Try the Nemo Meta. The Meta is our go-to tent for these situations. It weights just two pounds, but is roomy for a two-person tent, with respectable height too. The catch: you set up the Meta with trekking poles (it does not come with tent poles at all). Set up takes some getting used to, but once you learn how to do it, it only takes about five minutes. You need to stake the tent every night, in order to keep it upright, and of course, you need to be hiking with trekking poles, which we do.

Only need a single person tent? Sometimes you have one extra person or are planning a solo adventure. Our teen checked out the Big Agnes Fly Creek UL1 during his PCT hike, and loved it so much, he uses it all the time now. Like the Meta, it’s just over 2 pounds, but on the Fly Creek, this includes the tent poles. If you want to get really posh, get the Fly Creek with Big Agnes’ light system, Mtn Glo. This LED light system illuminates the interior of the tent, freeing you up to go without a headlamp or flashlight inside. We’re spoiled now!

Best backpacking and small family tents at a glance:

amzn_assoc_placement = “adunit0”;
amzn_assoc_search_bar = “true”;
amzn_assoc_tracking_id = “pitstoforkid-20”;
amzn_assoc_ad_mode = “manual”;
amzn_assoc_ad_type = “smart”;
amzn_assoc_marketplace = “amazon”;
amzn_assoc_region = “US”;
amzn_assoc_title = “My Amazon Picks”;
amzn_assoc_linkid = “2b3ff3efebcf632ee007032e7c7a5424”;
amzn_assoc_asins = “B012FCHED6,B019UFVLKI,B00GSYH1T0,B012W1NT34”;

Best family tents for car camping or large families:
joshua-tree-camping

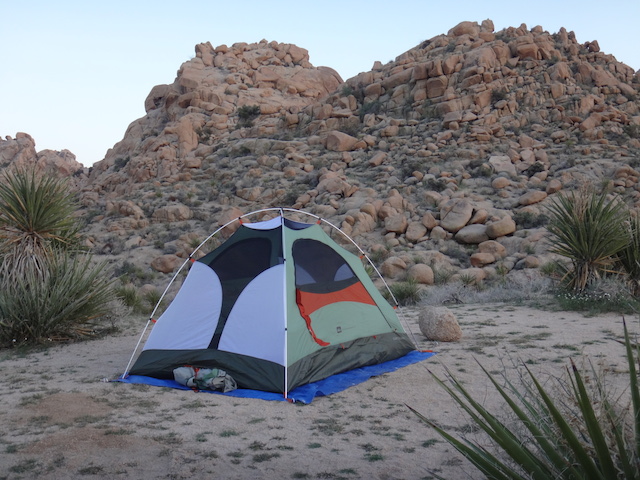
Best big tent: As our family grows (in height and age, not number!) we’ve found the need for a larger, less portable tent for family car camping adventures in campgrounds and state or national parks. Enter the Slumberjack Grand Lodge 8-Person Tent. Sounds pretty fancy, doesn’t it? And to our minimalist standards, it feels pretty fancy, too: the Slumberjack has room dividers, multiple entrances and windows, and great ventilation. We can even stand up inside it! The Grand Lodge comes in an 8-person or a mind-boggling 12-person. Even for the 8-person, you’ll want to make sure your tent space is large in your campsite! The downside of such a large tent is the set up time: it takes considerably longer to set up the Slumberjack than the Kelty, and it’s definitely not pack-ready. However, it does get easier with experience, and does pack down into its own (large) duffel for car or garage storage.
Coleman-tent

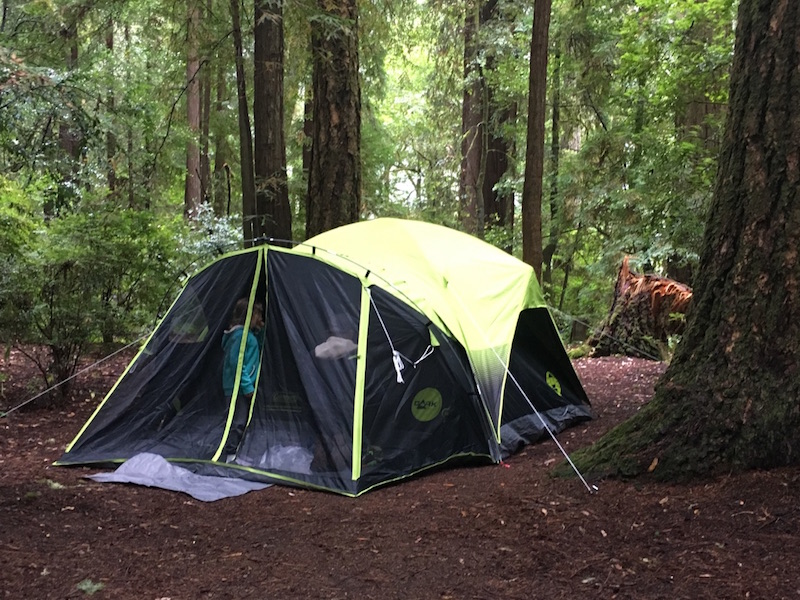
Six person or less: Don’t need the 8-person capacity of the Slumberjack? Try the Coleman Carlsbad. This six-person tent includes a screen room attached, PLUS has ‘dark room’ technology, which is designed to help kids fall asleep when it’s still light out (does the sun EVER set in summer?). We’ve found our kids, naturally early risers, also sleep in with this tent. It does feel dark when you’re inside, however, so this isn’t the tent to hang out in during the daytime. It also comes in a 4-person size.

All the bells and whistles: Want lots of storage space and technology in your tent? Try the Eureka Jade Canyon. This six-person tent has 10 x 10 feet of space, with lots of built in pockets and sleeves. It even has a media pocket, where you can prop up your iPad in a transparent pocket to view movies or TV. It also features E!Luminate, which is Eureka’s technology that enhances light. You simply place the provided panels on your ceiling of the Jade Canyon, and your headlamp or lantern light will shine brighter. It really does work.

Best large family tents at a glance:

amzn_assoc_placement = “adunit0”;
amzn_assoc_search_bar = “true”;
amzn_assoc_tracking_id = “pitstoforkid-20”;
amzn_assoc_ad_mode = “manual”;
amzn_assoc_ad_type = “smart”;
amzn_assoc_marketplace = “amazon”;
amzn_assoc_region = “US”;
amzn_assoc_title = “My Amazon Picks”;
amzn_assoc_linkid = “2b3ff3efebcf632ee007032e7c7a5424”;
amzn_assoc_asins = “B00SPOA2G0,B0068BGQKS,B019YDV6A6,B001RPIOMI”;

Pin it for later!
best-tents

Want more camping info? Get Pit Stops for Kids’ camping gear list!

Teaching Kids About Travel Photography Etiquette

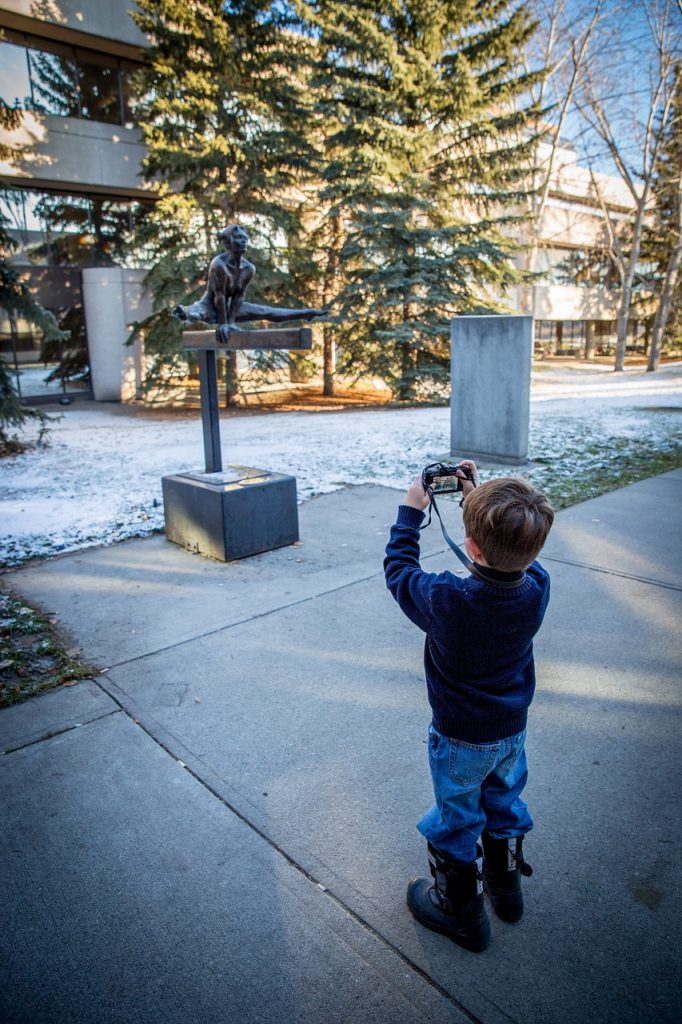
Everyone takes photos when traveling—it’s part of the whole experience. Now if you enjoy traveling to new and exciting places with your kids, then at some point they are going to want to take some photos of their own. Children today are particularly tech-savvy and can work most devices without needing much instruction, so photography is something that you can (and should) allow and encourage them to learn. Parents can even provide their children with a simple, kid-friendly camera to practice on, so that they won’t have to keep whipping out smartphones or iPads (a surefire way to attract thieves) to capture the sights.

kids-photography

But before you give your child a camera, remember that there are certain rules in travel photography that everyone (even non-professional shutterbugs) need to adhere to. Here are some of the most important rules of photography etiquette that you need to teach your kids:

Always ask permission from a parent, guardian, or any adult companion.

In travel photography, the golden rule is to ask permission from the people whom you plan to feature in your photos. But for your children, the golden rule should be to ask you for your permission before taking photos of anything—at least until they are old enough to know how to discern which situations are appropriate for taking photos and which are not. This way, you can properly guide them, as well as facilitate their interactions with the locals. After all, someone will still need to ask permission from whomever your child wants to take photos of—a crucial step that you cannot forego, particularly in foreign countries where the customs and norms may be different from where you are from.

kids-photography

Having your child inform you first before taking pictures prevents him from breaking certain social rules (regarding photography)—and getting himself into trouble—in the country you are visiting. Some places, like in Indian or Japanese temples, have a strict ban on any type of photography. In other places, it may be considered rude to take photos of people in the street. You cannot expect your child to be aware of or remember all these different rules, so it’s best to have him ask you before he whips out a camera.

Respect personal boundaries.

If you have yet to teach your kids about the concept of personal space and boundaries, then this is the perfect time to address it. Unlike adults, children are accustomed to affectionate physical interactions (mostly with their parents, grandparents, siblings, and even their friends). It is completely normal for a child to, say, touch his mother’s face or sit on his father’s lap, which is why he might find it strange that this type of interaction may not be accepted or welcomed by other adults.

Before you decide to trust your child with a camera on your travels, you need to teach him about the “personal bubble.” Most children would normally have no qualms about thrusting a camera into someone’s face or squeezing beside someone to take a quick selfie, so it is important for your child to understand that some people are very particular with their personal space and may possibly take offense when other people—children included—violate their sense of space by entering their “personal bubble.”

Avoid using the flash (unless absolutely necessary).

As you probably already know, some tourist spots—particularly art galleries, museums, or zoos—do not allow flash photography within the premises. But children aren’t particularly fond of reading signs, so there’s a very good chance that they wouldn’t automatically know this important rule. Therefore, you need to make sure that your child is made aware of these crucial rules and that he learns how to turn the camera’s flash on or off before allowing him to take photos in public places. Otherwise, this can lead to some very embarrassing situations.

Also, people generally don’t like having a bright camera flash go off in their faces, so make sure that your child knows to turn off the flash when taking photos of the locals and other tourists.

Don’t block the view.

Children aren’t always aware of what is going on in their surroundings, so it’s important to remind them that they have to be mindful and considerate of other people when taking photos. For instance, when you visit a tourist hotspot like a historical landmark or any of the other popular photo-op spots, there will most likely be a horde of other tourists and photographers there who are also trying to take photos of their own. Remind your child not to block anyone’s shot or “photobomb” another tourist family’s photo session. Teach him to patiently wait his turn until other people are finished, so that he can take his photos without bothering anyone or ruining other people’s photo-ops.

Being polite when taking photos in tourist spots must be a continuous learning process—it doesn’t end with just telling your kid what he can or cannot do. Keep an eye on your little one’s behavior, remind him if you must, and don’t forget to give words of affirmation every time he does something right.

Nebraska with kids: A stop at Arbor Day Farm

When J. Sterling Morton, founder of Arbor Day, moved to the Nebraska Territory in the 1850s, he wanted to build a home overlooking the Missouri River, but there weren’t enough trees on the grasslands to do it. Morton decided to change that. Today, the fruit of his efforts is the 260-acre Arbor Day Farm, devoted to fostering a love of trees and nature in children and adults alike.

arbor-day-farm

The Arbor Day site consists of two largely separate entities: the state park, and the working farm.

Arbor Lodge State Historical Park

Arbor Lodge, the Morton family’s three-story mansion, sits in a shady, 72-acre state park. The park is free and open to the public daily, and has a playground and walking trails. You can also stroll through the family gardens. Arbor Lodge and its carriage house require an admission fee, which may be purchased separately or bundled with a visit to the farm, which lies across the street.

arbor-day-farm

Tree Adventure

The Arbor Day Farm is a working tree farm, vineyard and orchard. The public area is known as the Tree Adventure. Here, you’ll find:

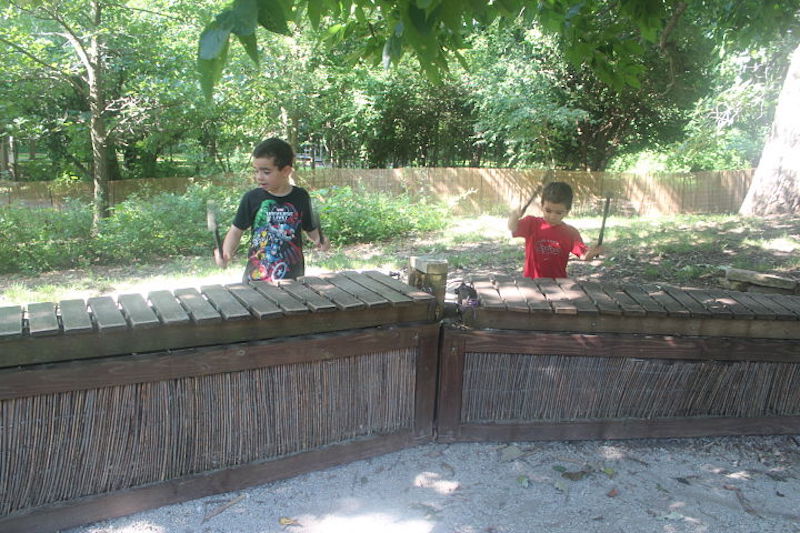
  • Two outdoor nature classrooms, which contain areas for art, tree house-building, and music. (Our kids, ages 4-11, didn’t want to leave this area!)
  • A greenhouse where seedlings are sprouted for shipping and planting all over the country, as well as a cooler in which you can choose a seedling to take home and plant.
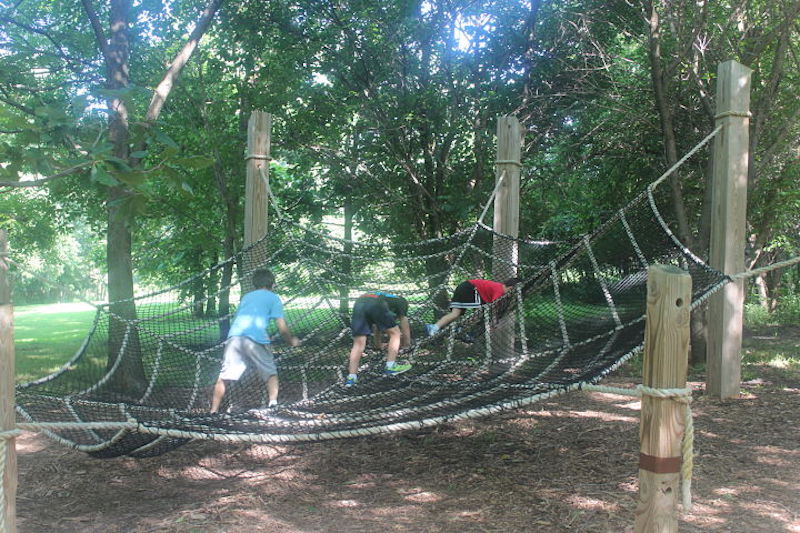
  • Two “rope” adventures: a tightrope and a spider web climbing apparatus.
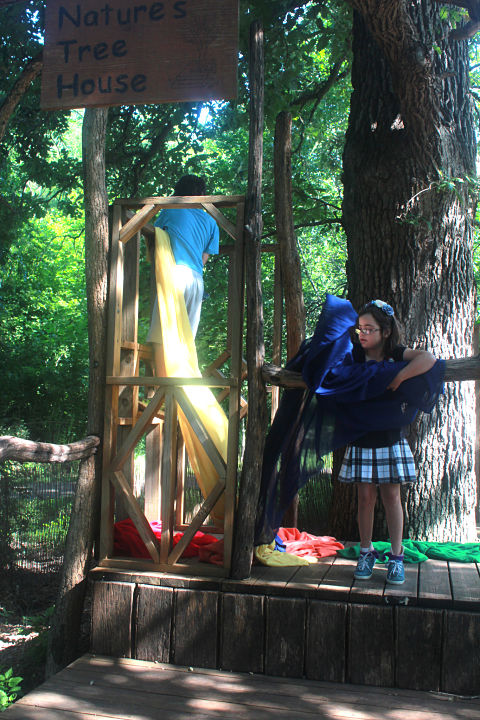
  • The paved “tree house” and 2/3-mile wood chip “South Table Creek” trails, both of which are studded with quirky and fun artwork. The tree houses are freestanding structures; my kids had envisioned something more Swiss Family Robinson, but the tree houses are beautiful structures nonetheless. Plan to let your younger kids have some pretend play time here. Both trails offer lots of interpretive boxes, from a chance to imitate bird sounds to a set of signs to help you identify trees.
  • The Discovery Ride is a canopied wagon that travels around the farm to demonstrate the history and mission of the farm. If you visit in the late summer or fall, you might get to stop and pick an heirloom apple straight off the tree in the “preservation” orchard.

Most of the Tree Adventure is wheelchair/stroller accessible, but not the wood chip trail and the upper levels of the tree houses. Give yourself at least 3 hours to do justice to the Tree Adventure, and if you have a whole day, give yourself permission to fill it.

arbor-day-farmShopping, Dining, and Lodging at the Arbor Day Farm:
Both the Arbor Lodge and the Tree Adventure have gift shops; the Tree Adventure shop is filled with home-baked pies, popcorn, jams, jellies, and wines, including wine tastings. The staff was very accommodating, and we were able to take advantage of this even with our kids around. The cafe adjacent to the gift shop serves basic hot dogs and burgers, as well as pies. The farm also provides a shaded picnic area, so you can bring lunch with you. Sit-down dining is available at the Lied Lodge, a log-cabin inspired hotel and conference center, featuring an indoor lap pool, sauna, and fitness center.

Hours/Admission:

The Arbor Day Farm is open daily; check the website, since hours vary by season. The best value for visiting the Arbor Day Farm is the all-access day pass, which grants access to the Tree Adventure and the Arbor Lodge mansion, at $15 for adults, $11 for children 3-12. If you’re on a tight schedule, you can purchase separate entry either to the mansion or the Tree Adventure (adults $8, children $6). Discovery rides are separate at $5 for all ages. The Arbor Day Farm also offers a variety of annual passes, outlined here.

Directions:

The Arbor Day Farm is located in Nebraska City, NE, 45 minutes from both Omaha and Lincoln.

My family and I experienced the site as guests of the Arbor Day Farm, in exchange for an unbiased review.

Nebraska with kids: Henry Doorly Zoo

In 2014, the Travelers’ Choice Awards named the Henry Doorly Zoo, in Omaha, Nebraska, its #1 zoo. This park, with its wide walkways lined with evergreen and deciduous trees, is well worth an extended visit by families of all ages. Here’s how to plan your day at Henry Doorly Zoo with kids:

henry-doorly-zoo

What to see at Henry Doorly Zoo with kids:

Henry Doorly Zoo is a sprawling complex, and for the most part you’ll find animals in expansive habitats that mimic their natural environs. You cannot take in the entire experience in a single day; there’s just too much there. So take it easy, decide what’s most important to you and plan accordingly, or else give yourself permission to wander until you run out of time and energy. A small sample of highlights:

  • The Desert Dome, the Lied Jungle Forest, and the Scott Aquarium. All three lie close to the zoo entrance and are well worth the time. The desert dome is the world’s largest indoor desert (though it’s not as hot as you might expect). Below it is the “Kingdom of the Night,” in which the day-night cycles are reversed so visitors can see the nocturnal animals in their active time. The Lied Jungle has both an upper trail and a lower; we only had time for the upper, which put us at eye level with macaws and spider monkeys. The aquarium is simply beautiful—although it was also very crowded.
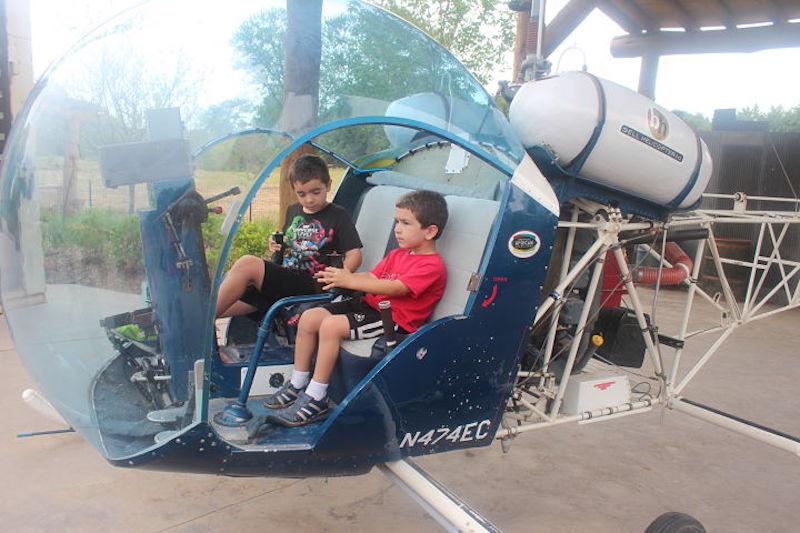
  • Multiple play areas. Particularly of note: the Red Barn petting zoo and the African Grasslands, where kids can play on a retired helicopter and a couple of safari trucks.
  • A huge aviary with mature trees inside. A boardwalk winds through it, with benches to rest and take in the beauty.
  • The Alaskan Adventure Spray Park. This spectacular sculpture park lets kids play among sea lions and whales while splashing in the water. Let them come to the zoo in swim gear, because after this they’ll be completely soaked.

henry-doorly-zoo

Practical tips for zoo-goers:

  • Admission isn’t cheap, so make the most of the investment by coming at opening time and staying as long as you can. Early in the day the zoo was almost deserted, but by shortly after noon on a weekday it was crowded.
  • This is a big zoo. Bring your walking shoes or be prepared to pay extra for the tram, train, or Skyfari (a ski lift-type ride that bisects the zoo).
  • Download the free zoo app, which includes a map and pretty much everything on the web site. We did see some people carrying traditional paper maps, but we never saw where to pick them up, and directional signage was not as clear as I would have liked. Having the map on the phone was very helpful.
  • If you can plan ahead and are willing to splurge, consider camping overnight in the Safari tent camp, next door to the lion enclosure.

Shopping and dining at the zoo:

The cafes and kiosks are clean and well-run, and offer mostly standards. However, next to the elephants you’ll find a window serving four African-themed entrees. We had a pork kabob, sambusa, and sweet potato fries, which were all excellent and a user-friendly way to experience a new ethnic cuisine. There are two gift shops, one at the main entrance and the other at the exit to Scott Aquarium. Zoo members receive a 5% discount.

zoo-with-kids

Hours/Admission:

The zoo is open from 9-5 daily in the summer and 10-4 in the winter, though the buildings stay open an hour later. Summer admission for children 3-11 is $12.95; 12 and up is $18.95, with discounts for seniors, military, and others. Train, tram, Skyfari, IMAX and carousel tickets are separate, and can be bundled into packages, which are outlined here. Members of other zoos may be eligible for a hefty discount on admission; also be sure to take advantage of the $2 discount on the Omaha Savings app, available through iTunes.

Parking/Directions:

Henry Doorly Zoo is at 3701 S. 10th Street, Omaha, Nebraska. Parking is free, but on busy days it fills quickly. Additional parking is available off-site, with free shuttles, and vouchers for $1 off admission are offered to those who use the shuttle.

Our family visited the zoo as guests of Visit Omaha in exchange for an honest review.

Harry Potter road trip: UK filming sites worth visiting

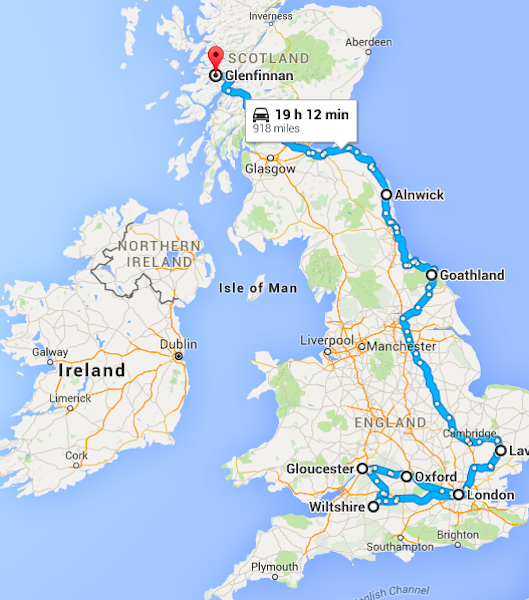
There’s are many filming locations for the Harry Potter movie franchise scattered over the UK and Scotland, but frankly, not all of them are visit-worthy. For instance, the campsite Harry and Hermione find themselves in during the last book and movie is really more of a sewage treatment center with some grass outside. Other sites, however, have been destinations in their own right for years, and a few gems were virtually undiscovered by visitors until Harry Potter put them on the map. We’ve compiled our favorites. All you need to do is grab a flight and rent a car to check out these stops along a Harry Potter road trip of the UK.

harry-potter-uk-road-trip

Start in London:

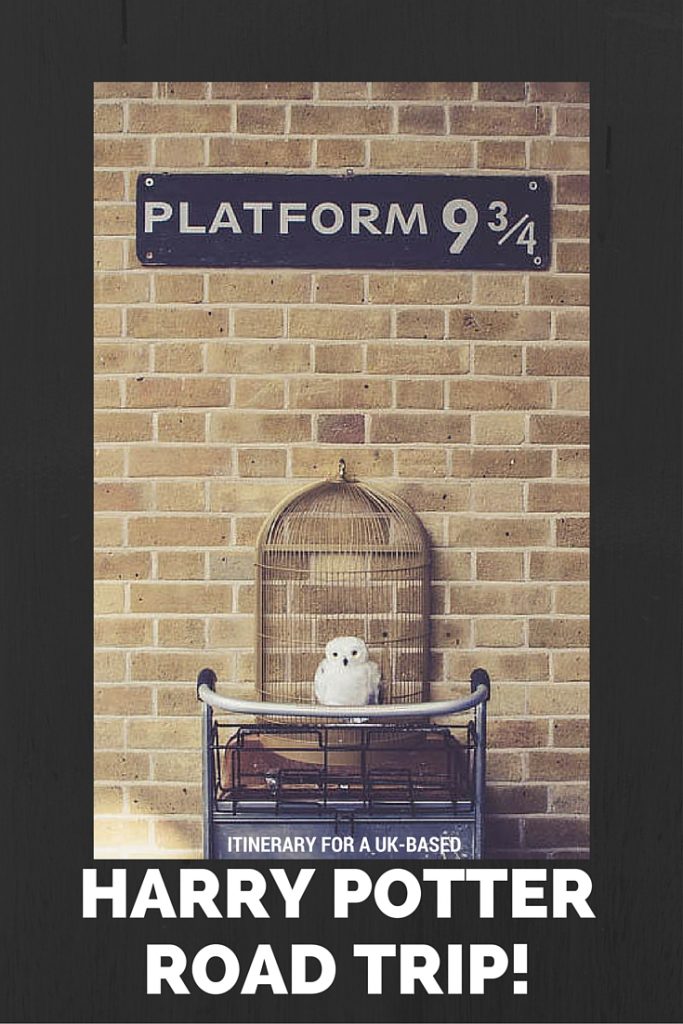
King’s Cross Station: Visiting King’s Cross, the site of famous Platform 9 3/4 is a must for most Harry Potter fans. The wall that witches and wizards run into to access it is actually located between platforms 4 and 5. You can check out the location, then enjoy the decidedly Muggle ambiance of the busy station.

London Zoo: The Reptile House where Harry first learned he could talk to snakes on Dudley’s birthday looks just as it appears in the movie. Plan to stay and enjoy the rest of the London Zoo for at least the better part of a day. The zoo has an excellent lion exhibit and ‘sunset safari’.

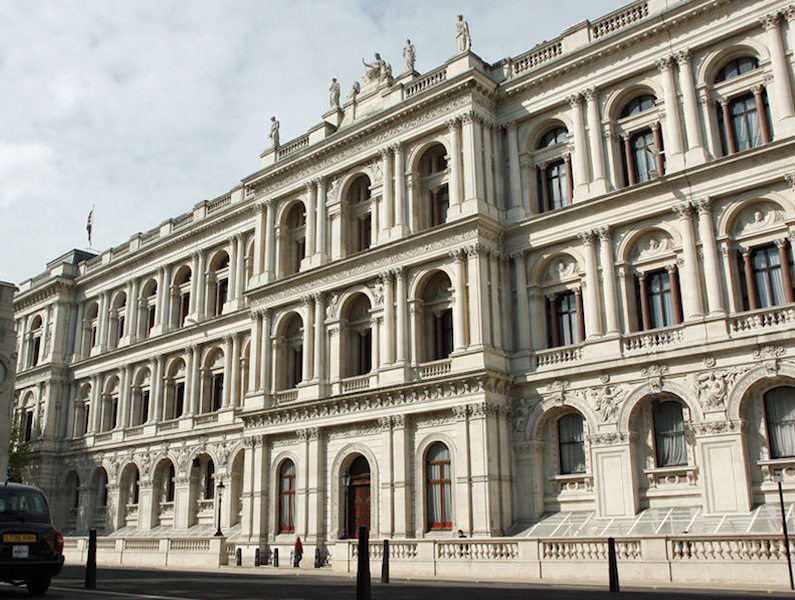
Whitehall: The Palace of Whitehall was the main residence of the English monarchs in Londonfrom 1530 until 1698. While filming the Harry Potter series, the Ministry of Magic was set between Trafalgar Square and the Houses of Parliament in Westminster.

whitehall

 Drive to Oxford:

From London, take A40 to M40 to Oxford. Once in the area, there are numerous Harry Potter sites to visit.

Oxford Library: The Hogwarts library, pictured numerous times, including when Harry researches Nicholas Flamel, is located in Oxford’s Duke Humphrey’s Library, which is one of the special collections reading rooms at the Bodleian. Hermione also reads about Polyjuice Potion there, and Harry and Hermione discuss who to take to Slughorn’s Christmas party here.

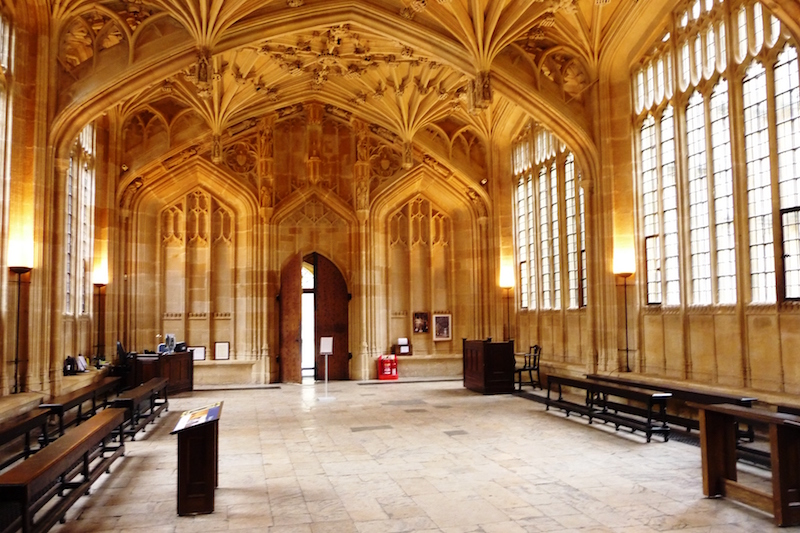
Divinity School: The Divinity School at Oxford is the setting for the Hogwarts infirmary. Even if you know nothing of Harry Potter, stop in here. It’s breathtakingly beautiful.

divinity-school-oxford

From Oxford, continue on A40 to Gloucester:

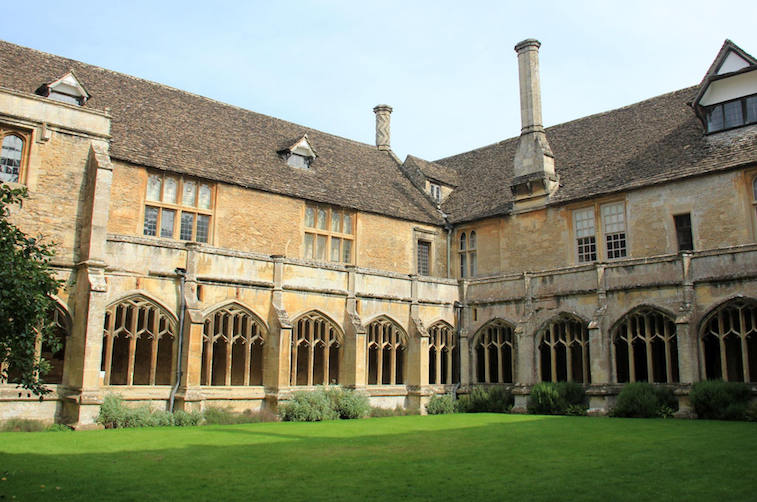
Gloucester Cathedral: The corridor that leads to The Fat Lady and Gryffindor’s common room is located in the cloisters of Gloucester Cathedral, beautiful to visit whether a Potter fan or no. You may also recognize it as the corridor where Ginny writes “The Chamber of Secrets has been opened” in blood on the walls.

Drive to Wiltshire:

Drive the A417 out of Gloucester to the A361 to Wiltshire. Continue out of town to Lacock.

Lacock Abbey: Lacock Abbey is a treasure trove of Harry Potter sites. Professor Snape’s classroom is located in the Lacock Abbey Sacristy. Also located in the Wiltshire Abbey is professor Quirrell’s classroom. Of note: this room houses a genuine cauldron. The room where Harry views his deceased parents in the mirror is also in Lacock Abbey. In Chamber of Secrets, professor McGonagall uses the same room for her lesson on how to turn animals into water goblets. Horace Slughorn’s house is nearby in Chapel Hill, Lacock, Wiltshire.

lacock-abbey

Return toward London:

12 Picket Post Close, Martins Heron: Better known as 4 Privet Drive, Little Whinging, this is the exact home depicted as the Dursleys’ house in the films. Martin’s Heron in en route back to London, but it’s fairly close to the city, so this stop can certainly be done as part of your London itinerary as well.

Going further afield:

To continue your Harry Potter tour through the north, start by driving up A120 toward Suffolk.

Lavenham: This charming village is the filming site of Godric’s Hollow. A wonderful medieval village worthy of your visit, Lavenham may not be covered in snow during your visit, as it was during Harry’s Christmas pilgrimage, but you’ll still find plenty to occupy yourself here.

Goathland Station: The station that serves both the village of Hogsmeade and Hogwarts is actually Goathland Station, on the North Yorkshire Moors Railway.
More to see in Scotland:

alnwick-castle

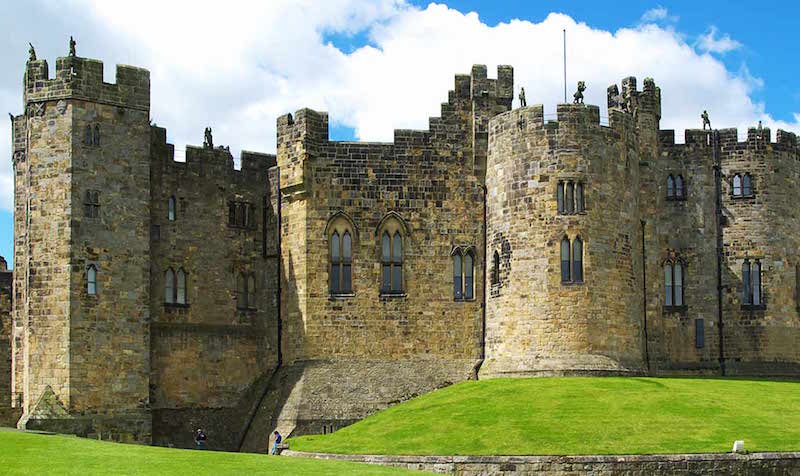
Alnwick Castle: Known as a popular filming location (it was featured in Downton Abbey, Robin Hood, and more), Alnwick Castle, Northumberland is the location for Madam Hooch’s first flying lesson. You’ll need to walk to the Outer Bailey (courtyard). Harry and Ron also land the Ford Anglia here in Chamber of Secrets.

Loch Shiel, Glencoe: The setting for the Hogwarts Lake (most of the time, anyway), Loch Shiel is located near the Glenfinnan Viaduct. You can definitely see both in a day.

Glenfinnan Viaduct, Lochaber: One of the most recognizable settings from Harry Potter, this viaduct is the one the Hogwarts Express is crossing when Harry and Ron almost crash the Ford Anglia. During the summer months, you can take a ride along the track through West Coast Railways.

Bonus stops:

Wales: In scenic Pembrokeshire, Dobby’s tragic death takes place at Freshwater West.

Ireland: The well-known Cliffs of Moher on the Atlantic coast of County Clare are featured when Dumbledore takes Harry to find the Horcrux in the sea cave. If you also want to see the rock on which Harry and Dumbledore stand, however, that’s 90 miles away off Iveragh Peninsula.

harry-potter-road-trip

This post was written in partnership with Alamo Europe. Photo credit

Subscribe to our Pit Stops for Kids seasonal newsletter, and get an exclusive tips sheet FREE! Join us!

Dominican Republic with kids: Power snorkeling at Sosua Beach

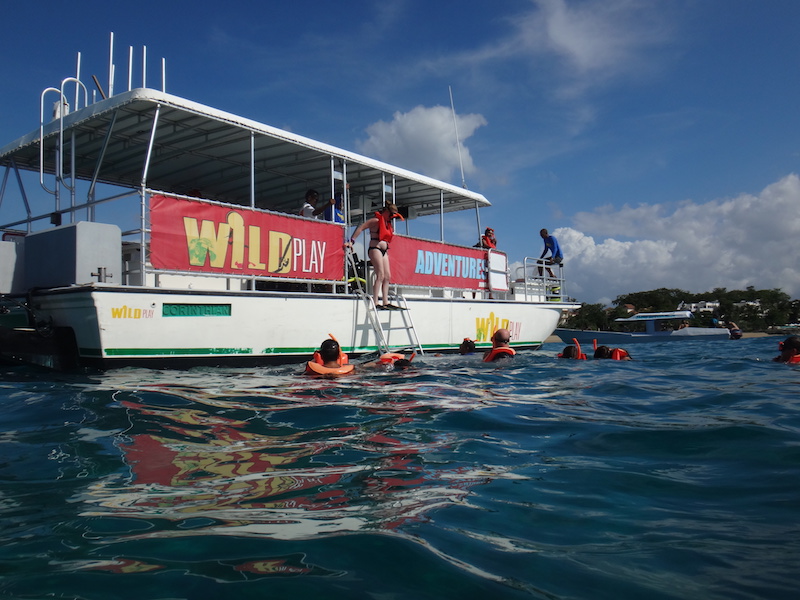
During our Fathom cruise in the Dominican Republic, we knew we wanted to both visit a local beach and take a snorkeling trip. We were able to do both during a power snorkeling trip with Wild Play Adventures.

snorkeling-at-sosoa

Usually, we opt to skip official cruise excursions in favor of booking privately. You get a more personalized experience, usually for less. However, in the case of our DR trip, the official excursion was the only snorkeling trip to fit our tight schedule. While there were a lot of people on our trip (at least 25), we still had a great experience, due primarily to the beautiful location and abundance of saline.

power-snorkel

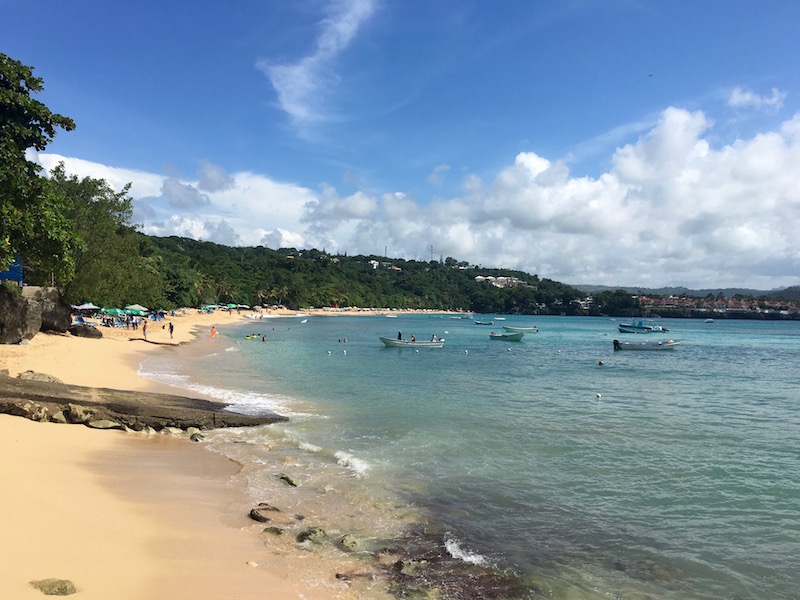
Wild Play Adventures picked us up in an air conditioned bus directly from our port at Amber Cove, and drove us 50 minutes to Sosua, a beach town outside of the city of Puerto Plata. The beach at Sosua is gorgeous, and the little town hugging the shoreline is made up of a hodge podge of shops, restaurants, beach bars, and dive shops. It’s a little rough around the edges, and certainly far more local than touristy, and we wished we had more time to explore. Certainly, we’d like to return to Sosua on a return trip to the DR.

snorkel-dominican-republic

We checked into Wild Play’s snorkel center right on the sand, and were given lockers to store our belongings. We were issued fins, snorkels, and masks, and were brought onto the snorkel boat (which came right up to the shore) within minutes. I loved how quickly we were out on the water.

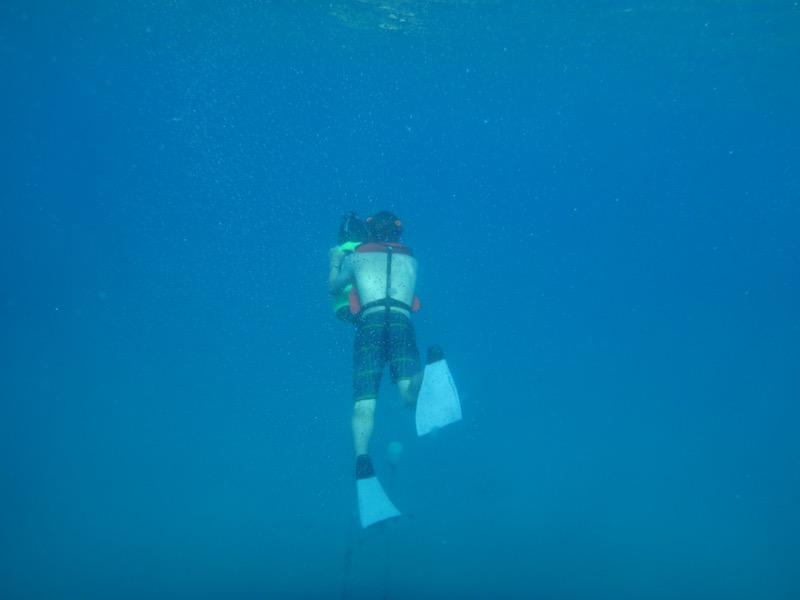
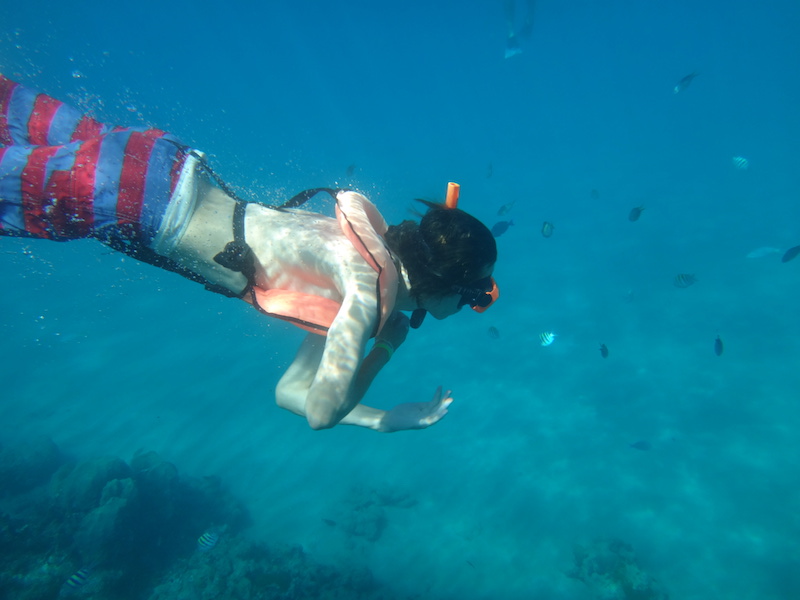
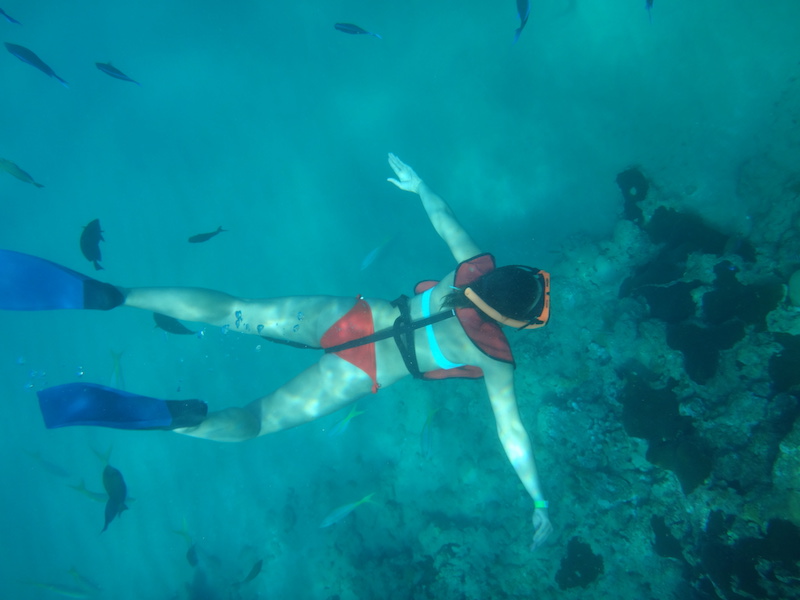
We rode in the boat to two nearby snorkel locations, jumping into the water to explore both. Since this was a ‘power snorkel’ trip, we were issued power snorkel machines, which have propellers that allow you to move more quickly through the water. These machines looked more intimidating than they actually were…the snorkel staff handed them to you in the water once you were already floating, so they were easy to manage. The kids enjoyed using them to propel themselves further underwater, and across small currents. Using the machines was optional, and I decided to snorkel once with one, once without.

wild-play-dr

We saw a wide variety of tropical fish, jellyfish, and coral in both locations…more than we even saw in Hawaii. I do wish our group had been smaller in number, so I recommend a private tour if and when possible. However, the big group was more manageable than you’d think once in the water. Between snorkel locations, we were served fresh cut fruit and beverages, including water bottles and soda. The two locations were only about 10 minutes apart, but if you’re prone to seasickness, I recommend medicating ahead of time.

Cost:

As noted, our snorkel tour was an official excursion on our Fathom cruise. We paid $69 per adult (12 and up). Check the Wild Play website for current pricing and excursion options. Expect the excursion to take half a day. We left at 2 pm and returned at 6:30 pm.

snorkeling-at-sosoa-beach

Age group:

For the power snorkel option, kids had to be 10 and up. Younger kids could participate without the power assist, but trust me, they’ll want to use one. I recommend booking a non-power assist tour if you have young kids.

snorkeling-in-dominican-republic

Directions:

Wild Play picks you up from your cruise port at Amber Cove.

Dominican Republic with kids: 27 Waterfalls of Damajagua

Located in the countryside outside of Puerta Plata, Dominican Republic, the 27 Waterfalls of Damajuana is the most talked-about experience on the north side of the island. Is it worthy of the hype? In a word, yes.

27-waterfalls

What is the 27 Waterfalls of Damajagua?

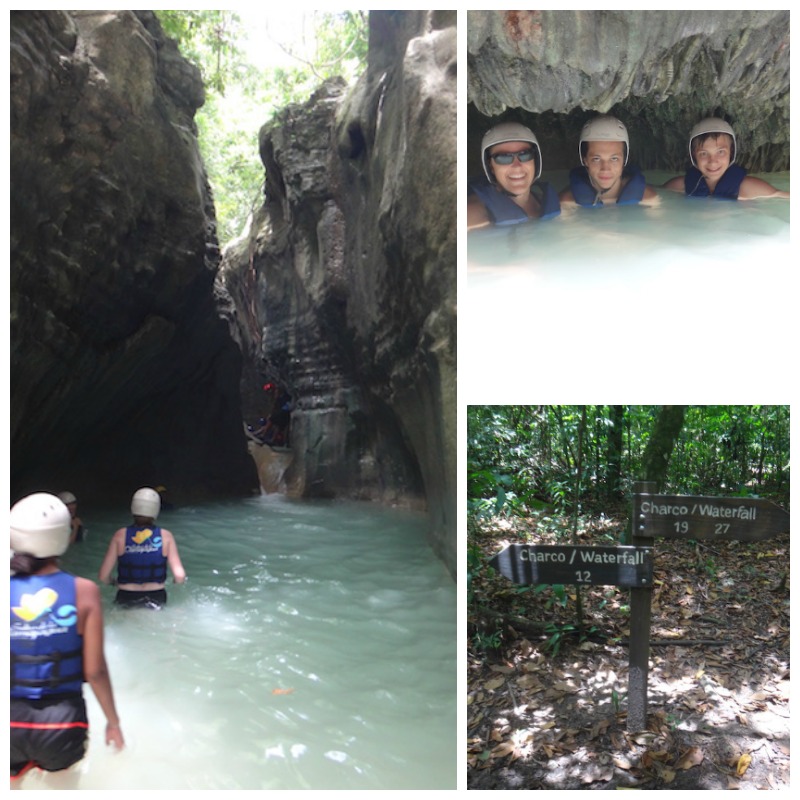
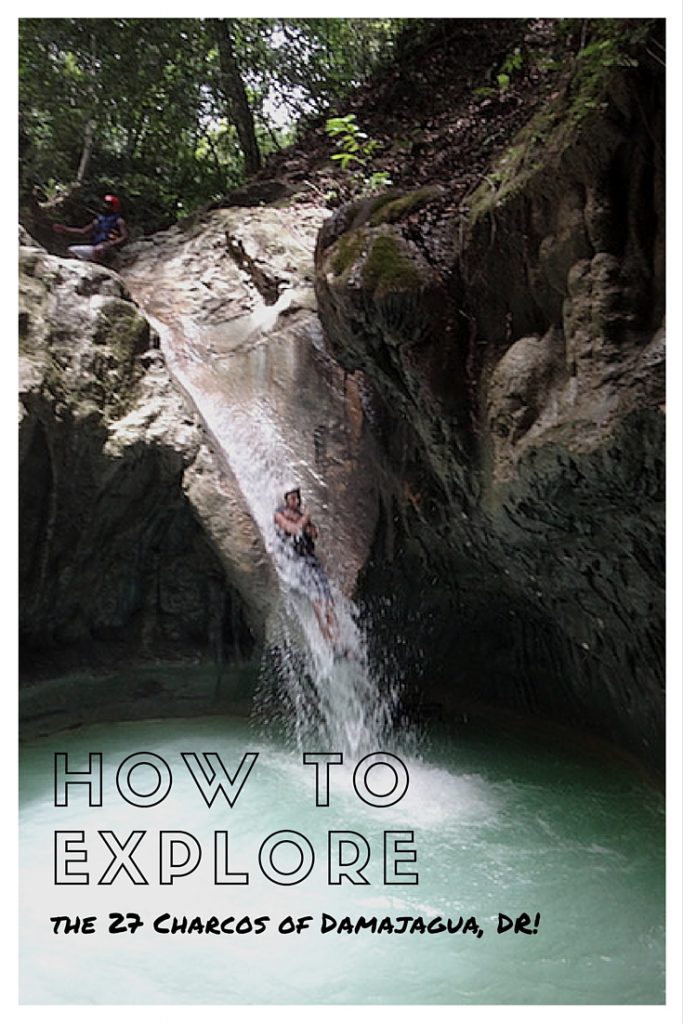
The 27 Charcos of Damajagua is exactly what it sounds like: 27 waterfalls in a row in the middle of the Dominican jungle. Unregulated until 2004, the waterfalls are now controlled by a private company thanks to Peace Corps volunteer Joe Kennedy (yes, of those Kennedys), and there’s quite the operation at the site. When you arrive, either by tour group or on your own, you’ll now find a dirt parking lot, tour booth, bathrooms and lockers, and outdoor dining area. Your group is paired with a guide from the falls, and you opt between navigating 27, 12, 7, or just one waterfall.

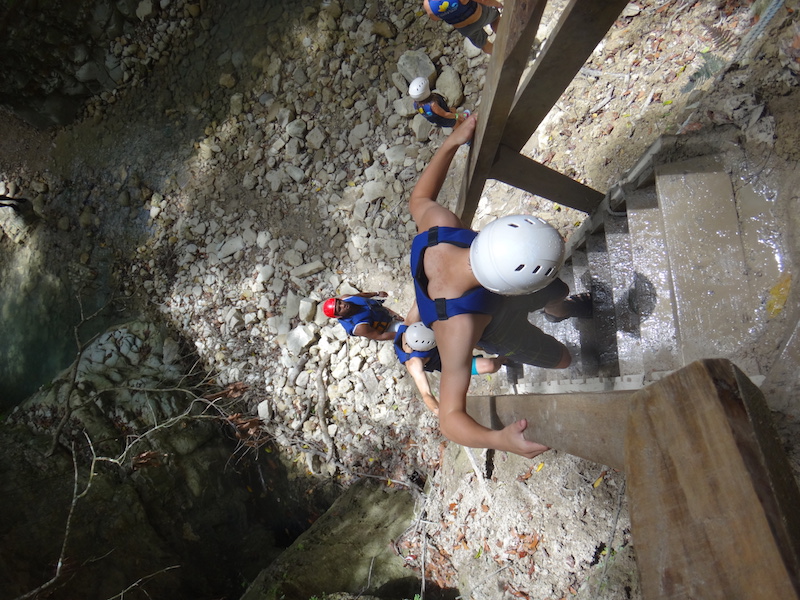
We wanted to do all 27, but the water level restricted us to 12. We went with Iguana Mama, and had a fun-loving guide, Raul. Our group of about 10 people were fitted with life vests and helmets (required), and we trekked almost two miles up a dirt trail. (The trail is around 3 km.) The youngest person in our group was eight, and the oldest was probably me, at age 40. The trail included steep wooden steps, rocks, and pretty severe inclines and declines, but overall was in good shape. The way was shaded as we hiked into the jungle canopy, and we were joined by a second guide, plus our guide who came with us from our cruise port.

charcos

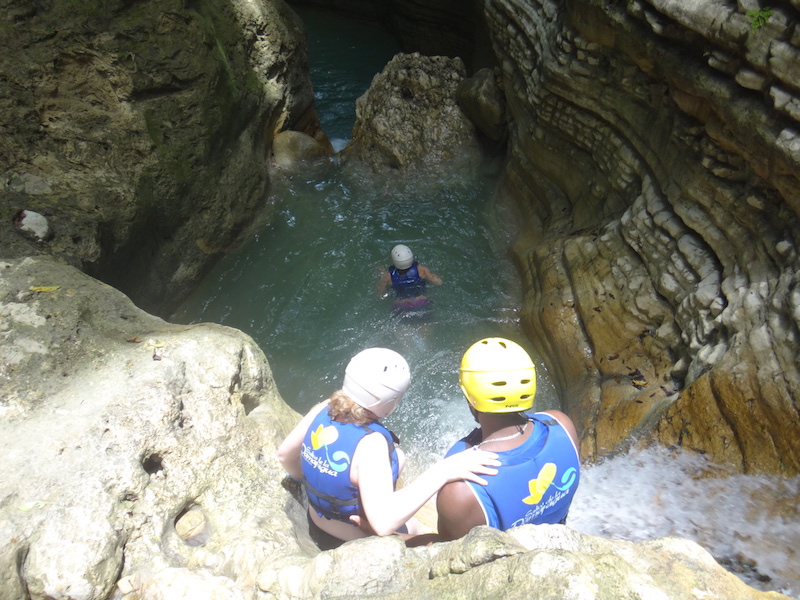
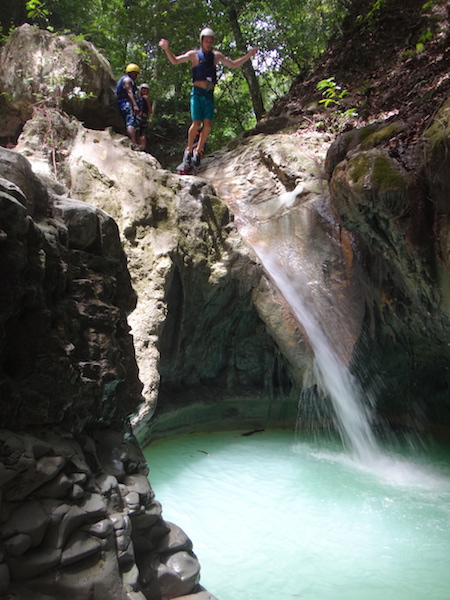
When we reached the end of the trail to the 12 waterfalls (which took about 45 minutes), we climbed down another steep staircase and entered the river. In places, the water was only ankle deep, and in other places, over our heads. We began making our way back toward the ‘camp’ via the river, alternatively wading, swimming, jumping, sliding, and climbing in, over, under, and through the river. It was amazing.

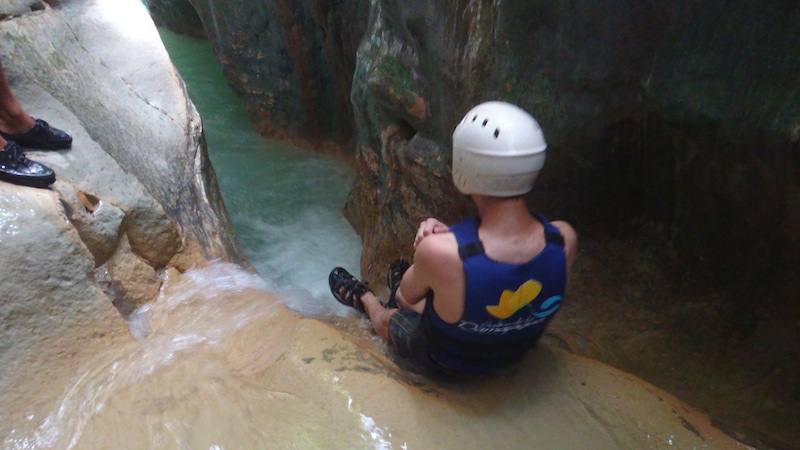
At each of the 12 waterfalls, our guides would stop us and explain our options, which usually included leaping off a rock or outcropping into a deep pool of water below, sliding on our butts along naturally carved waterslides in the rock, or taking the ‘chicken’ way around waterfalls on questionable-looking ladders and staircases. Honestly, I think the most dangerous route was via those ladders!

climbing-waterfalls

Most of the time, I opted to jump (sometimes as much as 10 feet), but I also enjoyed sliding. The kids loved both options, and often, we’d climb back up ladders or ropes to do certain waterfalls a second time. There were groups ahead and behind us, which meant we had to keep to a schedule (see ’tips’ section below), but overall, we didn’t feel rushed. I don’t love heights, but I’m used to jumping off ledges, so the experience didn’t daunt me. If you REALLY don’t like heights, there are work-arounds for each waterfall, but they’re in the form of the aforementioned ladders, which, honestly, are just as scary.

In some places, you can swim underneath the waterfalls or explore partial caves carved out of the rock, and throughout the whole experience, the jungle canopy is above you, shading you and sheltering you. The sunlight cuts through gently (you don’t need sunglasses), and we didn’t find the hike or the swim to be buggy. The water is refreshing but not too cold.

waterfall-slide

The route down through the waterfalls took us about 1.5 hours, and afterward, we had a short hike back to the camp where we changed and had an included lunch of Dominican beans and rice, BBQed chicken, and a few kid pleasers like (oddly) spaghetti. Soda and rum and coke were included.

How to book a tour:

You can either arrive to the waterfalls on your own, taking a taxi from Amber Cove or an autobus from Puerto Plata, or you can book an excursion through Iguana Mama or Marysol Tours. The latter option is more expensive, but what you’re paying for is the convenience of the transportation (and the expensive gasoline required to make that happen). If you opt to arrive solo, you simply pay as you arrive (about $480 Dominican pesos for all 27), and guides are assigned to you on a first-come, first-served basis. This means you may have to wait a bit for the next guide.

waterfall-hiking

Tips for the waterfalls:

  • Book a tour early in the day to play in the water with fewer crowds. This ensures you won’t wait for a guide if you’re going solo, either.
  • Bring waterproof shoes (like Keens or Chacos) or an old pair of sneakers to get wet.
  • Put on bug spray and sun screen ahead of time.
  • Keep everything but your waterproof camera on the bus or in a locker.

Cost:

We booked a tour through Iguana Mama, because we wanted the convenience of a port pick-up. Our tour included lunch and cost just over $50 US per adult. If you opt out of a tour, the cost is significantly less per person (around $10), but does not include transportation or lunch. We were quoted everything from $40-100 US for a cab ride for five people from Amber Cove. It IS possible to negotiate a flat rate from taxis on the highway.

waterfalls

How to get there:

If you go on your own, get up-to-date directions at 27charcos.com. More information is found here.

27-waterfalls-of-Damagua

Dominican Republic with kids: Exploring Puerto Plata with Marysol Tours

If you find yourselves on the northern coast of the Dominican Republic near Puerto Plata, you’ve probably come to the island via Carnival or Fathom cruise, to Amber Cove port. (Most all-inclusive resorts are located at the far tip of the island at Punta Cana.) From Amber Cove, the town of Puerta Plata is only about 10 minutes away, and well worth a visit in your exploration of the area.

puerto-plata

You can get a ’top 10’ sort of tour through your cruise ship, but we recommend hiring a guide on your own. We used Marysol Tours, and found the experience far superior to a large bus tour.

The good:

We easily set up our day with Marysol Tours ahead of time, via email. From their site, simply go to the section on Puerto Plata city tours and email your preferred date and number in your party. We were a party of five, and had no trouble getting the day we needed. Francisco organizes the tours, and you’ll be well taken care of.

Puerto-Plata

Before our tour, we told Francisco we wanted to see some of the highlights of the city, including Fort San Filipe and Central Park, but also wanted the opportunity to make some changes to the set itinerary (anticipating we’d get recommendations once on the ship). I loved that Marysol Tours welcomed this flexibility. The price (listed below) was actually less than that of the big group tour, and we had the ability to make changes on the fly.

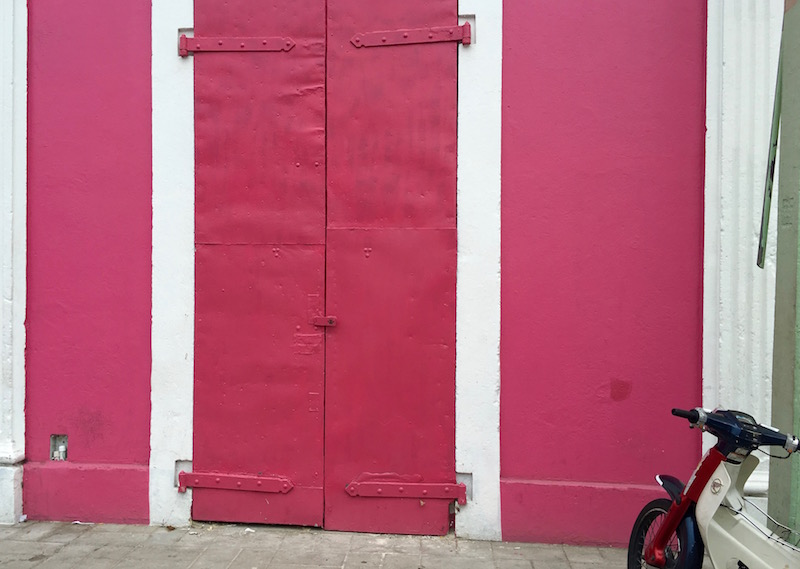
puerto plata colors

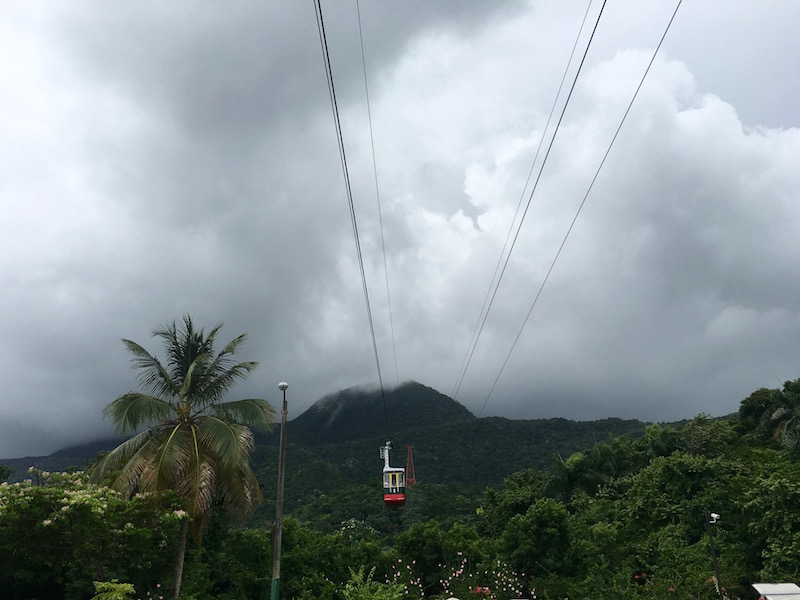
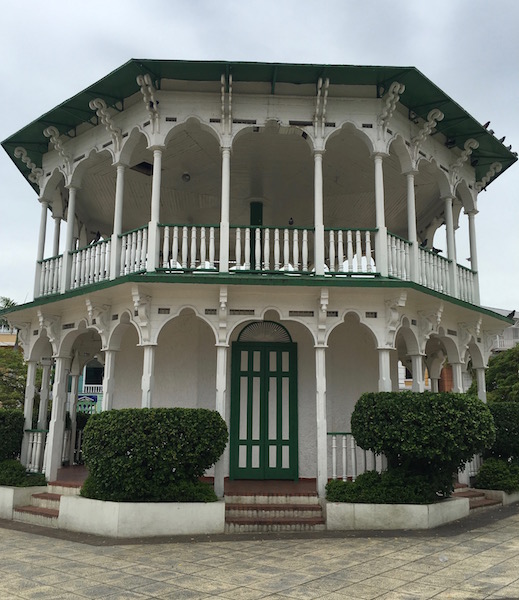
The standard city tour includes a tour of the rum factory in town, a visit to the amber museum (this area is rich in amber), a few minutes in the old city center with its Victorian homes and church, the San Filipe fort, a cigar factory, and a walk along the Malecon (ocean front). For an extra $10 each, visitors can also go up the cable car, which is the highest in the Caribbean with views overlooking the city.

puerto-plata

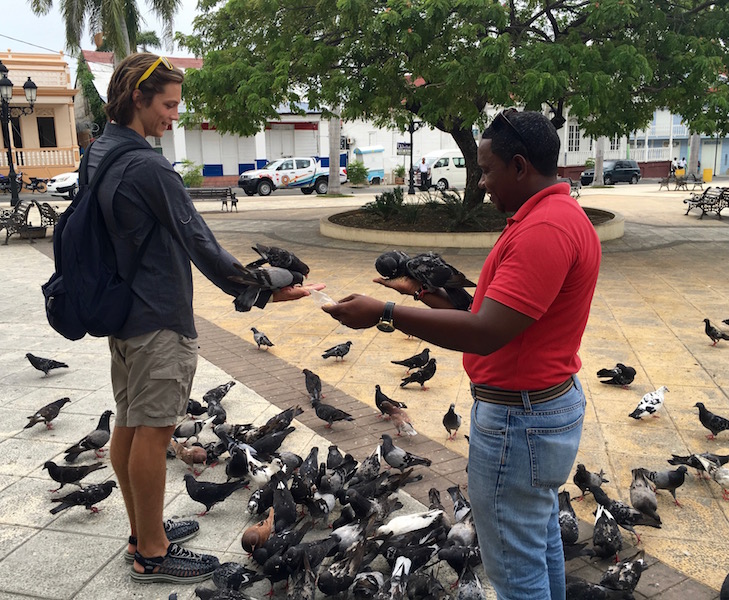
We decided we wanted to see everything except the cigar factory (which simply didn’t interest us), and we were obliged. We also skipped the cable car, since it was a foggy day, and our guide, Jesus, and driver, Ricardo, took us to a scenic overlook instead, which still gave us views of the city. At the rum factory, we were given the standard tour (with entrance fee covered), and at the city center, we visited the central square and church. This area was run down, but beautiful to see, despite some fairly aggressive locals hoping to show us around for tips. Nearby was an amber jewelry store, and we visited this instead of the museum. To us, this was more authentic because we met the jewelers and saw the process of making the jewelry they sold.

dominican-jewelry

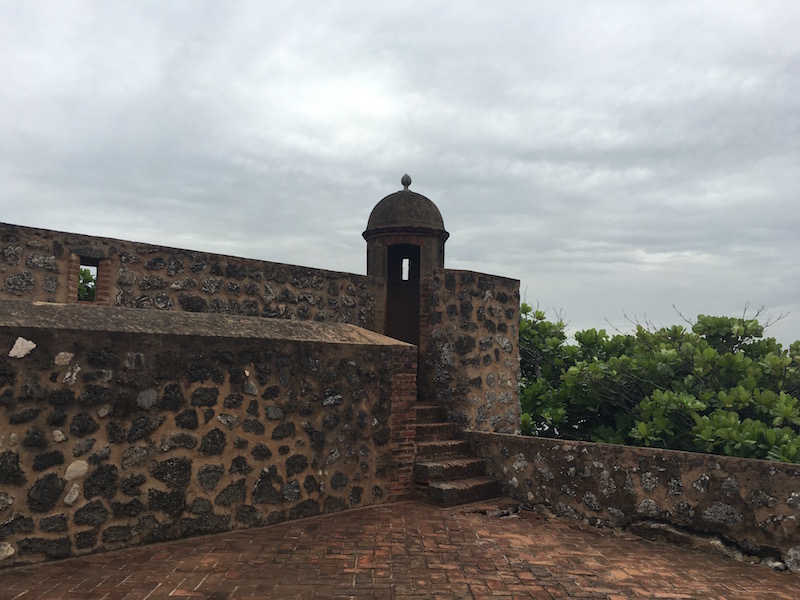
We took a San Filipe fort tour in the same manner as the run factory (Jesus left us in the hands of the on-site tour operators), and then we walked along the waterfront adjacent. All of this was well-worth seeing.

san-filipe

The not so great:

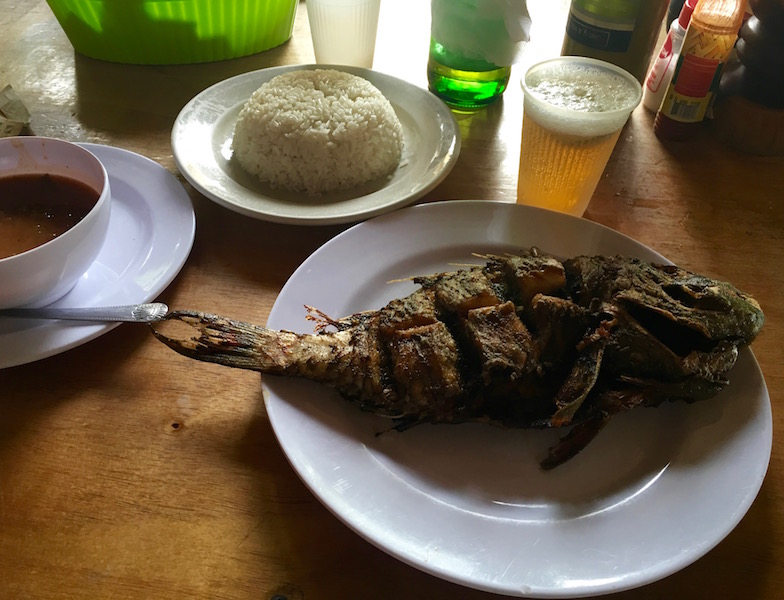
After we visited the fort, we asked if we could end our tour at a restaurant recommended to us. Instead, Jesus and Ricardo first took us to another restaurant on their agenda, which was far too touristy for us, and we had to firmly explain that this wasn’t what we wanted. Despite assurances that we could deviate from the planned itinerary, it took a phone call to Francisco to explain our desires. Certainly, the tour company has an agenda they are trying to stick to. However, after a phone call to Francisco, Jesus was able to take us to Maimon, the tiny town on the other side of the port, where we had been told we could find some of the best seafood in the region. We told Jesus he could leave us here to eat, as it was only a few minutes’ taxi ride from the port, but he and Ricardo kindly returned for us after our meal. And yes, our meal was the best we had in the Dominican Republic. We highly recommend La Primo in Maimon.

seafood-in-maimon

The totally awesome:

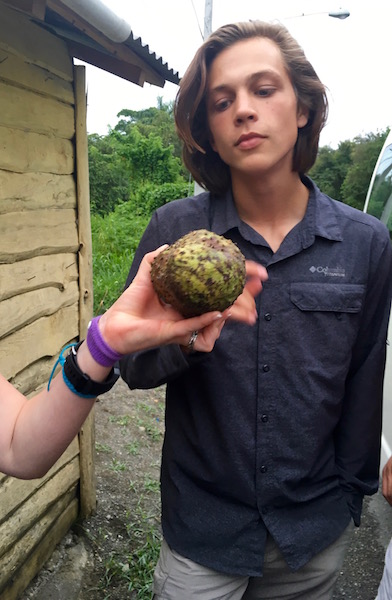
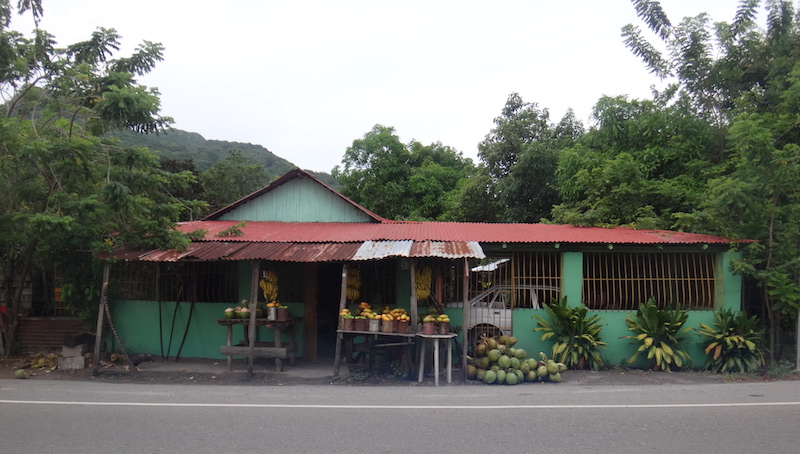
When Jesus and Ricardo came to pick us up, we asked them where we could find a rare tropical fruit, guanoabana. Ricardo cheerfully took us on a wild goose chase to no fewer than four roadside fruit stands to find the after-dinner treat. Finding guanoabana made our day!

maimon

The bottom line:

We had to keep our wits about us to make sure we got the tour we wanted, but once we were clear about our needs, Marysol Tours went above and beyond. We had a very good, personalized tour of Puerto Plata.

Puerto-plata

Cost:

A city tour with Marysol Tours is $35 for adults and $18 for kids (free for lap children). As noted above, this is less than the pre-determined cruise excursions for a more personalized experience. Be sure to budget a little extra for a tip for your guide and driver.

Dominican-republic

Directions:

Marysol Tours will pick you up at Amber Cove. During our trip, they were not an official cruise partner, so we had to meet them just outside the main gate (by the highway) instead of in the terminal. It was about a 10 minute walk from our ship.

Puerto-Plata

Disclosure: We were given a media discount from Marysol Tours, for the purpose of review. I paid full price for the teens.

Impact travel with teens: What to expect on a Fathom cruise

If you have kids over age 8, and are ready to dive into some form of volun-tourism while you vacation, a Fathom cruise to the Dominican Republic may be a great place to start. Fathom cruises combine the fun of a cruise vacation with a meaningful way to give back, and, perhaps even more importantly, a way to connect with local people in a meaningful way, getting to understand local issues, customs, and dynamics.

Adonia

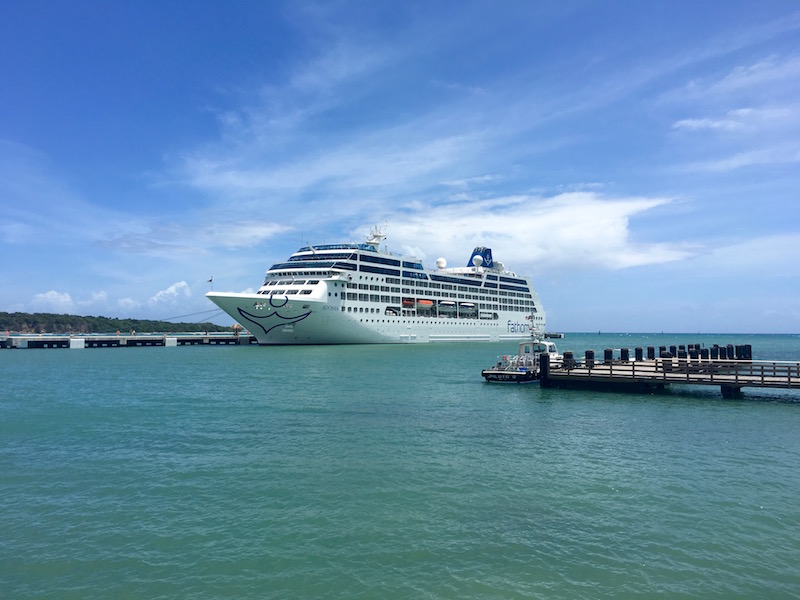
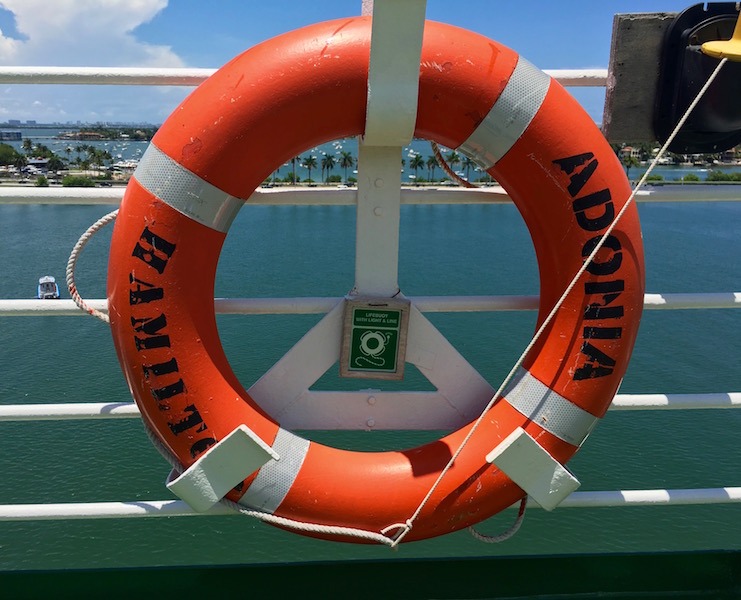
Fathom, a child company of Carnival Cruise Lines, is the first cruise line to dedicate itself to this type of ‘impact travel’, with week-long routes to the Dominican Republic, and (currently without impact activities), to Cuba. The ship, Adonia, docks in the new Amber Cove port by Puerto Plata, far from the all-inclusive resorts of touristy Punta Cana, and focuses on the under-developed side of the island.

fathom-cruise

The concept is a simple one: bring in cruise passengers on a regular basis who can 1. impact the economic situation of northern Dominican Republic, 2. come alongside Dominicans to add manpower (and woman and child power) to their current, established projects, classrooms, and businesses, and 3. make meaningful interpersonal connections in the process.

The regular, scheduled shiploads of volunteers give your week-long effort a bigger impact, and your tourism dollars help a part of the country that otherwise is often overlooked.

fathom-cruise-line

I took my 17-year-old and 14-year-old on the Adonia to the Dominican Republic in June, to see exactly how it all works and how much impact we felt we had. I’ve taken part in ‘mission trip’ type vacations before, and the level of actual usefulness of such trips vary greatly. I wanted to know whether Fathom’s formula was different, how much good was being done, and how it actually felt to go on their ‘impact activities’ with my teens. And because the ship and cruise line is so new, I wanted to share the scoop on what to expect from embarkation to disembarkation.

What to expect pre-trip:

When you book a Fathom cruise (which, by the way, is a bargain compared to other Caribbean cruises…see pricing here), you’ll be sent an informational email with information about your boarding date and disembarkation date. The Fathom’s home port is Miami. It’s important to note the exact time on the dates, because like any cruise, the ship won’t wait for you. Be sure to book a flight that allows plenty of time to get to the port, even taking possible delays into account. From the west coast, we opted to take a flight an entire day early.

Fathom-cruise

You’ll also get access to the Fathom Trip Planner, which you can log onto online at Fathom.com once you have a booking number. Get onto your trip planner as soon as possible, because this is where you sign up for your impact activities…the activities you’ll do in the Dominican Republic alongside locals. Examples of impact activities include laying concrete flooring, building water filters, planting trees, helping in a chocolate production facility, and teaching English. Alongside these activities are also ‘recreational’ activities you can book through Fathom, which are essentially organized cruise excursions such as snorkeling, city tours, catamaran sailings, and the like. You can book up to six activities total per person, and impact activities DO fill up fast.

  • Some things to note when deciding on impact activities:
  • Kids need to be on the same impact activity as at least one parent
  • Impact activities are all free, apart from a small supply fee for a few of them ($10 range)
  • Most impact activities are half a day (either before lunch or after), then a few take 3/4 a day
  • If the impact activity you want is full, try again a few more times before your cruise (people drop things as their schedules change)

I recommend picking your impact activities first, then filling in the rest of the space with ‘for fun’ activities. The offered port excursions are solid, but pretty expensive, like all cruise excursions. We actually only did one of them, the power-assisted snorkeling afternoon. The other things we were interested, which included a city tour of Puerto Plata and a hike to the 27 Waterfalls, we opted to book on our own.

27-waterfalls

It’s easy to book excursions on your own, either before your trip (recommended) or at Amber Cove. For a private tour of Puerto Plata and the surrounding area for less cost than the big group bus tour offered by Fathom, we hired a private guide (basically a taxi) through Marysol Tours.

We booked our hike and swim at the 27 Waterfalls through Iguana Mama, a local company that now operates tours out of Amber Cove. We went with other cruise passengers, but booked this on our own because Fathom did not yet offer it officially.

See all our posts about Dominican adventures.

snorkel-dominican-republic

Up next, packing advice for a Fathom cruise! Click on the button below to continue.

fathom-cruise

Pages: 1 2 3 4

Travel Gear We Use: GoTenna review

When we visited Paris last winter, we spent a wonderful day in the Louvre. At least, it was mostly wonderful, except for the two hours we spent looking for each other. My husband had our two older sons in one section, and I had our youngest in another, and our plans to ‘find each other later’ went woefully sideways. We both had phones, but had put them in airplane mode to save on our international data plan. When I turned my phone on to contact him, he had his turned off, and vice versa.

GoTenna-review

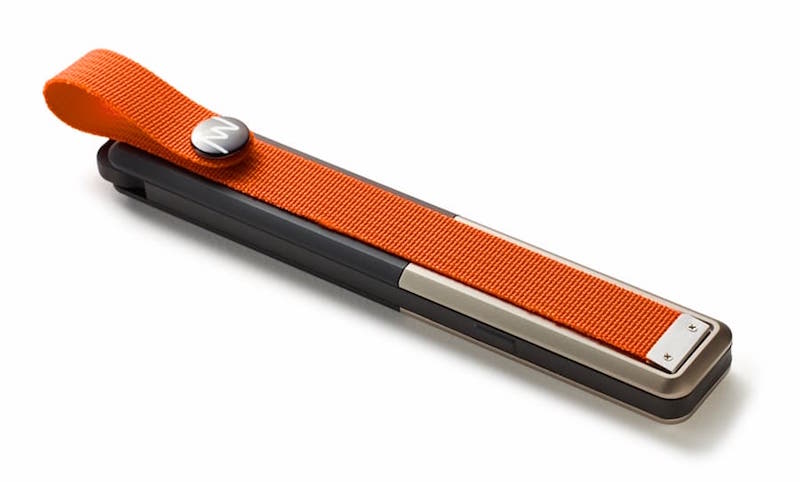
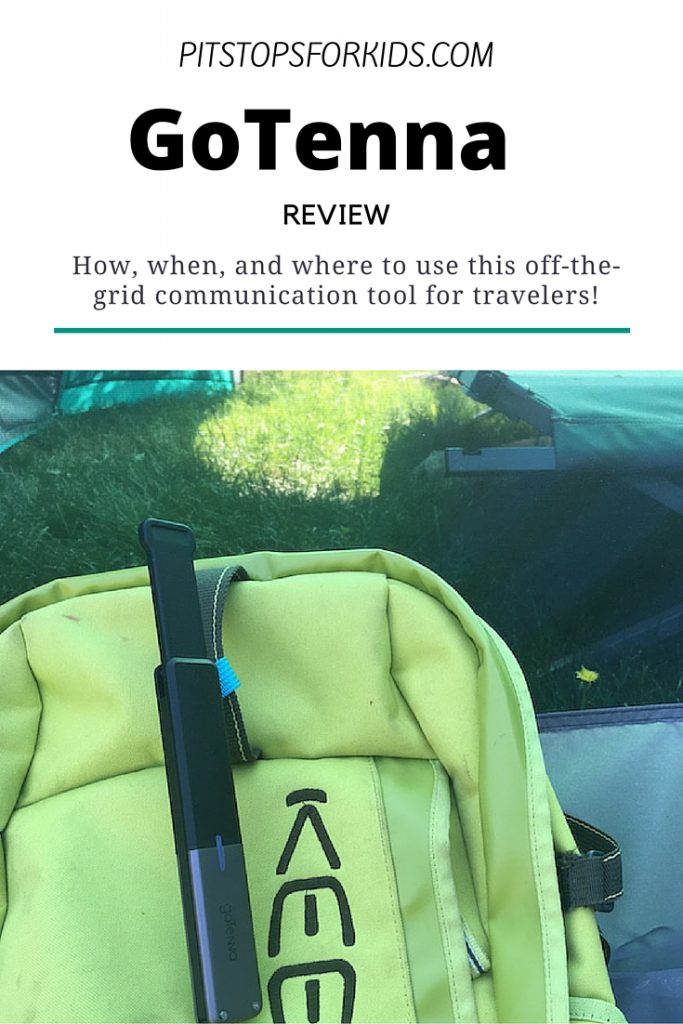
Months later, I was introduced to GoTenna. The minute I saw what it did, I knew we could have used it in Paris. And in Rome. And in Costa Rica. And so on and so forth. GoTenna is a thin, 2-ounce wand that connects to a smartphone app via Bluetooth low energy (LE). It creates a low-frequency radio wave network for its iOS and Android app that reaches about 1 mile in skyscraper-filled urban areas, and, supposedly, up to 9 miles in most open outdoor areas (even longer on mountain tops).

How to use GoTenna:

When you buy GoTenna, it comes in a pack of two (for $199). I had ours set up in about two minutes. You just take the wands out of the package, and pull the little tab on each to extend the stick. When it clicks, you can see whether the GoTenna wand is charged by waiting for the light to blink. If it does, you’re in business. If not, charge the wands first using the included USB cords.

gotenna

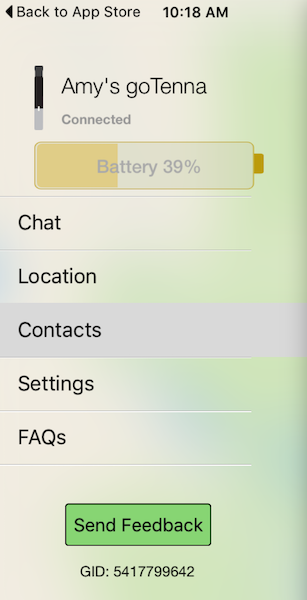
Once they’re ready, turn them off, and download the free GoTenna app. It will walk you through the activation steps, which, again, took me only a minute or so. You turn the GoTenna back on to pair it with your phone via Bluetooth (one wand per phone), add your phone number and name, and you’re in business. You can import your contacts, so it’s easy to find other people when you need to contact them (more on that in a minute) and download maps to use off-line (more on that, too).

Once you and a partner both have the wands paired to your phones, you can use them offline to contact each other. Each GoTenna has a nylon loop so you can attach it to a backpack, jacket, or hat. You don’t hold it; you need it to have a clear path to get a signal. Think of GoTenna like a messaging app: it has the capability to send messages and location, but not much else. You cannot use GoTenna to send photos or video, make phone calls, or scroll through social media. It’s like a walkie-talkie, only much better.

You do everything you want with GoTenna from the app.

GoTenna-app

  • Send one-on-one messages: this is the primary thing we’ve done with it. You can send messages to anyone in your contacts who also has a GoTenna (this is the reason for the pack of two).
  • Send Shout messages to everyone in the area with a GoTenna: A ‘shout’ message is basically a general message that will go out to everyone with a GoTenna within range. Not many people have these, so it’s not much of an issue right now, but in theory, you could use this feature to send out a general invite to meet up at a location at a concert or festival to meet other users, or send an ‘all call’ as an emergency.
  • Send emergency messages: this feature is deceiving, because GoTenna cannot actually connect with emergency services (a con to using it, for sure). It can only connect with other GoTennas (not satellites), so this emergency feature is just a ‘shout’ set in priority mode. If anyone nearby is also using GoTenna, they’ll get a message that someone needs assistance. I guess it’s better than nothing.
  • Use maps: I love this feature. While online, you can download tons of pre-existing maps in GoTenna’s app. (This feature is under ‘location’). Then you can use the maps while offline. We could have used this in Paris, and we will be using it in Central America this fall.

When and why to use GoTenna:

GoTenna is touted as a solution for communicating in the outdoors, when traveling without coverage, and during natural disasters other situations when off the grid. I initially thought I’d like using the wands while backpacking and camping, but in practice, we leave GoTenna at home during outdoor trips. Why? The range isn’t long enough for hikers or campers to communicate with family back at home (reason #1 I’d use it), and to use it hiker to hiker, we’d also have to carry multiple cell phones in the wilderness, which would require bringing solar chargers. While we might do this occasionally (I love the Waka Waka solar charger for this purpose), most often, we’re tech-free in the wilderness.

So what DO we use GoTenna for? International travel. We’re also glad to have it in case of a natural disaster when we may need to communicate off the grid, but primarily, it’s a wonderful tool for travel. When we travel internationally, we pay for limited service plans, so more often than not, we’re in Airplane mode and offline. With GoTenna, we can continue to communicate when we separate during the day, and we can use the maps. The teens and I used GoTenna last month in the Caribbean, when we were doing different service projects a few miles apart, and we’ll use it again in Costa Rica and Panama later this year. The only place we’ve used GoTenna where it’s only worked so-so was on a cruise ship. I think all the metal walls and doors messed with it.

Pick up GoTenna for $199 or look for it at REI. If you travel even a few times per year off the grid (or in Airplane mode), it’s well worth the investment.

Disclosure: We were given a GoTenna to test, for the purpose of review. As always, all opinions are our own.

Subscribe to our Pit Stops for Kids seasonal newsletter, and get exclusive tips, free! Click here!