Five family friendly activities in Sarasota

While a vacationing family may be perfectly satisfied with spending their entire vacation on the beach in Sarasota, a family that wants to dig deeper (or is considering Sarasota as their new home), will need to have knowledge of some of the more family-oriented activities in Sarasota and the surrounding areas. Even a vacationing family may want to get off of the beach for a while, especially during adverse weather conditions. Fortunately, Sarasota has plenty of family-centered activities to keep everyone busy.
sarasota-florida

Following are five of the top family-friendly activities in and around Sarasota

Mote Marine Laboratory and Aquarium

For families that are enamored by the vast variety of marine life in Florida, the Mote Marine Laboratory and Aquarium offers the entire family the opportunity to come out and get their hands wet while meeting the sea lions. They will also have the opportunity to view some of the most extraordinary specimens of sea life anywhere.

South Lido Nature Park

For the family that is either tired of the water, or still attempting to get their sea legs, visiting the South Lido Nature Park will allow them to enjoy nature absent of the large body of water. They will be able to enjoy hiking along the nature trails. One of the highlights of visiting this park is the ability to view the water and the skyline at a distance, once they reach the end of the boardwalk. Some other attractions at this park are the mangroves and the trees in pairs that grow in this natural habitat.

Sarasota Jungle Garden

Families can visit the Sarasota zoo, where they will be able to pet and pose with a number of the animals. The kids will be able to feed the flamingos, as well as watch the lemurs at play. For the really adventurous kid, they can get up close and personal with a vulture.

Sarasota Opera

When it comes to the refined cultural arts, Sarasota is not lacking. There is always some type of Opera event taking place, such as the Barber of Seville and the Flying Dutchman. So, after a day at the park or the beach, the family can get dressed up and head out to the opera.

Kids Komedy Club at Florida Studio Theatre

The Kids Komedy Club is an event at the Florida Studio Theatre in which kids perform comedic sketches that they write themselves. It is a great opportunity for the entire family to enjoy unending laughter.

While Sarasota boasts some beautiful beaches, there is so much more to the city. For the vacationing family, or for the family that will be making this beautiful city their home, there will not be one dull moment.

Lara Adams recently relocated her family to Florida for her job in real estate. She writes on the subject in her spare time in the hope of helping others.

Photo credit.

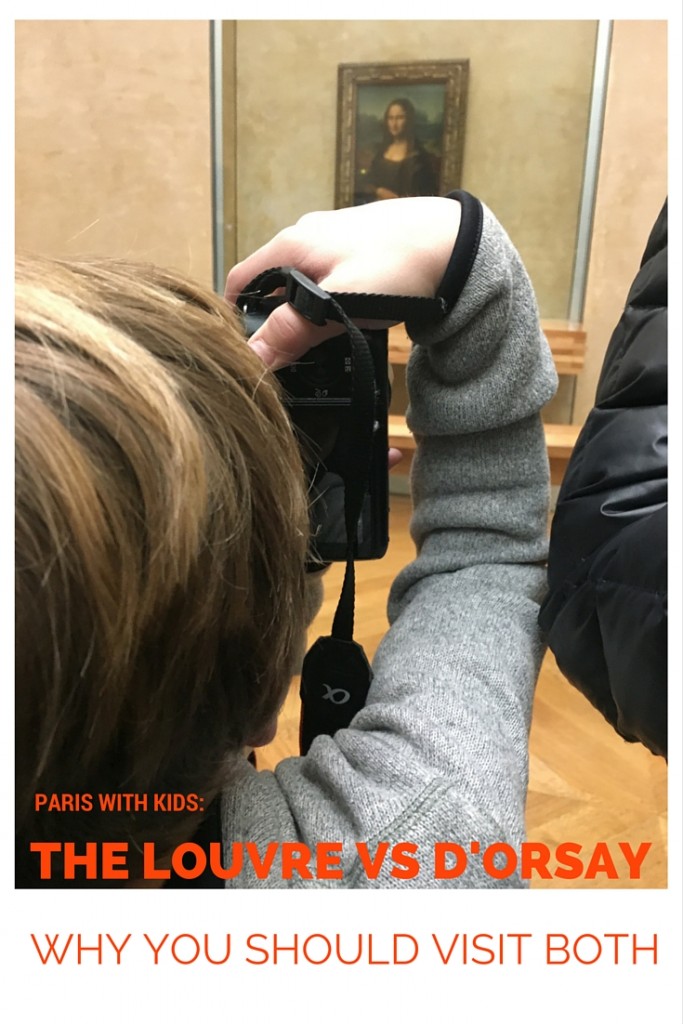
Louvre vs d’Orsay museum: why you should visit both with kids

If you’re visiting Paris with kids ten and up, both the Louvre and the Musée d’Orsay are probably on your short list. When I created our Paris itinerary with kids, I initially left the d’Orsay off of it. This was a big mistake! On recommendation by our Fat Tire Tours guide, we ended up spending a morning at this museum and it was our most enjoyable museum visit in Paris. In the battle of the Louvre vs d’Orsay museum, here’s why you need to make time for both.

louvre-vs-d'orsay

What you’ll only find at the Louvre:

Most people are aware that the Louvre is home of Leonardo Da Vinci’s Mona Lisa. Of course, this is a big draw, and like many, many other people, we really wanted to see this work of art while we were in Paris. Is it the only show in town? Of course not, but  I believe that when kids  (and adults) see a work of art they instantly recognize, it increases their enthusiasm for art museums as a whole. There’s a wow factor in seeing the Mona Lisa, and it shouldn’t be underestimated or ignored. In other words, don’t worry about being a cliche; go see it!

Also at the Louvre is the Venus de Milo, as well as a wonderful collection of medieval and Renaissance paintings that serve as a good crash course in the major players of the 14th-18th century. I am not an art historian, so I won’t pretend to know exactly what I’m talking about in regard to particular works, but it’s worth the €5 per person to grab an audio guide when you enter. You can pick and choose which works to learn more about.

Note: the audio guides do not offer commentary on every piece of art. Rather, there are selected works that have an audio symbol adjacent. We found that depending on the room, there might only be 2-3 audio commentary art pieces.

There are three main wings of the Louvre, divided into eight main categories of art. We grabbed a map and headed straight to the biggies we wanted to see, then toured through the Egyptian antiquities and sculptures. The collection of medieval armor and weaponry is of great appeal to kids as well.

louvre-with-kids

What you’ll only find at the d’Orsay:

Compared to the Louvre, the d’Orsay is downright small. It’s very nice to have a manageable space to navigate! This museum is housed in the beautiful train station made during the world fair days, and is light, airy and bright. It’s main focus is Impressionist paintings, and has works primarily from the 18th-20th centuries. You can find Rodin here, Van Gogh, Monet, and Renoir, among many others.
Personally, we prefer this style of art, from the Impressionist era, so we were much more excited for the d’Orsay. With the museum map, it’s easy to find everything, and we found that the kids discovered more pieces that they recognized from text books and popular culture here.

view-from-d'orsay

Note: from upstairs on the 5th floor of the d’Orsay, there are wonderful views of Sacre Coeur and a glimpse out the window of the famous train station clock face (on either end).

How to see them both (without burning out):

  • While the d’Orsay is more manageable than the Louvre, don’t even try to see everything in either one. We didn’t even make it to one entire wing of the Louvre. Instead, do some research ahead of time to know what are the must-sees for your group, and get those accomplished first. Then wander at will for a set amount of time, and that’s it. In each museum, we spent about three hours. We saw our highlights in the first hour, our secondary picks in the second, then wandered for the last part.
  • Get the Paris Museum Pass! This pass, which works similarly to CityPass in the US, grants you entry into dozens of attractions and museums in Paris. However, since kids 18 and under and free in most cases, the real value of this pass is in the line-skipping feature. We literally saved hours at each museum by going into the ‘Paris Pass and Reserved Tickets’ line. The museum pass also comes with multi-day metro tickets, which you absolutely need to purchase in Paris anyway.
  • Make time to eat. At the Louvre, the cafe on the second level is not bad at all. Better yet, in summer, go outside to the  Tuileries to eat at one of the little walk-up cafes there. This is even an option in winter, though some of the food stands close.
  • Use the visitor trails. We opted not to do this, but the Louvre has set itineraries you can follow. If you have a theme of interest, this is a great way to make sure not to miss anything. The trails are pre-loaded in the audio guide, or can be followed separately.
  • Be sure to grab a map. We found the maps at both museums to be essential.

Which museum do you prefer in Paris? Why?

Preparing kids for mountain biking adventures

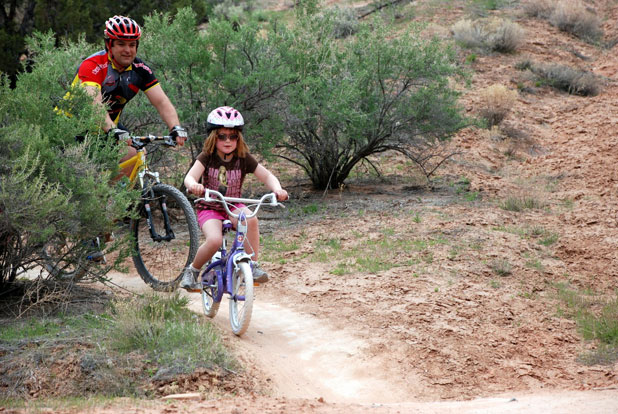
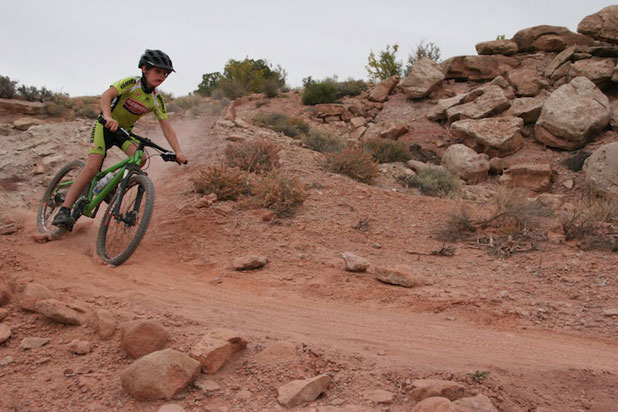
When it comes to mountain biking, kids and younger riders are often left behind. For many, the sport is viewed as dangerous and not fit for kids. However, that couldn’t be further from the truth. Mountain biking is a great sport for kids of all ages. While they may be limited to safer trails in the beginning, kids can enjoy the perks of off-road biking all the same.

mountain-biking

Mountain biking offers a number of benefits that kids can take advantage of. Not only is it enjoyable, but it’s a great opportunity for kids to explore the world around them while getting some exercise. Families that ride together also have the chance to bond as they make their way through a trail.

Before you venture off, you should prepare your child for what’s to come. Mountain biking is very different from a casual ride through the park. Whether the child is apprehensive about their first foray off-road or excited to explore some trails, you should prepare them to make the trip safe and fun.

Get in Physical and Mental Shape for Mountain Biking Adventures

Depending on your child, you may have to do a bit of ongoing physical and mental preparation prior to your first ride. As with adults, being in great shape is a necessity. Even on smoother trails designed for beginners, obstacles will demand a lot from riders. It’s a good idea to do a bit of physical conditioning.
This can include fun and enjoyable workouts that appeal to kids. Instead of a staunch exercise regime, you can play physically demanding games that push the child’s body. The better shape the kid is in, the better they will be at biking safely.

In addition to physical preparation, you should speak to them about what they can expect. They should understand the types of obstacles they’ll face and how to get over them. If the child is a bit nervous, mental preparation will ensure that they face their fears safely. The same goes for a kid that’s overconfident in their skills.

Gather the Right Equipment

It’s crucial to choose the right bike for going through a trail. Kid bikes can be a bit tougher to fit than adult bikes. It’s a good idea to let the child be a part of the decision process. Not only will they enjoy choosing something they like, but you’ll be able to teach them how to properly fit the bike and what types of things they should look for.

A solid frame and large wheels are always a good thing to look for. This will make the bike easier and more comfortable to ride. Obviously, higher end components like brakes and shifters are a good idea. However, if you’re on a budget, a solid frame with basic components is a good place to start. You can always upgrade components as the child grows and improves.

The bike should fit the child perfectly. A bike that’s too small or too large can lead to falls and injuries. Make sure that the child sits on the bike and takes a ride on flat ground prior to making a purchase.

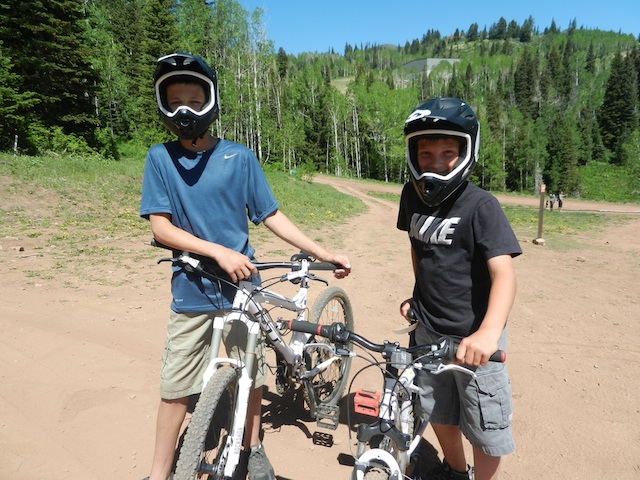
In addition to the bike, safety equipment is a must. The kid will need a high-quality helmet to protect them from bumps and falls. Protective clothing and guards will also help keep them safe throughout the ride.

mountain-biking

Pre-ride Training

The feeling of riding off-road is something that requires a bit of getting used to. It’s never a good idea to just hit the trail and hope for the best. Children need to know what to expect in terms of terrain. Starting off on some grass will give them an idea of what to expect.

A park with numerous hills will expose them to the feeling of riding down a slope. Even something as simple as riding off of a small curb is beneficial. This will allow them to learn how to maneuver different obstacles and terrain as well as how to ride in different positions. For even more training, parents can set up a small course in the backyard that teaches them how to get through basic hazards.

Start Off Easy

Make the first trail ride the child takes an easy one. Simple trails with minimal obstacles will allow the kid to ease into the sport. Dirt roads or jeep trails are perfect for kids just starting out. These trails provide the feeling of off-road biking while allowing the kid to build their strength and comfort level.

Parents and experienced riders should hang back. Never stray too far from the child, just in case they need your help. By letting them take the lead, you can follow along at a comfortable pace and make judgment calls on when to rest. The child should be able to ride as please without feeling pressured to attempt something harder. Without being pushed, kids will naturally improve and move on to more difficult trails at their own pace.

canyons bike park

Learning Techniques Safely

As the child improves, it’s important that you teach them how to ride technically. You can do this by introducing simple moves and techniques throughout the ride. Of course, you should never pressure them to try something they’re not comfortable with. While it may seem easy to you, a young child may find it terrifying.

Constant affirmation and praise will help them learn with time. Technical riding is crucial, and it’s good to start teaching children as soon as possible so that they adopt good riding habits in the future. Things like steering, riding positions, and obstacle maneuvers are all good things to learn.

As the child learns, it’s important to monitor them at all times. Kids are notorious for being overconfident. In the sport of mountain biking, overconfidence can be dangerous. They should learn new techniques while also being aware that of what can go wrong.

All in all, taking your kid out to the trail with you doesn’t have to be difficult. It can be incredibly fun and rewarding to ride a mountain trail with a kid. All it takes is proper preparation and patience to teach kids how to ride safely. Before long, the child will be your go-to riding buddy for all of your mountain biking adventures.

Getting from Pisa to Florence with a side trip to the Leaning Tower of Pisa

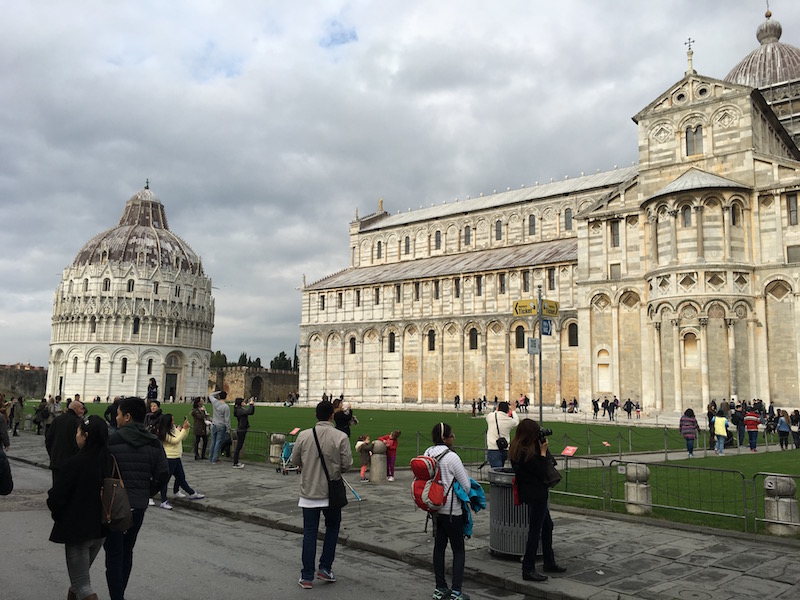
If you’re flying into Pisa’s airport and then getting from Pisa to Florence Italy, you have several options, all of which are pretty cheap and pretty fast. However, if you want to take advantage of your time in the town to see the Leaning Tower of Pisa, there’s really only one way to do it. Here’s how (and why it’s worth the time):

leaning-tower

From Pisa International Airport (PSA), also called Galileo Galilei Airport, you’ll need to go to the bus ticket window/newsstand directly past the baggage claim, in the arrivals area. This booth can sell you bus fare for the Rossa (red) line, that goes from the airport to Pisa Centrale railway station, the city’s biggest train depot. It’s a five minute ride, and costs just a few euros, but from the rail station, the Rossa line continues through town, to the Leaning Tower.

Note: bus rides are FREE all morning in Pisa, with fare only needed after noon. During our visit, we started our bus ride in the morning, but returned in the afternoon, so we bought one-way fare. If your trip will be all in the afternoon, buy return bus fare from this booth as well.

Step outside with your tickets, and you’ll see the bus stop directly across the small parking lot (this is a small airport). Look for a red circle on the front of the bus. They are being literal when they say it’s the Rossa line.

Once on the bus, note the stop at Pisa Centrale, because you’ll want to get off here on your return from the tower, in order to get to Florence. But for now, stay on the bus. Unfortunately, we were given incorrect information on another website, and thought we needed to get off the Rossa line here and access the tower via the trains. Not so.

Stay on the bus another few stops, until you get to the Torre stop. There’s usually an outdoor market directly in front of the tower complex, called Piazza del Duomo, partially obscuring your view. We didn’t even see the tower the first time we got to this stop, and thought it was the wrong one! (We had all sorts of navigational issues this day!)

leaning-tower

At Torre, get off the bus and walk through the marketplace to the gate to the tower and cathedral. You’ll clearly see it at this point. It’s free to walk around the base of the Leaning Tower and into the cathedral. A funny note: the tower began leaning during construction, but they kept on anyway!

You can buy tickets online to go inside the tower…you can even climb to the top and see the view from outside. We didn’t have time for this, as we were due in Florence at a certain hour, but if you budget a few hours at the piazza, I recommend going up the tower and into the cathedral. There’s a baptistry as well. Of course, you’ll also see plenty of vendors with booths of touristy souvenirs.
Once you’re ready to depart, take the same Rossa bus line back to Centrale. This bus line goes in a loop, so you can’t go wrong. Once at Centrale, go to the ticket sales window and ask for the first train to Florence. They typically run every hour or so, so we didn’t find any reason to book ahead of time. At the time of our visit, tickets were approximately €18 for adults and half that for kids. You’ll need to be at the correct platform for your train 10 minutes before departure.

Note: Be sure to validate your train ticket once you’re on the platform. You’ll see green validation machines. There’s a steep fine if you’re caught with an unvalidated ticket, though we never saw anyone checked during our trip.

The ride on TrenItalia to Florence took under an hour, and we were able to charge devices and access WiFi onboard. We took TrenItalia many times in Italy, and found it comfortable and convenient every time. We ate lunch on the train, finding several food options at a food court at the Centrale station.

trenitalia

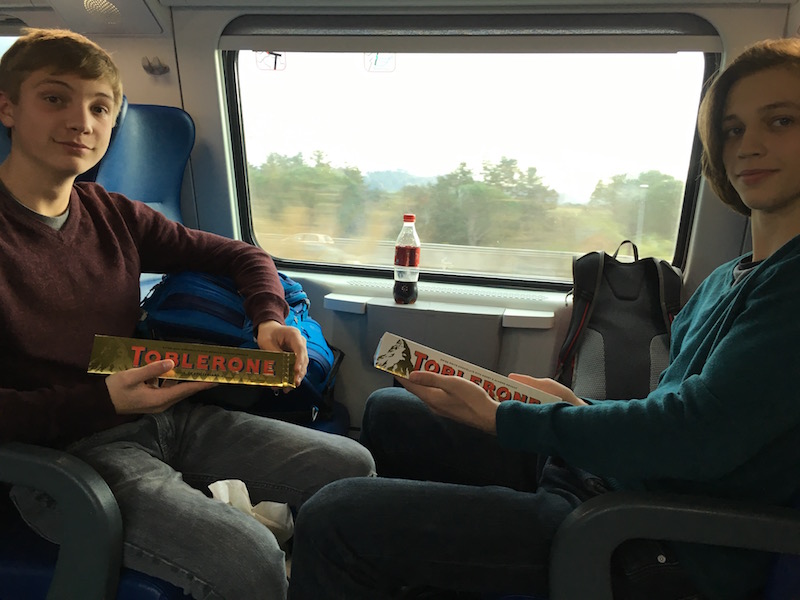
The kids couldn’t help showing off their favorite train snacks!

Once in Florence, get off at the main station, Santa Maria Novella. Almost every point in the city center is walkable from this station, which is lovely! Enjoy Florence!

Worth noting: if you do NOT want to stop in Pisa to see the Leaning Tower, you can take either TrenItalia to Florence exactly as we did from Centrale, or you can buy cheaper bus tickets for buses that depart directly from the airport. We were even given the option of buying these tickets onboard our plane. They are approximately five euros each (one euro more if bought once you land), and by far the cheapest route to Florence. However, the bus takes longer and you miss out on Pisa.

Guide to surviving (I mean enjoying) the Vatican Museums with kids

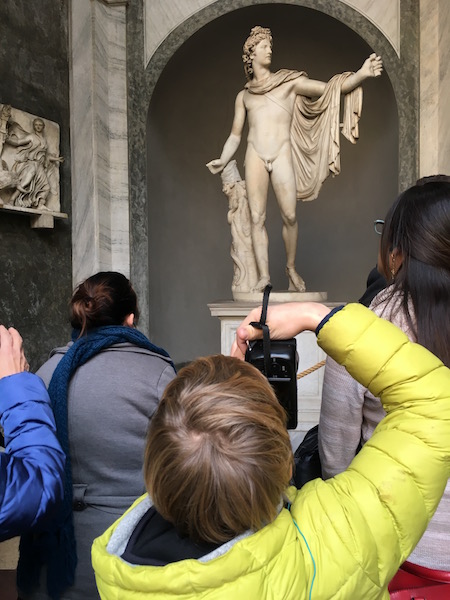
You can’t go to Rome without seeing the Sistine Chapel and St. Peter’s Basilica, but make no mistake, the Vatican Museums are difficult to tackle, with or without kids. With over 2000 rooms and nine miles of art, these vast and imposing buildings within Vatican City are overwhelming on the best of days…on the worst, you’ll be wading through crowds that make Disney World on New Year’s Day look like a ghost town. During our most recent visit during the Christmas holidays, we often felt as though we were wading through a sea of humanity. Needless to say, this is not the best way to appreciate priceless art.

vatican-with-kids

Guide to surviving (I mean enjoying) the Vatican Museums with kids:

Families should be prepared to deal with significant crowds, lines, and tired feet when visiting the Vatican Museums, but there are steps you can take to minimize these discomforts and enjoy the experience. The following are our five best tips for a day in the Vatican.

Get a guide.

Don’t even think about trying to navigate the Vatican Museums without one. While you can save money with a large group tour, I recommend a small group tour of ten people or fewer. It’s easier to stick with your guide in a small group, you can enter some of the smaller passageways and rooms that big groups skip, and the tour can cover more ground. We took this tour with Viator. With it, we skipped the line to buy tickets, which is absolutely essential when touring the Vatican Museums. We went through a very short security line, got our headsets so we could hear our guide on the tour, and we were off.

Our guide showed us the essentials; on a three hour tour, there isn’t time for more. But since we’re not art historians and were there for the biggies, like the Raphael rooms and Sistine Chapel, we were very satisfied with all we saw.

viator-tour

Plan to spend 3/4 of a day for a 1/2 day tour.

Plan plenty of time to arrive at the Vatican…it’s a large complex. For our Viator tour, we met with our guide at their tour office instead of at the entrance to the museums, so check your reservation carefully to know where to go. You also need to build in time to eat lunch after a morning tour, plus budget time to look through St. Peter’s Basilica if it’s not included in your tour. If you want to climb the dome, there is a separate line. It may be worthwhile to your group to do this, but I’d take a break and eat something between visiting the Vatican Museums and the dome.

Skip the gardens.

Someone will probably tell me I’m wrong about this (and if so, please do comment), but our tour guide advised that we could see the gardens from the patio/terrace of the museum, and it wasn’t necessary to get a tour there as well. We’re glad we used our time in other ways.

Dress correctly for St. Peter’s.

Remember that to enter St. Peter’s Basilica, you’ll need legs and shoulders covered. This means no shorts in the hot summer months. In winter, it’s easier to be wearing the right clothes, but in warmer months, you may need to make a note to wear long pants and take a scarf or light shirt to put on when needed.

st-peters-baslica

Prepare kids ahead of time.

It really helps to prepare kids (and adults!) ahead of time with some information about the major works of art they’ll see. We looked at pictures of the Raphael rooms, some sculpture, and Michelangelo’s masterpiece before we left home, and learned a little bit about each piece. This way, when the kids actually saw these works of art, they meant something personal to them. Even with this preparation, there were moment of boredom as we went through room after room. I don’t blame the kids; after awhile the frescos start to look the same. Thanks to our guide, we were able to find differences between them and stories to go with them.

Lastly, don’t eat at the cafeteria directly down the street from St. Peter’s, below the square. We were very hungry after our tour and this place and a McDonalds were the first restaurants we saw. We decided the cafeteria must be better than McDonalds. We were wrong.

st-peters-with-kids

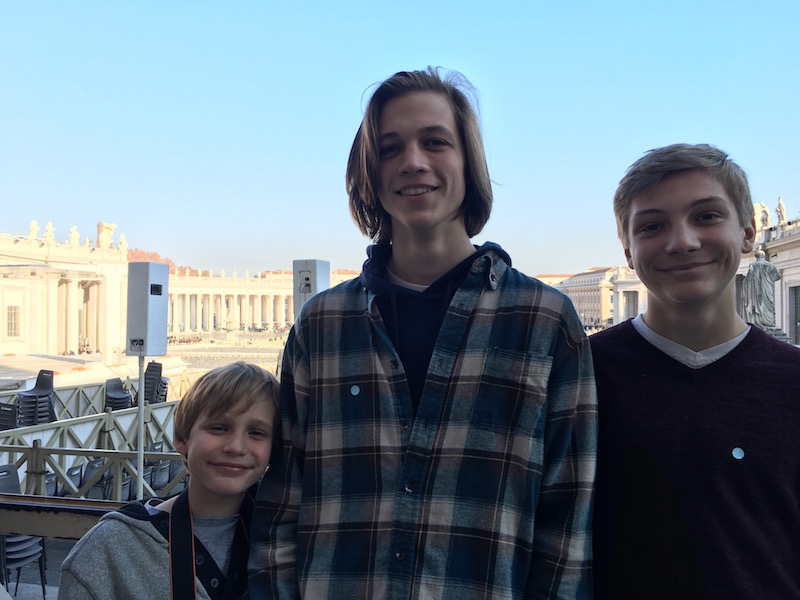
Yes, still smiling at the end of the tour. Mostly.

Pricing:

If you decide to tour the Vatican Museums on your own (don’t do this!), you’ll need to queue up early to get in. Tickets are €16 and €8 (adult and child). If you want to buy tickets online to avoid the queue, but not have a guide, it’s possible to buy tickets here.

What are your best Vatican tips?

Jet lag: kids get it too! Tips for dealing

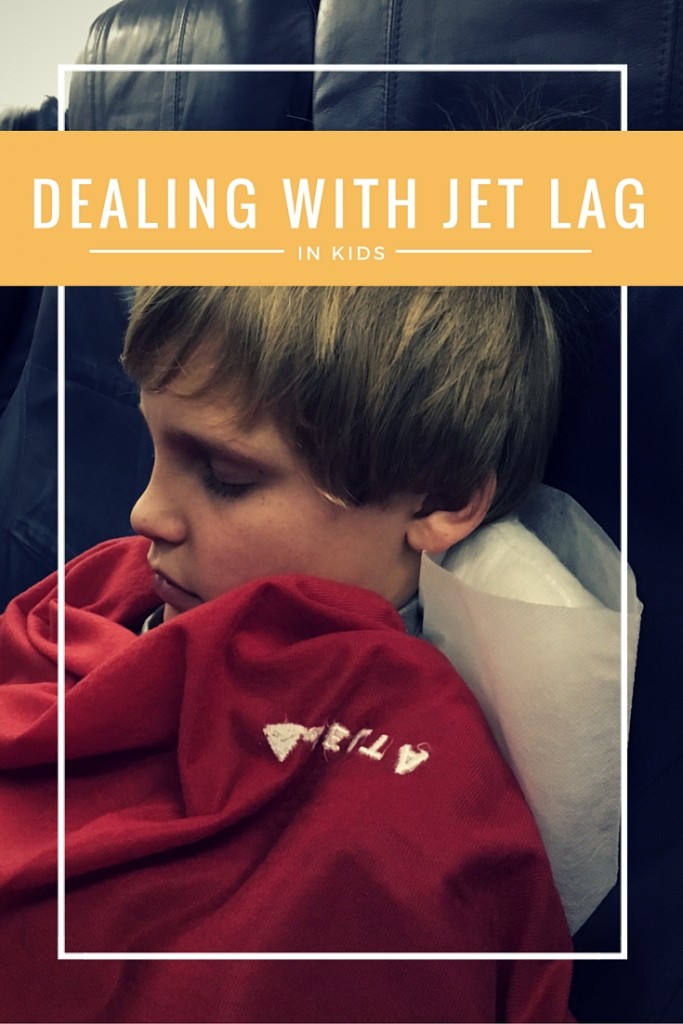
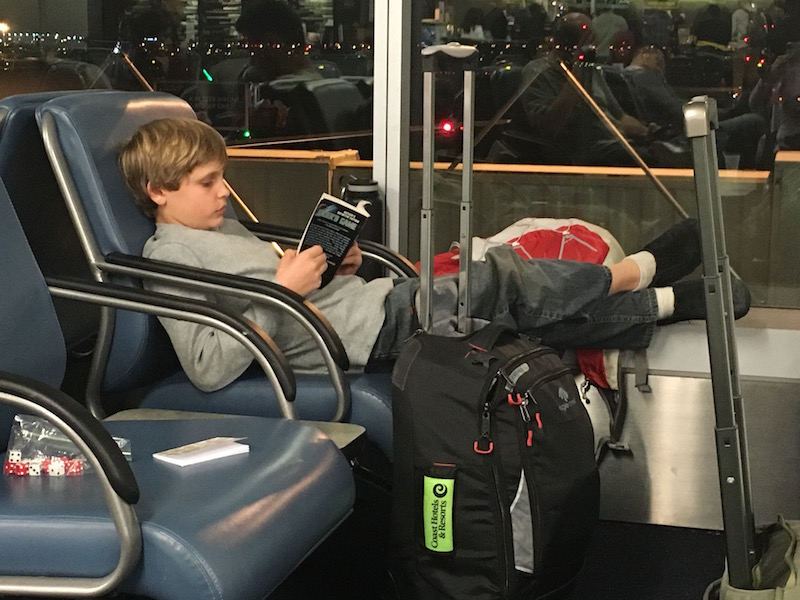
On my kids’ first cross-Atlantic journey, we did everything we could to ease the effects of jet lag. We drank a lot of water, got as good a night’s sleep beforehand as possible, and established a ‘bedtime’ on the plane. And everything went well…until our 11-year-old began vomiting as we weaved our way through customs. Not a pleasant story, I know, but nausea is a more common symptom of jet lag than you’d think. Read on for what to watch for, best prevention, and how to deal with jet lag…kids, adults, everyone! 

jet-lag-in-kids

Prevention of jet lag in kids is best:

As noted above, there are steps you can take to help ease the effects of jet lag in kids. Here they are in a nut shell. (And no, we have not found any of the gimmicky natural remedies to work.)

  1. Drink lots of fluids, especially water. We already drink a large amount of water per day at home, so we thought this would be no problem in flight. However, water is only available every so often. Bring your own refillable water containers and stock up in the airport before your flight or flights. Sip often.
  2. Pound the Vitamin C. It helps to stay heathy when dealing with jet lag, and traveling across time zones can really wear out your body. This includes your immune system, and the immune systems of kids. We brought Airborne chewables to take every few hours, plus mandated that kids order at least 1-2 glasses of orange juice during complimentary drink services onboard.
  3. Get sleep the night before. Of course, this is easier said than done if you’re overnighting in an airport hotel or if you have an early morning departure. But do your best. Don’t be tempted to think kids will sleep better on the plane if they skip sleep the night before. An overtired body doesn’t deal with jet lag well.
  4. Bring pillows, eye shades, ear plugs, and a plan for ‘bedtime’. Again…this is easier said than done. We established a time for our kids to stop watching airplane movies at their seat and lean their seats back to try to sleep. It sort of worked. Banning drinks with caffeine in the evening helped.

Dealing with jet lag once you arrive:

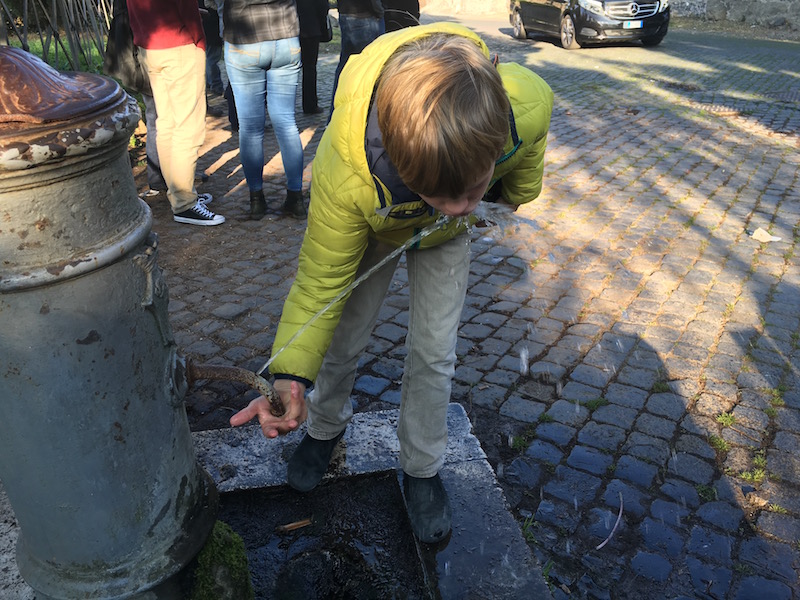
  1. Drink more water. Be aware that public drinking fountains may be scarce (we find them much more plentiful in the States than abroad). Be prepared to spend a significant sum on bottled water.
  2. Get Vitamin D, but continue with Vitamin C. Get outside as soon as you can. Take a walk in the neighborhood of your hotel or vacation rental. Avoid going into darker spaces the day you arrive, such as museums or movie theaters.
  3. Put your watches and clocks on local time immediately, and make yourself (and your family) honor it. Yes, it may feel like 3 am to you, but if it’s lunchtime, eat lunch and be as active as possible. Do your best to prevent naps. It’s far better to allow an early bedtime than to allow kids to nap immediately, unless of course, you want to be up all night.
  4. Leave an ‘empty’ morning in your itinerary for the day after you arrive. We’re early risers, but after arriving in Paris at about 3 pm local time and pushing ourselves through to 8 pm before going to bed, we still woke at 8 am. We needed those twelve hours of sleep, so I’m glad I didn’t plan a morning activity.
  5. Consider a sleeping aid for Night 1. We opted to medicate with a mild sleeping pill. This is a personal choice of course, but we found that it helped our older kids fall asleep more easily those first few nights.

jet-lag

A dose of realism: what to look for and expect:

  1. Difficulty getting to sleep: This seems odd, but even if you or the kids feel very tired, it can be hard to get to sleep if your body thinks it’s mid-day. We found this problem persisted for 4-5 days. To combat it, we did move bedtime back (which allowed for some later evenings out), but still forced ourselves to lie in bed with the lights off before we felt tired. After several days, our bodies made the minor adjustment to be truly on schedule. A natural sleeping aid, reading, or a cup of non-caffeinated tea at bedtime helps, if that’s your thing.
  2. Nausea: Our son started feeling nauseous and dizzy on the last leg of our three-leg set of flights. By this time, he’d been awake almost 24 hours, with only a few cat naps. Luckily, we grabbed an air sickness bag from the plane before we disembarked, because he lost his breakfast by the time we were queuing for customs. Not fun, but we dealt with it with water and some fresh air. He felt fully recovered by the time we arrived at our accommodations.
  3. Constipation: Pack an over-the-counter medication of your choice. Check in with kids about their bathroom habits during the first few days. If you have teens, this will embarrass them horribly, which is a fun silver lining.
  4. Headaches: We also brought Tylenol for headaches, which are common while fighting jet lag. Ultimately, sleep and hydration will fix this problem best.

Realistically, you may not be able to prevent young kids, or even teens, from falling asleep upon arrival. We let ours take a nap between shorter flights (we landed in Rome and took a small jet to Paris) but once we had arrived at our final destination, we immediately went outside, grocery shopped, and explored our neighborhood. Were we tired? Goodness yes. Was it hard to deal with the language barrier while fallowing a grocery list in an unfamiliar store with tired kids? Double yes. But it was worth it when we fell into bed that night!

What are your best tips for combatting jet lag? I’d love to hear them in the comments.

Exploring Rome with kids: Overome Colosseum tour review

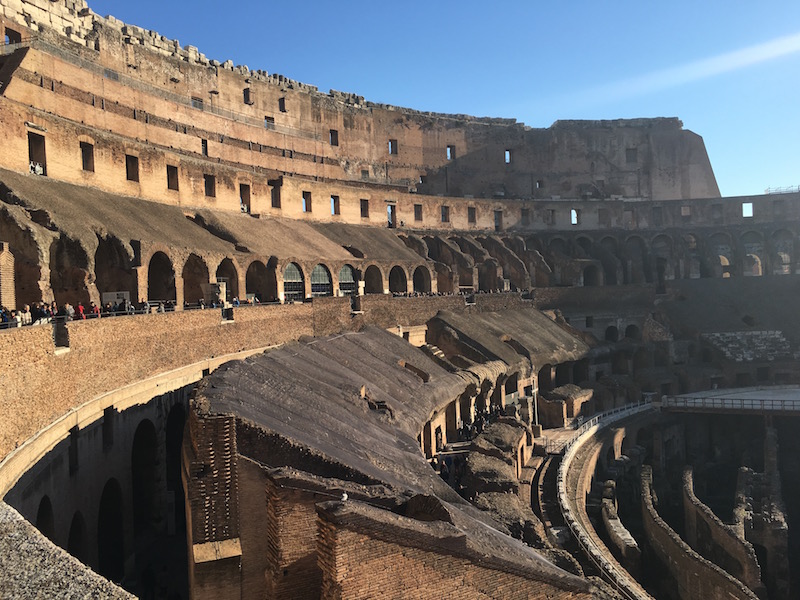
Touring Rome’s Colosseum and Forum is always in the top three attractions for families. This center of ancient Roman history is a must-do, but also big, crowded, and complex. We were very glad we opted to see the Colosseum and Forum with a small group tour. If Rome is in your family travel plans, read on for our Overome Colosseum tour review.

rome-colosseum

We chose to see the Colosseum with Overome based on recommendations from other travel writers. I’d heard Overome’s tour guides work hard to make the content of the tour relevant to kids, are reliable and timely, and are knowledgable. We were steered right, because our guide Federica was all this and more.

Overome Colosseum tour review:

Overome’s Colosseum and Ancient City Tour starts at the Colosseum metro station, directly under the shadow of the great arena. We met Federica (Feddie) here; she was easy to spot with her Overome sign. Our group consisted of only our family of seven, plus three other guests. After brief introductions, we were off…and by off, I mean just across the street to the arena.

Note: I highly recommend booking small group tours instead of large ones. We saw many large groups walking through the sites, and it didn’t look fun to be in a herd.

The Overome tour includes all entrance tickets and fees, so we didn’t have to wait in the imposing ticket line. We did, of course, have to wait in the security line, but although it snaked halfway around the base of the Colosseum on the day we visited, it took less than twenty minutes to get through. During that time, Federica (Feddie) gave us an overview of the structure and its history. While we patiently moved up in the line, we heard other tour guides getting agitated with the wait, and their guests getting impatient. I knew right then, only minutes into our three hour tour, that we were in good hands with Feddie.

overome-tour

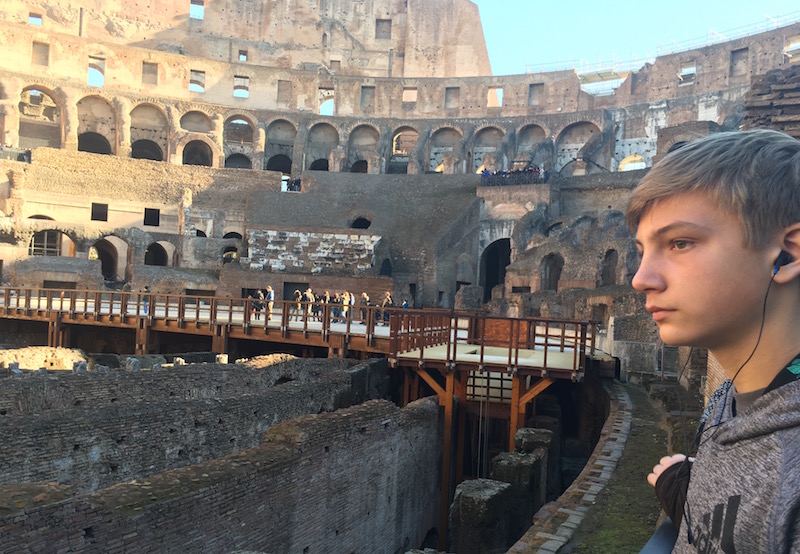
Once in the Colosseum, Feddie took us slowly from level to level, explaining how the arena was built and by whom, its architecture and design, and its uses over the years of its history. Even though the complex was crowded, it was easy to hear what she was saying because we were given earbuds and radios.

Everyone knows at least a little about this colosseum of gladiators, emperors, and prisoners, but we learned quite a few new tidbits, especially about the many exotic animals who entertained and died there, as well as specific stories about certain victims of the games.

Feddie used illustrations on an iPad to help explain her points, which really helped us visualize what she was describing. By no means were we looking at the screen all the time, but it was definitely a useful tool. This tour doesn’t take visitors down to the bottom floor of the Colosseum, be we did spend time on the upper levels with views of the labyrinth of rooms and levers and one-time elevators that made the Colosseum function in its heyday. We actually wished we had more time in the Colosseum when it was time to move on to the Forum.

colosseum-rome

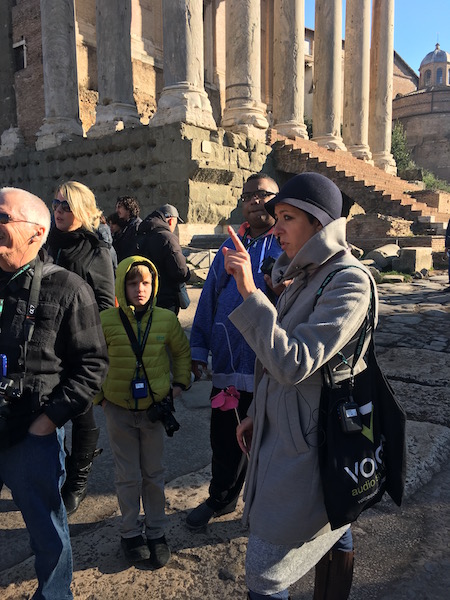
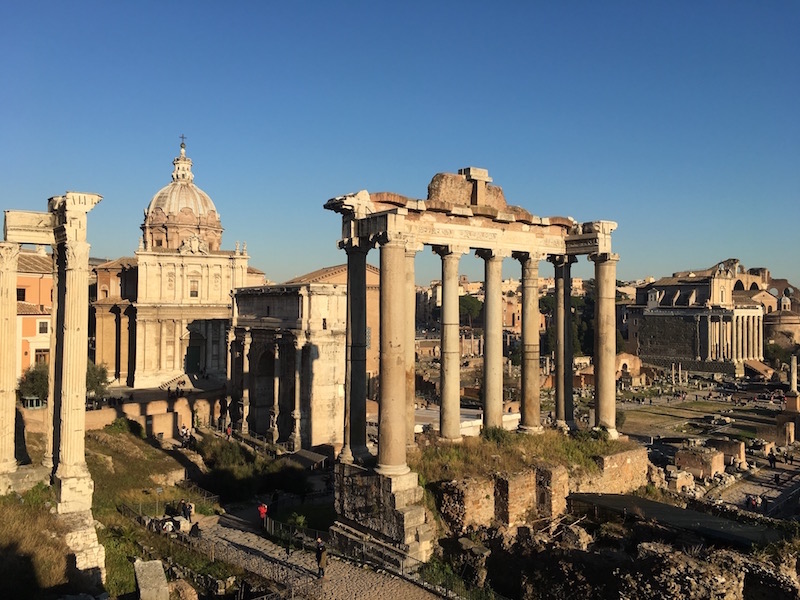
The Forum is the section of the ancient city center for which I most wanted (and needed) a guide. Without one, it’s an expanse of half-ruined buildings and rubble. Even with a guidebook in-hand, it’s not done justice without someone knowledgable to explain it. I know, because the first time I visited the Forum ten years ago, I did it on my own. I learned far more with Feddie.

We started at the far end, where she pointed out major landmarks in the Forum and showed us more images on her iPad to give us an idea of what it once was. After we could visualize it, we could see how the remains of marble and stone had once been grand buildings and streets. She explained what each structure had been used for, including the House and Temple of Vestrals, Arch of Titus, and the alter with Julius Caesar’s ashes. We learned about the multiple ‘layers’ of the Forum, and for the first time, I could really see how much of the area had been buried in mud and soil for centuries at a time.

We spent more than an hour in the Forum, which left us with little time for Palatine Hill. We were given an overview, however, and when Feddie left us, we were still inside the complex, so we were free to explore it more on our own. Instead, we were worn out and hungry by this time, so we asked her for a lunch recommendation in the area. After leaving Feddie, we happily dined on pizza at nearby Pizza Forum.

Our Overome tour definitely confirmed my suspicion that we needed an expert to fully experience this part of the city. And we couldn’t have been happier with Feddie; it was clear she likes her job and knows her stuff.

overome-rome-tour

Cost:

The Overome Colosseum and Ancient City tour is $52 per person, and I believe the value is definitely there. At the time of our visit, we departed from the metro station at 9 am, and were done by 12 pm.

As I disclose whenever applicable, our tour with Overome was complimentary, for the purpose of review. Without this type of hospitality, we would not be able to write personalized and up-to-date reviews.


Why you should tour Castel Sant’Angelo in Rome with kids

While visiting Rome with kids, the time will come when you’ll face a full-on mutiny if you suggest even one more museum. This is the moment to head to the Castel Sant’Angelo. This underrated and overlooked site in Rome is a must-do. We are so glad we tried it!

castel-d-angelo-rome

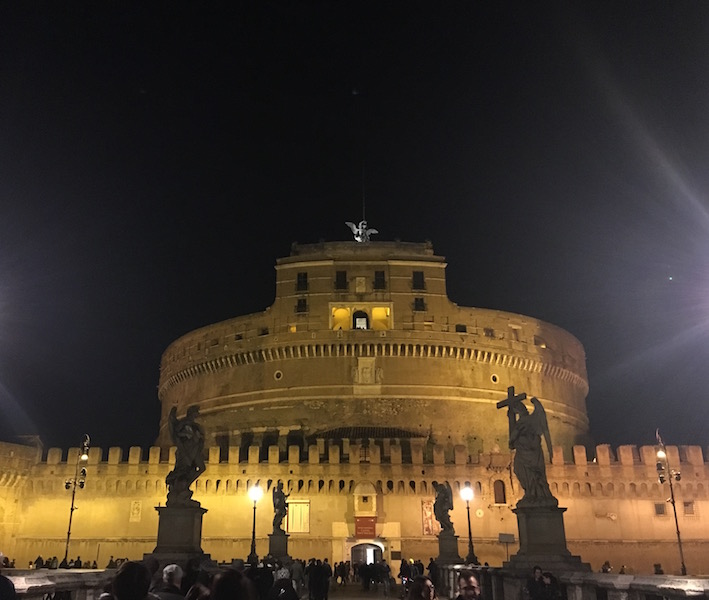
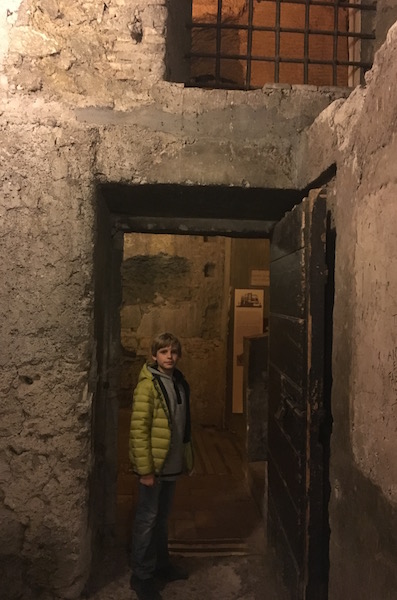
Unlike the Colosseum, Vatican, and Forum, kids are let loose at Castel Sant’Angelo. This mausoleum turned fortress dates back to AD 123, when it was used by Hadrian’s time, then later used for defense of the bridge to the Vatican and as a refuge for popes. You enter right along the Tiber, and almost immediately go across a steep bridge that once opened and closed. Inside, kids can run along the fortress walls, checking out battlements, a catapult, cubbies from which to shoot arrows…the works. Further inside, you can walk the interior hallways and imagine guards and knights, torches and prisoners in chains. Not much has changed, really. Even the flooring is original. There’s a huge hole in the floor where kids can glimpse the dungeon, and up higher, you can tour through papal rooms still decorated for the popes who hid out here over the years. This interior section is actually quite amazing.

roman-castle

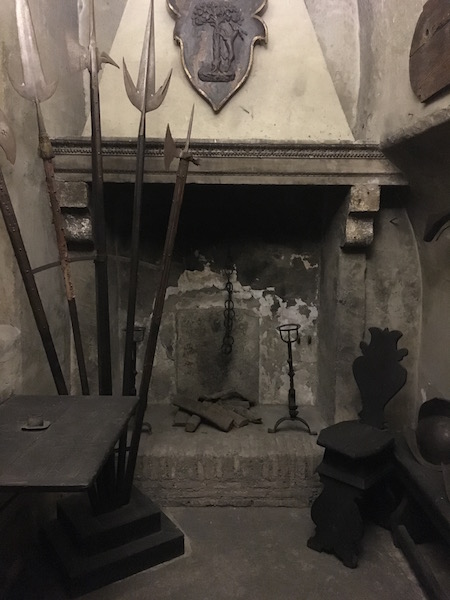
At the very top of the Castel, the views of the city are stunning. Be sure to allow time to take photos and use the view to pick out landmarks you’ve visited during your time in the city. There’s even a small cafe where you can pause for hot chocolate and espresso along the battlement one floor below the top (they don’t let you linger here at the tables if you haven’t ordered, however). Near this cafe are the interior rooms housing armor and weaponry through the ages. Unfortunately the descriptions are in Italian only, but let’s face it…by this point in a trip to Rome, kids are done reading things.

We spent several hours here, and loved the freedom to run around and explore at will. Afterward, we walked across the pedestrian bridge into Centro Storico (the old city) where we weren’t far from the Pantheon and Piazza Navona.

touring-castel-d-angelo

Pricing and hours:

Tickets at the time of our visit were €10 for adults and half that for kids 18 and under. We found no line when we visited a few hours before closing. Check opening and closing time, as it varies by season. During our winter visit, the fortress was open until 7 pm, with last ticket sales at 6:30 pm. I recommend touring around 5 pm in winter to be there for the sunset.

Tips for AirBnb Italy: Where to stay in Florence and Rome

Originally thought of as only a step up from couch surfing, Airbnb has caught on with family travelers in the US. But what about using Airbnb while traveling abroad? We used Airbnb exclusively throughout Italy, and found the process to be just as secure and convenient as in the states. If anything, Airbnb Italy owners were even easier to work with, and the lodging savings were even better!

airbnb-italy

Airbnb Italy: Where to stay in Florence and Rome

When renting with Airbnb, it can be hard to know much about the apartment owner or manager. Will he or she be the type to welcome you with a bottle of wine and a binder of suggested itineraries, or be more hands off? You can’t be certain, but while reading reviews, look for information about the owner in addition to the apartment itself. The ‘best’ owners will receive glowing reviews of their own.

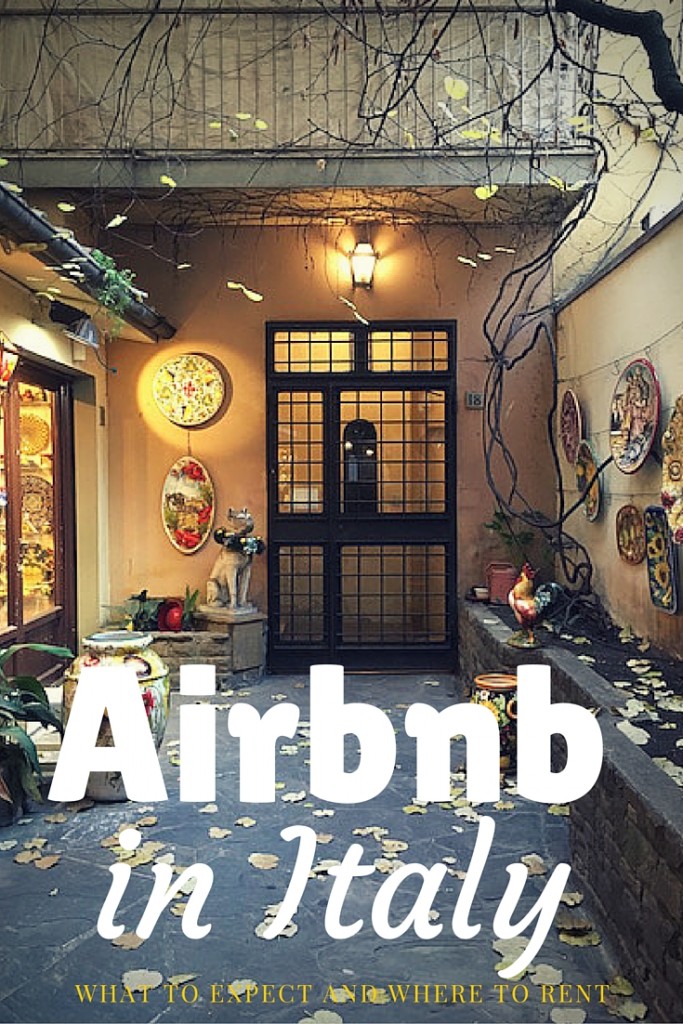
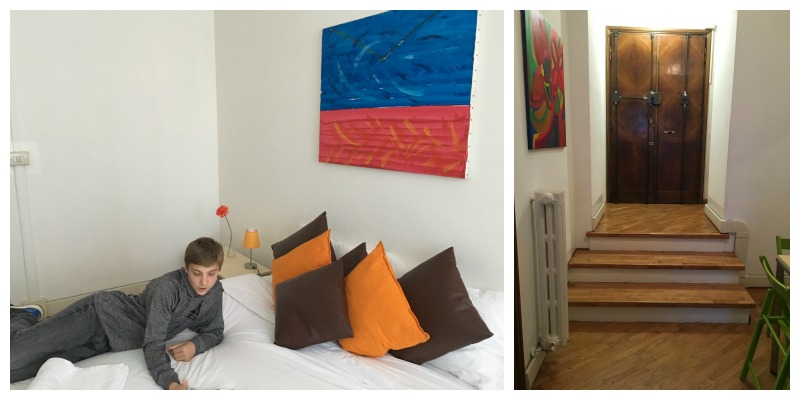
We had the pleasure of staying in this lovely Florence apartment, which was only steps from the central Ponte Vecchio bridge. Tucked away behind a pottery shop, this apartment was absolutely ideal. (The photo above is the actual entrance to this apartment.) Better yet, no one was using the owner’s second apartment rental, and she graciously offered our family both. For the first time in a week, our family of five was able to spread out. Our owner was the ‘bottle of wine upon arrival’ type, and even scoured the neighborhood for Christmas Day restaurant reservations for us. Truly, this was above and beyond.

airbnb-apartment

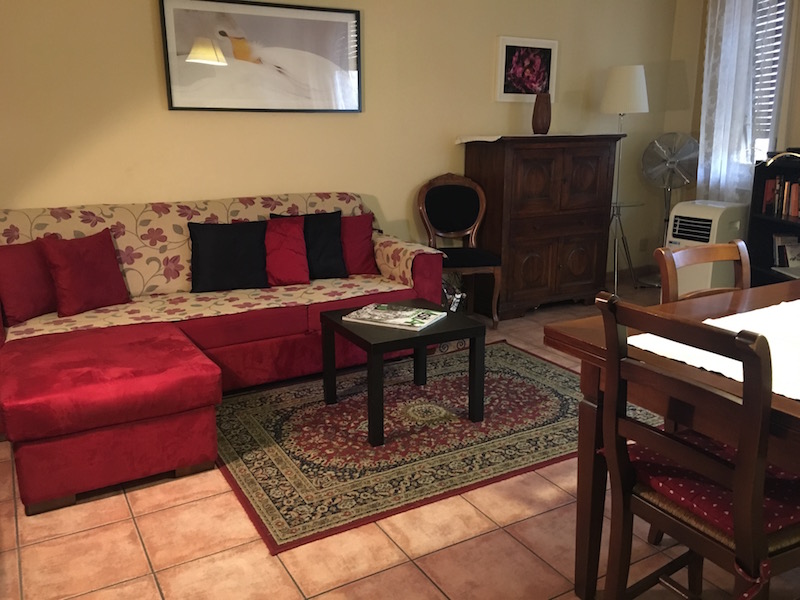
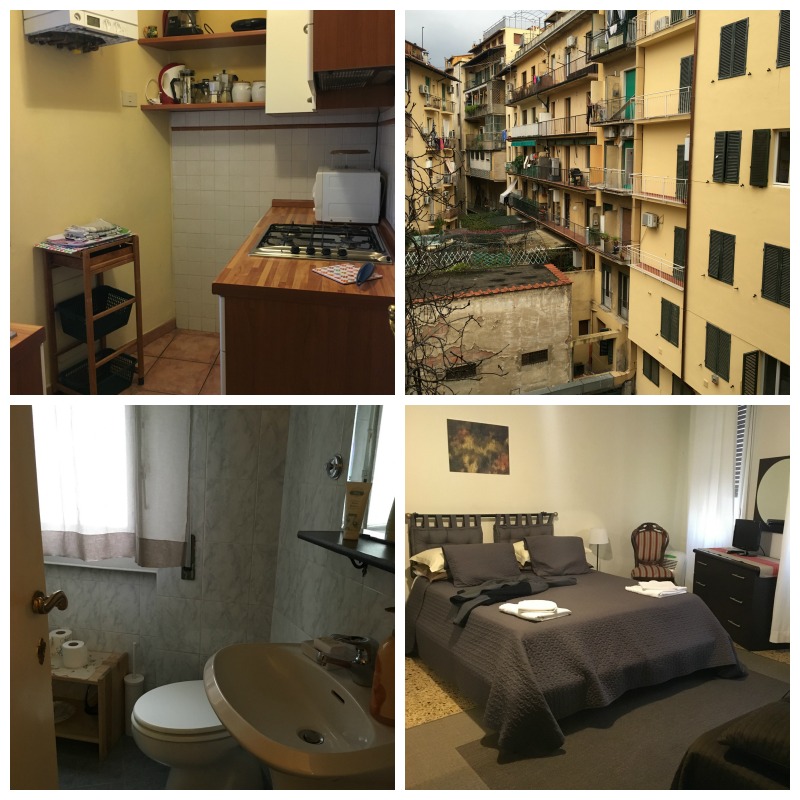
The apartment we rented had a living room, bedroom with extra day bed, and pull-out bed to sleep five. There was a full kitchen (without oven…just stove top) and a dining table. All the little things were there: a hair dryer, shampoo and soap, detergent, and kitchen staples such as olive oil and coffee filters. A grocery store was located just around the corner.

airbnb-florence

We had a small patio and air conditioning and heat, plus the second apartment with all the same amenities. In fact, the apartment layouts are almost identical. The only exception: the bedroom is bigger in the lower apartment and the living space is bigger in the upper apartment.

In Rome, we rented from Airbnb again, and again, we had a great experience with the owner in terms of the accommodations, communication, and ease. We rented this unit, which was located in an upper middle class neighborhood directly on the Tiber. We were in easy walking distance of the Vatican area, a ten minute walk to Piazza Populo and Villa Borghese, and only meters from the Metro station where we could grab a train to other points in the city. Our longest ‘commute’ was to the Centro Storico (old city) where we spent a lot of time. It was a thirty minute walk without much in terms of metro access, but the entire way was scenic.

rome-apartment

This apartment was by far the roomiest we had in Europe, with two bathrooms (a luxury!) and three bedrooms (one of which could be a living room space instead). The kitchen is very small, but we used it for snacks and breakfasts, opting to eat out for dinners. The grocery store is just around the corner, though it does close early and open late by American standards. We felt very secure here, as the apartment building had a doorman and a very elegant lobby. We loved all the space we enjoyed here; our only complaint: the street noise could get loud. I used ear plugs.

What to expect with any Airbnb rental in Italy:

  • Communication from the owner. You should hear from them within a week of your check-in date, with detailed instructions for finding the apartment and asking about your arrival time. Download the AirBnB app for the easiest communication.
  • Personal greeting. You will be met at the apartment by the owner or manager and given a tour.
  • A per-night, per-person lodging fee. This is paid in cash to the owner (usually at the end of the stay). It’s 2,50 euro per person, per night in most cases.
  • Feedback left for you after you depart. Remember to leave the owner feedback as well. This helps both of you for future trips.

What to expect only sometimes:

  • Some apartments require a deposit, usually in cash, which is returned before your departure. It will be disclosed whether this is required in the apartment description on AirBnB.
  • Some will have a bottle of Italian wine ready for you to uncork. Others won’t even have a bottle opener in the house. You just never know!

The Rome you may have missed: Why book a Walks of Italy tour

For anyone who can say, “I’ve seen the major sights of Rome, what next?” the answer is Walks of Italy’s Hidden Gems and Ancient Wonders tour. Perfect for adults and teens, this 3.5 hour tour dips in and out of the city and suburbs or Rome to hit upon a somewhat arbitrary yet completely fascinating bouquet of small stops. None of the sights on the tour take more than thirty minutes to view, and with stops ranging in topic from Jewish history to cannon fire to aqueducts, there’s something for everyone.

walks-of-italy-tour

What to expect on a Walks of Italy tour:

Before the tour, we honestly thought 3.5 hours might be a little long. In fact, the time flew by, no doubt due to our funny and passionate guide, Andrea. It also didn’t hurt that unlike every other day in Rome, we were mostly off our feet, hopping in and out of a luxury van.

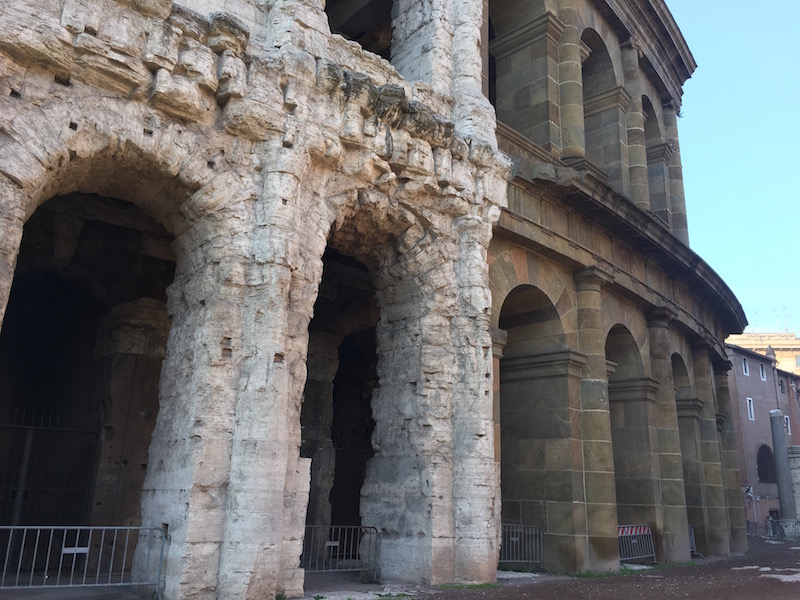
We only had eleven people in our group (three of which were from our family), which meant we were not one of the massive tour groups walking around the city. We started at Piazza Venezia, where we learned about the history of the buildings there and glimpsed the second century ruins that most overlook (away from the Forum). We then walked the short distance to the Jewish Ghetto and Jewish colosseum, where we learned about the history of Jewish Romans from the time the ghetto was established in the 1500s to the Nazi occupation.

jewish-ghetto

We got in our van, and drove past the Circus Maximus and Palatine Hill to view something I’d been hoping to see in Rome: the view of St. Peter’s from the keyhole of the Knights of Malta. This brotherhood swore to protect the Vatican, hence the symbolic placing of the keyhole. It really is magical to peek inside this unassuming keyhole and see St. Peter’s dome perfectly framed there…like looking into some secret porthole. And while I’d read about this wonder in a guidebook, no way could I have found it on my own!

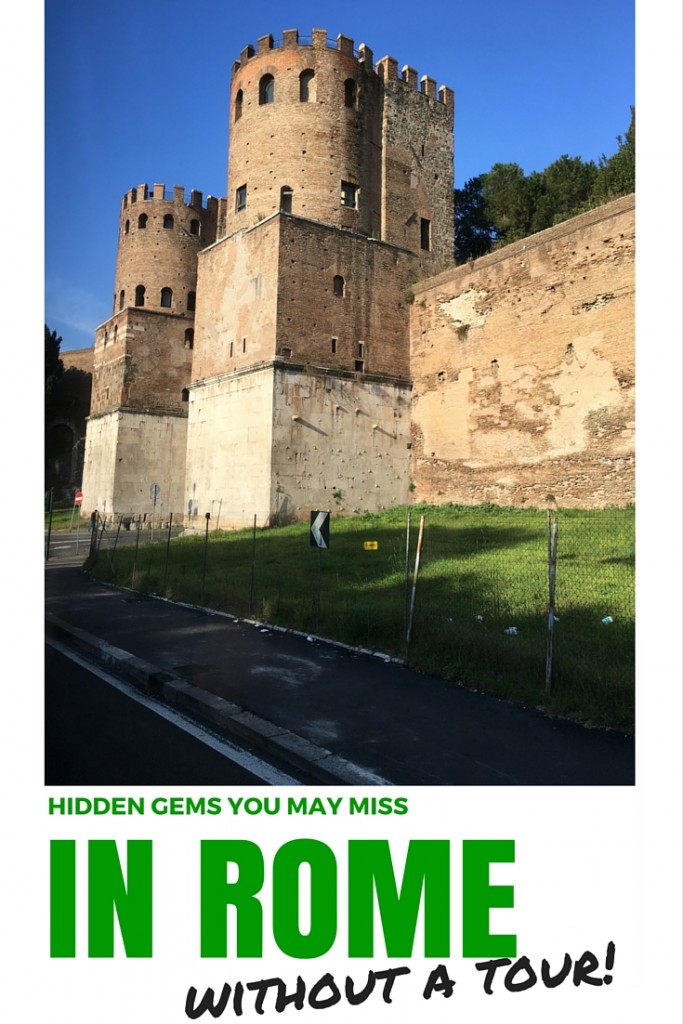
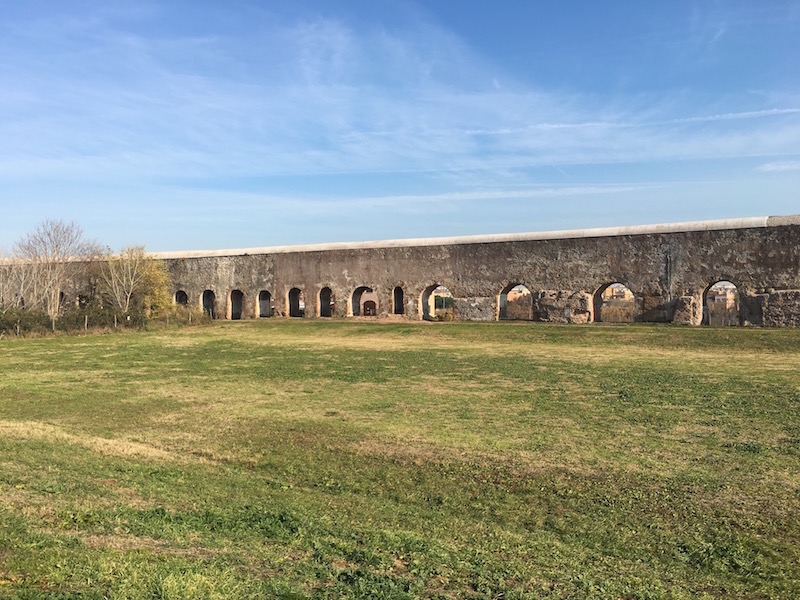
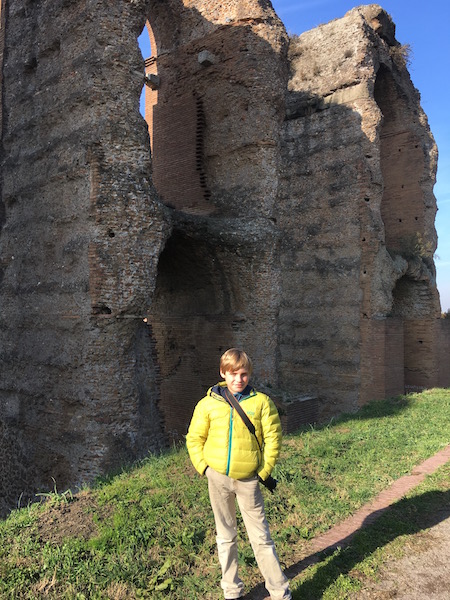
We then headed out the Appian Way, passing the Baths of Caracalla and stopping at the Mausoleum of Cecilia Metella. While I’d been on the Appian way in the past, I’d never known there was so much in this area besides the many catacombs. We learned about the road, stopping to walk along it, see the chariot groves in the stone, and learn about the purpose and use of the road. From here, we went to the Park of the Aqueducts, which is actually just a large space with well preserved stretches of aqueduct. In other words, had we gone out here on our own, we really wouldn’t have known what we were looking at, precisely. In fact, each stop Andrea took us to was something we’d never be able to navigate or learn about on our own.

rome-drinking-fountain

We finished the tour with a few more ‘drive by’ views and a stop at Janiculum Hill, where every day at noon, a cannon blast is set off to let the churches know when to ring their bells. Today, traffic obscures the cannon shot in most neighborhoods, which is why we had not heard it once in our five days in Rome! We certainly heard it from the hill! This is great place to take photos of the city, too. Finally, we drove down a particular street with a view of St. Peter’s dome that creates an optical illusion due to the street’s size and curve of its sidewalk: as you drive closer to the dome, it actually appears to grow smaller. This is yet another small tidbit of Rome I never would have discovered on my own.

roman-aquaduct

We stopped several times for bathroom breaks and/or food breaks along the way, each time at a nice cafe with a friendly staff and great atmosphere. Snacks were on our own; our 11-year-old had the best pastry he found in Rome at one next to the Jewish Ghetto. Again, this tour should not be your first activity in the city, as it won’t hit the headliners, but is rather the perfect thing to do with your last morning in the city, or during repeat visits.

How to book:

appian-way

It’s easy to book your tour directly through Walks of Italy. We booked online, and printed our confirmation email, which also listed our meeting time and location (just look for the person holding a Walks of Italy sign). They also do tours of the biggies, like the Colosseum and Vatican. They do offer lower prices for kids. Grab breakfast before you go, bring water, and try to be at your meeting point about 10 minutes before the tour time listed.

As we disclose whenever applicable, Walks of Italy offered us a media rate for this tour, for the purpose of review. All opinions remain our own.