Hiking in Tofino BC: Visiting Meares Island with Remote Passages

For families looking for a budget-friendly Tofino excursion or are simply low on time, Remote Passages offers a 1.5 hour round-trip Vancouver Island hiking adventure of Big Tree Trail on nearby Meares Island.
Remote Passages

Hiking in Tofino:

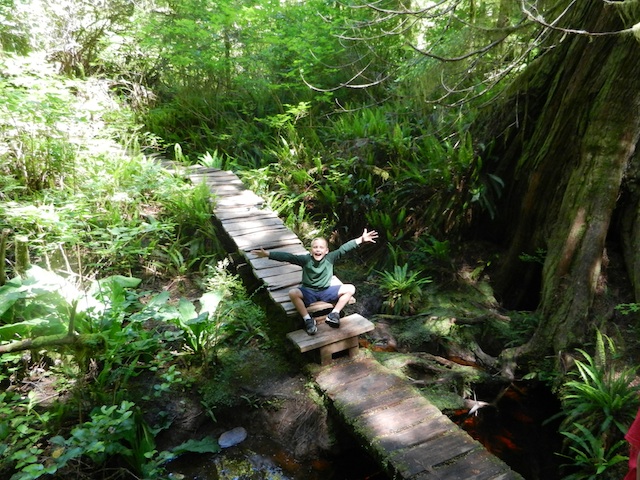
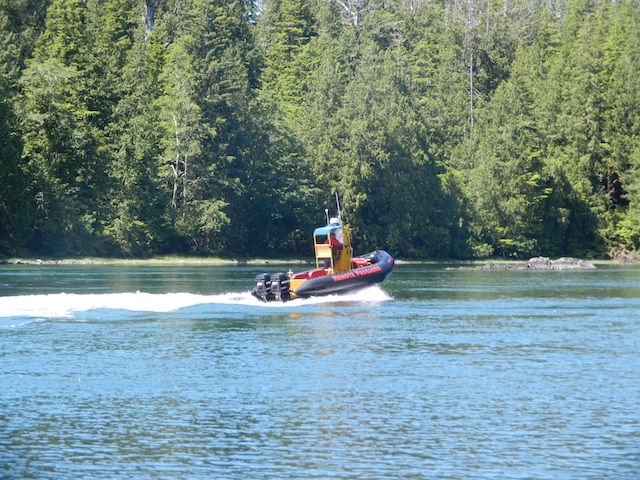
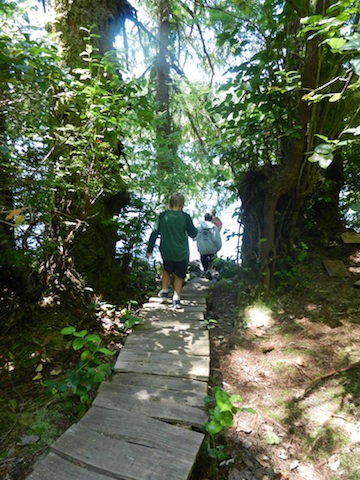
Located just a few fun Zodiac boat turns from the Remote Passages boat dock, Meares Island is uninhabited and protected by a local First Nations land conservation agency. Remote Passages (and several other local outfits, including Tofino Water Taxi) will drop passengers off at the start of a 400 meter (approximately 1/4 mile) boardwalk, which families follow self-guided as it winds deep into the temperate rain forest.
remote passages

The boardwalk is old in some places (originally built in the ’80s and quite weather-beaten), new in others (you can smell the fresh cedar), so kids shouldn’t run. We saw one visitor put his foot straight through a rotted plank. We met several of the First Nations Meares Island protectors while we hiked; they were working on upgrades to the boardwalk, and were very eager to tell us about their work preserving this island. The way can be slippery at times, unstable in others, and always majestically beautiful. For young kids, it truly feels like an adventure, and older kids will enjoy the constant challenge of the walk.

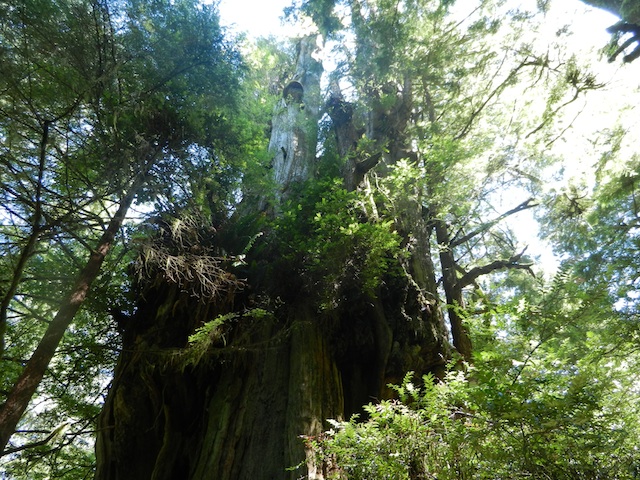
As you go, you’re looking for several points of interest. Near the start of the boardwalk stands a 900-year-old red cedar, and farther along, a small creek crossing leads to a set of stairs and a small lookout over a narrow bay. Look for kayakers coming in to hike the island here. A little farther on, you arrive at the end of the trail, which features the oldest cedar: 1600 years old. It’s called the Hanging Garden, and it’s easy to see why: trees are shooting out of this tree, and dropping from nearly all branches are ferns and other beautiful hanging plants. The sunlight filters through, and it’s truly a awe-inspiring sight.
hanging garden tree

Remote Passages gives visitors 1.5 hours to tour the island, which may be a bit long, since the boardwalk really only takes 45 minutes to tour, and visitors are asked not to explore off the walk (in order to preserve vegetation). Our kids enjoyed navigating part of the boardwalk a second time while we waited, or you could find a spot in the sun (or under the canopy of trees out of the rain, as they case may be) by the docking area.
meares island

Tip: Be sure to pack all trash out, and don’t allow children to climb on the trunks of the trees; they’re working hard to protect them. Bring rain gear or light jackets, but this is a great activity for when the weather is rainy; the canopy will shield you! The boat ride to and from is only 5 minutes, but will be a thrill for young kids if they haven’t experienced the small and fast Zodiac boat yet.

Date last visited:

July 2012

Distance from the interstate:

Right off Highway 4 in Tofino.

Rates:

The Meares Island transfer is a quite affordable way to have a fun boat ride and great hike you can’t access otherwise. At the time of my visit, rates were $20 per person for the drop-off/pick-up for kids and adults. If you’re more ambitious, Remote Passages offers a half-day kayaking tour that includes a guided walk through Meares Island. Kids don’t have to be strong paddlers, but should be old enough to spend the whole morning or afternoon on the water.

Directions:

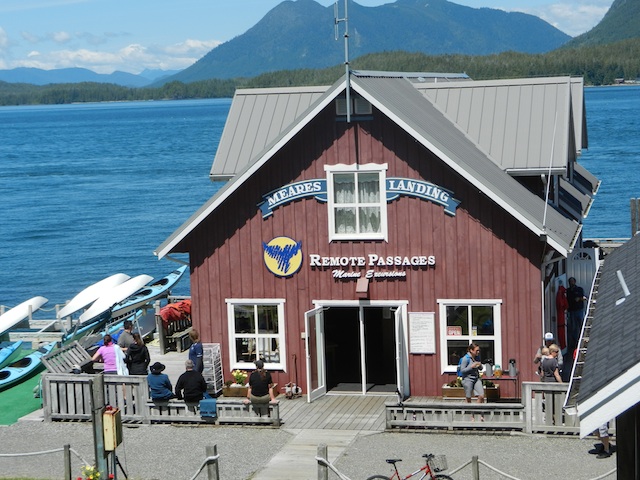
Find Remote Passages at the bottom of Wharf Street at Meares Landing, right in the heart of Tofino.

As I disclose whenever applicable, my family and I experienced Meares Island at no charge, for the purpose of review. While I appreciate this opportunity to pass on information to my readers, it came with no expectation of a positive review.

Tofino on Dwellable

Tofino whale watching with Remote Passages

I’d heard the West Coast of Vancouver Island called the Galapagos of the Northwest, and never is that more apparent than while on the water, whether families are exploring tide pools, kayaking, or in this case, on the open ocean on a Remote Passages whale watch in Tofino BC.

tofino whale watch

Tofino whale watching:

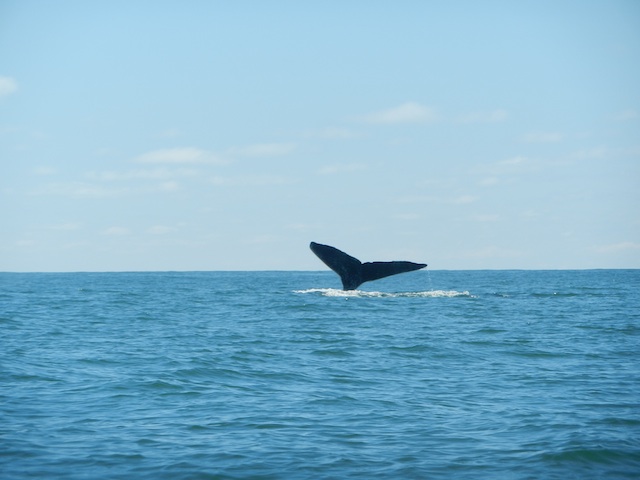
Our Tofino whale watch with Remote Passages just may have been the crown jewel on the treasure that was our Vancouver Island trip. Over 2 1/2 hours long, they call it a Whale Watch Plus, and once you’ve experienced it, it’s obvious why: not only did we enjoy a gray and humpback whale watch, but also observed seals, sea lions, sea otters, puffins, sea stars, bald eagles, and jellyfish (and I’m probably forgetting something). We were there in time to ‘meet’ Tofino’s resident whales, but in migratory seasons, they’re even more abundant (and can include orcas). Note: all photos in this post are actual documentation of wildlife viewed, taken by me.

remote passages

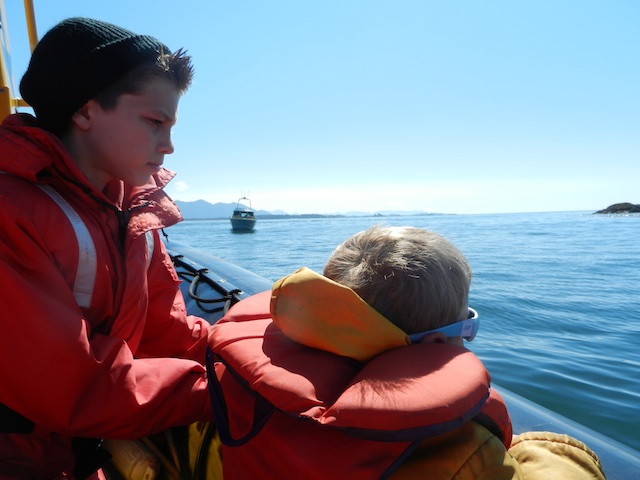
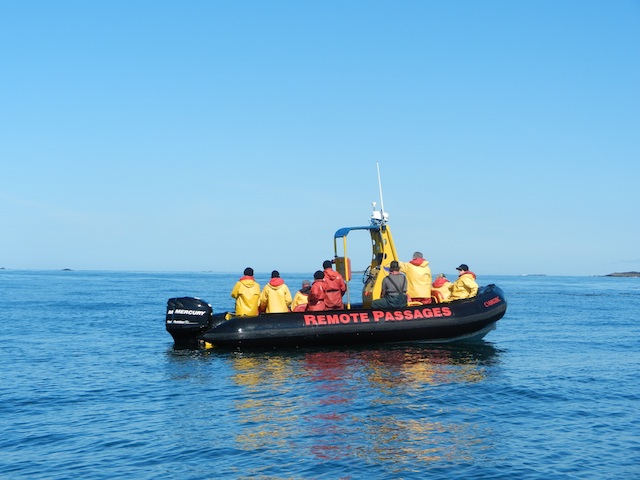
In addition to the abundance of wildlife viewed, what set our Remote Passages whale watch apart from any we’d experienced before is their Zodiac boat transportation and their guide expertise. Zodiacs seat only 12-14 passengers, and are open-air (a closed cabin one is available as well), allowing for unobstructed 360 degree views of the bay, harbor, and open sea. Unlike larger whale watch vessels, in which one side of the boat sees a spout and the other misses out (or runs scrambling to see), on a Zodiac, you’re literally right on the water, able to see everything. (This makes it ideal for young kids.)

remote passages

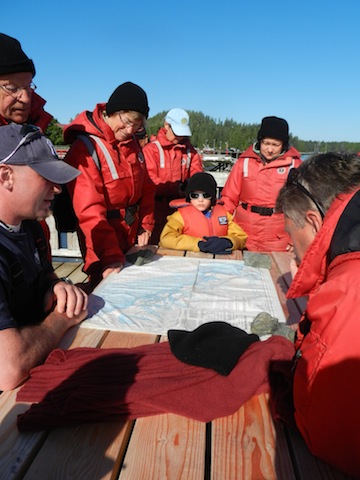
Our experience started at 8:30 am for our 9 am whale watch, during which we were shown an orientation video that described the wildlife and ecosystem of the Tofino area and the Clayoquot Sound. We then donned full expedition jump suits for our journey. These are a full jacket and pant combo, so guests don’t really need to worry about what to wear on their whale watch. Just make sure you’re in sturdy shoes and have a light sweatshirt or long-sleeved shirt on under. The adult version has a built-in life jacket, and the kids’ version is a two-part ensemble: pants and jacket, with a regular life jacket on over. Remote Passages also offers fleece gloves and knit hats if desired.

remote passages

humpback whale

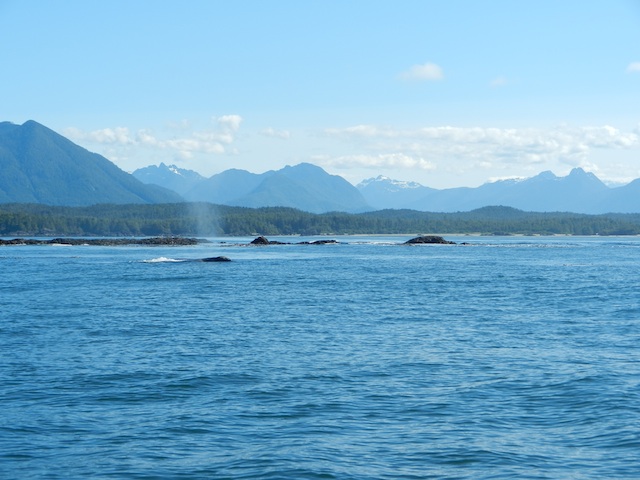
Our captain and guide, Tyson, guided us onto the Zodiac, where we all had a perfect view of the ocean and surrounding (breathtaking) landscape. We cruised first in-between the small islands dotted around the sound, where Tyson stopped to show us the huge kelp beds whales like to feed on. Almost immediately, we saw the spout of a gray whale. Since whales typically spout and rise above the water 3-4 times before diving deep, we stayed close to view it for about 15 minutes, cutting off the engine and floating peacefully as we watched the whale rise and fall beautifully. I can’t tell you how wonderful it was for Toby, age 7, to be able to see the whale so easily; he’s usually scrambling for a better view for things like this, since he’s the shortest person in most groups. There was no stress to see, no rush to get anywhere, and we all just oohed and awed as Tyson told us more about these amazing animals. (Fun fact: many of the same whales return to Tofino year after year, and up to 200 stay here all season while their counterparts migrate farther north. Remote Passages guides can identify individual whales by the pattern of their barnacles on their backs. The kids had fun learning their names…yes, they name them!)

seals viewed with Remote Passages

remote passages whale watch

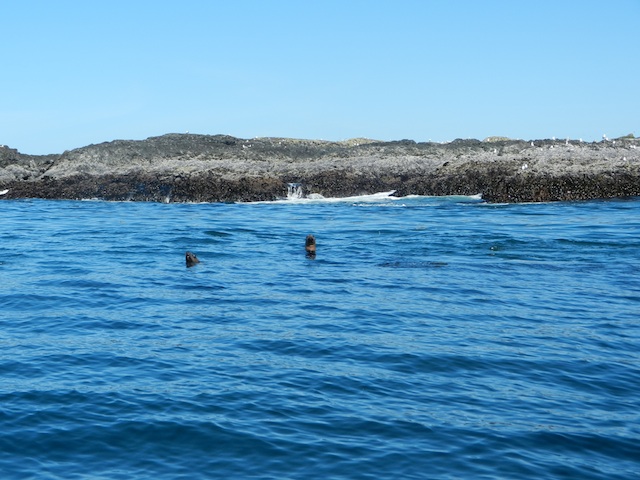
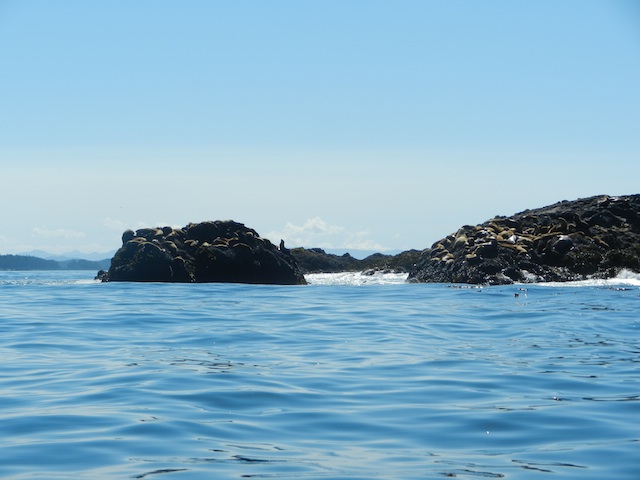
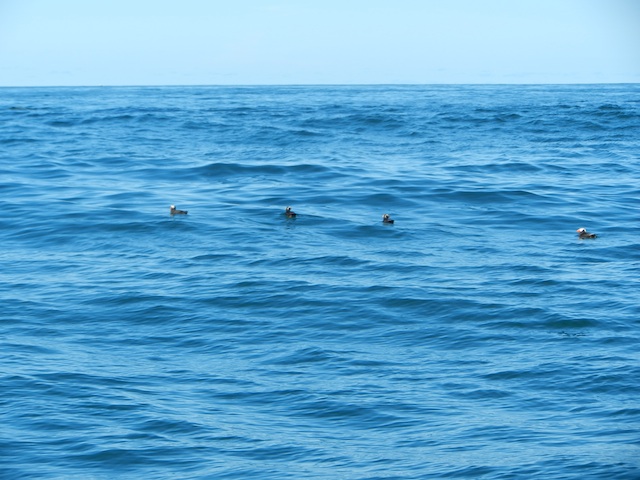
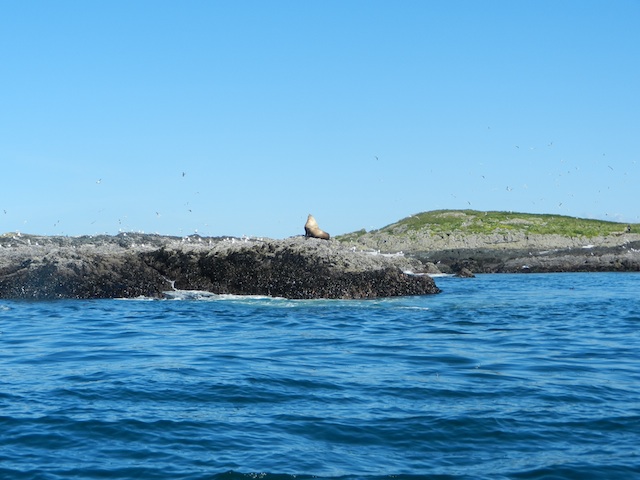
After a time, we left our friendly gray whale to explore more of the outer islands, where we could float right up near the rocky shore to spot jellies, sea stars, and an whole colony of seals. We watched their heads pop out of the water mere feet from us, and observed a dispute between two males on the rocks. Farther on, we sat still to photograph a set of four puffins floating on the sea, and caught a rare glimpse of a sea otter.

puffins on the water in Tofino

sea lion in Tofino

We headed out to open ocean in search of humpback whales, and were rewarded with four, two of which were a mother and calf. Tyson explained that ‘humpies’ were more likely to ‘fluke’ (show their tales as they dive deep), which we saw several times. We hung out with them for a time before needing to head back to the dock.

zodiac boat whale watch

We had fine weather, but should you not, the small size of the Zodiac still allows for good viewing, though the water may be choppier. The suits keep you very warm, even in the wind while the boat is moving fast (though you’ll definitely want the gloves in cold weather). Once you return to the dock, hot peppermint tea awaits you.

Tips: You’ll want everyone in your party to be wearing sunscreen on their faces, and sunglasses are helpful. No matter the weather, the glare from the water is significant. Hats may fly off; I suggest using their knit caps that stay on better. The water was smooth they day of our visit, but if it’s choppy, captains carry seasickness remedies. We told ours that Calvin was prone, and he checked on him several times to make sure he wasn’t uncomfortable. (He was fine.)

Distance from the interstate:

Remote Passages is right off Highway 4 in Tofino.

Date last visited:

July 2012

Rates and reservations:

A whale watch is not cheap, so may need to be budgeted for. If you can only experience one Tofino-area excursion, my kids were split between a kayak tour of the intertidal zone or a whale watch. Both are offered by Remote Passages. For the most wildlife viewed, however, a whale watch can’t be beat. Rates are $69 for kids, and $89 for adults at the time of our visit.

Other excursions offered:

If a whale watch is not in your budget, or if you have very young kids who may not be up for 2 1/2 hours on the water, a great option is Remote Passages Meares Island drop-off. Only $20 per person, families enjoy at short (5 minute) Zodiac ride to take the self-guided Meares Island boardwalk rain forest trail. Alternatively, Remote Passages’ Coastal Bear Watch (also 2 1/2 hours) hugs the coastline of nearby islands to spot bears, and also other intertidal zone wildlife and eagles, seals, and shore birds. Their Hot Springs Explorer takes visitors all the way to to a natural hot springs in the ancient rain forest, but as this tour is 7 hours long, it’s best saved for older children and adults.

Directions:

Remote Passages is located at the bottom of Wharf Street, off Main. It’s easy to find!

Tofino on Dwellable

Kayaking the Vancouver Island west coast with Majestic Ocean Kayaking

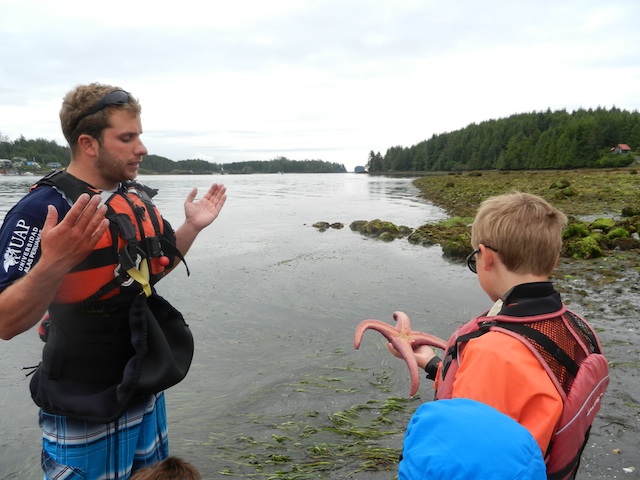
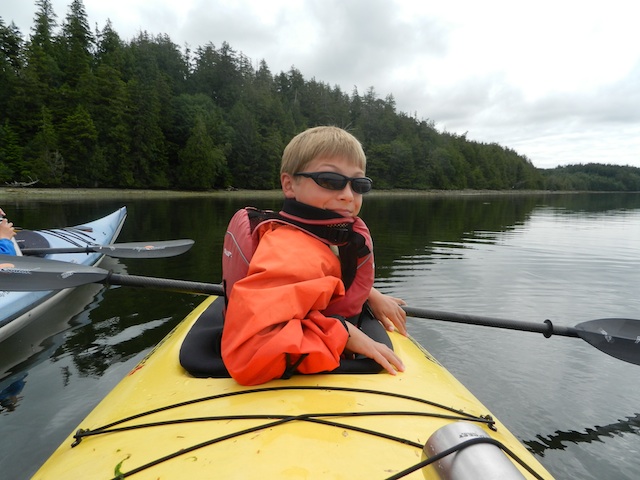
Families don’t have to venture far into the Pacific or spend a whole day (and a whole lotta cash) seeing nature up close on a Vancouver Island west coast kayaking tour. When we joined Majestic Ocean Kayaking on their half-day harbor tour, we hadn’t even pushed off from the boat dock before Calvin spotted a massive sea star glowing purple and pink under the shallow water. “What, that little thing?” our guide, Jeremy, joked, and soon we saw why: intertidal nature was all around us, including dozens more sea stars of even more impressive size.

Majestic Ocean Kayaking

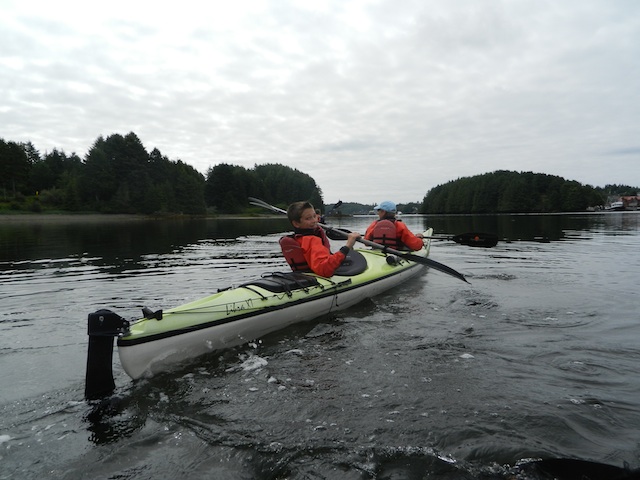
Once we’d set forth into Ucluelet B.C.‘s scenic harbor, Jeremy pointed out a harbor seal and a bald eagle within minutes (it may have been within seconds…my mind was too busy spinning to be sure). Throughout our next 2 1/2 hours on the water, we saw numerous other marine animals and birds, and learned much about the intertidal zone area. We paddled up close to the shore of several tiny islands, explored the muscles and clams clinging to the surface of pier pilings, and gaped at more than one shipwrecked vessel (lying abandoned in the low tide).

Majestic Ocean Kayaking

The half-day harbor tour was the perfect length for our kids, and even though the day was chilly, we stayed dry and warm in our neoprene kayaking skirts, booties, and shirts (all supplied by Majestic along with PFDs). We stopped once for a snack and water break, and Jeremy kept the kids interested throughout with conversational tidbits. We paused to check out a huge eagle’s nest, play with another harbor seal, and learn about local points of interest.

If your family is ready for something more daring, Majestic also offers full day tours of the Broken Group Islands, which is recommended for kids 12 and older (but which Jeremy assured me even Toby, age 7, could do if we so desired). I’m tempted to agree (it’s definitely on our list for next visit) but without having experienced the full-day option, I’m not sure my school-aged kids were quite ready for a full day on the open ocean. The benefit of the harbor tour is that the water is protected (no waves!) and you’re always close to shore.

majestic ocean kayaking in Ucluelet

Date last visited:

July 2012

Distance from the interstate:

About 10 minutes from BC 4 (the premiere east-west highway on Vancouver Island.

Rates:

At the time of our visit, Majestic’s harbor tour was $67 Canadian per person, which I’ve found to be right on par with similar rafting and kayaking experiences of the same length and difficulty. Their full-day options start at $145 per person, and they do offer multi-day expeditions as well.

Directions:

Majestic is located at 1167 Helen St., which is at the end of Marine Road (and at the end of the peninsula) in Ucluelet. If you’re in the ocean, you’ve gone too far. If you’re staying in Ucluelet, you’re only minutes away, no matter where you are. If you’re staying in Tofino, plan on a 30 minute drive.

As I disclose whenever applicable, my family and I experienced Majestic’s harbor tour at no expense. This compensation came with no expectation of a positive review (but does enable me to keep my readers informed of great outdoor travel opportunities such as this one).

Tofino on Dwellable

Top 10 family hiking trails in Utah

It’s difficult to select only ten great family hiking trails in Utah, but the trails in Utah’s national parks are especially good places for families to explore the natural wonders of the world together. These are my family’s favorite trails from each of Utah’s national parks.

I use two criteria for determining whether a hike is family-friendly. First, the hike must be easy enough for a preschooler to walk on his own. My five-year-old has walked nearly all of these trails in the past two years. Second, the hike must be worthwhile for everyone in the family. If I’m going to spend the time and money to travel to a national park, I want to see what makes it special.

Zion National Park

1. Weeping Rock

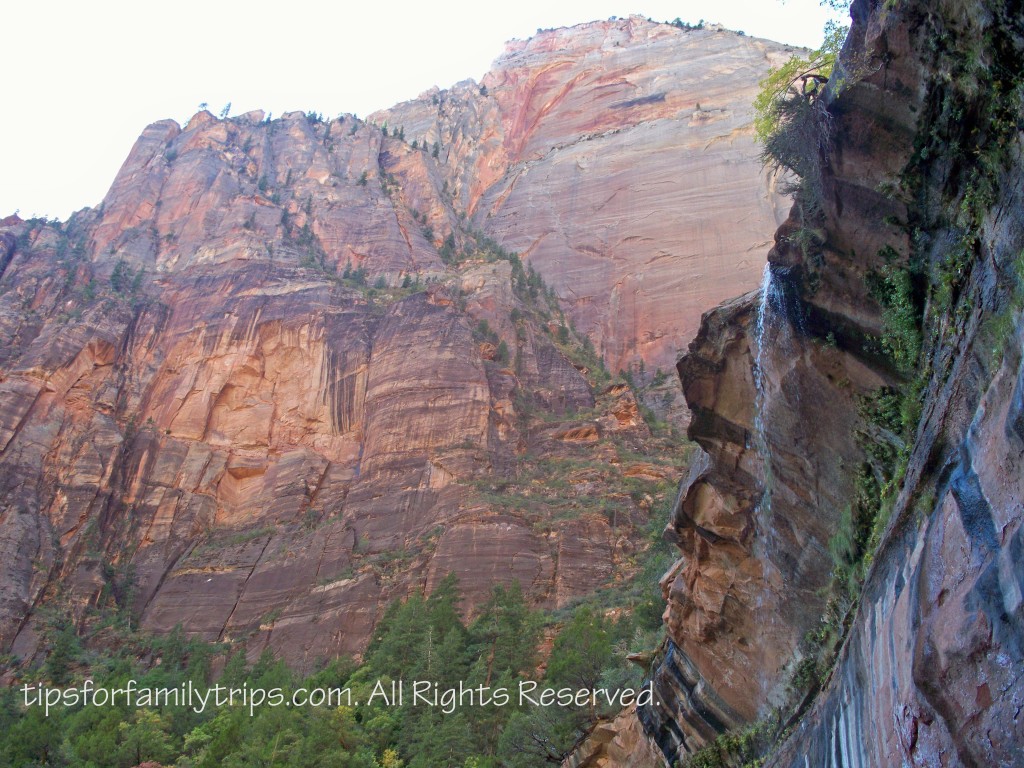
I have visited Zion National Park dozens of times and there were few visits when I didn’t hike to Weeping Rock. This short, paved trail leads visitors to an alcove in the canyon wall where water drips continuously through the sandstone in front, creating a hanging garden in the desert. The alcove also provides a spectacular view of Zion Canyon.

2. Emerald Pools

This is my eight-year-old daughter’s favorite hike. Families will discover three waterfall-fed pools along this trail. The one-mile stroller-friendly walk to the Lower Pool is worthwhile on its own. The last third-mile between the Middle Pool and the Upper Pool is rugged and strenuous, but the Upper Pool is the best of the three.

Bryce Canyon National Park

3. Rim Trail from Sunrise to Sunset Point

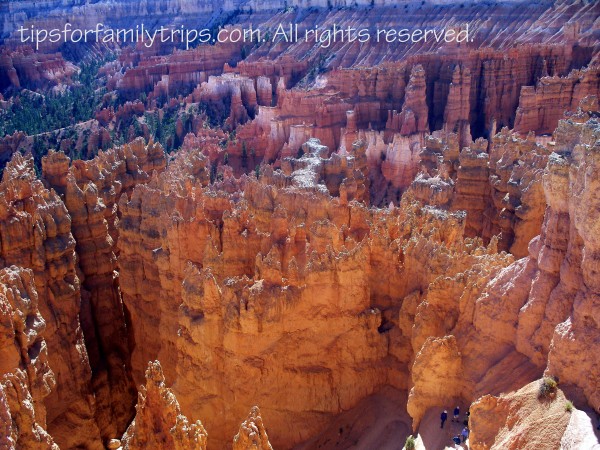
The entire Rim Trail is about 5.5 miles one way, but it has several entry and exit points, so it’s easy for families to customize their experience. The half-mile between Sunrise and Sunset Points is flat and paved and gives everyone a chance to stretch their legs while appreciating some of the best scenery in Bryce Canyon.

4. Navajo Loop

This 1.3-mile loop starts and ends at Sunset Point. The trail descends dramatically through the hoodoos to the floor of Bryce Canyon. The walk back uphill is strenuous, but there is no reason to rush through scenery this beautiful. Even an amateur photographer like me can’t take a bad picture here

Capitol Reef National Park

5. Capitol Gorge

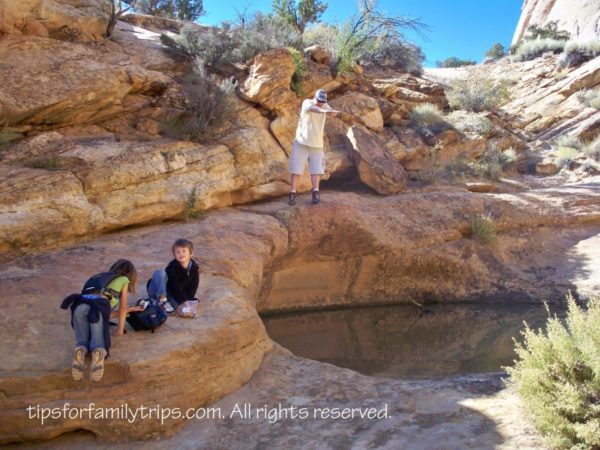
This two-mile flat, unpaved trail was the main highway through Capitol Reef until 1964. Petroglyphs and the signatures of Mormon pioneers in the rock walls indicate that it had been used this way for a long time. At the end of the trail, take the short, steep trail to see natural water tanks in the rocks where rainwater collects in the desert.

6. Hickman Bridge

Two natural bridges, an ancient Fremont dwelling, and magnificent scenery are a pretty good return on your investment in this 2.5-mile hike. Pick up a printed trail guide before you start to fully appreciate all this hike has to offer.

Canyonlands National Park

7. Mesa Arch

The payoff for this hilly half-mile hike is an arch that frames endless canyons behind it. There are unfenced cliffs at the end, but there is plenty of room to enjoy the view without going near the drop-off.

8. White Rim Overlook

We often have this trail’s spectacular panoramas to ourselves because it isn’t well-marked from the road. Look for a marked picnic area just down the road from the Island in the Sky visitor center. Signs for the trailhead are inside the picnic area. There are unfenced cliffs at the end of this trail, but there is a shady place to sit and plenty of space to enjoy the view without getting too close to the edge.

Arches National Park

9. Sand Dune Arch

The first time my husband and I hiked this short, flat and sandy trail, we found a family relaxing in the shade near the trailhead with their camp chairs, picnic, and sand toys. We haven’t hiked this trail with our kids yet, but we’re coming prepared with the same equipment when we do.

10. Delicate Arch

None of the many photos of this iconic arch compare with the experience of seeing it in person. The three-mile hike across exposed sandstone can be challenging, but the perfect photo ops and the opportunity to walk right up to Delicate Arch is worth it. Plan to hang on to young children at the end because there are some scary drop-offs once you get to the arch, but not before.

Spring and fall are the most comfortable times to hike in all of these parks, though Bryce Canyon and Canyonlands are a little cooler and Zion has a river in which to cool off. Winter is a great time to hike to Delicate Arch.

I grew up visiting Utah’s national parks and now I enjoy sharing them with my family. Make them a part of your family memories too.

Allison Laypath is a family travel writer at tipsforfamilytrips.com, based in Salt Lake City, Utah. She and her husband took their first child on a two-week road trip at four-weeks-old and they have been traveling as a family ever since. Allison loves all types of travel, but especially road trips, national parks and travel within her home state of Utah.

How to plan a multi-day backpacking trip with kids

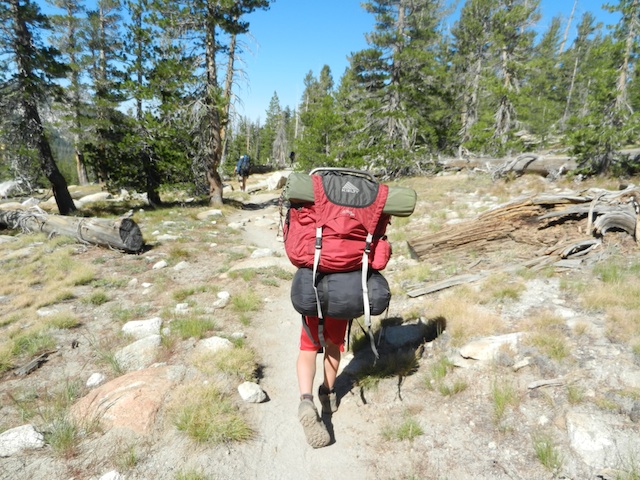
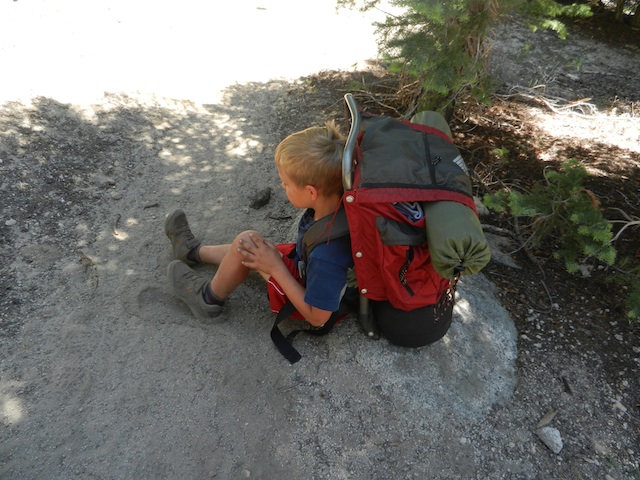
Yes, kids can backpack! And yes, it’s a bit more work than traditional tent or RV camping with kids, but twice as rewarding. We’ve backpacked annually with our kids since Nate (now age 13) was 13 months old, and while older kids make for the best backpackers, even backpacking with babies and toddlers is possible. To ensure a successful backpacking trip with kids, most of the work will take place ahead of time. What you need to do to prepare for safe backpacking with kids:

backpacking with kids

Start with no more than 2-3 days out.

Backpacking for only one night out is kind of pointless (the effort put into packing and organizing all the stuff you’ll need hardly justifies it), but if you’re backpacking with kids who cannot carry the weight of adults, you will be limited to no more than 3 days in the wilderness unless you can arrange for more food supplies to be delivered to you. Remember that you need to pack in (and out) everything.

Plan your route with your kids’ ages and abilities in mind.

While older kids or veteran backpackers will enjoy the challenge of packing from point A to point B, younger kids and novices benefit from a base camp. Consider packing a few miles into your wilderness destination and camping more than one night at a desirable landmark, such as a lake or river. Those who want to do more hiking can opt for a day hike, and younger kids can stay by the water to play. (This eliminates the need to break down a camp every day, which can be draining.)

backpacking with kids

Make camp food fun.

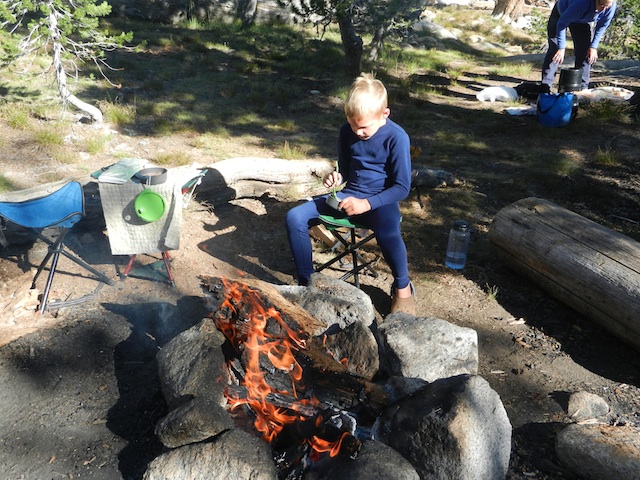
While backpacking, every ounce of weight matters, and most of the ‘fun’ camping food will need to be left behind in favor of freeze-dried meals. But you can still make backpacking food fun for kids by allowing them to create their own trail mixes from bulk food offerings pre-trip. (Just avoid chocolate items that will melt.) We allow each kid to take three individualized trail mix baggies per three-day trip. Other ‘fun’ foods that backpack well: Babybel cheese, beef jerky, hot cocoa packets, and hard candies that won’t melt. Kids also love having their own plate, cup, and utensils. We make our kids carry (and clean) their own.

backpacking foods for kids

Carry the right equipment.

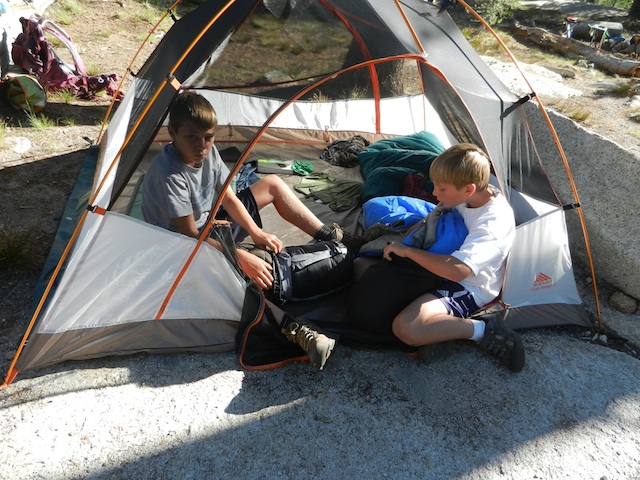
Having quality equipment for kids is vastly important while backpacking. The wrong-sized pack or an inadequate sleeping bag can make a great trip miserable. Kids age 6 and up should have packs that fit them properly (head to your local outdoors store to try on models). We love Kelty Junior Tioga External Frame packs for younger kids, and Mountainsmith Youth Pursuit packs for older kids. Sleeping bags should be kid-sized (no point in them carrying something too large for them), and pads should be small enough. Our kids each carry their own sleeping bag, pad, clothing, and food utensils in their pack (among other things for the older kids). It’s also useful for kids to each have their own flashlight or headlamp, and be responsible for making sure it’s loaded with batteries. Tip: Kids should take care of all their own equipment. All of mine know how to stuff their own bags and clean their own mess kits.

stuffing backpacking bags

Leave the toys at home.

Kids will invent games and create new toys on the trail out of sticks, rocks, and all sorts of new treasures they find. Leave the rest at home! The only exception: a book for everyone (Kindles are lighter than paperbacks now) and a deck of playing cards.

Be safe.

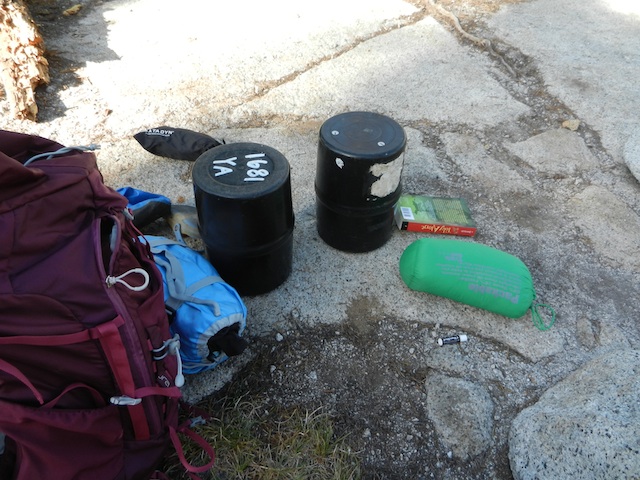
Find out what safety measures need to be taken where you’ll be going. Use bear canisters where required, and store food away from camp where not required. We carry bear spray for emergencies, and carry one cell phone to be activated if we’re lost. (Five years as a Search and Rescue volunteer taught me that cell signal pings do often assist searches.) Kids should carry whistles to use in case separated, and bright clothing is useful as well. Always check in with the local ranger’s station or let family at home know where you’re going and for how long.

backpacking with kids bear canisters

If you’re destination requires it, remember to bring bear canisters to store all food items (even toiletry and first aid items with an scent, like toothpaste or ointment). Where canisters are not required, store all food in a sack to hang in a tree at night to deter foraging, and wash dishes and brush teeth away from sleeping areas.

Plan when to go.

‘Summer’ means different things in different places. Make sure the dates you choose to backpack don’t coincide with heavy mosquito season, or aren’t pre-snow melt. If you’re planning to backpack on a summer weekend in a popular wilderness area, start out early to ensure a site, and no matter where you’re headed, check to find out whether you’ll need your own water source (at very least, you’ll need a filtration system).

Read other backpackers’ accounts of the area you plan to hike, and always carry a topographic map of your hiking route. Tip: some areas require a backpacking permit. Start planning your trip early to figure out what you’ll need, when you’ll need it.

Pin for later!

how-to-plan-a-backpacking-trip

Exploring Vancouver B.C.: Sewell’s Sea Safari

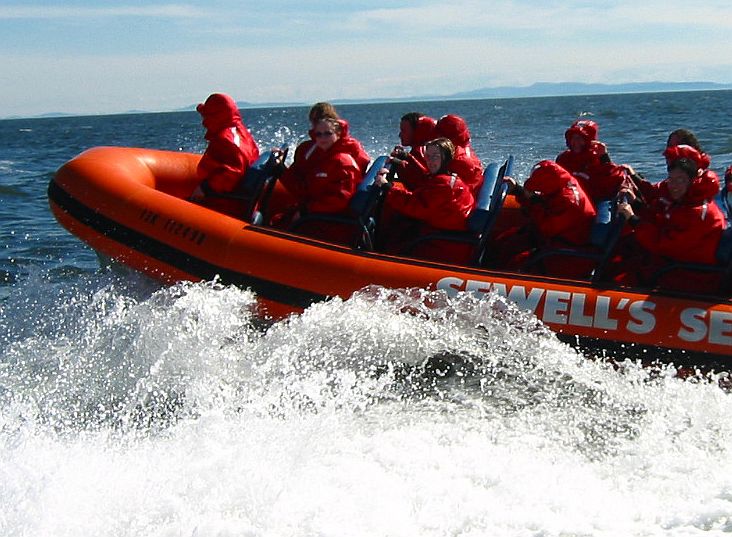
Ready for a wet and wild way to spend a day in Vancouver, B.C.? Sea Safari tours of the beautiful Howe Sound and adjacent fjords are conducted by Sewell’s Marina, located right on the water west of the city. A full service operation, visitors can rent various sized boats to tour the bay on their own, join charter fishing trips, or sign up for the wildly popular (and with good reason) Sea Safari. These two-hour eco-tours run daily from April to October, and introduce visitors to the stunning scenery and wildlife of coastal British Columbia from aboard a custom-designed, high-speed, 30 ft. rigid hull inflatable boat.


Tours sometimes depart from Canada Place in Vancouver, or visitors with cars can drive north to the marina directly. Plan on seeing fabulous wildlife, perhaps even including seals!

Extra tip: Dress in layers. Even in summer, Vancouver can be chilly, and you’ll be on the water! Bring sunglasses, sunscreen, and a sweatshirt or light jacket at the very least!

Date last visited: I didn’t get a chance to experience this adventure for myself, but was briefed by Sewell media staff.

Operating Hours: Mon-Sun, 8 am to 7 pm

Ticket prices: $73 per adult, $43 per child (Canadian prices)

Reservations: (604) 921-3474 You can also make advanced reservations here.

Directions: Located at 6409 Bay Street in West Vancouver, the Sewell Marina is an easy drive from downtown. From the city centre, head west on Georgia Street (towards Stanley Park) and cross the Lions Gate Bridge following Hwy 99 North. At the North end of the Lions Gate Bridge, follow the overhead signs to West Vancouver and Horseshoe Bay (17 km ).

Turn right up Taylor Way (still following the signs to the ferry terminal at Horseshoe Bay). At the top of Taylor Way there is a major intersection with signs showing the way to Horseshoe Bay and Whistler. Turn left onto Highway 1 and head west, following all signs to Horseshoe Bay. Stay in the far right lane and exit (3) at the Horseshoe Bay “Village” sign. Exit 3 is the same as for ferries. Take village lane. This will bring you into Horseshoe Bay village. At the water, turn left on to Bay Street. Look for the blue building your next immediate right – in the center of the bay, to the right of the big propeller water fountain, is the home of Sewell’s Ocean Adventure Center.

Exploring Vancouver B.C.: Capilano Suspension Bridge

Only ten minutes outside of the city center, Vancouver offers family-friendly outdoor attractions kids will go crazy for in Capilano and Grouse Mountain. The first stop (and an easy free shuttle ride from Canada Place), is Capilano Suspension Bridge, an engineering marvel stretched 450 feet across a high river gorge in thanks to nineteenth century Vancouver settler and builder George Grant Mackay. In the years since its completion, the bridge and its surrounding businesses, including a restaurant, have been turned in to an interactive playland ripe for exploration.

capilano-suspension-bridge-vancouver

In addition to daring a trip across the bridge (which felt very sturdy but does sway alarmingly in the breeze!), kids can get a ‘squirrel’s eye view’ of the alpine rainforest canopy in the park’s Treetop Adventure, a network of ariel platforms connected by smaller bridges making their way through the dense forest. From there, a selection of forest paths lead visitors through the forest floor, where wildlife is pointed out on educational displays, ponds and undergrowth host small critters and ducks, and smaller, arched bridges traverse streams.

Just for kids: Capilano does a great job drawing kids into the eco and educational aspects of the Treetop area with an interactive scavenger hunt. Upon completion (which takes kids through various tasks they find through clues) they receive a prize.

treetop capilano

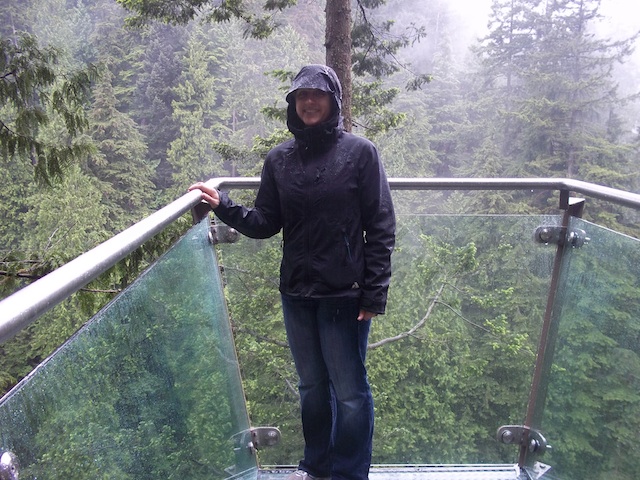
The park’s newest feature, the Cliffwalk, was my favorite. Completed in early 2011, this exhibit leads visitors out over the edge of the gorge on a glass and steel pathway (with solid glass side rails). It was a thrill to look down and see only air! The views were fabulous, and you can get great photos of the suspension bridge from the Cliffwalk, too.

From Capilano, it’s an easy public bus ride ($2.50 fare) to Grouse Mountain (ten minute ride), where a veritable outdoor playground awaits. For the price of admission, families can take the Skyride tram to the top of the mountain, explore the wildlife refuge, watch productions on the Theater in the Sky, take a chairlift ride, and more. For additional cost, zip lines and the Eye in the Sky wind turbine will catch kids’ eye. If you think you’ll have kids wanting to do it all (like mine), extra activities can be bundled with general admission.

cliffwalk

Extra Tip: If Capilano leaves you wanting more, another (free) suspension bridge exists outside of Vancouver. You’ll need a car to visit the Lynn Canyon Suspension Bridge, but the effort will be rewarded with an even more authentic view of natural British Columbia. Check out five other adventurous things to do with kids outside of Vancouver at local blogger The Travelling Mom.

Date last visited: June 13, 2011

Distance from the interstate/city: Five to ten minutes outside downtown Vancouver.

Hours of operation: May 28th-September: 8:30 am to 8 pm.

Admission costs: Adults are $32, youth (age 13-16) are $21, children (6-12) are $12, and under 6 are free. Get 20% off if you arrive at the park an hour before closing! (This is do-able: the park generally takes 1-1.5 hours to view.)

Food services: There are several snack shops and a counter-service restaurant within the park, and a cozy cottage-style full-service restaurant directly across the street (a great choice while waiting for your shuttle).

Website: www.capbridge.com

Directions: Catch the free shuttle from Canada Place in Vancouver (it also stops at several downtown hotels), or drive through Stanley Park over Lion’s Gate Bridge and along Capilano Road to 3735 Capilano.

Home (Away) for the Holidays: HeliTahoe Helicopter Tours

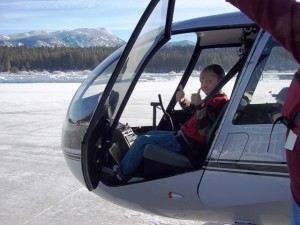
Calvin gives HeliTahoe two thumbs up!

If you’re looking for a truly unique experience during your winter family vacation in the South Lake Tahoe area, book a helicopter tour with Tahoe’s only helicopter sightseeing operation, HeliTahoe! With tour prices starting at just $70 per person, this breathtaking tour of the lake is no more extravagant than a day of skiing or afternoon of snowmobiling, and it’s a treat no one will forget!

Calvin and I enjoyed a morning flight under clear blue skies in HeliTahoe’s safe, quiet Robinson R44 Raven II helicopter, piloted by HeliTahoe owner Claudio Bellotto. With 29 years of flying under his belt, Bellotto quickly put us at ease with his friendliness and professionalism. After going over a few safety procedures, we proceeded to the helicopter and boarded. Calvin was excited to sit up front!

We were given noise-reducing headsets so that we could listen to Bellotto’s narration of the landscape unfolding beneath us without the noise of the blades and engine. Calvin and I were able to ask questions, point out landmarks, and simply sit back and marvel at the views. It was not only a thrill, but a great way to become oriented to the Tahoe area.

The Robinson R44 Raven II seats three, so if you want to book for a family of four or more, it may require spitting the group into two flights. In the new year, however, Bellotto has plans to add a seven-passenger helicopter to the operation (with the inclusion of helicopter back-country skiing packages!). Current tours include flights over such areas as Emerald Bay, Fallen Leaf Lake, Vikingsholm Castle, the South Shore, Sand Harbor, Zephyr Cove, and more!

Age and weight restrictions do apply, and flights may need to be canceled in the case of bad weather (in which case, they will be rescheduled as guest’s schedule allows).

Note: If you’re looking for a romantic night out instead of a family adventure, consider booking HeliTahoe’s Lake Tahoe Tour and Dinner, which includes a flight over Emerald Bay and dinner at one of Tahoe’s most talked-about restaurants, The Flight Deck. At only $165 per couple, it’s not only an unforgettable ‘date’, but an affordable one!

Get a sneak peak of a HeliTahoe tour with Pit Stops for Kids’ Kid Cam!

Date last visted: December 23, 2010

Distance from the Interstate: Touring Tahoe from the sky is easy for families, as HeliTahoe is based right at the South Lake Tahoe Airport, located right off Hwy 50. A very small airport, parking, meeting up, and boarding your flight is very convenient!

Cost: Tours start at $70 per person and increase to $315 per person, depending on the length of your tour.

Hours of operation: Touring hours are flexible, and depend on weather and flight conditions. Book online, or call 530-544-2211.

Directions: HeliTahoe is located at Suite 106 within the South Tahoe Airport at 1901 Airport Road. From South Tahoe, take Hwy 50 to Airport Road.As I disclose with all compensated reviews, HeliTahoe generously hosted us for this portion of our Tahoe Holiday review series. While we greatly appreciate their hospitality, this compensation came with no expectation of a positive review. Read all our articles in our Home (Away) for the Holidays series!

Home (Away) for the Holidays: Zephyr Cove Resort Snowmobiling

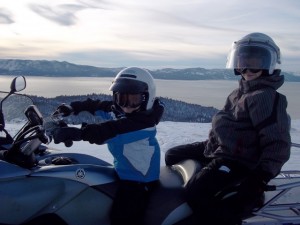
Toby and Nate posing at the lake ridge. (Don’t worry, Toby wasn’t really driving!)

During our week-long stay in our HomeAway vacation home in South Lake Tahoe, we were only minutes away from skiing, snow play, and other area attractions. On Christmas Eve, we took the opportunity to try a snowmobiling tour with Zephyr Cove Resort, located just past the Nevada border on Tahoe’s South Shore.

Our tour was scheduled for 2 pm (they offer 10 am, 12 pm, and 2 pm tours daily during most of the winter), and we arrived at the resort approximately 45 minutes ahead of time, as was recommended. (During peak seasons, you do need reservations.) Zephyr Cove Resort sits directly on the lake shore, and features a main lodge and dining room (which is very good), cabins, an RV park, and a campground. At the dock, visitors can also book a lake tour on the M.S. Dixie or Tahoe Queen. In other words, this is a bustling, busy resort! Zephyr Cove can accommodate enough visitors for a fleet of 99 snow machines, which means the check-in process is crowded and, at least on the busy day we visited, time-consuming. The staff was efficient and friendly, however, getting everyone tickets and fitted for helmets (required) in a timely fashion, and I was assured they were busier than the norm due to the holiday.

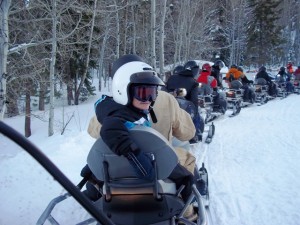
Starting off at the beginning of the tour!

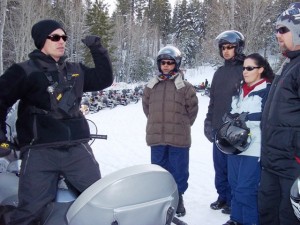
Once we were all ready for departure, we boarded a resort bus for the 10 minute drive to the snowmobile trails. Again, our driver was friendly and professional. I was a bit concerned about being in such a large group of riders, but once we arrived, we were split into groups of only approximately 10-12 machines, each with two guides (one to lead, one to take up the rear). Our guides showed us how to operate the machines, and quite quickly, we were off!

The tour is two hours in length (ours went a little longer), and includes stunning lake views, beautiful trails through the snow-covered trees, and even a hot cocoa stop. Our guides were on-hand if we had any trouble, and stopped us periodically to point out landmarks and just make sure we were all together. Kids are encouraged (over age 4). Riders must be at least 16 years old to drive, but kids can ride behind adults for the ‘double rider’ price. Toby (age 6) and Nate (age 11) both had a great time.

Our guide giving us a quick lesson on the machines.

Extra Tip: Tours go up to 9000 feet, and even mid-day, it gets cold! On our 2 pm tour, the sun was beginning to go down toward the end, and temperatures dropped. The machines have heaters on the hand grips (which was awesome) but be sure to bundle up! Our kids wore ski goggles under their helmets; on the adult helmets, sunglasses worked better. Warm boots and gloves are a must.

Date last visited: December 24, 2010

Distance from the interstate: Directly off Hwy 50 just past the Nevada border.

Cost: $119 for single riders, $159 for double riders. On most Thursdays, kids ride free!

Reservations and information: 1-800-23TAHOE

Directions: From South Tahoe, drive along Hwy 50 to Zephyr Cove Resort, four miles past the border. The resort is on your left, right on the lake.

As I disclose with all compensated reviews, Zephyr Cove Resort generously hosted us for this portion of our Tahoe Holiday review series. While we greatly appreciate their hospitality, this compensation came with no expectation of a positive review. Read all our articles in our Home (Away) for the Holidays series!

A Pit Stop a Day (Day 18): Zion National Park’s The Narrows

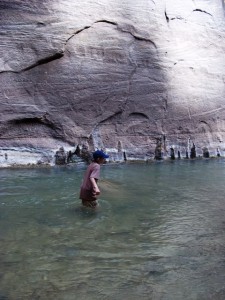
Nate navigates the ‘Narrows’!

On Day 18, we woke up in Cliffrose Lodge and Gardens with a full day of exploring in Zion National Park ahead of us. Our primary destination was Zion’s ‘Narrows’, a hike up the Virgin River deep into the canyon. (Zion has many great hikes for families.)

We walked the few yards from Cliffrose to the park entrance and visitor’s center, where we paid our $25 park entrance fee (good for seven days) and picked up maps, junior ranger booklets, etc. We then took Zion’s mandatory shuttle (we wish all national parks would adapt this policy!) to its last stop, The Temple of Sinawava.

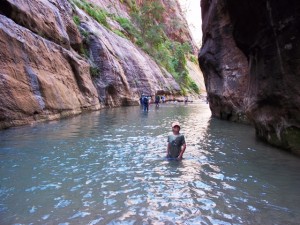
From there, we hiked the short Riverside Walk (paved and fairly even terrain) to the start of the ‘Narrows’. At this location, the trail simply ends and you continue up the canyon by wading through the river. It’s slow going, but tons of fun. The kids loved this style of ‘hiking’ because they had to pick and choose their own route up the river, and every step was an adventure. You can continue as far as you’d like (up to a boundary at the 2 hour mark; if you wish to continue further, you need to register for an overnight permit). Nate, Calvin, and I hiked about 30 minutes up the river, and in many places the water went up past our waist! The current was not fast, but it was present in many places.

Calvin about 1/2 mile into the ‘Narrows’.

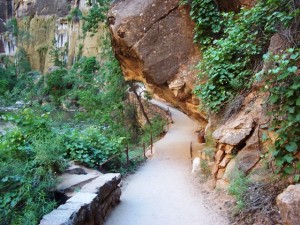
Riverwalk Trail which leads to the entrance to the ‘Narrows’. (Suitable for all ages.)

Toby (age 5) only ventured about 10 minutes up the river before finding a nice place to stop and play in the banks with grandma and grandpa. What went to our waists went over his head, and he would be essentially swimming if he went further! Needless to say, visitors need to be very careful with young children, especially if they aren’t strong swimmers.

The water wasn’t warm by any means, but given the high temperatures in Zion, we quickly got used to it and enjoyed it. In many places, the canyon walls ‘narrow’, which doesn’t allow for any bank of the river, during which times you’re completely confined to the water. The national park closes the ‘Narrows’ when there’s threat of flash floods (storm clouds or rain), so be prepared for closures, especially in August.

Toby talks about his experience on the Pit Stops for Kids Cam:

Note: You can rent river hiking gear in Springdale (water shoes meant for hiking the Narrows and walking sticks). We opted to use decent hiking shoes (just resign yourself to getting them wet!) and extra socks in our pack. Sandals with good traction (think Keen or Teva) would work, too. If we had planned to hike any further than about 1 hour into the Narrows, we would have rented specialized equipment.

Extra Tip: If you’re visiting when the river is high (spring through July), go ahead and wear swimsuits/wading clothes. We were in shorts and t-shirts, and while we certainly didn’t get cold, it would have been simpler to be in swimsuits!

Date last visited: July 2010.

Distance off the interstate: About 30 minutes from I-15 off Hwy 9.

Bathrooms: Pit toilets are located at the shuttle stop before you start the hike.

Food Services: None. Pack food in or plan to stop for lunch at the Zion Lodge, located within the park (on a shuttle stop).

Directions: From the park entrance, take the shuttle to the last stop (The Temple of Sinawava) and take the Riverwalk trail.

Up Next: More hiking opportunities in Zion, including one not suitable for young kids!