Uncrowded Yosemite: backpacking Yosemite National Park with kids

Would you believe that in July, in the center of Yosemite National Park, we enjoyed an entire day where we never saw another soul? It’s possible, provided you depart from the usual tourist destinations in the valley and explore Yosemite backcountry.
Yosemite backcountry with kids

Backpacking Yosemite National Park with kids:

We chose to hike a portion of The John Muir Trail, a 211 mile path between Happy Isles in Yosemite Valley and Mt. Whitney in the California desert. While hardcore backpackers will hike the entire length in as little as 15 days, the Yosemite National Park portion of the John Muir Trail makes for a nice escape for backpackers with less time (or young kids). Backpackers hiking the John Muir trail in Yosemite traditionally start at the base of Vernal Fall in Yosemite National Park, and climb upward past Vernal and Nevada falls, Half Dome, and Little Yosemite Valley campground while making their way toward Tuolumne Meadows. For our John Muir Tail trip with young kids, we decided to tackle the John Muir Trail in reverse, which allowed for more downhill sections of trail and fewer crowds until the end of our journey.

Planning a Yosemite backcountry trip:

Backpacking the Yosemite National park backcountry with kids involves planning. Anyone planning to hike any portion of the John Muir Trail must obtain a Yosemite wilderness permit. Permits can be secured up to 168 days prior to the date desired, and for summer backpacking in Yosemite, reserving a permit the full 168 days out is recommended.

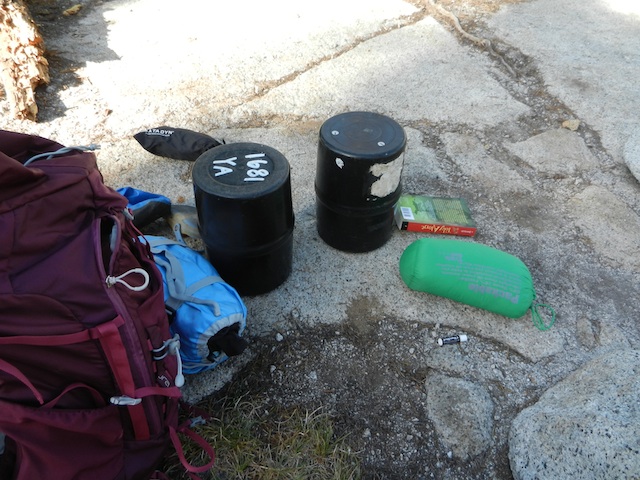
Upon arrival to Yosemite, you’ll need to check in at a Yosemite National Park Wilderness Center, where you’ll pick up your permit as well as bear canisters if you don’t have your own. Bear canisters must be used to store all food and scented items such as toothpaste, medications, and lotion, and can be rented (for only the price of a deposit). You’ll need to leave space in your packs for these.

If you plan to hike Half Dome, Half Dome permits are required, and they are separate from backcountry permits (though you can obtain both simultaneously). And if you plan to stay a night before or after your backpacking trek in Yosemite National Park (recommended), be sure to secure lodging early, as this is one of the most crowded national parks in America. Backpackers can also make use of free backpacker campgrounds the day before and after their backpacking trip.
Mist Trail Yosemite National Park

On the John Muir Trail:

Day 1: Tuolumne Meadows to Sunrise Lake (3 miles)
In order to start our Yosemite backpacking trip in Tuolumne Meadows, we began at the Sunrise Trail Head at Tenaya Lake on Tioga Road. We followed the Sunrise Trail up steep switchbacks to connect with the Forsyth Trail near beautiful Sunrise Lake (a great first night camping option).

Day 2: Forsyth Trail to Clouds Rest and beyond (8 miles)
From Sunrise Lake, we continued to follow the Forsyth Trail to intersect with the Clouds Rest junction, leading 2 miles to arguably the best viewpoint in Yosemite National Park. From Clouds Rest, hikers can see the entire Yosemite Valley, including an unique view of Half Dome. Note: the pinnacle of Clouds Rest is fully exposed, with steep drop offs on each side. This is not a place for young children or anyone with vertigo or a fear of heights. Since I fall into that category (hiking with a small child), we viewed the Yosemite landscape from just .2 mile below the top, which also offers wonderful vistas.

Hikers can continue past Clouds Rest to intersect with the John Muir Trail several miles later, but as this section of trail is still exposed and at great heights, we opted to return the 2 miles back to the Forsyth Trail and join the John Muir Trail much earlier. This first section of John Muir winds through old growth forest alongside Sunrise Creek, and affords several nice camp sites adjacent to this water source. This section of the John Muir Trail is less traveled, but we were still surprised to find we didn’t encounter a single hiker all evening, night, or morning.
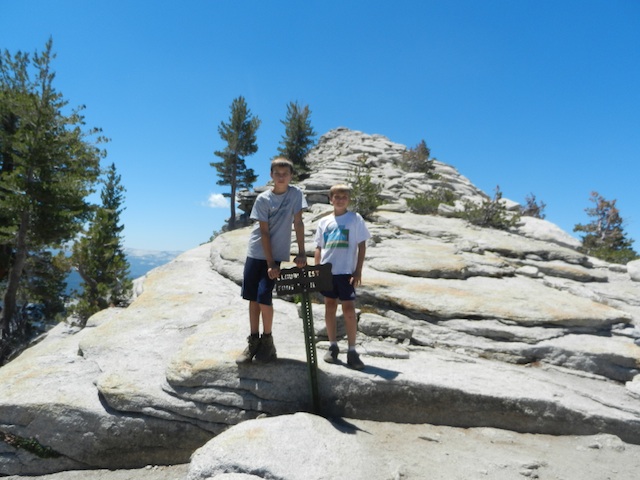
Clouds Rest Yosemite National Park

Day 3: Sunrise Creek to Little Yosemite Valley (5 miles)
Day 3 took us along the John Muir Trail from Sunrise Creek into Little Yosemite Valley. This backpackers’ haven offers numerous campsites along the Merced River (perfect for swimming in after a long day hiking!). Though lively, Little Yosemite is a fun oasis for hikers, offering conversation and companionship around the communal fire pit after days of relative isolation.

En route to Little Yosemite Valley, the John Muir Trail offers views of Half Dome, and the steady accent of hikers navigating its cable system to the top. Should you wish to ascend Half Dome yourself, the trail intersects with the final 2 miles of the Half Dome Trail mid-way through your hike down to Little Yosemite. Note: this is another steep, exposed trail. Though children can ascend it, be advised that very small kids may not be able to reach the cables, essential to a safe ascent. Our 13 and 11-year-olds could make the trek, but not our seven-year-old. For those not challenging Half Dome, it’s fun stop on John Muir Trail or Little Yosemite Valley and use binoculars to watch the climbers.

Day 4: Little Yosemite to Valley Floor (4.5 miles)
Our final day on the John Muir Trail led us down from Little Yosemite Valley to spectacular Nevada Fall, where the trail splits into the John Muir or the popular Mist Trail. We opted for the Mist Trail in order to glimpse the best views of nearby Vernal Fall, but the steps descending both falls are steep and can be slippery when wet. Be advised that the Mist Trail gets crowded with day hikers, and can be hard to navigate with overnight backpacks. The option of continuing on the John Muir Trail has its own set of disadvantages: it’s a longer route to the valley floor, and more exposed, providing little shade.

Safety on the John Muir Trail and in the Yosemite backcountry:

In addition to dizzying heights, bears, and crowds near the valley floor, backpackers need to be aware of the significant elevation gains to be experienced on the Yosemite section of the John Muir Trail. Elevations reach over 9,000 feet, necessitating plenty of water intake to prevent headaches and nausea. Other wildlife can pose a threat if hikers are not alert, including rattlesnakes — we encountered the biggest we’ve ever seen at Little Yosemite Valley.

Getting to and from Your Car:

Whether you hike the John Muir Trail from the valley floor up or from Tuolumne Meadows down, as we did, you’ll need transportation back to your car at the end of your trip. Yosemite National Park offers free shuttle service throughout the valley, but to travel to Tuolumne or vice versa, you’ll need to take Yarts, a paid shuttle service with stops in Yosemite Village and points throughout Tuolumne. Hikers cannot make reservations in advance for Yarts, and though we were told busses never fill up, that was not the case. Be sure to be at the stop before the allotted time and have cash in hand. One-way tickets were $8 at the time of our visit.

Mexico with kids: family fun Huatulco style

Guest post written by Travel with Kids

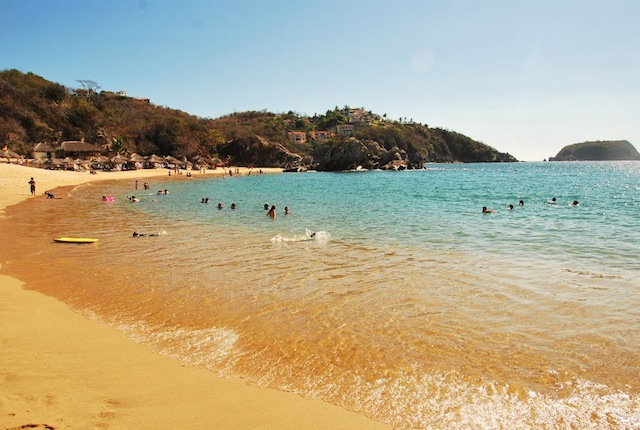
Mexico’s Pacific Riviera has been on the tourist track for decades with popular cities like Acapulco, Mazatlan and Puerto Vallarta. But head a bit south in Mexico with kids, and you will find the nine beautiful bays of lesser known Huatulco. The town itself blends old Mexico style, with a huge Spanish colonial church and town square, with laid-back beach style. Outside of town, there are adventure activities to suit any traveler’s style from adrenaline junkie to kick back beach bum. We set out to capture this uniquely styled resort town in an episode of Travel With Kids before it turns into the big city style akin to some of its more popular cousins.

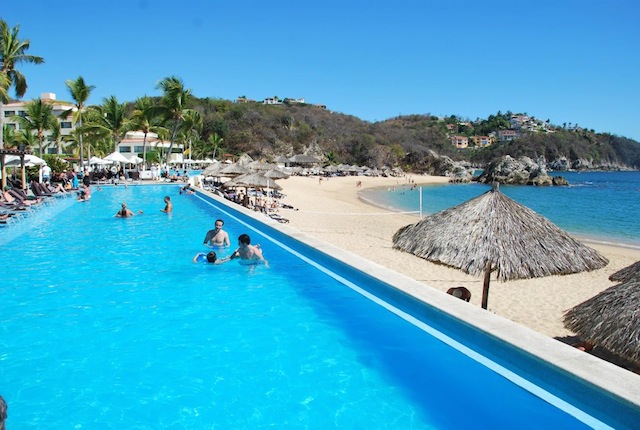
dreams resort mexico

Where to stay in Huatulco:

There are a variety of budget and midrange hotels in town, but town is a five minute drive from good beaches. Lining the bays south of town are upscale, all inclusive hotels. We stayed at Dreams Huatulco Resort & Spa. The four pools, including family pools, and beach front cabanas fit our kids’ style nicely. And the complimentary water trampoline, kayaks, Eurobungee, Kids’ Explorer Club and archery didn’t hit our pocket book, which fit right into our budget.

Beach in Mexico

What to do with kids in Huatulco:

Town was just a short, cheap taxi ride away (less then $3). Here’s what we did:

Scuba Diving: We took the kids on a discover scuba dive with Hurricane Divers. On the way to our dive spot we spotted whales and saved a sea turtle. After prying barnacles from his nose, which impeded his breathing, the turtle dove down from the surface looking happy and healthy again.

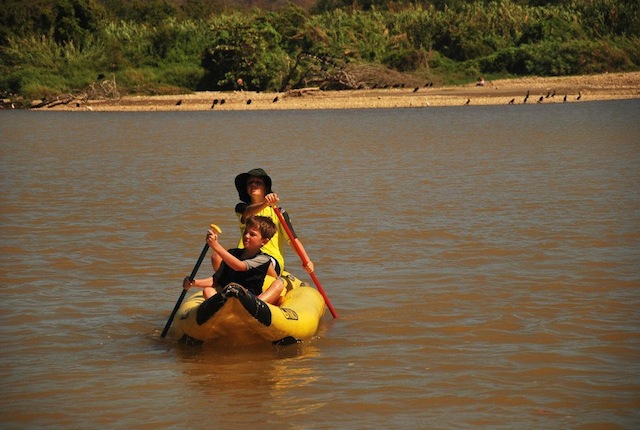
Rafting/Tubing: The Copalita River offers Class III–IV rapids in the highlands, but our kids are younger, so, we opted for tubing Class I and II rapids on the lower river. The kids has fun “steering” through “rapids” and playing on the vast empty beach at the end of the trip.

kayaking in mexico

Coffee plantation and waterfall: Although this is a full day trip, it offers a wonderful immersion experience. After driving through small villages on dirt roads, we arrived at a coffee plantation where we dug into an authentic lunch prepared by locals. After a tour of the plantation, we hiked to waterfalls where the kids swung on ropes like Tarzan and caught tadpoles and we all got mud mask facials.

Town: Even if you are staying at an all-inclusive hotel, take time to visit town for a meal, shopping and the family-friendly atmosphere of the town square where families stroll and vendors sell all sorts of kids’ toys. The whole family enjoyed the locally recommended La Crema Pizza, with a hippy vibe and excellent thin crust pizza.

For more information on the trip we booked, visit Apple Vacations.

Travel With Kids is a family travel guide TV show airing on PBS and digital platforms such as iTunes and Hulu. Produced by a traveling family (Carrie and Jeremy and sons Nathan and Seamus), Travel With Kids explores top family destinations and off the tourist track locals in a fun educational presentation for all ages. Now in their 6th season of production, Travel With Kids has visited Europe, Asia, Africa, South America and the USA. More information at http://www.travelwithkids.tv

Big White Dog Sled Tours

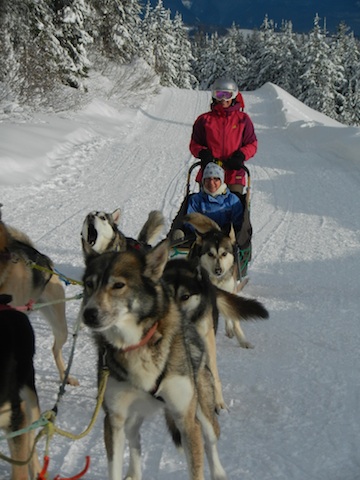
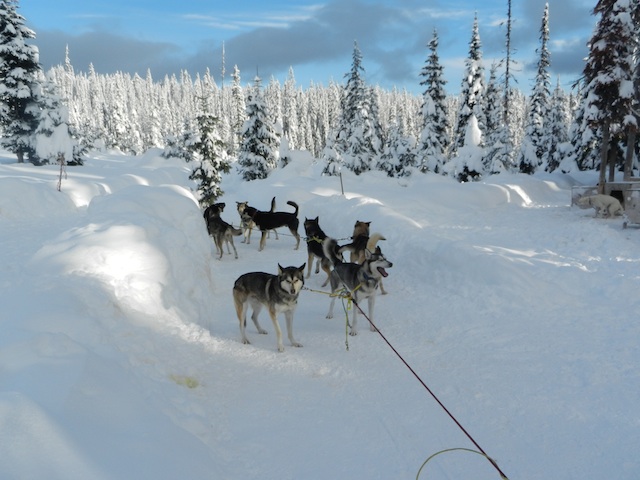
I thoroughly enjoyed every outdoor activity I tried during our family vacation at Big White Ski Resort, but I think flying down a nordic trail pulled by a team of sled dogs was my favorite (don’t tell). I arrived for my Big White dog sledding experience with my mom, a long-time follower of the Iditerod and dog-lover. We met with Tim, Big White’s resident dog musher, and his team of dogs at their kennel situated near the multi-use trails. From the minute we arrived, we were both entranced.

Big White dog sled tour

Unlike some sled dogs, Tim’s team is friendly and enthusiastic to meet people, so we were able to become acquainted while Tim gave us some background on the dogs (some of which are retired Iditerod athletes), his mission as a musher, and the kinesiology behind what makes a great sled dog. Some dog sledding ventures will simply put you on a sled and take your money, but as soon as we started talking to Tim, it was obvious that he cares as much about educating guests on sled dogs and the sled dog culture as he does about ensuring you have a great ride.

After learning what the dogs eat (let’s just say they probably eat better than you and me), where they sleep (in cozy crates nested with straw), and whether they get along with one another (better than my kids), Tim started the process of harnessing them for our sledding trip. As soon as he got the slip of paper out of his pocket on which he’d listed today’s ‘line-up’, the previous calm and quiet kennel erupted in noise rivaling that of a soccer stadium after a goal. “No matter if they just ran, they want to run again,” Tim explained, and my mom and I both noted that this canine characteristic–unbridled enthusiasm–is one of the things that makes us love dogs.

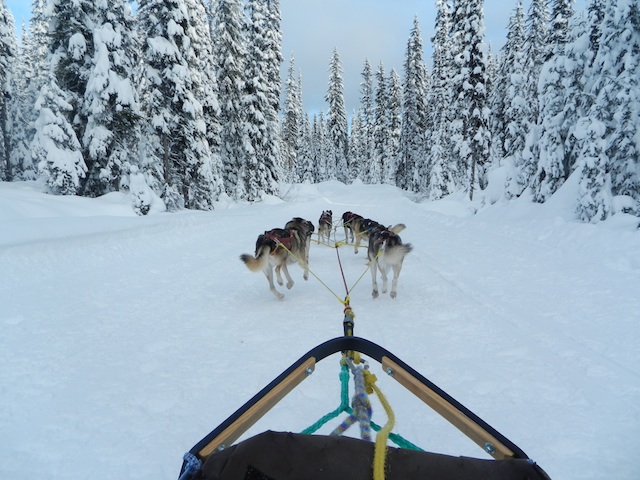
With the team finally picked, the dogs on the ‘sideline’ set to wailing and barking while Tim explained to us the process of departing. With a brake set in the snow to prevent the excited dogs from sprinting away immediately (or yesterday, if they had their way), my mom and I settled in the sled and Tim positioned himself on the runners at the back. With one command, the team took off.

Mushing the BIg White dog sled team

The first thing I noticed: how fast we were going. The second: how silent the previously barking dogs had become. We could hear a pin drop (or more accurately, only our own shrieks of joy) as we sailed over the packed snow. I’d never get tired of watching the dogs run before me (and the beautiful Monashee mountain scenery), but halfway through our 5K (3.2 mile) run, Tim slowed the team and stopped them, offering me a turn at the back of the sled.

Tim had warned me that ‘there’s nothing quite like being on the runners’ and he was right. Without any means of stopping or controlling the well-trained dogs, you can truly feel their power as they pull. (Just don’t look down at the snow whizzing by below your boots!)

My mom got her turn ‘behind the wheel’, and before we knew it, we were arriving back at the kennel. Tim showed us how he rewards the team with a tasty frozen meat snack, and we talked more as he unharnessed and praised the dogs. We appreciated how clearly Tim loved his animals, and we came away from the experience with a greater respect for this species, this sport, and the humane people who give it the heart it has.

Big White dog sledding

The details:

Each sled has a weight limit (rather than a person limit), so depending on your family, you might need 1-2 sleds. (Weight limit is 340 pounds.) Until recently, only one sled could depart at a time, but now Tim’s wife is available most days, allowing entire families to sled together. (For reference, my mom and I, two average-sized adults, could easily fit in one sled.) If you have a larger group, bear in mind that you may need to stagger your start times, though you could all enjoy the dogs at the kennel together.

The dog sled experience can be booked nearly any day during the ski season, and reservations can be made ahead of time at the Village Centre Mall Activities Desk and through Central Reservations. Cost is $195 per sled (regardless of number of people). Young kids are welcome, but if some family members would rather not ride, they could come (supervised) with you to visit with the dogs before departure.

Wear ski gear (snow pants, warm gloves, jacket, and googles). A hat or helmet is also recommended, and you’ll need snow boots.

As I disclose whenever applicable, we were hosted for our dog sledding experience. Though we’re grateful for this opportunity to recommend this experience to our readers, it did not come with expectation of a positive review.

Big White Ice Tower Climb: a family activity (yes, really!)

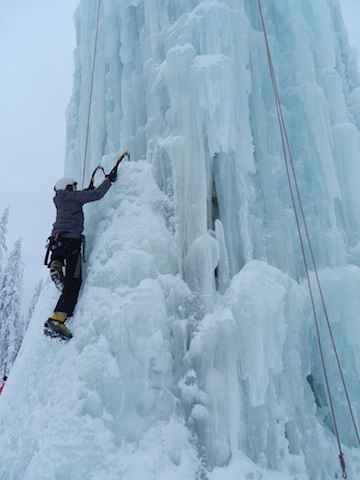
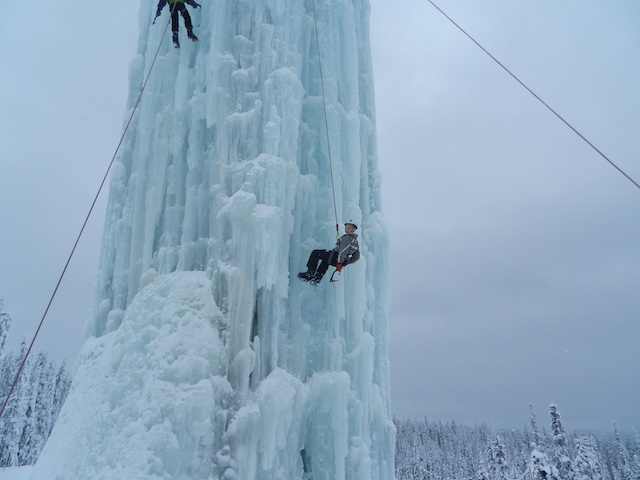
Among the many unique outdoor activities offered at Big White Ski Resort in Kelowna BC is their 60 foot Ice Tower. The only such tower in North America, this structure is looms as a huge, contoured block of ice in the center of Big White’s Adventure area, and yes, it’s intimidating! But here’s the best part: anyone can try to climb it…no experience necessary!

Big White Ice Tower

Ice climbing is normally an unapproachable sport for most people, which makes its inclusion at Big White all the more unique. While most of us have tried (or at least seen) man-made rock climbing walls, seeing an ice tower ready to climb is eye-opening. Looking at it straight up, it’s hard to imagine climbing it halfway, let alone to its pinnacle (where you can ring a bell to signal your victory), but the friendly staff here (as well as your cheering family and bystanders) make it possible.

Ice Tower Big White

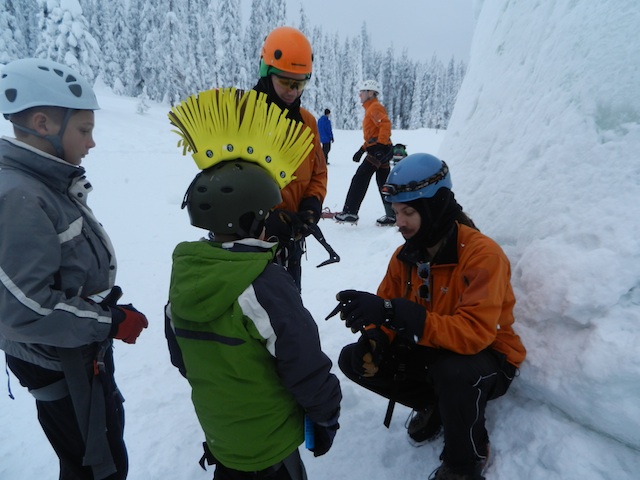
To start our ice climbing experience, the whole family (yes, everyone…from my husband and me at 38 and 36 to our kids ages 13, 11, and 8) were outfitted with harnesses, ice picks, and ice climbing boots. We then made our way out to the tower, where our ice climbing experts showed us how to use our toe clamp-ons and picks to dig into the ice, and gave us tips (like use your legs, not your arms). We were then paired up with the correct side of the tower (there are varying degrees of difficulty), and took turns ascending.

Here’s how it went:

I won’t lie: it was hard! There were several times when I wasn’t sure where to put my foot or hand, and because the tower is made from frozen water (dripping as it wished), the ‘terrain’ is authentic. I didn’t look down–no way–and needed a few helpful boasts from the ice climber manning my rope (you’re constantly tied in). I made it however (though far behind my 13-year-old, who had youth on his side), and it definitely felt satisfying to ring that bell!

When I descended (repelling on the rope), my arms were shaky…clearly I hadn’t followed the ‘use your legs’ advice. My whole family made a strong effort, and my 11-year-old even made the whole climb with the use of only one arm (his right is broken and in a cast). This feat put him on the Big White Ice Tower record board, of which he was very proud.

Ice tower climbing

We all came away from the experience feeling on top of the world, having tried something completely new to all of us. I met with the owner of the tower, who reinforced that this is not unusual: he wanted to build the tower so that people could be introduced to the sport of ice climbing. If you get a taste for it, daily and season passes are available: many seasoned climbers use the tower as practice between climbs.

The details:

A single climb is only $20, and comes with all equipment needed. The Ice Tower is located in the Adventure zone area of Big White, adjacent to the Happy Valley Day Lodge. (And across from the Mega Coaster tubing area.) If not all family members are up for a climb, kids can be tubing while parents climb, or vice versa…though you’ll want to watch, trust me!

As I disclose whenever applicable, we climbed Big White’s Ice Tower as guests of Big White. While appreciated, this compensation did not come with expectation of a positive review.

Hiking in Tofino BC: Visiting Meares Island with Remote Passages

For families looking for a budget-friendly Tofino excursion or are simply low on time, Remote Passages offers a 1.5 hour round-trip Vancouver Island hiking adventure of Big Tree Trail on nearby Meares Island.

Remote Passages

Hiking in Tofino:

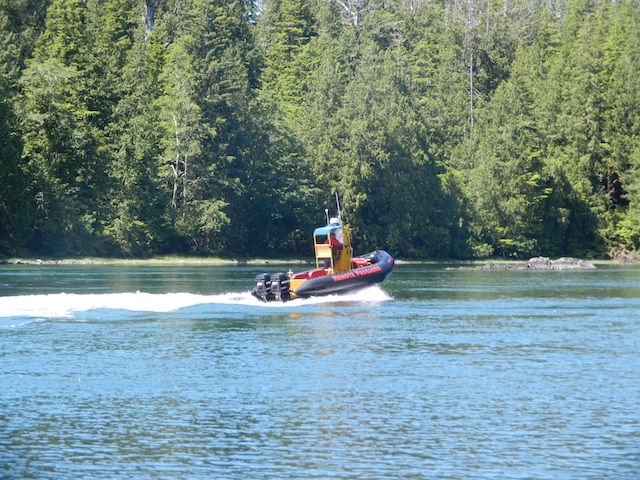
Located just a few fun Zodiac boat turns from the Remote Passages boat dock, Meares Island is uninhabited and protected by a local First Nations land conservation agency. Remote Passages (and several other local outfits, including Tofino Water Taxi) will drop passengers off at the start of a 400 meter (approximately 1/4 mile) boardwalk, which families follow self-guided as it winds deep into the temperate rain forest.

remote passages

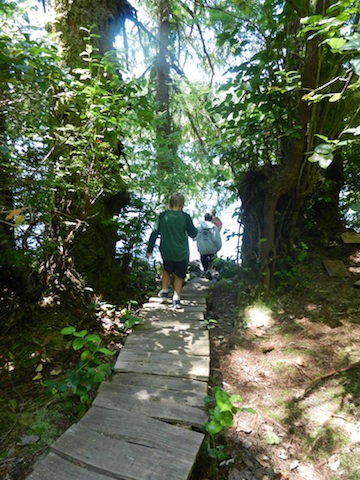
The boardwalk is old in some places (originally built in the ’80s and quite weather-beaten), new in others (you can smell the fresh cedar), so kids shouldn’t run. We saw one visitor put his foot straight through a rotted plank. We met several of the First Nations Meares Island protectors while we hiked; they were working on upgrades to the boardwalk, and were very eager to tell us about their work preserving this island. The way can be slippery at times, unstable in others, and always majestically beautiful. For young kids, it truly feels like an adventure, and older kids will enjoy the constant challenge of the walk.

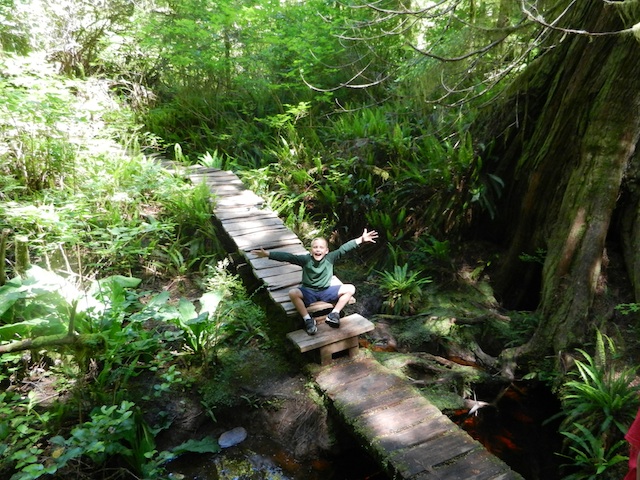
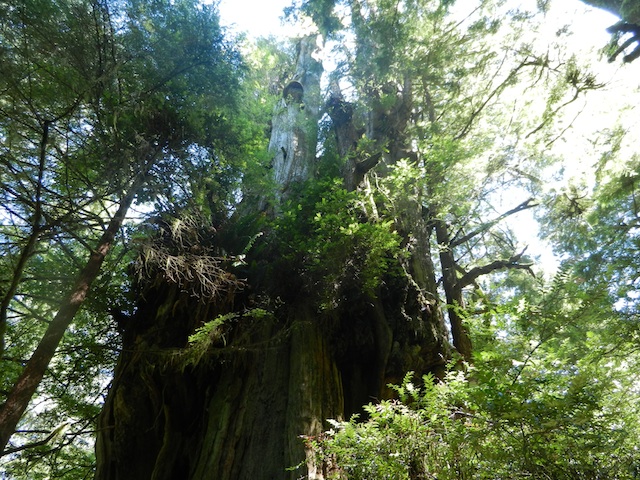
As you go, you’re looking for several points of interest. Near the start of the boardwalk stands a 900-year-old red cedar, and farther along, a small creek crossing leads to a set of stairs and a small lookout over a narrow bay. Look for kayakers coming in to hike the island here. A little farther on, you arrive at the end of the trail, which features the oldest cedar: 1600 years old. It’s called the Hanging Garden, and it’s easy to see why: trees are shooting out of this tree, and dropping from nearly all branches are ferns and other beautiful hanging plants. The sunlight filters through, and it’s truly a awe-inspiring sight.

hanging garden tree

Remote Passages gives visitors 1.5 hours to tour the island, which may be a bit long, since the boardwalk really only takes 45 minutes to tour, and visitors are asked not to explore off the walk (in order to preserve vegetation). Our kids enjoyed navigating part of the boardwalk a second time while we waited, or you could find a spot in the sun (or under the canopy of trees out of the rain, as they case may be) by the docking area.

meares island

Tip: Be sure to pack all trash out, and don’t allow children to climb on the trunks of the trees; they’re working hard to protect them. Bring rain gear or light jackets, but this is a great activity for when the weather is rainy; the canopy will shield you! The boat ride to and from is only 5 minutes, but will be a thrill for young kids if they haven’t experienced the small and fast Zodiac boat yet.

Date last visited:

July 2012

Distance from the interstate:

Right off Highway 4 in Tofino.

Rates:

The Meares Island transfer is a quite affordable way to have a fun boat ride and great hike you can’t access otherwise. At the time of my visit, rates were $20 per person for the drop-off/pick-up for kids and adults. If you’re more ambitious, Remote Passages offers a half-day kayaking tour that includes a guided walk through Meares Island. Kids don’t have to be strong paddlers, but should be old enough to spend the whole morning or afternoon on the water.

Directions:

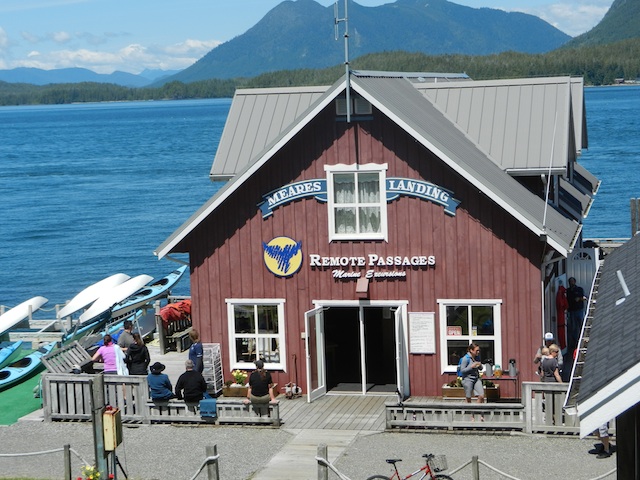
Find Remote Passages at the bottom of Wharf Street at Meares Landing, right in the heart of Tofino.

As I disclose whenever applicable, my family and I experienced Meares Island at no charge, for the purpose of review. While I appreciate this opportunity to pass on information to my readers, it came with no expectation of a positive review.

Tofino on Dwellable

Tofino whale watching with Remote Passages

I’d heard the West Coast of Vancouver Island called the Galapagos of the Northwest, and never is that more apparent than while on the water, whether families are exploring tide pools, kayaking, or in this case, on the open ocean on a Remote Passages whale watch in Tofino BC.

tofino whale watch

Tofino whale watching:

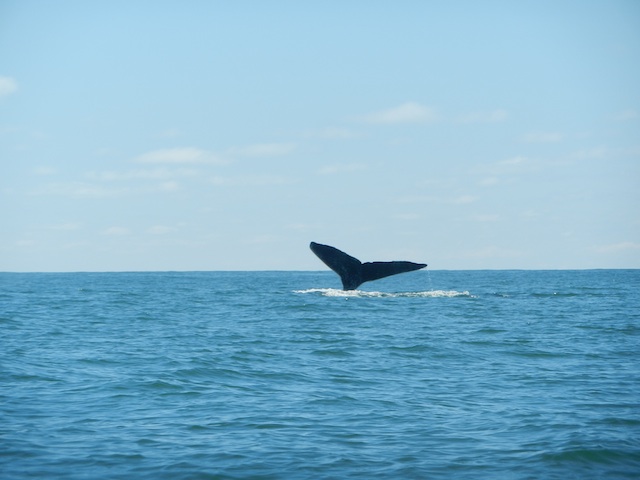
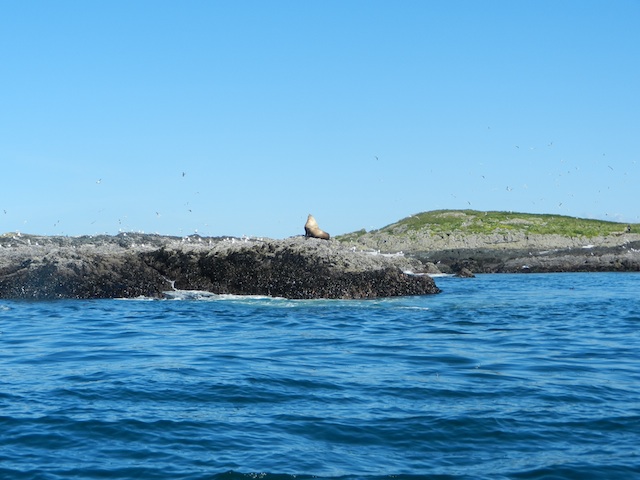
Our Tofino whale watch with Remote Passages just may have been the crown jewel on the treasure that was our Vancouver Island trip. Over 2 1/2 hours long, they call it a Whale Watch Plus, and once you’ve experienced it, it’s obvious why: not only did we enjoy a gray and humpback whale watch, but also observed seals, sea lions, sea otters, puffins, sea stars, bald eagles, and jellyfish (and I’m probably forgetting something). We were there in time to ‘meet’ Tofino’s resident whales, but in migratory seasons, they’re even more abundant (and can include orcas). Note: all photos in this post are actual documentation of wildlife viewed, taken by me.

remote passages

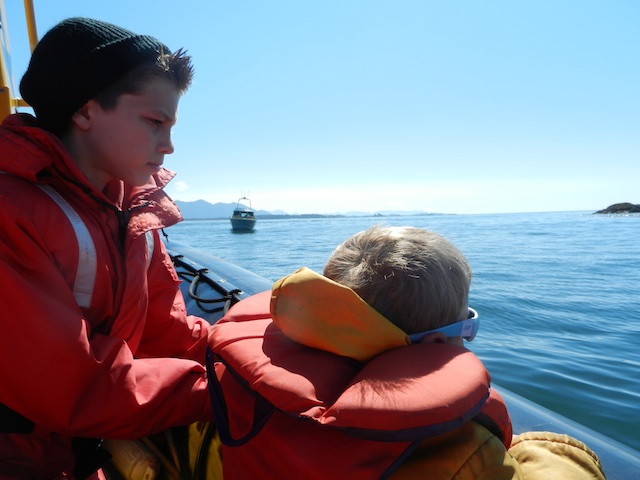
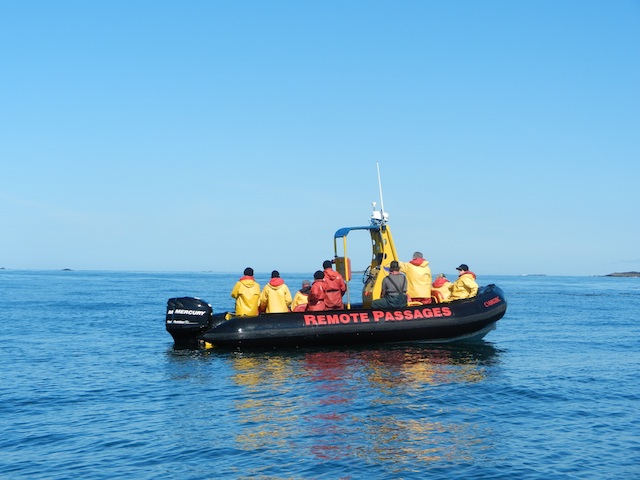
In addition to the abundance of wildlife viewed, what set our Remote Passages whale watch apart from any we’d experienced before is their Zodiac boat transportation and their guide expertise. Zodiacs seat only 12-14 passengers, and are open-air (a closed cabin one is available as well), allowing for unobstructed 360 degree views of the bay, harbor, and open sea. Unlike larger whale watch vessels, in which one side of the boat sees a spout and the other misses out (or runs scrambling to see), on a Zodiac, you’re literally right on the water, able to see everything. (This makes it ideal for young kids.)

remote passages

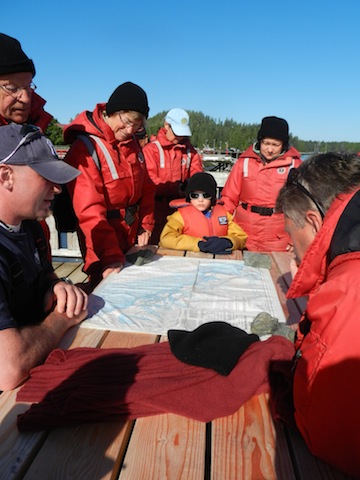
Our experience started at 8:30 am for our 9 am whale watch, during which we were shown an orientation video that described the wildlife and ecosystem of the Tofino area and the Clayoquot Sound. We then donned full expedition jump suits for our journey. These are a full jacket and pant combo, so guests don’t really need to worry about what to wear on their whale watch. Just make sure you’re in sturdy shoes and have a light sweatshirt or long-sleeved shirt on under. The adult version has a built-in life jacket, and the kids’ version is a two-part ensemble: pants and jacket, with a regular life jacket on over. Remote Passages also offers fleece gloves and knit hats if desired.

remote passages

humpback whale

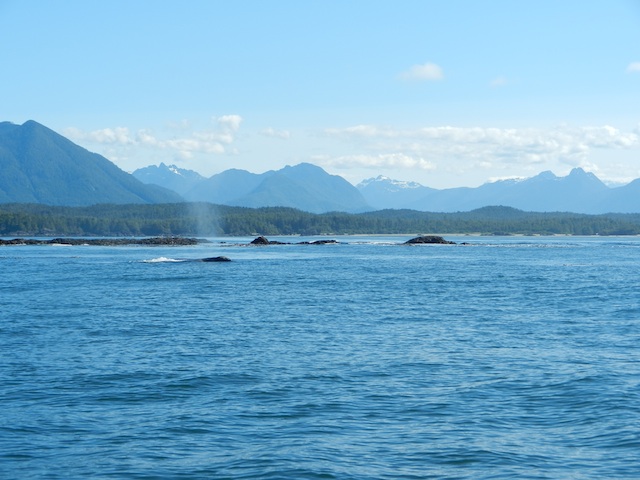
Our captain and guide, Tyson, guided us onto the Zodiac, where we all had a perfect view of the ocean and surrounding (breathtaking) landscape. We cruised first in-between the small islands dotted around the sound, where Tyson stopped to show us the huge kelp beds whales like to feed on. Almost immediately, we saw the spout of a gray whale. Since whales typically spout and rise above the water 3-4 times before diving deep, we stayed close to view it for about 15 minutes, cutting off the engine and floating peacefully as we watched the whale rise and fall beautifully. I can’t tell you how wonderful it was for Toby, age 7, to be able to see the whale so easily; he’s usually scrambling for a better view for things like this, since he’s the shortest person in most groups. There was no stress to see, no rush to get anywhere, and we all just oohed and awed as Tyson told us more about these amazing animals. (Fun fact: many of the same whales return to Tofino year after year, and up to 200 stay here all season while their counterparts migrate farther north. Remote Passages guides can identify individual whales by the pattern of their barnacles on their backs. The kids had fun learning their names…yes, they name them!)

seals viewed with Remote Passages

remote passages whale watch

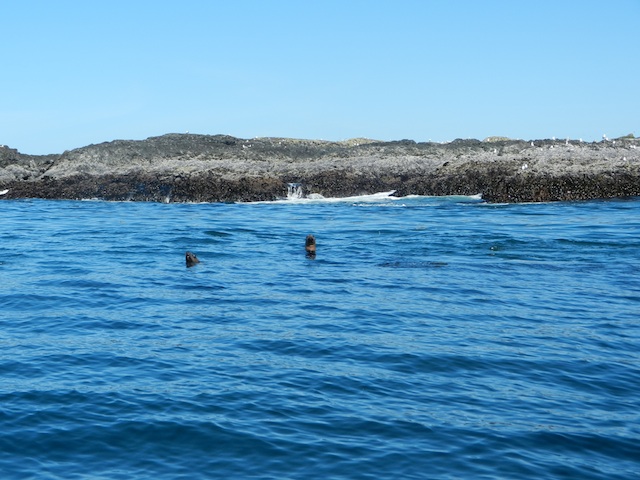
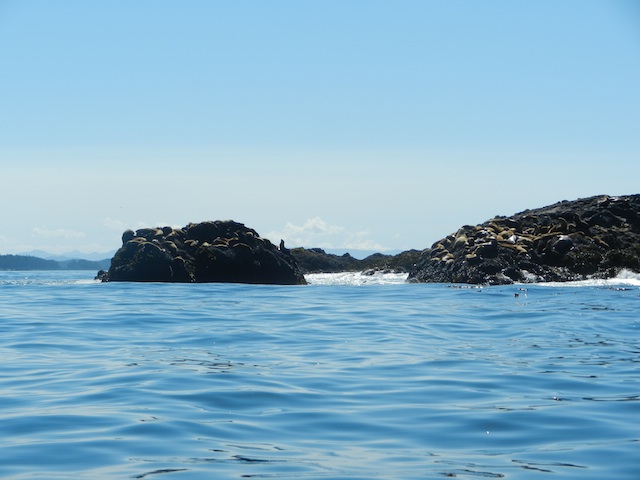
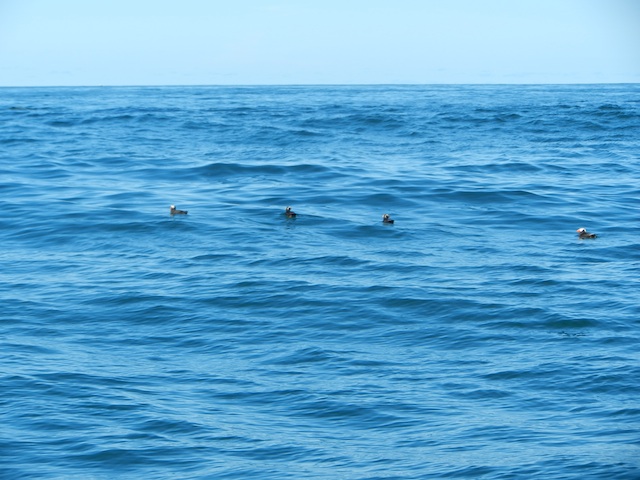
After a time, we left our friendly gray whale to explore more of the outer islands, where we could float right up near the rocky shore to spot jellies, sea stars, and an whole colony of seals. We watched their heads pop out of the water mere feet from us, and observed a dispute between two males on the rocks. Farther on, we sat still to photograph a set of four puffins floating on the sea, and caught a rare glimpse of a sea otter.

puffins on the water in Tofino

sea lion in Tofino

We headed out to open ocean in search of humpback whales, and were rewarded with four, two of which were a mother and calf. Tyson explained that ‘humpies’ were more likely to ‘fluke’ (show their tales as they dive deep), which we saw several times. We hung out with them for a time before needing to head back to the dock.

zodiac boat whale watch

We had fine weather, but should you not, the small size of the Zodiac still allows for good viewing, though the water may be choppier. The suits keep you very warm, even in the wind while the boat is moving fast (though you’ll definitely want the gloves in cold weather). Once you return to the dock, hot peppermint tea awaits you.

Tips: You’ll want everyone in your party to be wearing sunscreen on their faces, and sunglasses are helpful. No matter the weather, the glare from the water is significant. Hats may fly off; I suggest using their knit caps that stay on better. The water was smooth they day of our visit, but if it’s choppy, captains carry seasickness remedies. We told ours that Calvin was prone, and he checked on him several times to make sure he wasn’t uncomfortable. (He was fine.)

Distance from the interstate:

Remote Passages is right off Highway 4 in Tofino.

Date last visited:

July 2012

Rates and reservations:

A whale watch is not cheap, so may need to be budgeted for. If you can only experience one Tofino-area excursion, my kids were split between a kayak tour of the intertidal zone or a whale watch. Both are offered by Remote Passages. For the most wildlife viewed, however, a whale watch can’t be beat. Rates are $69 for kids, and $89 for adults at the time of our visit.
Other excursions offered:

If a whale watch is not in your budget, or if you have very young kids who may not be up for 2 1/2 hours on the water, a great option is Remote Passages Meares Island drop-off. Only $20 per person, families enjoy at short (5 minute) Zodiac ride to take the self-guided Meares Island boardwalk rain forest trail. Alternatively, Remote Passages’ Coastal Bear Watch (also 2 1/2 hours) hugs the coastline of nearby islands to spot bears, and also other intertidal zone wildlife and eagles, seals, and shore birds. Their Hot Springs Explorer takes visitors all the way to to a natural hot springs in the ancient rain forest, but as this tour is 7 hours long, it’s best saved for older children and adults.

Directions:

Remote Passages is located at the bottom of Wharf Street, off Main. It’s easy to find!

Tofino on Dwellable

Kayaking the Vancouver Island west coast with Majestic Ocean Kayaking

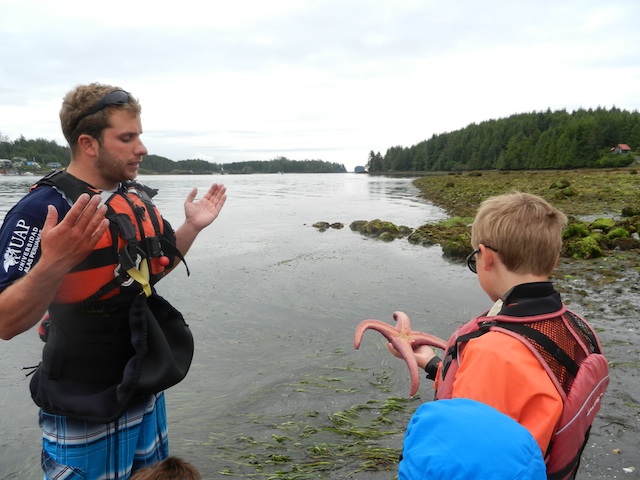
Families don’t have to venture far into the Pacific or spend a whole day (and a whole lotta cash) seeing nature up close on a Vancouver Island west coast kayaking tour. When we joined Majestic Ocean Kayaking on their half-day harbor tour, we hadn’t even pushed off from the boat dock before Calvin spotted a massive sea star glowing purple and pink under the shallow water. “What, that little thing?” our guide, Jeremy, joked, and soon we saw why: intertidal nature was all around us, including dozens more sea stars of even more impressive size.

Majestic Ocean Kayaking

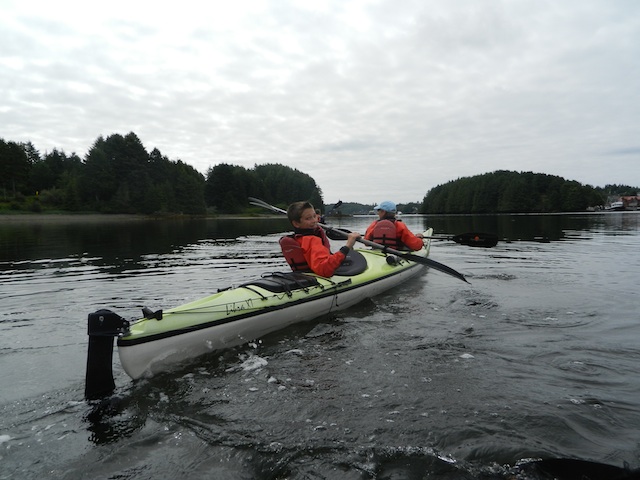
Once we’d set forth into Ucluelet B.C.‘s scenic harbor, Jeremy pointed out a harbor seal and a bald eagle within minutes (it may have been within seconds…my mind was too busy spinning to be sure). Throughout our next 2 1/2 hours on the water, we saw numerous other marine animals and birds, and learned much about the intertidal zone area. We paddled up close to the shore of several tiny islands, explored the muscles and clams clinging to the surface of pier pilings, and gaped at more than one shipwrecked vessel (lying abandoned in the low tide).

Majestic Ocean Kayaking

The half-day harbor tour was the perfect length for our kids, and even though the day was chilly, we stayed dry and warm in our neoprene kayaking skirts, booties, and shirts (all supplied by Majestic along with PFDs). We stopped once for a snack and water break, and Jeremy kept the kids interested throughout with conversational tidbits. We paused to check out a huge eagle’s nest, play with another harbor seal, and learn about local points of interest.

If your family is ready for something more daring, Majestic also offers full day tours of the Broken Group Islands, which is recommended for kids 12 and older (but which Jeremy assured me even Toby, age 7, could do if we so desired). I’m tempted to agree (it’s definitely on our list for next visit) but without having experienced the full-day option, I’m not sure my school-aged kids were quite ready for a full day on the open ocean. The benefit of the harbor tour is that the water is protected (no waves!) and you’re always close to shore.

majestic ocean kayaking in Ucluelet

Date last visited:

July 2012

Distance from the interstate:

About 10 minutes from BC 4 (the premiere east-west highway on Vancouver Island.

Rates:

At the time of our visit, Majestic’s harbor tour was $67 Canadian per person, which I’ve found to be right on par with similar rafting and kayaking experiences of the same length and difficulty. Their full-day options start at $145 per person, and they do offer multi-day expeditions as well.

Directions:

Majestic is located at 1167 Helen St., which is at the end of Marine Road (and at the end of the peninsula) in Ucluelet. If you’re in the ocean, you’ve gone too far. If you’re staying in Ucluelet, you’re only minutes away, no matter where you are. If you’re staying in Tofino, plan on a 30 minute drive.

As I disclose whenever applicable, my family and I experienced Majestic’s harbor tour at no expense. This compensation came with no expectation of a positive review (but does enable me to keep my readers informed of great outdoor travel opportunities such as this one).

Tofino on Dwellable

Top 10 family hiking trails in Utah

It’s difficult to select only ten great family hiking trails in Utah, but the trails in Utah’s national parks are especially good places for families to explore the natural wonders of the world together. These are my family’s favorite trails from each of Utah’s national parks.

I use two criteria for determining whether a hike is family-friendly. First, the hike must be easy enough for a preschooler to walk on his own. My five-year-old has walked nearly all of these trails in the past two years. Second, the hike must be worthwhile for everyone in the family. If I’m going to spend the time and money to travel to a national park, I want to see what makes it special.

Zion National Park

1. Weeping Rock

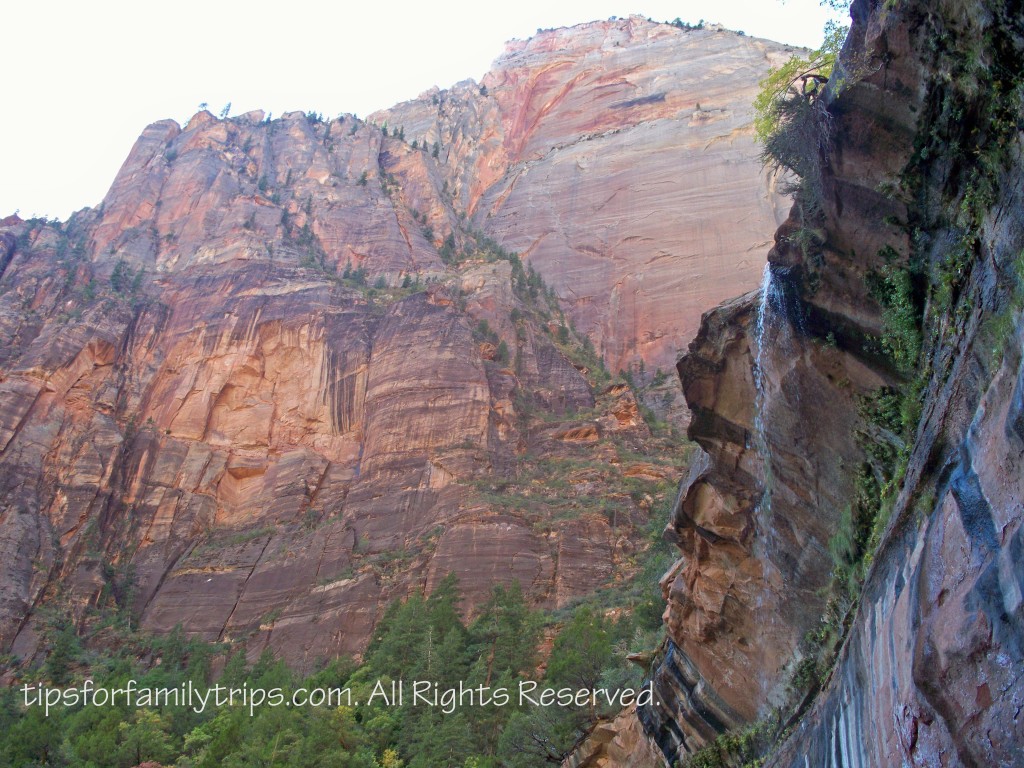
I have visited Zion National Park dozens of times and there were few visits when I didn’t hike to Weeping Rock. This short, paved trail leads visitors to an alcove in the canyon wall where water drips continuously through the sandstone in front, creating a hanging garden in the desert. The alcove also provides a spectacular view of Zion Canyon.

2. Emerald Pools

This is my eight-year-old daughter’s favorite hike. Families will discover three waterfall-fed pools along this trail. The one-mile stroller-friendly walk to the Lower Pool is worthwhile on its own. The last third-mile between the Middle Pool and the Upper Pool is rugged and strenuous, but the Upper Pool is the best of the three.

Bryce Canyon National Park

3. Rim Trail from Sunrise to Sunset Point

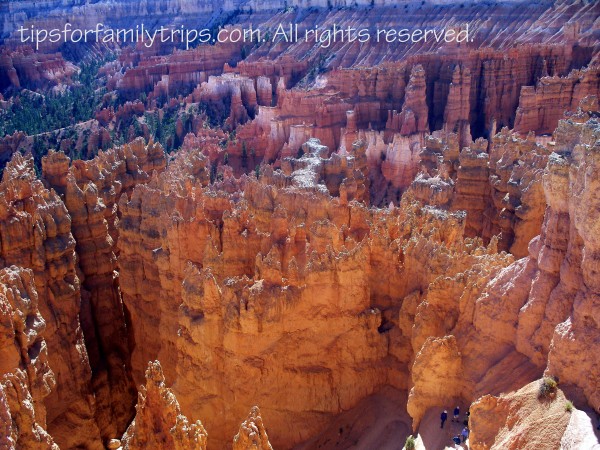
The entire Rim Trail is about 5.5 miles one way, but it has several entry and exit points, so it’s easy for families to customize their experience. The half-mile between Sunrise and Sunset Points is flat and paved and gives everyone a chance to stretch their legs while appreciating some of the best scenery in Bryce Canyon.

4. Navajo Loop

This 1.3-mile loop starts and ends at Sunset Point. The trail descends dramatically through the hoodoos to the floor of Bryce Canyon. The walk back uphill is strenuous, but there is no reason to rush through scenery this beautiful. Even an amateur photographer like me can’t take a bad picture here

Capitol Reef National Park

5. Capitol Gorge

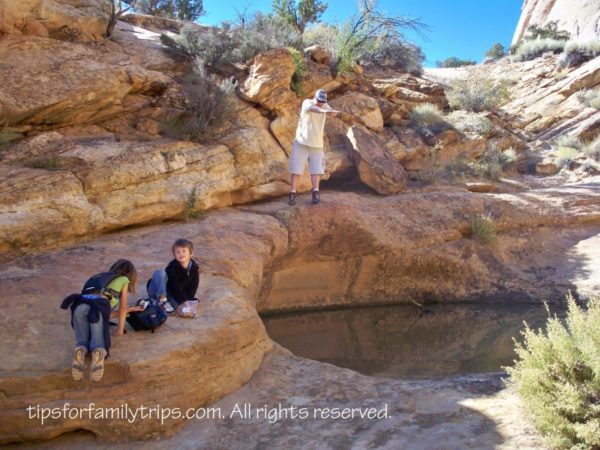
This two-mile flat, unpaved trail was the main highway through Capitol Reef until 1964. Petroglyphs and the signatures of Mormon pioneers in the rock walls indicate that it had been used this way for a long time. At the end of the trail, take the short, steep trail to see natural water tanks in the rocks where rainwater collects in the desert.

6. Hickman Bridge

Two natural bridges, an ancient Fremont dwelling, and magnificent scenery are a pretty good return on your investment in this 2.5-mile hike. Pick up a printed trail guide before you start to fully appreciate all this hike has to offer.

Canyonlands National Park

7. Mesa Arch

The payoff for this hilly half-mile hike is an arch that frames endless canyons behind it. There are unfenced cliffs at the end, but there is plenty of room to enjoy the view without going near the drop-off.
8. White Rim Overlook

We often have this trail’s spectacular panoramas to ourselves because it isn’t well-marked from the road. Look for a marked picnic area just down the road from the Island in the Sky visitor center. Signs for the trailhead are inside the picnic area. There are unfenced cliffs at the end of this trail, but there is a shady place to sit and plenty of space to enjoy the view without getting too close to the edge.

Arches National Park

9. Sand Dune Arch

The first time my husband and I hiked this short, flat and sandy trail, we found a family relaxing in the shade near the trailhead with their camp chairs, picnic, and sand toys. We haven’t hiked this trail with our kids yet, but we’re coming prepared with the same equipment when we do.

10. Delicate Arch

None of the many photos of this iconic arch compare with the experience of seeing it in person. The three-mile hike across exposed sandstone can be challenging, but the perfect photo ops and the opportunity to walk right up to Delicate Arch is worth it. Plan to hang on to young children at the end because there are some scary drop-offs once you get to the arch, but not before.
Spring and fall are the most comfortable times to hike in all of these parks, though Bryce Canyon and Canyonlands are a little cooler and Zion has a river in which to cool off. Winter is a great time to hike to Delicate Arch.

I grew up visiting Utah’s national parks and now I enjoy sharing them with my family. Make them a part of your family memories too.

Allison Laypath is a family travel writer at tipsforfamilytrips.com, based in Salt Lake City, Utah. She and her husband took their first child on a two-week road trip at four-weeks-old and they have been traveling as a family ever since. Allison loves all types of travel, but especially road trips, national parks and travel within her home state of Utah.

How to plan a multi-day backpacking trip with kids

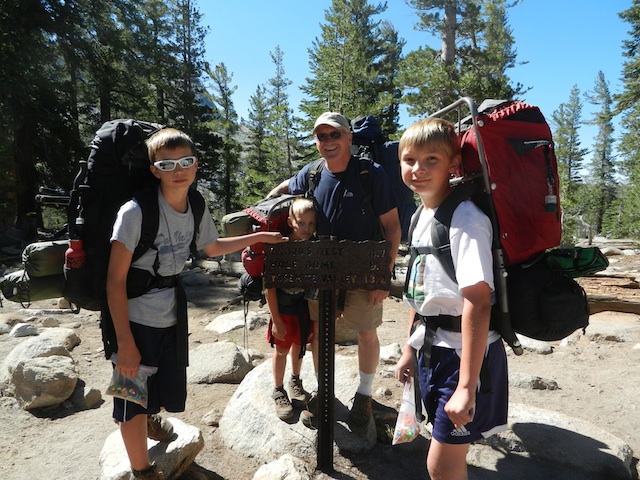
Yes, kids can backpack! And yes, it’s a bit more work than traditional tent or RV camping with kids, but twice as rewarding. We’ve backpacked annually with our kids since Nate (now age 13) was 13 months old, and while older kids make for the best backpackers, even backpacking with babies and toddlers is possible. To ensure a successful backpacking trip with kids, most of the work will take place ahead of time. What you need to do to prepare for safe backpacking with kids:

backpacking with kids

Start with no more than 2-3 days out.

Backpacking for only one night out is kind of pointless (the effort put into packing and organizing all the stuff you’ll need hardly justifies it), but if you’re backpacking with kids who cannot carry the weight of adults, you will be limited to no more than 3 days in the wilderness unless you can arrange for more food supplies to be delivered to you. Remember that you need to pack in (and out) everything.

Plan your route with your kids’ ages and abilities in mind.

While older kids or veteran backpackers will enjoy the challenge of packing from point A to point B, younger kids and novices benefit from a base camp. Consider packing a few miles into your wilderness destination and camping more than one night at a desirable landmark, such as a lake or river. Those who want to do more hiking can opt for a day hike, and younger kids can stay by the water to play. (This eliminates the need to break down a camp every day, which can be draining.)

backpacking with kids

Make camp food fun.

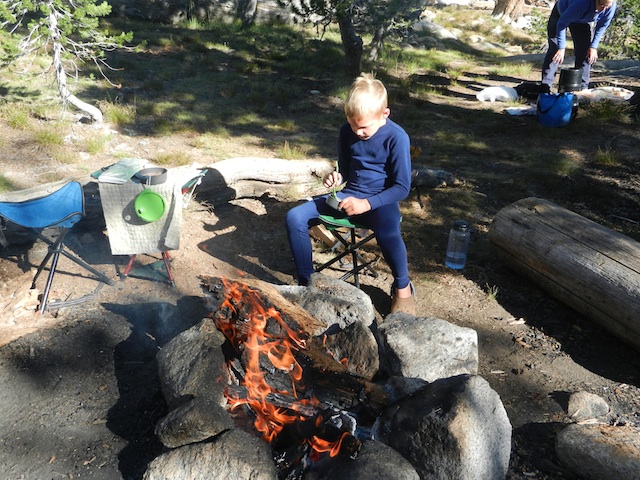
While backpacking, every ounce of weight matters, and most of the ‘fun’ camping food will need to be left behind in favor of freeze-dried meals. But you can still make backpacking food fun for kids by allowing them to create their own trail mixes from bulk food offerings pre-trip. (Just avoid chocolate items that will melt.) We allow each kid to take three individualized trail mix baggies per three-day trip. Other ‘fun’ foods that backpack well: Babybel cheese, beef jerky, hot cocoa packets, and hard candies that won’t melt. Kids also love having their own plate, cup, and utensils. We make our kids carry (and clean) their own.

backpacking foods for kids

Carry the right equipment.

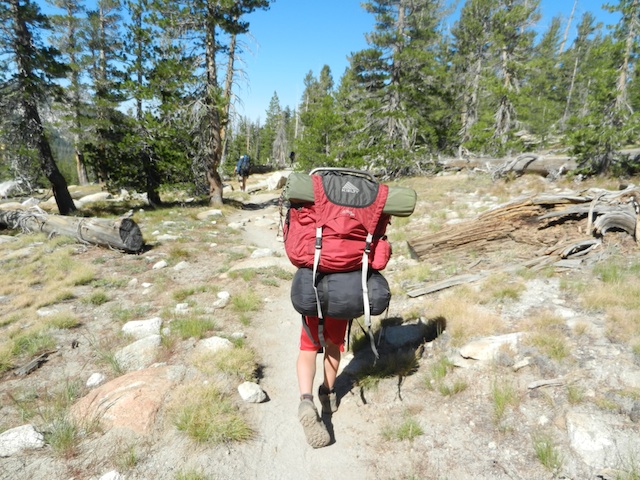
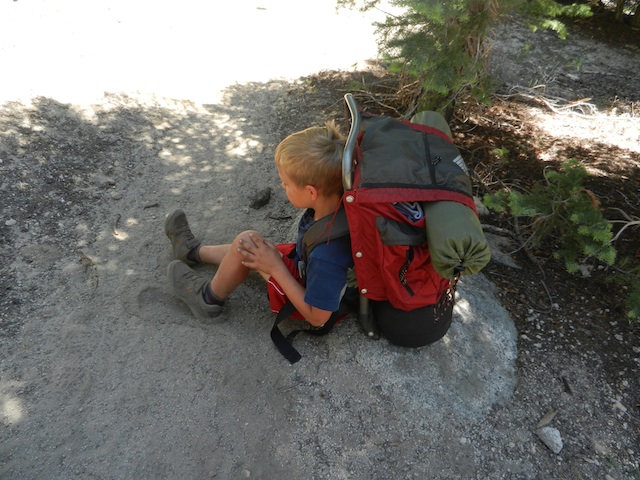
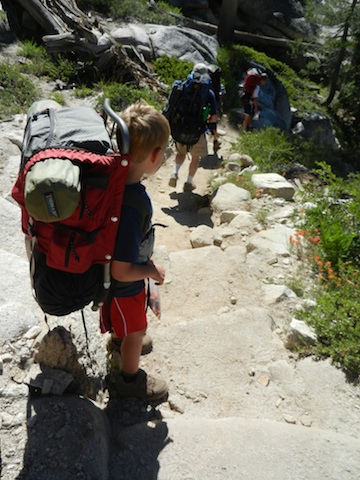
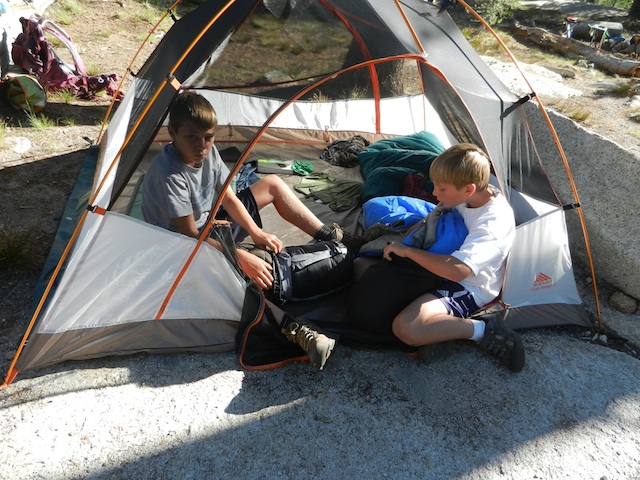
Having quality equipment for kids is vastly important while backpacking. The wrong-sized pack or an inadequate sleeping bag can make a great trip miserable. Kids age 6 and up should have packs that fit them properly (head to your local outdoors store to try on models). We love Kelty Junior Tioga External Frame packs for younger kids, and Mountainsmith Youth Pursuit packs for older kids. Sleeping bags should be kid-sized (no point in them carrying something too large for them), and pads should be small enough. Our kids each carry their own sleeping bag, pad, clothing, and food utensils in their pack (among other things for the older kids). It’s also useful for kids to each have their own flashlight or headlamp, and be responsible for making sure it’s loaded with batteries. Tip: Kids should take care of all their own equipment. All of mine know how to stuff their own bags and clean their own mess kits.

stuffing backpacking bags

Leave the toys at home.

Kids will invent games and create new toys on the trail out of sticks, rocks, and all sorts of new treasures they find. Leave the rest at home! The only exception: a book for everyone (Kindles are lighter than paperbacks now) and a deck of playing cards.

Be safe.

Find out what safety measures need to be taken where you’ll be going. Use bear canisters where required, and store food away from camp where not required. We carry bear spray for emergencies, and carry one cell phone to be activated if we’re lost. (Five years as a Search and Rescue volunteer taught me that cell signal pings do often assist searches.) Kids should carry whistles to use in case separated, and bright clothing is useful as well. Always check in with the local ranger’s station or let family at home know where you’re going and for how long.

backpacking with kids bear canisters

If you’re destination requires it, remember to bring bear canisters to store all food items (even toiletry and first aid items with an scent, like toothpaste or ointment). Where canisters are not required, store all food in a sack to hang in a tree at night to deter foraging, and wash dishes and brush teeth away from sleeping areas.

Plan when to go.

‘Summer’ means different things in different places. Make sure the dates you choose to backpack don’t coincide with heavy mosquito season, or aren’t pre-snow melt. If you’re planning to backpack on a summer weekend in a popular wilderness area, start out early to ensure a site, and no matter where you’re headed, check to find out whether you’ll need your own water source (at very least, you’ll need a filtration system).

Read other backpackers’ accounts of the area you plan to hike, and always carry a topographic map of your hiking route. Tip: some areas require a backpacking permit. Start planning your trip early to figure out what you’ll need, when you’ll need it.

Pin for later!

how-to-plan-a-backpacking-trip

Downhill mountain biking with Northstar Bike Academy

In the process of soaking up all the summer ski resort activities on offer at Northstar California this July, the whole family took part in the Northstar Bike Academy Bike 101 package. Bike 101 includes a full day lift ticket, half-day bike and protective equipment rental, and Bike 101 lesson, and is perfect for families new to the sport of downhill mountain biking.

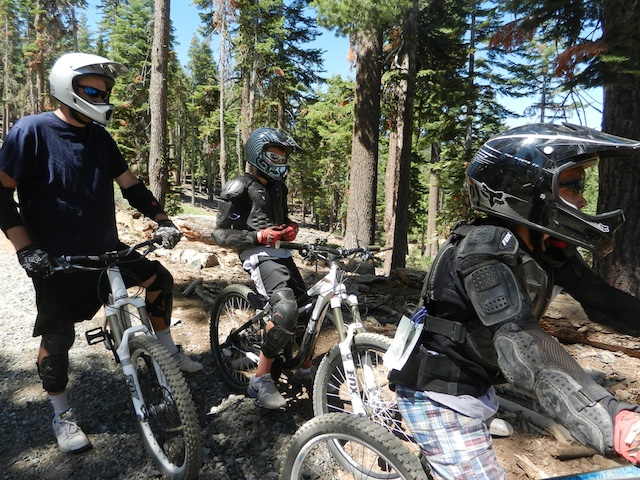
Families sign up for Bike 101 at Plaza Bikes in the Northstar Village (reserving ahead of time is recommended). We arrived at Plaza Bikes at 9:30 am the day of our adventure, and were outfitted with full protective gear before meeting with our Bike 101 instructor Luke Sheppard.

Bike 101

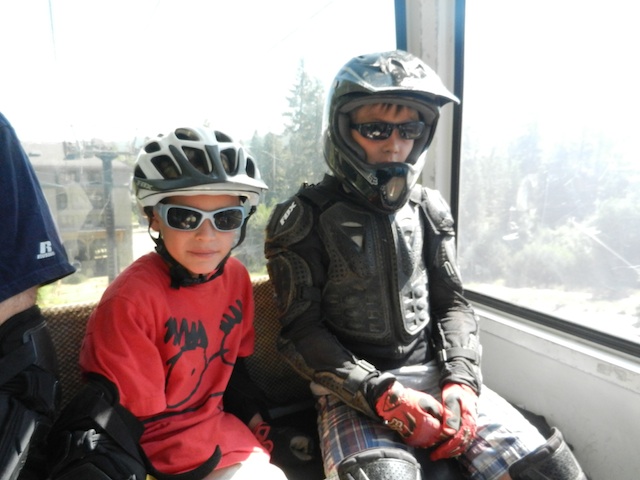
Note: there isn’t a set minimum age for Bike 101, but size does matter. Toby, age 7, was able to participate, but just barely…meaning that he barely fit onto the smallest available bike, and he was too small for the protective chest plate and full-face helmet. He was outfitted appropriately to participate, but kids must be able to maneuver their bike, listen to instructions, etc.

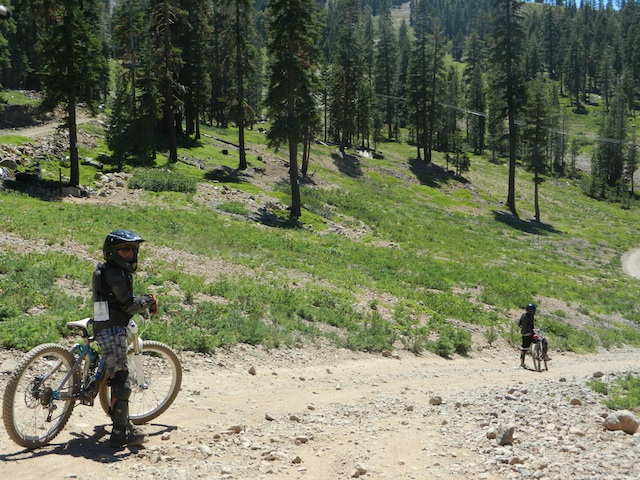
We rode Northstar’s Big Springs Gondola up to the Bike Academy, where we picked up our bikes and got started. First up was an orientation on our bikes: these aren’t your average dirt bikes you’re used to! Less than 10 minutes later, we were on our way. Luke took us up to the top of the Zephyr lift, which the boys loved: straight to the cool stuff! The trails are marked as easy (green circle), intermediate (blue square), and expert (black diamond) just like during ski season, so we were able to cruise along easy runs for our lesson period. The terrain was challenging, but Luke stopped us often to give technical advice, point out different elements in the terrain, and watch us handle our bikes (again, just like a ski lesson). The session was part instruction, but part mountain tour: had we not joined Luke for Bike 101, we would have never found lots of fun elements and trails that were perfect for our ability level. (Though the trails are marked, it’s possible to start out on one thinking it looks easy, only to become quickly overwhelmed.) Did we fall? Yes, a few times (Toby more than the rest, given his smaller size). The protective gear did its job, however, and mostly we had dusty clothes and dirty faces to show for it by the end of the day. While we were riding the chair or resting off to the side of the single tracks, we loved watching the expert riders bump their way down the mountain; just be sure to yield to them! By the end of our 2 hour lesson, we had ridden all the way back down to the village, where we were given the option of upgrading our package to a full day rental. I like that this option is offered at this point in the day: families don’t need to decide whether they’ll want to ride all day until after the Ride 101 lesson. In our family, Toby decided he was done by lunch, but Nate (13), Calvin (11), and Charlie and I wanted to continue. After a quick lunch at Big Springs Day Lodge, we were off again, armed with our helmets and Luke’s advice on new trails to try. (Tip: you’ll want to pick up a trail map and refer to it!)

bike 101

We had a blast exploring the bike trails all afternoon, and didn’t call it a day until almost chair closing time. Of particular fun for the boys was the small elements on the ‘bike terrain park’ (our words…I think mountain bikers call it a jump park) and the intermediate single track runs (of which there are many). Is it tough? Yes! Downhill mountain biking is much harder than it looks. Don’t make the mistake of thinking that if you can ride a bike, you can downhill mountain bike. New mountain bikers definitely need Bike 101. For return visits, or if you’re already experienced, the Bike Academy also offers ‘Bumps and Bends’ for the intermediate to expert rider.

bike 101

If you have young kids not ready for mountain biking: consider buying a hiking lift ticket for the adults in your group (just $10, kids are free) and try one of the hiking-specific trails at the top of the lifts. Young kids will enjoy watching the expert riders along the single tracks while they hike.

Rates:

The Bike 101 package is $80 on weekdays and $139 on weekends. This is actually a very good deal, as half-day bike rentals alone are as much as $112. If you already own your own bike, Bike 101 is an even better deal at just $15.

Hours of operation:

Read up on Northstar summer lift and park hours. Generally, the Bike Academy Bike 101 package and other lesson offerings are available while the lifts operate: June 29-August 19.

Directions:

To reach Northstar-at-Tahoe, take I-80 to Highway 267 to Northstar Drive. Drive up to the village, then find Plaza Bikes in the center of the village by the skating rink.

As I disclose whenever applicable, Northstar hosted our Bike 101 experience, as well as bike rentals for the remainder of the day, for the purpose of review. While we appreciate this opportunity to inform our readers, it came with no expectation of a positive review.

Northstar on Dwellable