Squaw Valley CA with school-aged kids and teens: where to stay, dine, and ski

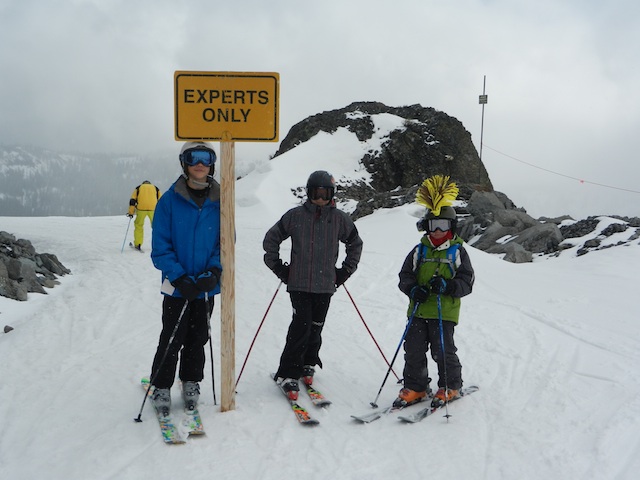
A ski vacation is the perfect socially-distanced getaway, in the outdoors! Every ski resort experience is different this season, so visit Squaw Alpine’s website for the latest COVID updates and regulations..Squaw Valley CA has long enjoyed a reputation for challenging ski terrain for advanced and expert skiers. In the last several years–most recently after their merge with neighbor Alpine Meadows ski resort–Squaw has also been working hard to earn the reputation of family ski destination. While the resort has made great strides toward this goal during their 5 Year $70 Million Plan (partway through in 2013), for us, it remains the go-to Tahoe ski resort location for steep, varied, and challenging mountain terrain. Does this mean it’s not a family resort? Not at all: it’s an ideal ski resort for families of advanced to expert skiers.

Squaw Valley USA

Skiing Squaw with advanced skiers and snowboarding kids:

While Squaw has a great beginner’s area at mid-mountain (which makes for more interesting skiing for newbies than being delegated to slopes adjacent to the parking lot), the ski boundary boasts so much great bowl, tree, and cornice skiing that it would be a shame to waste. Put another way: beginners will find what they need here, but they won’t get to experience the best of the mountain.

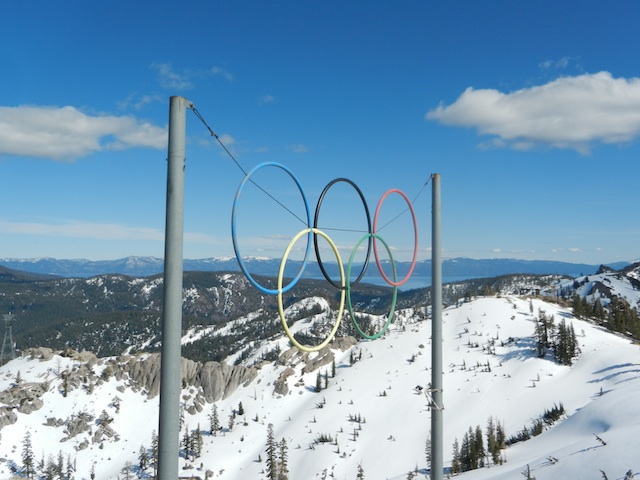
So what is the best of Squaw Valley with school-aged kids and teens? The varied, multiple ways to get your black diamond skiing and snowboarding on. From the village base, skiers and riders can head straight up KT-22 chair, made famous in the 1960 Olympics, and spend the day exploring all the nooks and crannies around its bowls and ridges. Just as satisfying is the Granite Chief region at the other end of the resort, where powder and trees reign. Headwall chair takes skiers to the top and great moguls, whereas Siberia offers steep groomers and access to the terrain park and half pipe. If the phase ‘something for everyone’ has crossed your mind, you’d be right.

squaw valley for expert skiers

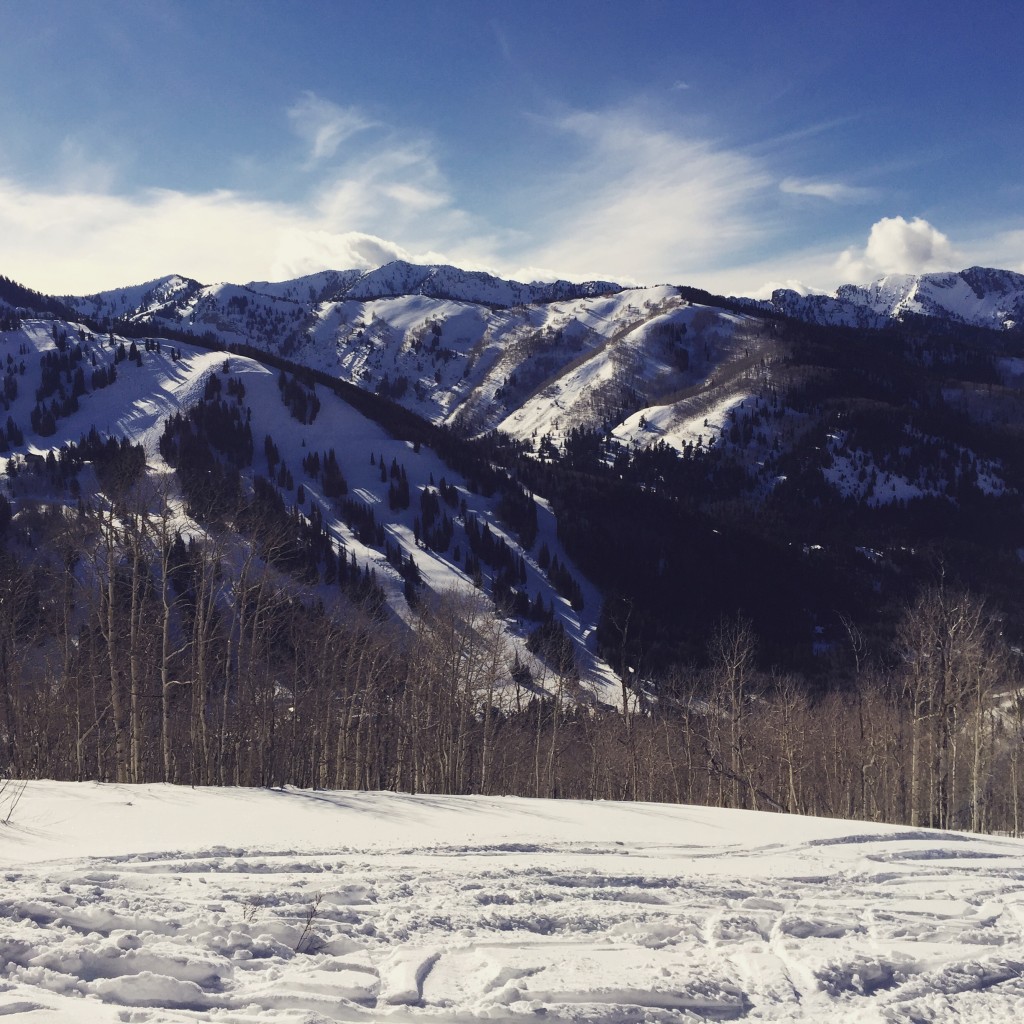
There’s plenty of blue square intermediate runs in-between, and the aforementioned beginner areas, but after spending four ski days at Squaw in the 2013 season, its steeps and deeps impressed us more than anything else…unless you count the views, which are some of the best in the Sierras.

Squaw Valley lodging:

squaw village lodging

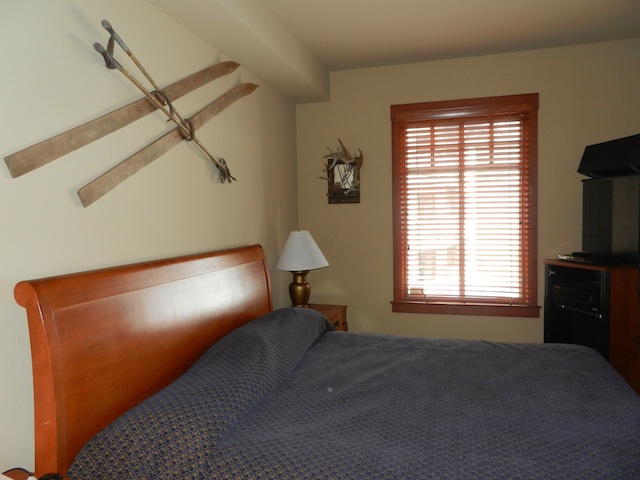
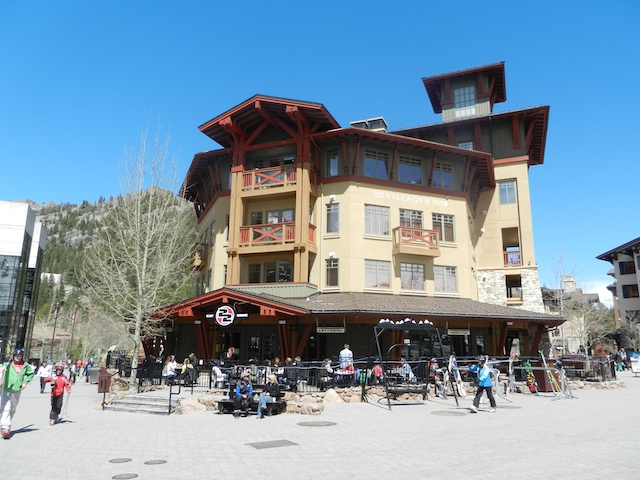
Squaw Valley Village Lodging is ideal for families wanting to hit the slopes early and hard. In Village 1, we were steps from the Funitel Gondola and even closer to dining, tickets, and the Olympic House base lodge. After working hard on the slopes, it’s very welcome to skip a car or shuttle ride and deposit skis and boards directly into in-house ski lockers before hitting the hot tub. Village housing includes 1-3 bedroom units, all of which include a fireplace, full kitchen, and tubs as well as showers. Hot tubs are in Buildings 2-5, so if you opt for Building 1, you’ll be closer to the lifts and enjoy arguably better views, but will have to walk outside and back in to access the hot tub and fitness center.

Squaw valley village

Squaw Village dining:

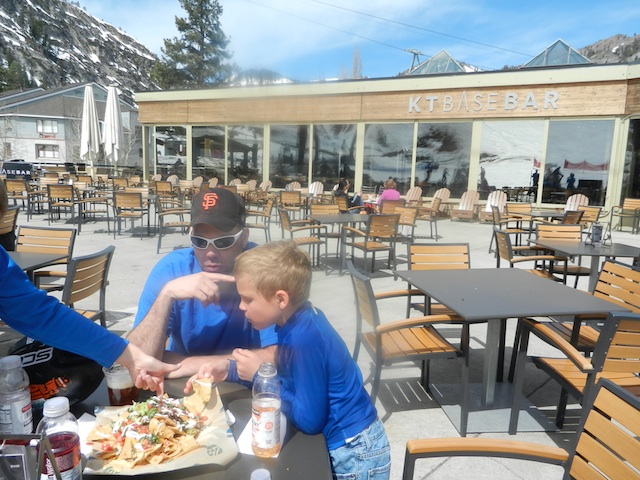
We only stay in ski lodging with kitchens, so we can make some meals in-room to save money. Plus, we’re often just too tired in the evenings to go out! If you do venture out, you won’t need a car: the Village offers everything from burgers to bistro fare to sushi. We had a great meal at MamaSake sushi and a al fresco lunch at KT Base Bar. A small grocery will have whatever you forgot at home to make meals in, though you’ll want to do the bulk of your grocery shopping in Truckee or Reno before arriving.

Lunch is available at mid-mountain at the Arc and at High Camp (more on this destination below), or at the base cafeteria-style, deli-style, or sit-down service style at Olympic House. Another perk of village lodging: we ate several lunches in the comfort of our condo, where we made sandwiches, put our feet up, and hung out on the balcony overlooking the village. Plan on a 15 minute ski down to the base from mid-mountain, and longer to get back up via lifts or gondola after eating.

KT base bar squaw valley

Village and High Camp activities:

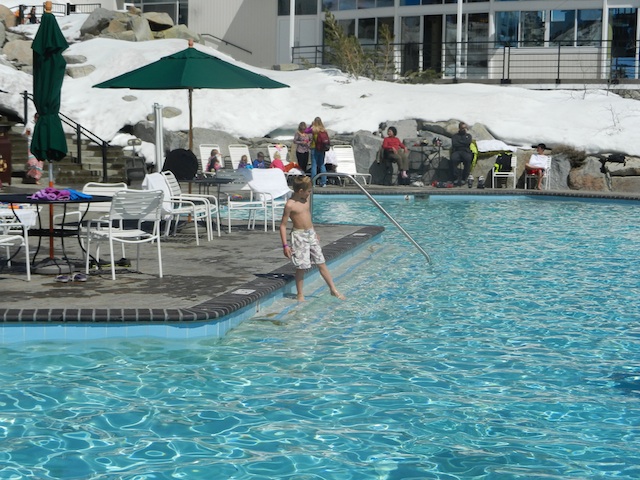
If you have energy left after skiing Squaw’s expert terrain (or more likely, if the kids still have energy), the village offers a fun SkyJump (bungee trampoline) for $12 for 5 minutes that’s worth doing once, as well as an indoor climbing wall. If you have lift tickets, they’ll also get you up the Tram to High Camp, where you can ice skate while watching skiers on the slopes, or in spring and summer, swim in the High Camp pool and hot tub. (In summer, the ice skating rink converts to roller skating.) You’ll find a small Olympic museum at High Camp which is worth a short visit (it could use work, but is free and paints a general picture of the 1960 games), and the trip is worth it for the views alone.

High Camp pool

If you have beginners or very young kids:

Squaw Kids features group and private ski lessons, though we have not experienced them firsthand. By High Camp are no fewer than three lifts dedicated to beginners, and even our advanced and expert kids really enjoyed the small/medium terrain park located off Belmont Chair in the beginner area. By the end of our visit, they had graduated to the large terrain park off Gold Coast Chair (which also offers lots of nice intermediate groomers).

As I disclose whenever applicable, we experienced Squaw Valley as guests of the resort, for the purpose of review. All opinions are my own.

Backcountry skiing basics: How to get into the sport

It’s never been a better time to get into the backcountry and leave the crowds behind! Here’s how to get into the sport during the COVID season!

An avid downhill skier and snowshoer, I’ve been noting the small but growing trend toward backcountry skiing for some time now. This sport, which combines a love of nordic exploration and downhill excitement, attracts men and women (and yes, some kids) who want to carve their own line down mountain terrain and explore the wilderness at the same time.

backcountry-skiing

I got my first pair of backcountry skis in 2012, which were basically fat nordic skis with a three-pin binding. I found I could navigate single-track nordic trails with steep inclines much better than my nordic skier counterparts, and I was hooked. Today, all-terrain (or AT) ski gear is much more involved, but AT skiing is still a fairly diverse term. Just like the sport itself, it can mean something different to every enthusiast, from short hikes up to freshies from lift-accessed runs to full-day expeditions with beacons and probes.

In January, I was lucky enough to experience the sport in more depth, this time trying out top-of-the-line AT skis, boots, and bindings on a half-day, strenuous backcountry ski day in Utah’s Cottonwood Canyon near Solitude Mountain Resort.

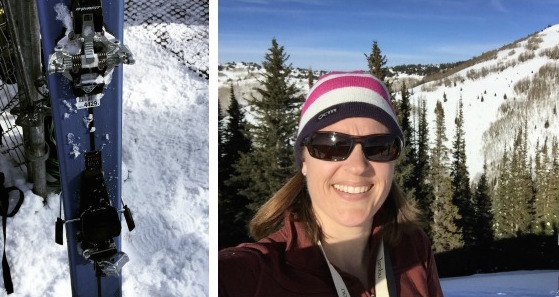
I headed out with Utah Mountain Adventures after getting outfitted with Voile skis with Dynafit bindings and Scarpa AT boots. I carried a backpack with plenty of water, plus a shovel and avalanche probe. I strapped an avalanche beacon, provided by Utah Mountain Adventures, to my body.

AT-skiing

The only way to get fresh powder runs was to climb uphill, so my first lesson was in putting on skins. Turns out, this is easy. The hard part is to climb upslope. We climbed for over two hours, stopping for a few breaks, skinning up a mountainside in the Wasatch Mountains. I’d like to say I enjoyed the whole experience,  but in truth, by hour two, I was sweating enough to shed a layer and starting to feel hot spots (which turned into blisters) where my socks rubbed in my boots. I was told to loosen my AT boots for the uphill climb (there’s a walk mode and ski mode), and while I’m sure this is sound advice, it didn’t help on the blister front.

The whole uphill experience reminded me of hiking: there were periods of enjoyment while I took in breathtaking views and reveled in being in the wilderness in winter, but also periods during which I had to set tiny goals–get to the next tree, get to the next open slope–in order to carry on. In other words, it’s crucial to love the outdoors and the uphill ‘hiking’ process, or the joys of backcountry skiing may be lost on you.

Climbing in AT skis is not very difficult–it’s much like cross-country skiing–but there are moments when kick turns may be necessary to zig-zag along steep grades. Yes, there’s a learning curve to this, but here’s what I was told (and it helped): use as much of the flat plane of your ski base as possible. Staying on your edges, where you don’t have skins, won’t help you keep traction.

backcountry-skiing

Once we’d summited a peak in Cottonwood Canyon, the fun began. We took off our skins, stowed them in our packs, and switched our boots and bindings to downhill mode. (Dynafit bindings are unique in that they transition from climbing mode, with the heel untethered, to downhill mode, with the heel locked down just like alpine skiing, with one twist of the back binding. They also feature ‘risers’ that can be raised while in climbing mode, which assist on steep ascents, much like going a gear lower on a bike. Yes, they’re nifty.)

We picked our line for the descent, and carved down the beautiful, light powder. Thanks to the efforts of our uphill hike, the terrain wasn’t skied out like it quickly becomes on lift-accessed terrain. I happily followed the lead of our guide, who knew the area and how to traverse through the glades and open slopes and still find our starting point back at base. Without him, I would have needed a GPS in unfamiliar territory.

Raised in the deep powder of Tahoe, skiing off-piste before I knew what that meant, I loved every second of the descent. Yes, it was challenging, but also very satisfying, knowing I’d earned my turns. I never needed my beacon, but was glad for the security it offered. Back at the base of the mountain, I switched my skis back to climb mode, and ‘cross-country skied’ my way back to the car on flat terrain. The sun was setting by the time we returned, and trust me, I’d earned my pizza and beer.

What you’ll need to get started in AT skiing:

  • AT or telemark skis (these are the skis I tried)
  • AT or telemark boots (the most comfortable seem to be Dynafit)
  • any ski poles
  • backpack
  • shovel, probe, and beacon
  • breathable outerwear
  • plenty of layers (wool is best)

Tips for beginners (like me):

I recommend going with a guide, like I did, your first time out (or any time out in an unfamiliar area). Most guide services can also rent AT skis and boots, which are expensive to buy yourself at first. More importantly, guides know where to go and are trained in avalanche safety (check to make sure!).

Cascade Huts

Any time out in the backcountry, everyone in your party should carry a beacon and shovel, at very least. I fell once during my trip, and lost one ski. It was deeply buried almost instantly, and had it been me, I would have been glad for my beacon, guiding others to me. Luckily, I found the ski without needing my shovel. If you go out without a guide, you should have completed an avalanche safety course. They are offered almost everywhere now, from gear stores to ski resorts.

If you haven’t explored winter terrain at all yet, start by snowshoeing or cross-country skiing. Hit trails you’re familiar with in the summer months; they’ll have a different feel in winter! Alternatively, try backcountry skiing from lift-accessed terrain. At any ski resort, look at a terrain map to see where off-piste (or non-groomed) terrain is located. Make sure it’s open the morning of your ski, and then climb only from the top of a lift (shortening your ‘hike’). Yes, others will have the same idea, so make this one of your first few runs of the day. Afterward, relax with some cruisers. Some resorts, such as Keystone Mountain in Colorado, even offer cat rides to off-piste terrain, allowing skiers to find fresh powder without AT gear.

kat-skiing-at-keystone

Can kids AT ski? Sure, though it’s currently hard to find skis and boots to fit kids under age 12 or so. There’s a reason for this: AT skiing is a lot of work. My recommendation (that I’m following with my own kids): introduce the idea of backcountry exploration when kids are small, with snowshoe treks. Then, graduate to AT skiing when kids are teens. Make sure they’re expert skiers on groomed terrain, too.

Can snowboarders AT ‘ski’? Yes, Voile and other makers are now creating split snowboards, which split into two short ‘skis’ for the uphill climb, then come together to create a board for the downhill. It’s the coolest transformer yet!

I’ve heard the argument that AT skiing is popular because skiers can avoid the high cost of lift tickets. While this is true, and while I do think most lift ticket prices have gotten out-of-hand, I don’t think true AT ski lovers climb miles of terrain for this savings. It’s simply too much work to do it for any reason but a love of the outdoors and the sense of freedom. It’s a way to challenge oneself outside of the ski resorts, and well worth the effort of learning a new discipline within alpine skiing.

I toured the Wasatch with Utah Mountain Adventures at no cost, for the purpose of testing AT ski gear.

Keystone lodging review: The Springs at River Run Village

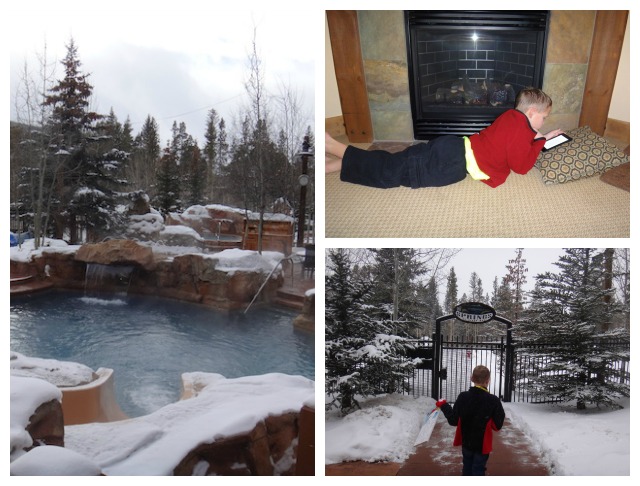
During or latest winter Keystone ski trip with kids, we stayed in a two-bedroom condo in River Run’s The Springs. At the end of our trip, my nine-year-old declared it the best ski lodging he’d experienced. Why did he rate it above other ski-in, ski-out resort lodging? Three reasons: 1. the Springs pool, 2. the proximity to the River Run Gondola, and 3. the fact that it’s surrounded by woods.

the-springs-keystone-resort

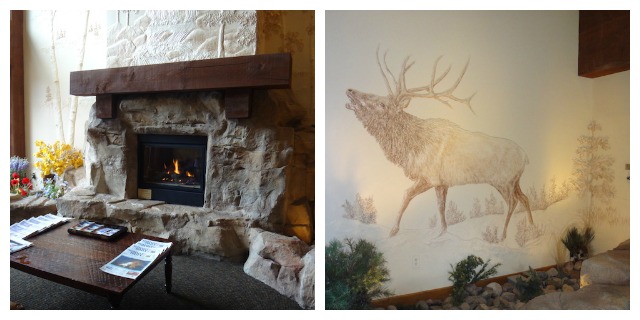
The Springs is located at the far end of River Run Village, just far enough away from ‘village life’ to be tranquil (with plenty of snow to play in around the building), but close enough that you’re literally two minutes from dining and lifts. I loved the decor of the building, which is accented with lovely wall displays of wildlife, aspen trees, and other nature scenes. The lobby of The Springs features a bubbling creek, which flows outside to the pool area and funnels into the pool slide. The entire building is open, bright, and peaceful.

Amenities:

the-springs-two-room-suite

Our two-bedroom unit included a master bedroom with king bed and bathroom with jacuzzi tub and shower (plus a vanity with two sinks), a second bedroom with queen bed and bathroom with shower and tub, a full kitchen (with full-sized appliances), a roomy living space with couch and fireplace, and an entry with lots of hooks for coats and space for ski boots. We had three flat-sceen TVs in the unit, a large balcony, and lovely wooded views. We wished we had a washer and dryer in our unit; this may have been the only thing lacking.

The kitchen was well-stocked with plates, utensils, pots and pans, and the like. Bring your own coffee (though there is a coffee-maker and filters), plus items such as ziplock bags. Free wifi is in all rooms. Your unit comes with a parking pass for the heated underground garage, should you need it, and all units are assigned a ski locker. From the locker, it’s a one-minute walk to the River Run Gondola.

Located in the lobby is a media room set up to watch movies with stadium seating (first come, first served, though we never saw it used) and a nice toddler and preschool play room. There’s a pool table in the lobby, and space for board games or card games.

Pool and fitness center:

the-springs-river-run

Yes, there’s a full fitness center at The Springs, though when I’m on a ski vacation, I get enough exercise on the slopes! Adjacent to the fitness center (and accessed from the lobby) is the outdoor pool complex. Included is a beautiful free-form heated pool with waterfall and small slide, plus a heated kids’ wading pool with fountains, and two hot tubs. One hot tub is designated as adults-only, but we found both hot tubs to get so crowded, we let the kids warm up where they liked (don’t tell). There’s plenty of seating with tables and lounge chairs in the pool area, plus a BBQ for communal use, though during our trip, it was much too cold outside to utilize either. We loved the gated entry at the back of the pool area, which leads directly into the parking area for the gondola and to the pedestrian bridge to the village; this made for a nice shortcut to and from The Springs.

the-springs-river-run

Rates:

At the time of our visit, a two-bedroom unit was listed for $394 a night (one bedroom condos, which would easily house a family of four were $284). Shop around between River Run lodging options: nearly all buildings have some sort of pool amenity (though not all have slides) and all are in walking distance of the slopes.

Location within Keystone:

River Run Village is definitely our pick among Keystone lodging locations: kids have Kidtopia, the ice rink, the gondola and slopes, and rentals within walking distance, as well as dining options galore. The only time we needed to utilize the free Village to Village Shuttle was to go to Mountain House for Kamp Keystone and Lakeside Village for lake ice skating at the Adventure Center.

Directions:

From Denver, travel west on Interstate 70. Exit at the Silverthorne/Dillon exit #205. At the end of the exit ramp turn left (East) at the stop light onto Highway 6. Travel 6.2 miles into Keystone Resort.

As I disclose whenever applicable, we enjoyed a complimentary stay at The Springs for the purpose of review. Comped stays make it possible for us to provide readers with accurate reviews of kid-friendly properties.

Northstar California Resort with kids: what you need to know for a great ski vacation

Between the expense, the equipment, and the logistics of getting everyone where they need to be (preferably with both gloves), skiing with kids can be daunting. Northstar California makes it easier by continuing to be one of the friendliest and most family-oriented mountains my family and I have ever skied. With a fun, centralized ski village, luxury accommodation options, and multiple ski school programs, Northstar offers everything your family needs to have a successful, memorable Tahoe ski vacation. Here’s how to get the most out of a trip to Northstar California Resort with kids:

Northstar

Plan to stay a minimum of three days.

With 170 acres of newly skiable side-terrain, a new express quad chairlift doubling the capacity on the backside, and one of the best terrain parks (including the new 22′ Shaun White super pipe), families simply can’t full experience Northstar in only a day, especially if they plan to spend even half a day in group or private lessons. Renting equipment, buying tickets, and registering for ski and board school all take time: you only want to have to do it once per ski vacation. Staying at Northstar more than one day saves you money too: buying 3, 5, or 7 day passes is much cheaper than day-of ticket window pricing. If you plan to ski more than seven days, consider purchasing a local Epic Pass instead, which allows entry to both Northstar and Heavenly.

Immerse yourself in ‘village life’.

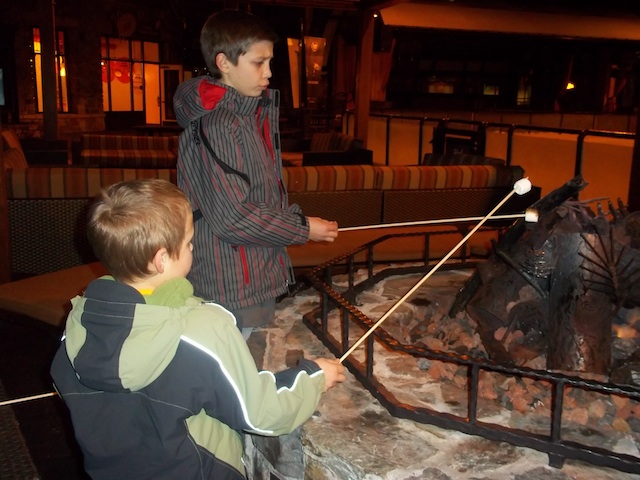
We loved staying in the heart of the Northstar Village at Tahoe Mountain Lodging’s Big Horn Lodge. Of course, it’s convenient to be steps away from the slopes, ice skating rink, equipment rentals, restaurants, shops, and hot tubs, but what we hadn’t counted on was how much enjoyment we’d gain from staying in the heart of such a contagious ‘ski town’ atmosphere. The Northstar-at-Tahoe Village truly is the heart of the resort; we loved the cheery bonfires lining the village streets (bring marshmallows!), the live music in the evenings, and the view from our balcony of the Northstar gondola whisking guests up and over the snow-blanketed slopes.

northstar

Take advantage of private family lessons.

Like many resorts, Northstar-at-Tahoe offers a wide variety of ski and board lessons, from group classes for kids as young as three to adventure and ‘guided’ sessions for advanced skiers and riders. At first glance, springing for a private lesson may seem like an extravagance, but because families can add up to six people to one private lesson, the cost can become equal or even less than a group lesson. Your children will get far more personalized instruction, and if you join in as well, you’ll learn how to help your kids learn! Our kids (ages 7, 10, and 12) had a great time with their private instructor, Jon, who served as not only a teacher, but a guide, familiarizing the kids with the mountain as they zipped around, enjoying twice as many runs in as most guests (by utilizing private lesson lines). Time is money, and dedicating half a day or one full day to a family private lesson can not only jump start your ski instruction, but get your group familiarized with Northstar like nothing else!

Northstar

Utilize EpicMix.

A brand new social networking and tracking service offered by all Vail Resorts (of which Northstar is a part), EpicMix is touted everywhere you go at Northstar, and for good reason: you should be using this fun and free tool! In fact, if you have a ski pass, you already are: every time you enter a lift line, an EpicMix sensor scans your pass, recording your lift habits, total vertical feet, and lots of other fun stats throughout your day. After skiing, families can log into their account (kids are securely added by you to yours), select avatars, compare stats and achievement ‘buttons’, and view photos taken by the equally free EpicMix photographers (which work just like Disney’s PhotoPass photographers). And if your tween or teen is skiing without you (or your kids are in lessons while you’re in the lodge), you can log onto EpicMix from any smart phone to find out where on the mountain they’d last ‘checked in’.

Save time for all the extras.

Northstar offers so much more than skiing: in the village, families can take in a first-run movie, ice skate on the public rink (skating is free; if you need skates, rentals are $10/person), roast marshmallows over the open fire pits, and tube at mid-mountain.

Much thanks to Northstar-at-Tahoe for hosting our stay. This compensation came with no expectation of a positive review.

Best snowshoe tour in Bend: Wanderlust Tours

Another day, another excellent outdoor experience with Wanderlust ToursWhat makes Wanderlust the best snowshoe tour in Bend? My family and I first experienced Wanderlust during a kayak tour of the Cascade Lakes of Central Oregon, and loved our afternoon so much, we came back for a winter Cascade Mountain Snowshoe tour. Yes, Wanderlust gets our highest possible endorsement: a return visit.

snowshoe-tour-for-kids

What makes Wanderlust Tours great? Their access to areas off-limits to other tour operators, their expertise and professionalism, but more than anything, their guides. Wanderlust guides know their stuff—flora, fauna, and outdoor safety—but they don’t just spout it out. They teach it in a natural and enthusiastic way that gets even teens onboard. They meet their guests’ needs in the fullest extent possible, tailoring each tour to what people want to experience.

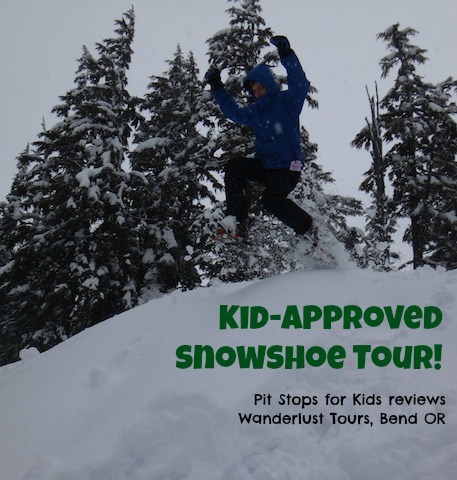
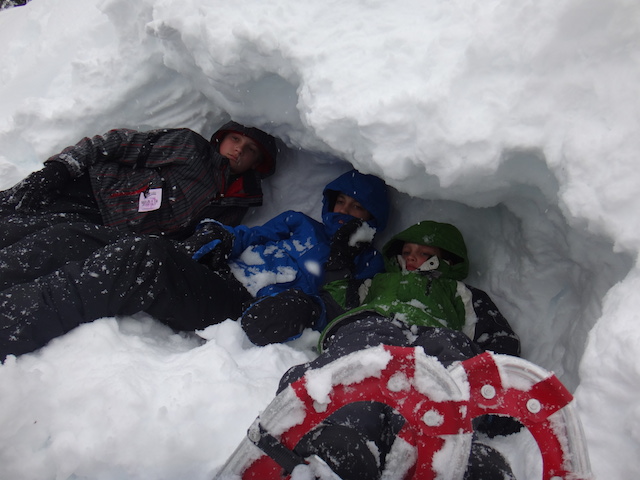
Before our Wanderlust snowshoe tour, my kids said they didn’t like snowshoeing. It’s an activity I enjoy, and drag them along for. The boys are adrenaline junkies who love downhill skiing and mountain biking: snowshoeing is too tame! However, the minute we met Wanderlust tour guide Danny, I knew their opinion was about to change. I was right: Danny met the challenge of creating snowshoe fans with enthusiasm. He understood and enjoyed kids—a crucial requirement in any guide—and treated them to an off-trail, deep powder snowshoe trek. Our tour included epic snowball fights, snow fort building, snowshoe jumping (and sort of landing) and races. Would this be everyone’s ideal snowshoe trip? Maybe not, but that’s the point: Wanderlust tailored the afternoon to us.

wanderlust-tours-bend

The nitty gritty:

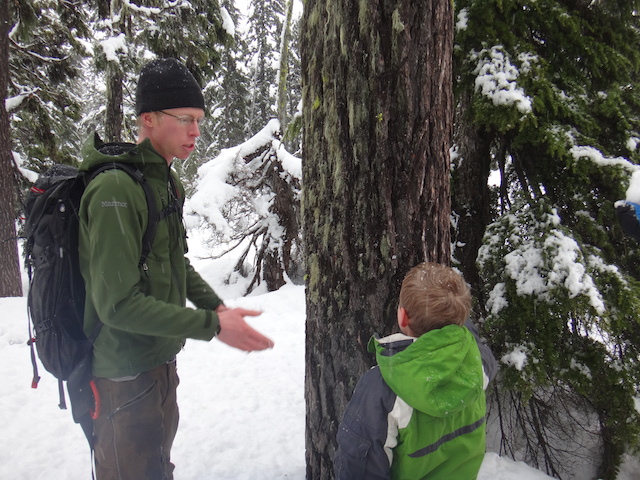
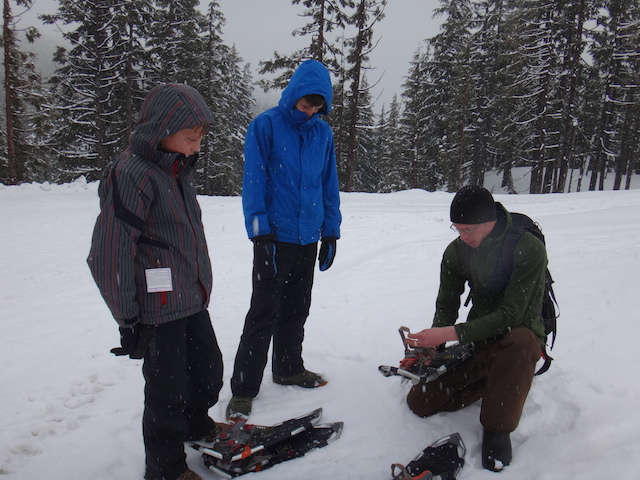
We started at the Wanderlust Tours office in Bend, and drove approximately 25 minutes up Century Drive into the mountains. We stopped at Mt. Bachelor, where we donned snowshoes and took off into the woods. We weren’t restricted to trails, and while Danny guided our route, he was open to suggestions. Right away, he proved himself a good shot with a snowball, which intrigued all the kids. For the next two hours, we trekked, ran, jumped, and even dove through the snowy terrain, with short periods in which Danny reigned us in to point out various trees and moss, and to give us historical or geological lessons. We stopped mid-way for a hot chocolate break, and practiced building snow shelters just for fun. By the end of our tour, all our boys thanked me for booking the snowshoe tour, and admitted that now that they knew ‘how to make it so fun’, they’d snowshoe with me again. Win-win!

wanderlust-tours-bend

Snowshoe tours are offered by Wanderlust daily, and span half-days. This is the optional amount of time needed to gear up, get there, and return, with approximately two hours in the snow. Any longer, and we would have begun to feel the cold, and any less, and we wouldn’t have felt as though we’d gotten too far into the wilderness. Wanderlust also offers cave tours, moonlit snowshoe tours, and craft beer tours for adults. In summer, try a kayak tour!

wanderlust-tours

Tips: As with all outdoor guided experiences, families will want to arrive prepared. For a snowshoe tour, wear waterproof pants and jacket (ski attire works well) and snow boots. Knitted hats and gloves are a must. If you don’t own snow pants or boots, they are available for rent. Snowshoes will be provided. We found it helpful to bring a small day pack to store extra layers and water bottles. We also brought granola bars for the van ride back down the mountain.

Date last visited:

March 2014

Distance from the interstate:

Wanderlust Tours is located in Bend, off Highway 97.

Rates:

During the time of our tour, snowshoe half-day tours were $60 for adults and $55 for kids. Children must be 8 years old and up to participate. Check the Wanderlust Tours website for specific tour date info.

Directions:

The Wanderlust Tours office is located at 61535 S. Highway 97 in Bend.

As I disclose whenever applicable, we experienced Wanderlust Tours as guests, for the purpose of review. All opinions are our own.
Tahoe with kids: Granlibakken Ski and Sledding Hill

Looking to explore off the beaten tourist path in Tahoe with kids? Granlibakken is traditional Tahoe at its most authentic: this old-school resort boosts lodge rooms, condos, sledding, a day spa, and ski learning on poma bar and rope tow-accessed terrain. In the summer, there’s a large treetop rope course and easy access to hiking trails and the lake shore.

Keep this lesser known resort top-of-mind if you are planning a multi-generational vacation to Tahoe or a family reunion because they have multiple lodging options that work for larger families or even wedding parties. All lodging guests enjoy a complimentary buffet breakfast each day, too.

Granlibakken

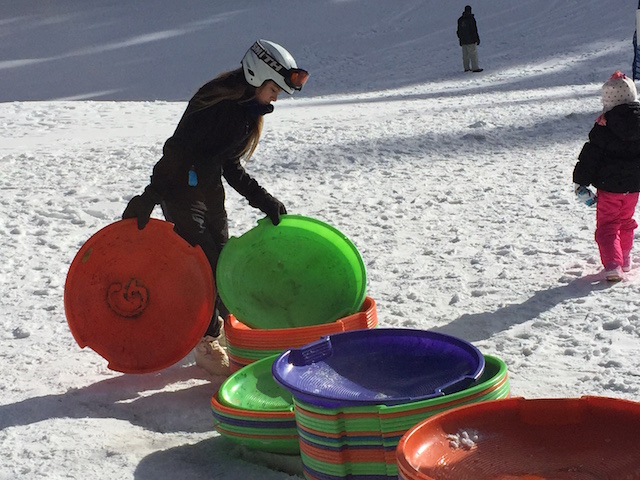
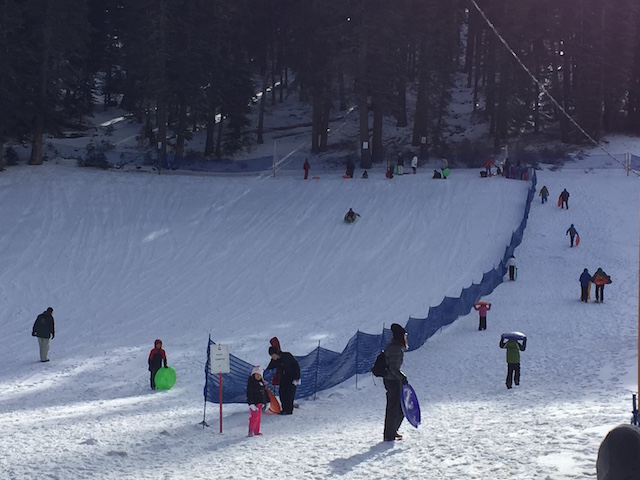
We headed to Granlibakken for a morning of sledding. With four kids in our party, we weren’t keen to pay the hefty tubing prices at larger ski resorts, and didn’t have the option of finding our own sledding hills on Tahoe’s many sno parks (due to snow conditions). Granlibakken proved to be a perfect choice, with a large hill (with multiple routes down) and an organized hike-t0-sled path, plus plastic sledding disks to use. We started in the quaint warming hut, where we bought tickets for $12 per child, and headed outside to the hill. You can also rent snowshoes here or cross-country skis, and access either their own maintained nordic trail or more trails just over the hill.

Tip: Adults can watch for free of course, but should you want to go into the sledding area to help or just to take photos, you will need your own tickets. 

Tahoe with kids

It’s fine to bring your own sleds (just make sure they’re not metal), and prepare to spend about an hour or two here. If the snow conditions are good, kids may want to stay to play in the snow longer. In the lodge, you’ll find a counter-service dining option, where the hot chocolate flows and coffee is quite good. There’s a learning hill for kids on skis, with a rope tow, and one lift (poma bar accessed) for intermediate skiers and riders. Check for current lift ticket prices, as we only used the sledding area on our visit.

Granlibakken

Date last visited:

December 2014

Distance from the interstate:

Located just outside Tahoe City, about 20 minutes from I-80 and just steps from CA-89.

Directions:

Turn left at the stop light in Tahoe City onto CA-89 S. Drive one-half mile to Granlibakken Road and turn right.

Family Apres Ski at Whistler Village

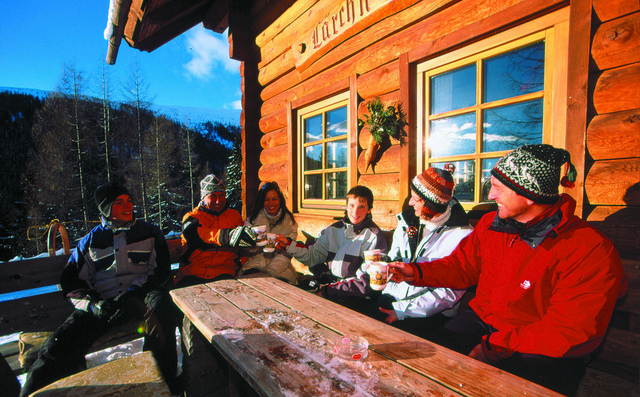
After a full day of skiing or boarding, nothing is so satisfying as unbuckling your boots and shedding your coat to warm up amid the lively ambiance of fellow skiers and perhaps a live band. Add a cold brew or warm beverage, and you just might be in heaven. We’ve already told you where to eat on a budget at Whistler, but you don’t have to pass up the fun of apres ski drinks and appetizers, even if you do have a full kitchen at your Whistler home rental. Check out the following family-friendly apres ski at Whistler Village locations.

apres ski with kids

1. Mallard Lounge, Fairmont Chateau Whistler:

Located within the elegant lobby of the Fairmont (right off Blackcomb’s Wizard chair), the Mallard offers cozy couches fireside and a designated family seating area. In fact, the whole lounge is kid-friendly until 8 pm. On Friday nights until peak season, parents can order $5 drink specials while the kids sip gourmet hot chocolates and listen to nightly live entertainment.

2. Earl’s:

Earl’s is hard to miss coming down from any of Whistler’s main runs into the Village. Ski right to the front door, and grab a spot by the fire. The atmosphere here is very casual and fun; no one minds kids underfoot and the crowd is very family-oriented in the early evening after the lifts stop turning. Stay for dinner or depart after a drink or two (the burgers are great, but pricy).

3. Elements:

Located off the beaten path in Whistler Village North, Elements manages to be both casual and upscale, with inventive cocktails and appetizers that don’t break the bank. Kids will like the tapas that are disguised as finger foods. Unlike some of the noisier bars and pubs along the Village and Upper Village (think Wizard Bistro), Elements remains full without feeling crowded.

While you wait for drinks or while you’re still deciding where to go, let the kids play on one of the many snow hills piled up along the pedestrian streets of the Village Stroll. They’ll have a blast playing ‘king of the hill’ or sledding down them in their ski pants even after a full day on the slopes. (If only I had that sort of energy!)

Photo credit

Best ski towns: Lake Placid and Whiteface Mountain

Ready to plan Lake Placid skiing with kids? Whiteface Mountain boasts the biggest vertical drop east of the Rockies, it hosted the 1980 Olympic Winter Games, and it has an impressive (or intimidating, depending on your skiing ability) 38% expert runs. But what you might not expect is that Whiteface is also a great place for families with young kids just starting out on the slopes.

whiteface-mountain

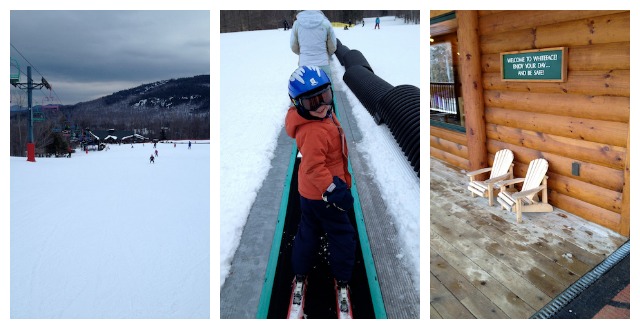
One of my favorite aspects of Whiteface’s Kids Kampus is how separate it is from the rest of the mountain. While it’s easy for parents to take a run over to check up on their little ones, it’s isolated enough that the lift and runs are occupied almost solely by kids enrolled in lessons. That means that the lift is less crowded, and that you don’t have to worry about someone speeding by your child as they’re just learning to traverse the hill. The runs themselves are all green circles, except for an intermediate glade run, but they’re long enough to challenge kids that have moved beyond a magic carpet. To give some perspective, our 5-year-old, who has been skiing for two and a half years, was happy on the same hill as our 3-year-old, who just started earlier this year.

whiteface-mountain-review

Kids Kampus is also great for its one-stop shopping. Parents can arrive at the Kids Kampus and buy lift tickets for everyone, reserve lessons and day care, and drop the kids off for their activities. They have a separate parking lot, lodge with cafeteria, and rental shop. To get back to the main mountain, you can either take the Bunny Hutch lift and ski over, or take the shuttle that runs all day between the Kids Kampus lodge and the main lodge.

And kids aren’t the only ones that can learn some new skills at Whiteface. Adult lessons are available from the main lodge and can accommodate all abilities. If someone in your group has never skied before, Whiteface also offers a Parallel from the Start program that includes a lesson, lift ticket, and rental. They also have an adaptive ski program that offers lessons and rental adaptive equipment for kids and adults with disabilities. Basically, whatever your age or ability, there’s something new to learn at Whiteface.

whiteface-mountain-review

As for the mountain, of course it’s great! Even on a busy day, the hill doesn’t seem crowded because there are so many parts of the mountain to explore. The Cloudsplitter Gondola is a great place to start, and from there you can move on to the Summit Quad and ski the same hill used for the downhill races in the 1980 Olympics. If you’re really lucky (which I wasn’t, unfortunately), you’ll catch Whiteface on a rare day when The Slides are open. These are a series of chutes accessed by the Summit Quad. Most of the year they’re closed due to insufficient snow or avalanche danger, and even when they’re open there are certain precautions that are required—ski buddies, a beacon, shovel and probe. But if the conditions are right, you could be in for the best runs in the east!

Website info:

Whiteface: http://www.whiteface.com/ (this website is also where you’ll find info on the other Olympic venues, including information on sliding or cross country skiing). Another great planning site is visitadirondacks.com.

Lift Ticket prices:

Prices are listed on the website, and range from $79 for a half day in the Bear’s Den Nursery, to $143 for a full day of Play-N-Ski (two sessions of lessons, with free play and lunch in the nursery). Adult lessons start at $46 for two hours, and the Parallel from the Start program (which includes lift ticket and rental) is $139/day.

Lodging:

Our pick is the Lake Placid Towne Plaza for lodging close to the slopes. Read my full review.

Directions:

From NYC: take the New York State Thruway (I-87) north to Exit 24 (Albany). Take I-87 north (Adirondack Northway) to Exit 30. Pick up Route 9 north and follow it for two miles to Route 73. Continue on Route 73 for 28 Miles to Lake Placid.

From Boston: Take the Massachusetts Turnpike (I-90) to Albany. Pick up I-787 north to Cohoes. Connect with Route 7 west to I-87 north. Follow I-87 north (Adirondack Northway) to Exit 30. Pick up Route 9 north and follow it for two miles to Route 73. Continue on Route 73 for 28 Miles to Lake Placid.

As I disclose whenever applicable, my family and I skied Whiteface as guests of the resort, for the purpose of reviewing their child and adult lesson packages. All opinions are our own.
Whistler Blackcomb Ski Resort: what not to miss with kids

Twenty minutes before lifts stopped turning on a perfect Whistler ski trip, we were still finding fresh powder. Whistler Blackcomb is just that big. Everywhere we skied at Whistler Blackcomb, the kids discovered new routes, new glades, and new jumps. After spending two full ski days exploring the duel mountains, we could only say we’d had a ‘sampler’ of what this resort offers to families.

Whistler Blackcomb skiing with kids

Whether you have an ideal 3-4 ski days at Whistler Blackcomb, or just a short few like we did, Pit Stops for Kids is happy to share our top sections of the mountain for families, including runs, lifts, lodges, and dining.

Where to ski or snowboard on a Whistler ski trip:

The best thing about Whistler Blackcomb’s mountain layout is the fact that no matter where you are on either of the mountains, from peak to base, beginner (green), intermediate (blue), and advanced (black) runs are available. This means families can ride the lifts together even if they’re of different ability levels, and even young kids and novice skiers and riders can experience the whole resort. Our favorite sections of the two peaks for kids (of any level):

Blackcomb skiing

1. Jersey Cream area of Blackcomb: This area is accessed by the Solar Express lift (from Wizard Express at the base), and provides expert to beginner runs situated high enough on the mountain to be challenging but just below the tree-line (to keep out of the wind). We spent the majority of our time here, alternating between the double-black-diamond Jersey Cream Bowl and its many side runs (most of which are intermediate). The Green Line (beginner) offers a fun alternative to those not so sure about moguls and steeps. For those wanting to go higher up, the Glacier Express loads adjacent to Jersey Cream.

Family Zone at Whistler Blackcomb

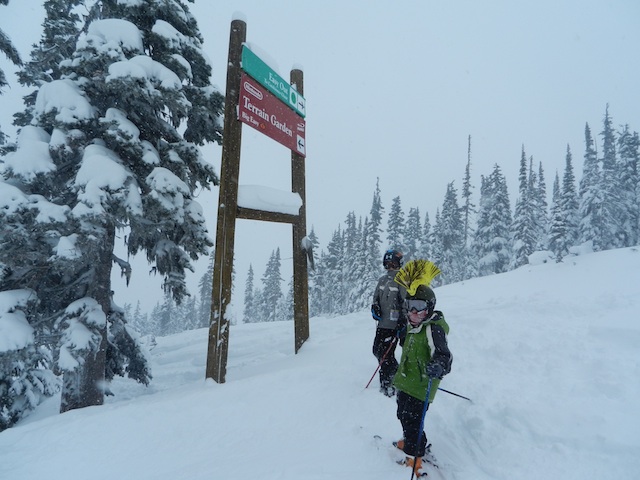
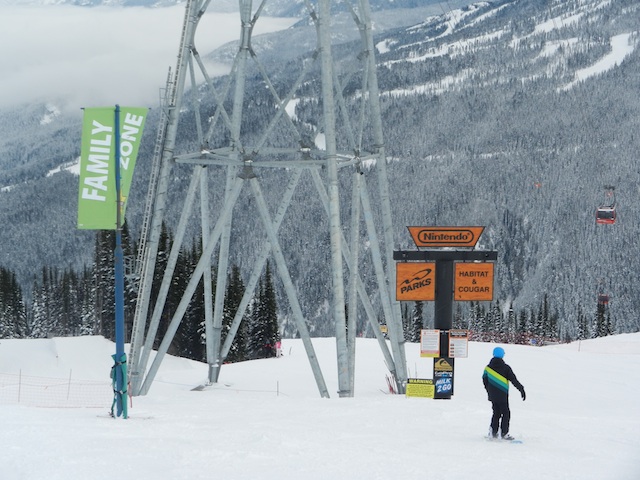
2. Whistler Family Zone: Located on Whistler Peak directly across from Blackcomb after off-loading from the Peak 2 Peak Gondola (or off the Whistler Village Gondola), this Family Zone is a relaxing place to try out new skills without fear of fast skiers or riders nearby. Marked by bright green flags, the Family Zone offers groomed slopes and is placed next to one of Whistler Blackcomb’s many Nintendo Terrain Parks. It’s easy for kids to dip in and out of the terrain park (every feature is clearly marked as S (small), M (medium) or L (large) and still meet up with non-jumping family members. If your kids like easy glided skiing or riding, look for the large wooden arch marking the entrance to a not-so-steep tree glade filled with powder and trails (when snow levels permit).

3. Blackcomb lower mountain: Younger kids will like the numerous intermediate runs off the Wizard Express (and parents will like that the Blackcomb lower mountain gets less traffic than the Whistler lower mountain). When they’re ready, take intermediate and beginner kids up Solar Express for new terrain, including another Nintendo Terrain Park. (Look for the magic ‘castle’ play area nearby…though we had trouble finding it in deep snow, even with signage!)

Tip: If you’re new to the mountain, a great way to orient yourself is to ride to the top of Blackcomb and take the Green Line (beginner) all the way down. This cat-track trail, marked ‘Easiest Way Down’, traverses the entirety of Blackcomb while winding slowly down. Parents can get a feel for the mountain while kids get their ‘feet wet’. Plus, we clocked it: it’s a 30 minute run!
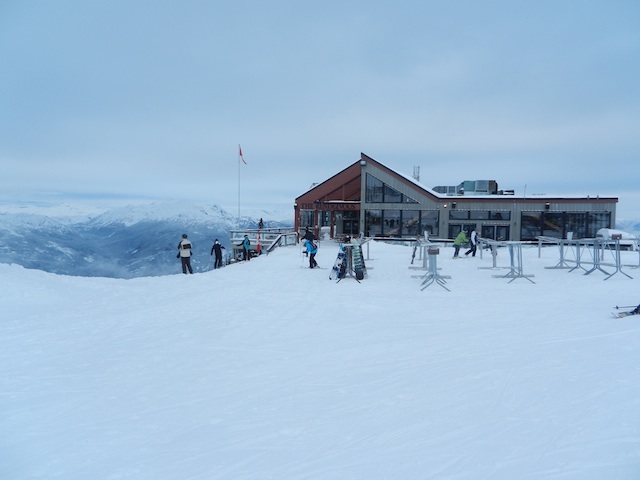
Rendezvous Lodge, Blackcomb

Where to eat and rest:

Whistler Blackcomb is very big, which means that traversing to your favorite pit stop could take a while, depending upon where you are on the mountain. Families will waste time getting from Point A to Point B if they’re not careful. The good news is, there are dining options on both mountains, of course. Our best advice: no matter where you eat, try to avoid the two largest lodges, Roundhouse and Rendezvous, during peak lunch hours (12-1pm).

1. Glacier Lodge: Located at the base of Jersey Cream and Glacier lifts, this smaller lodge is just enough off the beaten path to be an ideal lunch spot for families. (Also recommended is Crystal Lodge, but it’s so far off the main lifts it may take too much time to get to.)

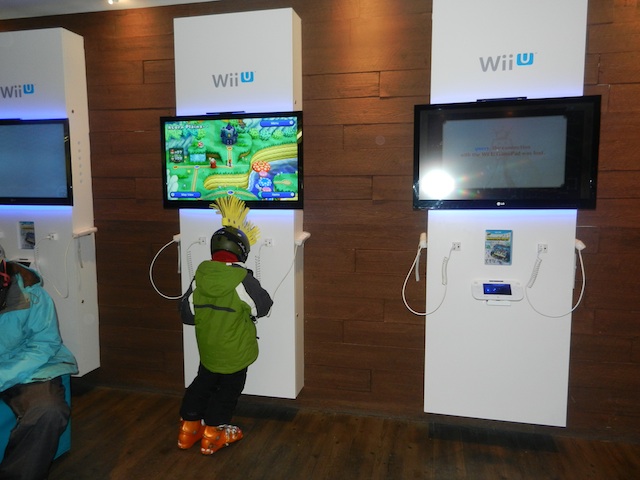
2. Rendezvous Lodge: As long as you avoid the peak lunch hour, Rendezvous is a good bet (and easy to get to from either Whistler–take the Peak 2 Peak–or Blackcomb). Even during the busy holiday season, we didn’t have trouble finding a table or getting through the cafeteria-style dining area. Tip: even adults can order kid meals, which are a great value at $8.99 and include an entree, two snacks (all healthy options), a piece of fruit, and a drink. If the kids finish eating before you do, let them go downstairs to the Nintendo gaming area, where they can play the latest Wii and Nintendo DS 3D games for free!

Nintendo play area Whistler

3. Try to avoid Whistler Village at lunch, as this congested area will delay your return to the slopes. The exception: if you’re staying at a ski-in-ski-out hotel. During our stay at the Fairmont Chateau, we were able to ski down to the hotel, eat a healthy meal in our room, and be back on the hill within 45 minutes. It was worth returning to the base to skip the lunchtime crowds (and hassle).

Riding the Peak 2 Peak:

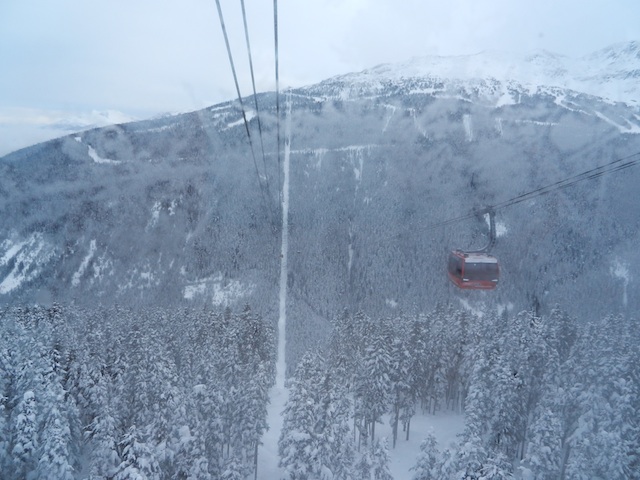
At some point, you’ll want to cross between Whistler Peak and Blackcomb Peak, and while you can return to the Whistler Village and ride the Excalibur Gondola to the Blackcomb side, you’ll have far more fun riding the Peak 2 Peak. Located between the Rendezvous and Roundhouse lodges, the Peak 2 Peak takes about 20 minutes to ride. This is a great time to adjust clothing and gloves, eat a snack, or simply warm up! The views are jaw-dropping (as is the height!). Your lift ticket includes the Peak 2 Peak, so take advantage of it!

Peak 2 Peak

Don’t be surprised if you experience less than 30 percent of Whistler Blackcomb in one day, and don’t be afraid to ride lifts all the way to the peaks (when open). There will be an easy way down option every time!

As I disclose whenever applicable, my family and I experienced Whistler Blackcomb as guests of the resort. While we appreciated this opportunity to share tips and advice with other traveling families, it not come with the expectation of a positive review.


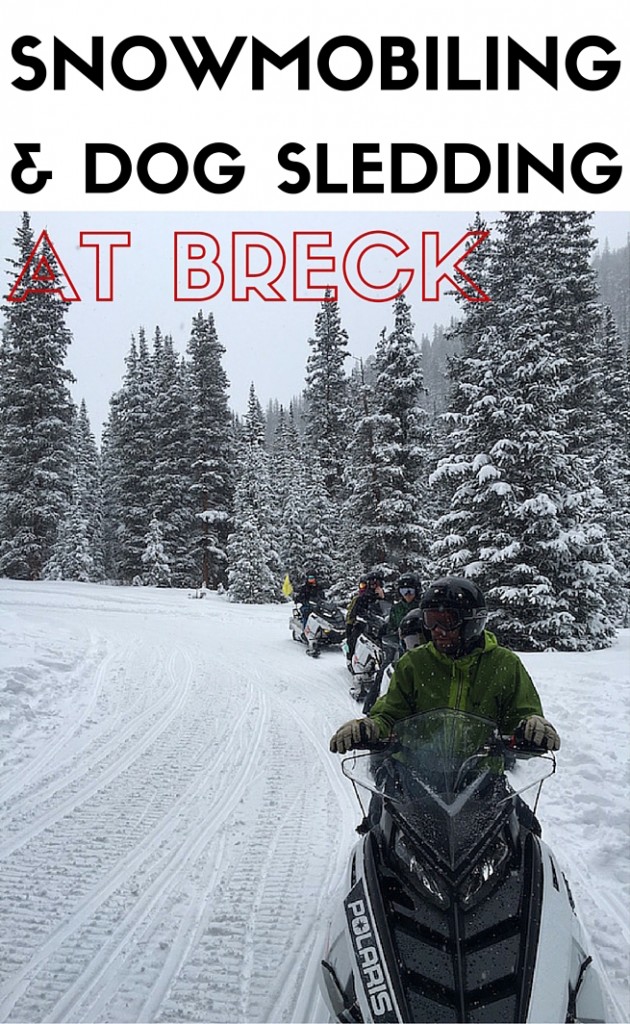
Dog sledding and snowmobiling in Breckenridge

The town of Breckenridge Colorado is known for its epic skiing and snowboarding, but there are many other ways to enjoy the snowy mountains here. Whether you want to plan a day away from the slopes during a longer vacation or have non-skiers among you, head out to Good Times Adventures, about twenty minutes from town.

snowmobiling-at-breck

Good Times Adventures offers snowmobiling tours as well as dog sledding excursions. It’s worth noting that snowmobilers have the opportunity to see sled dogs in action, as their kennels and sledding trails are located in the same area.

Snowmobiling in Breckenridge:

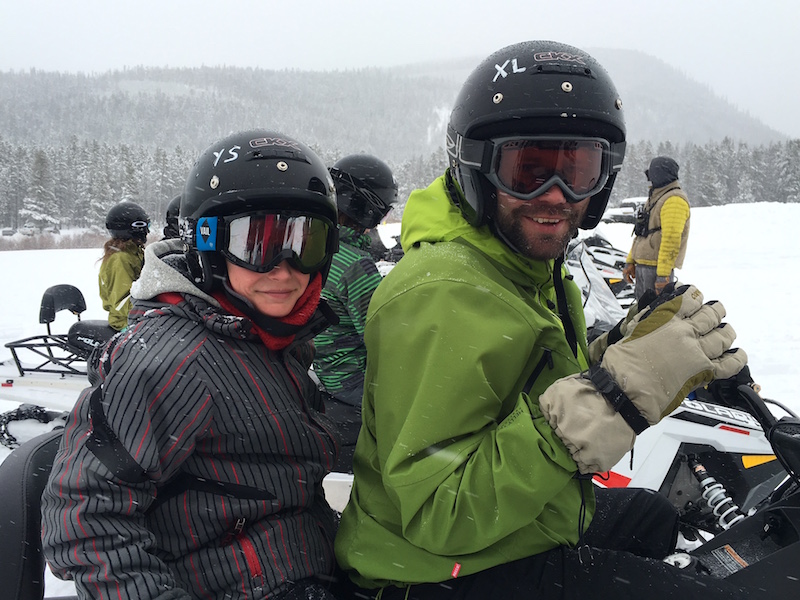
We booked Good Times Adventures’ most popular snowmobile tour, which is two hours in length and takes visitors through wooded trails up to an open vista along the Continental Divide. Personally, I was most interested in seeing the scenery: on a snowmobile, we could cover a lot more ground than on nordic skis or snowshoes. Without a doubt, however, my teens and pre-teen’s primarily interest was in the snow machines themselves, and the possibility of driving them. Here’s the nitty gritty:

snowmobiling-in-Breck

  • Kids 15 and older can drive their own snowmobile, provided you’ve decided to purchase that option. They must be 18 or older to drive with a passenger onboard.
  • Good Times has over 40 miles of groomed trails, and each guide decides on a route, so you don’t see much of other groups once out on the trails.
  • Our group consisted of only 7 guests (5 machines), which was a pleasant surprise…we expected a larger group.
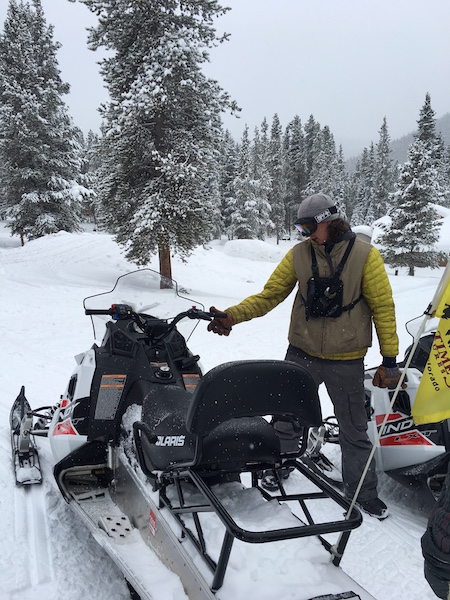
  • The trip starts and ends at a large open practice area, where you can get used to the machines (and have some fun going pretty fast). Our guide explained how to use the machines in about 10 minutes…even for novice snowmobilers like us, it was easy!
  • Snow suits and boots are provided if you want them, or you can wear your own gear. You must, however, wear their helmets, so don’t bother bringing your own. If you do, they’ll be stored for you.
  • You do have to bring your own mittens or gloves, eye protection (goggles), and face mask/scarf. You’ll really want one of these.
  • The ride goes through the scenic Swan River Valley and up to the Georgia Pass to the Divide, at over 11,000 feet.

Those of us unfamiliar with snowmobiles really loved this tour. However, if you snowmobile regularly, going in a group with a guide may be too tame for you. I liken it to horseback tours: because I’m familiar with riding, nose-to-tail rides are a bit boring to me. But they’re thrilling to those with less experience. You know your family: if your primarily motivation is to see scenery and have fun on machines that you don’t get to ride or drive often, this is a great way to spend an afternoon at Breckenridge. If you ride snowmobiles often, maybe this is not for you.

snowmobiling-tips

Scheduling: tours depart hourly. See the Good Times Adventures website for exact hours. Be there 30 minutes before your departure time.

Cost: drivers are $110 and passengers are $55. Kids 8 and under are only $25.

Dog Sledding:

sled-dogs-in-Breck

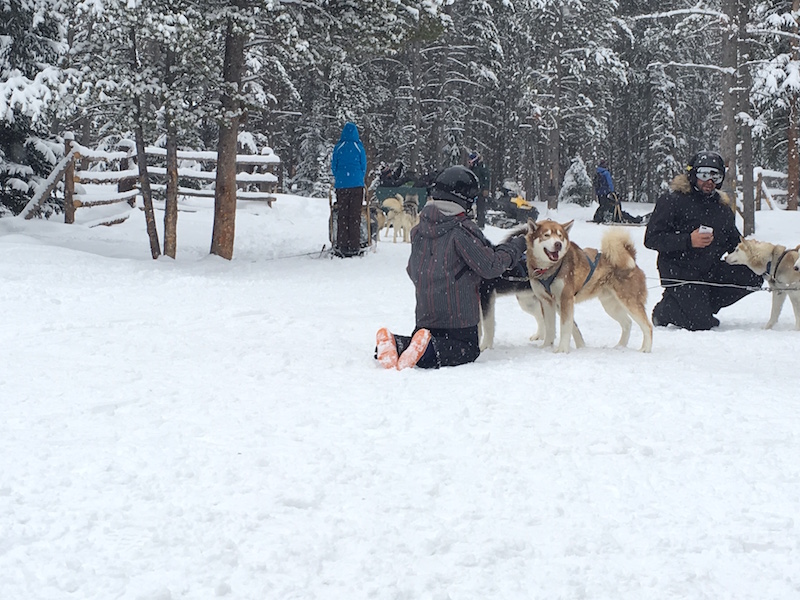
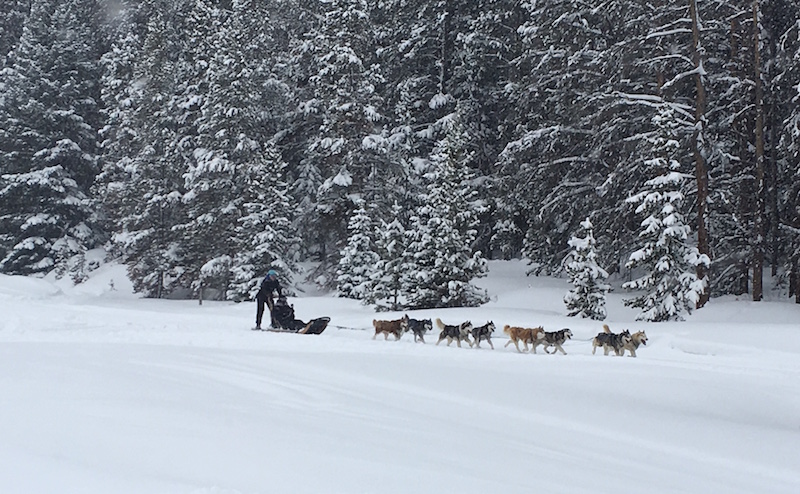
Dog sled tours are in the same location, and include a meet-and-greet opportunity with the dogs, information from your musher, and time out on the trails behind the dogs. Visitors on the tour take turn in the sled and on back, guiding the dogs…the others are pulled in a comfortable sled wagon behind a snowmobile. The good: everyone gets lots of opportunity to see the dogs run. The bad: if you don’t like the noise of snowmobiles (as I don’t), you’ll be subjected to it. This is too bad, because dog sledding along quiet snow-covered trails is quite magical, and some of that is lost here.

dog-sledding

Cost: Adults are $75, and kids 8 and under are $40.

Note: For either the snowmobiling or dog sledding experience, it’s customary to tip your guide or musher.

Getting here:

Fom downtown, head North on Hwy 9 (Main Street) approximately 2.5 miles until you get to the stop-light at the Tiger Road intersection. At Tiger Road, turn right and enjoy the scenery for about 6.5 miles until the road dead-ends in our parking lot. Shuttle pick-up and drop-off is also available from various points in Breckenridge.

As we disclose whenever applicable, we experienced snowmobiling as guests of Good Times Adventures, for the purpose of review. All opinions remain our own.