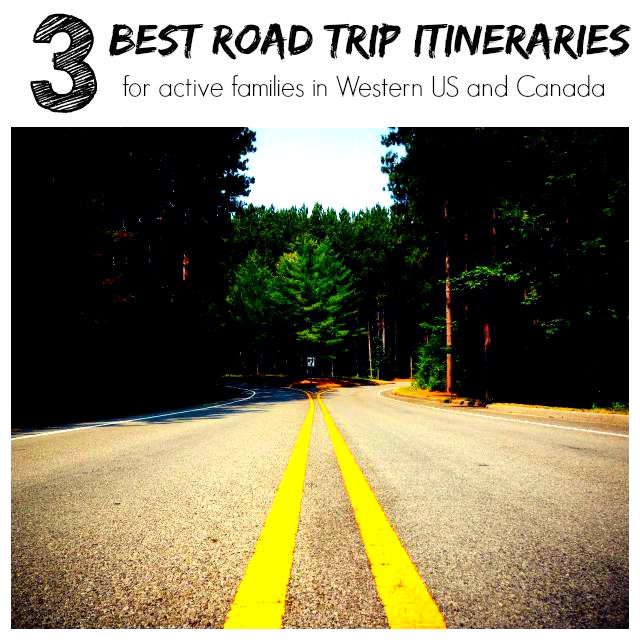
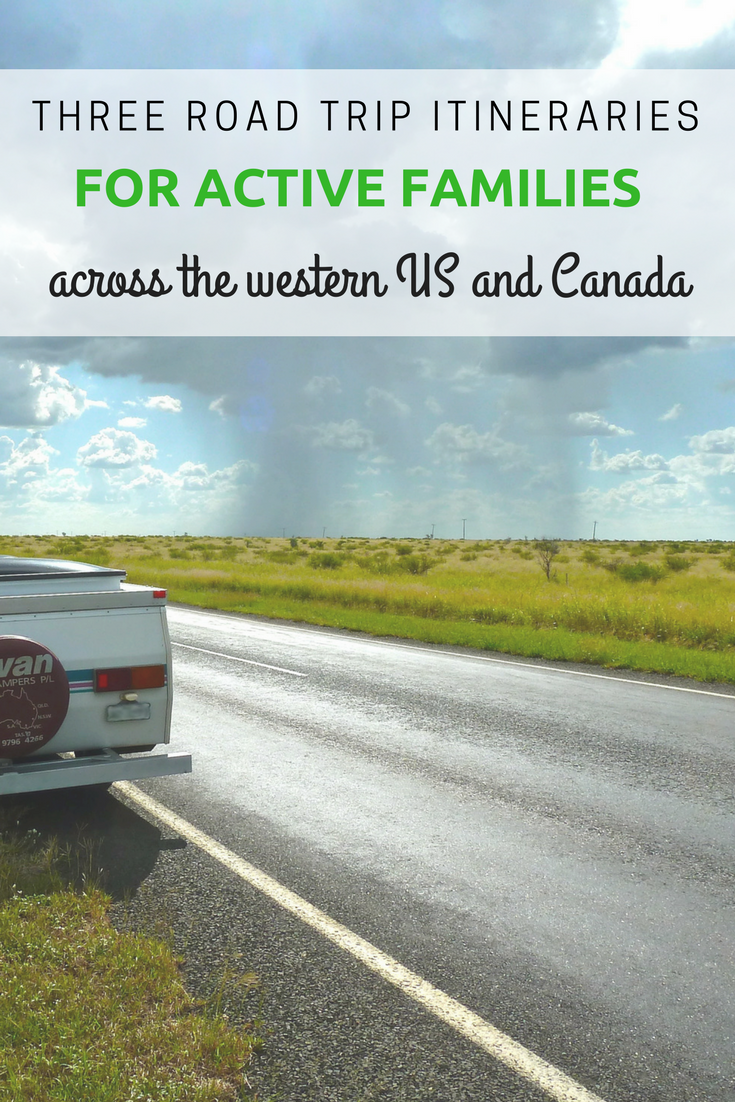
No matter how much we vacation, road trips remain one of our favorite modes of travel. Why? Road trips offer a sense of adventure and freedom that’s hard to beat. Plus, they’re often more affordable, more flexible, and allow us to see the country up-close and personally. I’m offering up our three best road trip itineraries for active families in the western US and Canada:
1. Northern California Coastal Road Trip
Think a road trip down California’s fabled Highway 1 is only for romantic getaways, ideally in a convertible? Well sure, that’d be nice, but a Highway 1 road trip is excellent with kids in tow, too. Our trip started in San Francisco and ended in San Simeon, with both city and country stops.
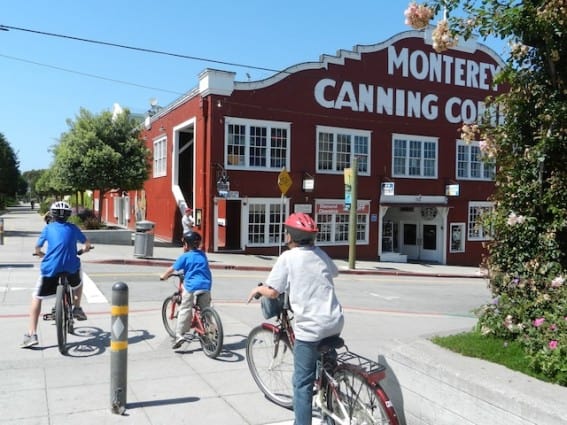
Highlights for active families:
- Hiking along Big Sur
- Biking along Monterey Bay
- Kayaking and seal watching
- city exploration in San Francisco
Read our full Highway 1 itinerary.
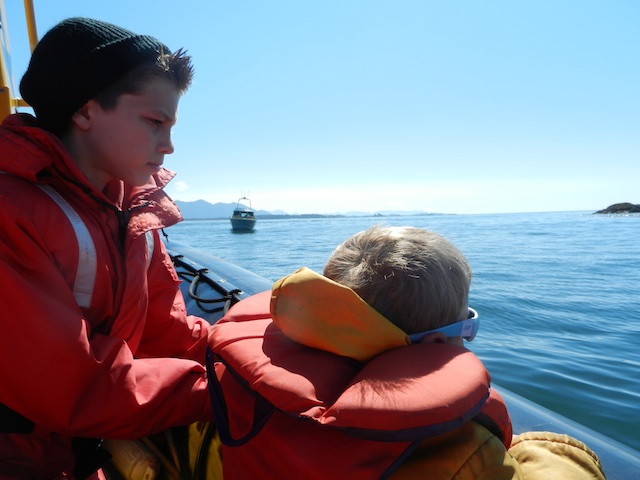
2. Vancouver Island Road Trip
Head over the border to Canada, and explore all the rugged beauty of Vancouver Island, BC. We started in the city of Vancouver, then took a BC ferry at Horseshoe Bay. Once we were on Vancouver Island, we explored the east coast of the shore (known for its sunny weather), then crossed the island for breathtaking views and wildlife spotting on the western side.
Highlights for active families:
- Kayaking in Ucluelet
- Whale watching via zephyr boat in Tofino
- Exploring Pacific Rim National Park
- Ferrying to old growth forests in Meares Island
Read our full Vancouver Island itinerary. Want to add a bit more Pacific Northwest south of the border? Explore San Juan Islands, WA as well.
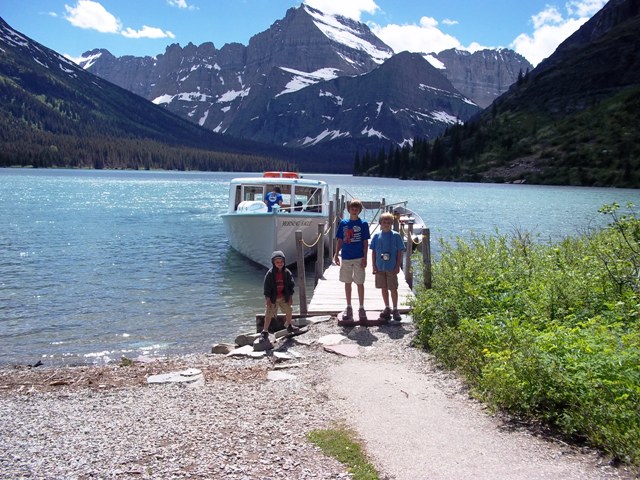
3. Western National Parks road trip: Montana, Wyoming, and Utah
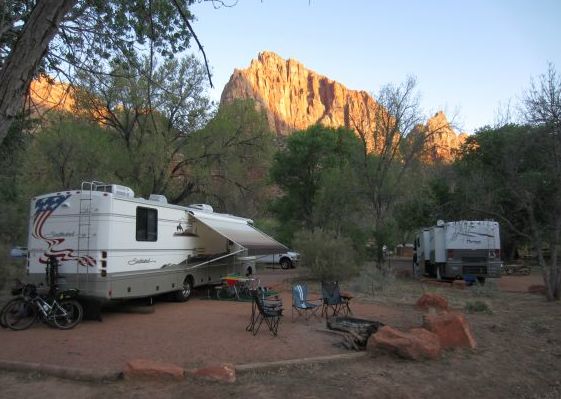
Want to see Glacier, Yellowstone, Grand Teton, and Zion, but can’t decide which epic national park to visit? Neither could we! For this national park-focused road trip, we started in Spokane, WA, and drove to Montana to see Glacier, then dropped down Big Sky for some outdoor playtime before driving to Wyoming to see Yellowstone and Grand Teton. Next, we headed to Park City, Utah for a breather before driving south to Zion.
Highlights for active families:
- Exploring 4 national parks in about 3 weeks
- Camping in yurts and tents
- Playing on ropes courses and zip lines in Park City and Big Sky
- Boating on Glacier lakes
- horseback riding in view of the Tetons
Read our full Western National Parks itinerary. Need a great detour? Drive to Cody, Wyoming after visiting Grand Teton to learn about Buffalo Bill and explore cowboy country.
Additional picks:
- Jasper and Banff, Alberta
- American Colonial History road trip
- New England: Vermont and Maine
Pin it for later!

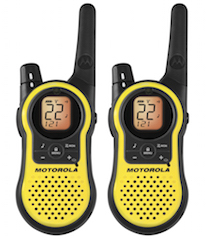 2-way radios: Sure, you have mobile phones, but as we all know, they can be unreliable. If you’re out of coverage area, low on battery power, or–unlikely but possible–if cellular service is down, you’ll want another way to communicate. We recently tried out the