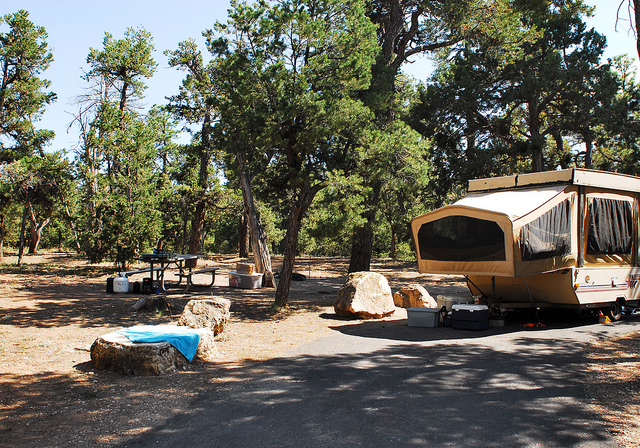
Dealing with camping mishaps: Camping tips for families!

It’s almost camping season! If you’ve been reluctant to enter the wilderness with your family because of worries or fears, read on! Our camping tips address the most common camping mishaps, and how to deal!

Those who camp regularly know it’s not all sunshine and rainbows. Here’s what to expect from the unexpected and what to do when you encounter camping mishaps. Read on for camping hacks!
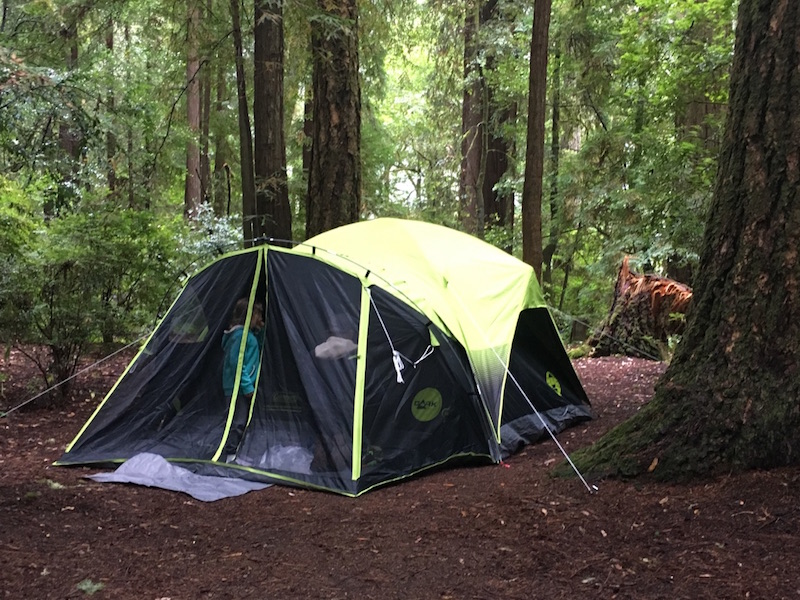
Coleman-tent

When The Weather Turns Against You

Bad weather is the most common mishap encountered by campers…even when car camping. Usually nothing more than an inconvenience or temporary delay of outdoor fun, weather can sometimes become dangerous. Here’s how to protect yourself from serious weather issues from mother nature.

Rain: It’s good to be prepared for rain when camping. Be sure to bring a reliable rain fly for your tent, rain jackets for everyone in the family and, if rain is predicted, an extra shelter or canvas tarp to put over eating and cooking areas. It can also help to bring an extra beach towel to use as an entry mat to your tent to wipe off dirty feet when campsites get muddy.

Wind: High winds can cause major problems for campers. If you are in a camper or RV, fold down all awnings and external structures in the case of high wind and, in tents, secure your shelter with guy lines and stakes. Beware of “widow makers” when pitching tents or parking RVs: these dead-yet-standing trees can fall over easily in high winds.

Heat: Always plan your tent site with shade in mind and look for campsites with trees, rocks, or vegetation that will provide some relief. Freeze jugs of water before departing home so you can have access to icy water along with homemade ice packs. Wet bandanas or other clothing to cool skin and camp near bodies of water for easy access.

Wildfires/lightning: A regular occurrence most summers in the western United States, wildfires can certainly ruin a camping trip. The good news: families in campgrounds will have advance warning of any needed evacuations. Check your state’s US Forest Service website for possible fires in the area of your campground and have a back-up plan in case of road closures or campground closures. To avoid lightning strikes, ensure your campsite is not the highest point in an open environment, and do not hike to vistas and peaks if lightning is possible. Cars and RVs (except canvas-topped or fiberglass), bathrooms wired with plumbing and electricity, and other wired buildings are safe places in a lightning storm. Tents are not.

Tip: For all weather-related issues, know the campground’s evacuation procedures before your arrival. You can find this information at a ranger station or check-in booth.

When Someone Becomes Injured or Sick

Minor illnesses and injuries are common while camping, and most can be addressed with a simple bandage or extra s’more for dessert. Prevent blisters before they start by wearing well-worn shoes and sandals while camping. If you’re prone to blisters, use moleskin or bandages specifically for blisters before you hike.
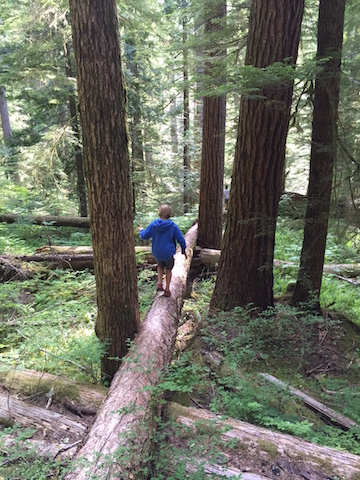
silver-falls-hike

Because you’re in the outdoors with less access to sterile environments, cuts and scrapes should be treated immediately to prevent infection. Always carry a standard first aid kit with antibiotic ointment packets and antiseptic wipes in addition to various-sized bandages.

If your campsite does not offer running water, such as a hike-in or backcountry site, beware of Giardiasis. Also known as Beaver Fever, Giardiasis is an intestinal illness caused by microscopic parasites. It’s caused by drinking untreated water and can result in diarrhea and dehydration. Campers at a campsite with running water (in developed countries) will not need to worry, but those camping where water is sourced from lakes or streams (or in undeveloped countries) will need to treat water before drinking. Be sure your camping gear includes a filter or pump system for your water bottle.

Finally, deal with those annoying buzzing creatures in the outdoors with topical anti-itch cream or hydrocortisone for minor bites and stings. Always carry Benadryl (oral) in case of swelling or discomfort, even if you don’t think you’re allergic to any type of insect.

Tip: For all health-related issues, know where the closest hospital is located and have local emergency numbers on hand.

Addressing Common Camping Nuisances

There are always a few things we’d rather not deal with while camping but that are hard to avoid. Here’s what to do about the worst offenders.

Difficult neighbors: When car camping at popular campgrounds, you’ll often have neighbors. Usually these camping buddies are outdoor lovers like you and will be quiet and courteous. But if they turn out to be disruptive neighbors, they can ruin your trip. Here’s what to do when faced with loud, arguing, or partying campers:

  • Speak with them directly, in a friendly manner.
  • Talk to a campground host. Each campground will have one or more of these citizen enforcers; their campsites will be marked as host campsites. The host should speak with the offending campers.
  • Ask to move campsites (if hosts cannot control the situation).
  • Call the local authorities if the situation makes you feel unsafe.
  • Follow up after your trip with the campground owners or government agency (if it’s a national or state park). They can’t take action that will help to prevent this issue in the future if complaints aren’t lodged.

Mosquitoes: Always a pest, and now a danger in some regions for those susceptible to the Zika virus, mosquitoes need to be controlled (as much as possible) within your campsite. Have a secure shelter to use when necessary (such as a tent or screen room), wear insect-repelling clothing, and use natural repelling remedies around camp. At night, make a campfire and let the wood smoke repel mosquitos for you!

Some mishaps are bound to arise while camping, and they can even make for great stories! Anticipating them and following our camping tips and tricks means you will be prepared and won’t allow them to define your whole trip.

Subscribe to our Pit Stops for Kids seasonal newsletter, and get an exclusive travel ‘cheat sheet’, free! Click here!

Pin for later!

Everything you need to know to avoid (or deal with) camping mishaps!
Source: Fix.com Blog
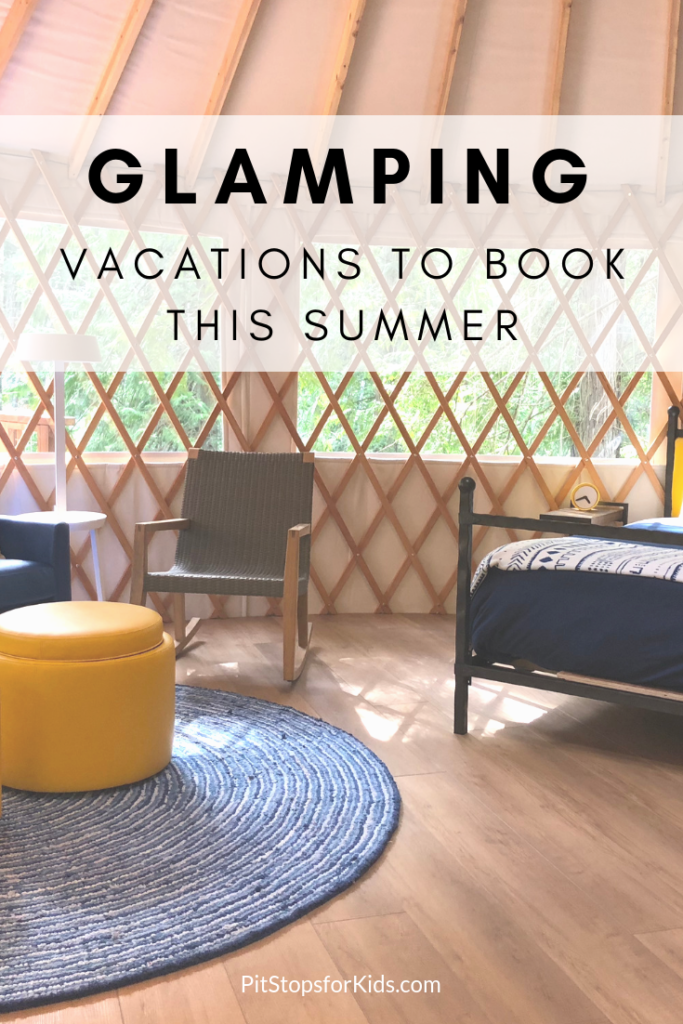
Glamping trips to book this summer

Have you ever enjoyed turn-down service…in a tent? How about foot warmers, breakfast in your camp bed or nightly s’mores service? Even if you’re a hardcore camper, happy to rough it, c’mon…this sounds pretty great, right? Get your glamp on at the following glamping resorts in the western U.S.

Glamping trips to book this summer

Over the top:

The Resort at Paws Up, Montana

Located on Montana’s Blackfoot River, Paws Up going above and beyond for its tent camping guests, with private camp butlers, a concierge tent serving gourmet breakfast, snacks, and drinks, and luxury bedding. Plus, daily activities at Paws Up can include cattle wrangling, helicopter rides, hot air balloon journeys, and fly fishing.

Clayoquot Wilderness Resort, British Columbia

Each private tent at Clayoquot is described as five-star luxury, with an African safari experience feel in the heart of the Canadian wilderness. Sign up for spa treatments, fish for salmon, head out of bear sighting expeditions, or rock climb or mountain bike during your days here.

Bull Hill Guest Ranch, Washington

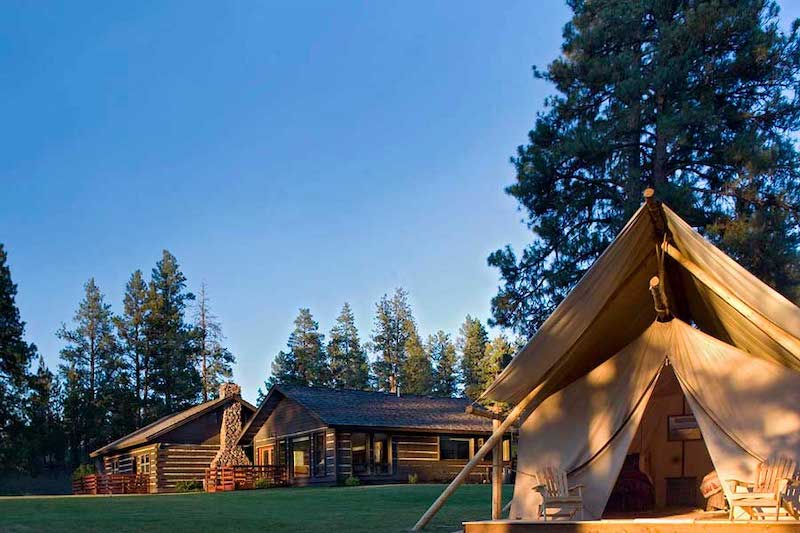
At the northeastern edge of Washington State near the Canadian border, guests at Bull Hill experience authentic ranch life, but sleep in comfort in glamping safari tents, each with a private bath or shower, wide front porches, and lodgepole railings.

Fireside Resort, Jackson Hole Wyoming

Jackson Hole has its share of luxury accommodations, but at Fireside Resort, you can pretend you’re roughing it in your own tiny house-style cabin. Enjoy a full kitchen, curl up by your own fireplace, and cross-country ski from your front door in winter. There’s an outdoor fire pit if your camping experience won’t be complete without a campfire!

Glacier Under Canvas, Glacier National Park, Montana

Under Canvas is a glamping resort company that currently operates in Glacier, Zion, Moab, and Yellowstone. At their Glacier location, safari-style tents and teepees are available just a few miles outside the national park, with the option to elevate your experience to a deluxe tent, cabin, or treehouse.

Dunton River camp, Dunton, Colorado

Dunton River Camp operates three camps in Colorado, but the Dunton Hot Springs location is the place to be for alpine meadow views, hot springs, and open-air tenting. Need more cover? Wooden cabins are on offer in addition to the river tents.

AutoCamp, Russian River, California 

Camp overnight in an Airstream trailer decked out with showers, hotel bedding, and extra touches. Only 90 minutes north of San Francisco, AutoCamp’s Russian River location is within easy distance of the Sonoma wine scene and plenty of outdoor recreation in the California redwoods. Choose between Airstream camping or luxurious canvas tent glamping.

Terra Glamping, California

Located on the northern California coast on Highway 1, all of Terra Glamping’s ten safari tents have ocean views. Ideal for whale watching, stargazing, or simply relaxing in a hammock or with a good book in hand, the Terra Glamping experience comes with hot showers, a deluxe continental breakfast, and memory foam mattresses.

Less ‘glamp’, more ‘camp’:

Doe Bay, Orcas Island Washington

A long-time retreat with a friendly commune feel right on the coast of Orcas Island, Doe Bay caters to earth-friendly types with organic produce at their on-site market, tent camping spaces, yurts and canvas tents, and clothing-optional outdoor soaking tubs and saunas.

Lakedale Resort, San Juan Island, Washington

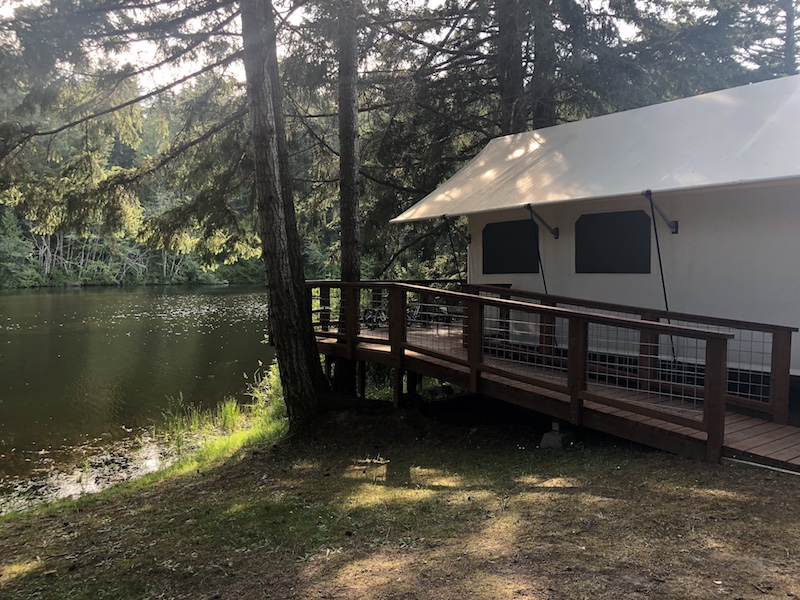
Neighboring Orcas Island, San Juan Island’s Lakedale Resort offers the perfect glamping vacation for families with children, with tents that include breakfast and hot water bottles delivered to your bedside, or cabins next to all the lakeside action, which includes kayak rentals, paddle boards, arts and crafts, and more.

Willow Witt Ranch, Ashland, Oregon

A farm stay perfect for families that includes canvas-sided, wood-floored tents in addition to farmhouse accommodations, Willow Witt is tucked into the mountains about thirty minutes from Ashland in Southern Oregon. Meet the farm animals, hike on nearby trails, and enjoy the communal outdoor kitchen.

Treebones, Big Sur, California

Stay in a canvas yurt perched on the edge of the California coastline. You can even camp in the ‘human nest’, a cozy shelter that resembles a bird’s nest. Treebones boasts an organic garden, inspired architectural designs, and even a sushi bar on premises. Note that Highway 1 south of Treebones is currently closed after the impressive winter storms of 2017. Approach from the north.

River Dance Lodge, Kooskia, Idaho

Located near Lewiston, Idaho, River Dance Lodge offers glamping tents outfitted with old-fashioned pitchers and wash basins, wood stoves, and clawfoot tubs heated by propane (think hot tub!) within listening distance of a rushing river. Guests utilize a shared washroom. Plus, you’re within a stone’s throw of the best of Idaho’s outdoor recreation, including river rafting, lake swimming, and fishing.

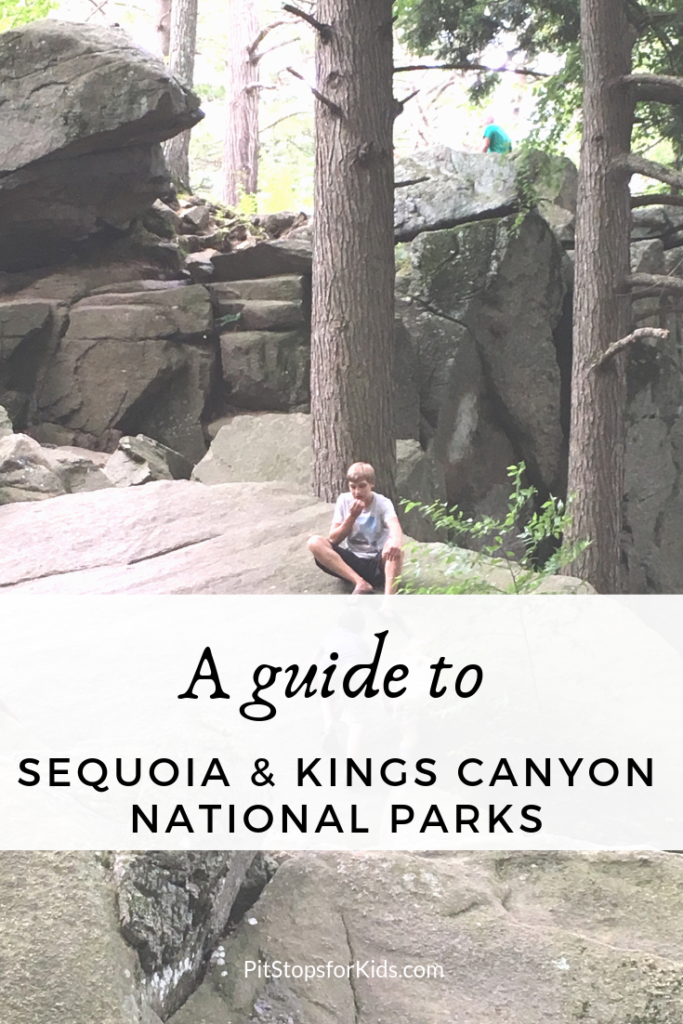
Guide to Sequoia and Kings Canyon National Parks with kids

On a recent tour through several California National Parks, I heard the same thing over and over again from fellow guests and even park employees: “We love Yosemite, but we’ve actually never been to Kings Canyon.” Or, “We come to Yosemite annually, but haven’t experienced Sequoia, yet.” This tells me two things: Yosemite National Park is one of the most popular in the nation (no surprise there), and neighboring Sequoia and Kings Canyon National Parks will be vastly less congested nearly all year long. Are they worth visiting? Absolutely!

Park overview:

Sequoia and Kings Canyon are two distinct national parks with one planning site. They have separate entrances, though the same entry fee will get you into both. They sit side-by-side along the General’s Highway off Highway 198 (accessed from Fresno, California) and sit at impressively high elevation: between 6,000 and 8,000 feet for the most part.  We suggest at least two days in the parks in the off-season, and three in summer, with the majority of your time spent in Sequoia.

What to do:

Giant Forest: 

giant-sequoia-trees

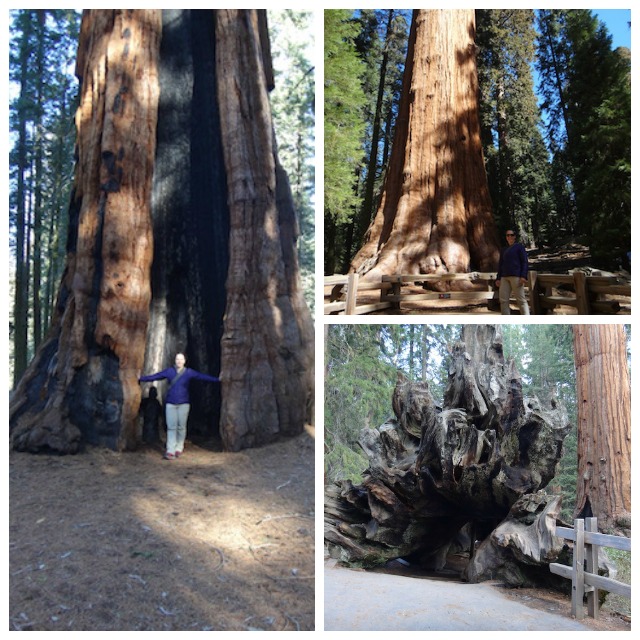
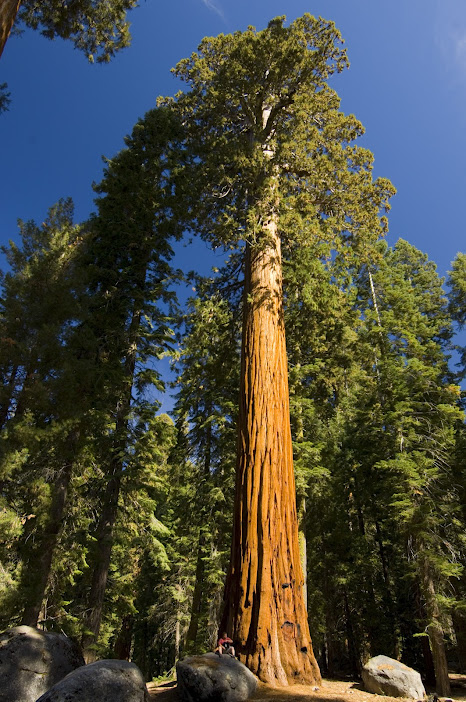
Most of us come to Sequoia for the Giant Sequoia trees. And yes, they’re absolutely worth the trip. These towering giants reside in this region because of the ideal conditions: they cannot grow like this anywhere else in the world. Take the Big Trees Trail to walk amid these giants (you’ll find the hush of the forest soothing…unless you have restless kids with you!). The General Sherman Tree is the largest tree in the world. Bear in mind: the General Sherman is not the tallest tree in the world, but rather the biggest, measured in circumference around its trunk.  The nearby Giant Forest Museum is worth a stop (in the off-season, it opens at 10 am).

Moro Rock:

moro-rock

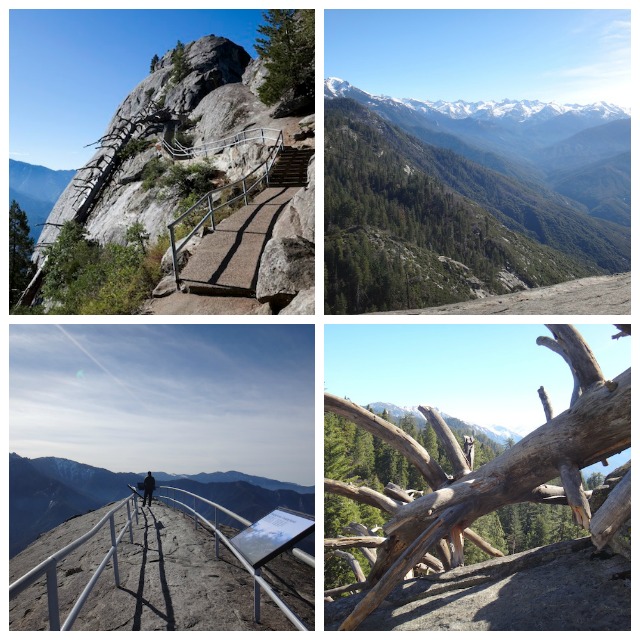
Absolutely plan an hour or so at Moro Rock in the high season. This overlook includes a short but steep hike up the cliff-like rock, which will feel unsettling to anyone with fear of heights. I fall into that category, but had no problem with this short hike, because guard rails are set at key locations. There’s nothing to stop small children from wandering, however, so extreme attention is necessary. From the top of Moro Rock, the views are unparalleled. It’s possible to see the valley floor from one side of the viewing platform, and the peaks of the Sierras from the other. Point out the tops of the Giant Sequoias to kids: they look like bunches of broccoli from this height. Tip: after Moro Rock, continue a very short distance on the same road to drive through Tunnel Log and picnic in Crescent Meadow. Wolverton Snow Park is another nice resting stop in any season.

Crystal Cave:

I had no idea hundreds of caves lay under the surface of Sequoia National Park! The only cave available to tour is Crystal Cave, and it’s only accessible in summer. If you visit during the high season, this should be on your list.

sequoia-sightseeing-tour

Tip: Take a tour with Sequoia Sightseeing Tours with Paul Bischoff! Paul is a long-time resident of the area, and runs the best sightseeing tour I’ve taken from a private concessionaire in a national park. We spent a full morning with Paul, and learned more about the parks in a few hours than we ever could have guessed. Paul knows where the animals are, the best ways to avoid crowds, and can walk guests right to the most interesting trails and natural wonders.

Grant Grove of Giant Sequoias:

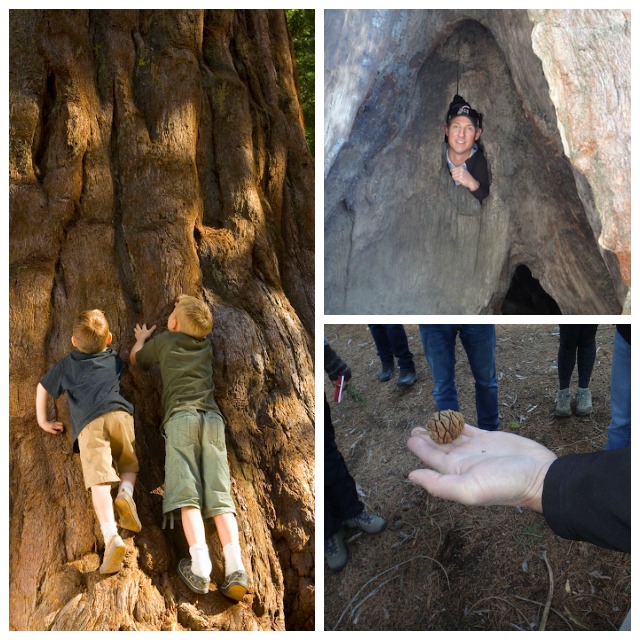
In Kings Canyon, the Grant Grove offers the General Grant Tree, plus a nice, easy hiking loop of additional Sequoias which includes some naturally downed trees. This is a great place for kids to see the root system of these giants, crawl through a fallen Sequoia log, and walk through a Sequoia tunnel! The Grant Grove Visitors Center is nearby as well, but we found it to be pretty limited.

Tip: While staying at Kings Canyon, catch the John Muir impersonation program by talented Frank Helling. Frank performs most Fridays at the Grant Grove evening campfire program during the summer months. I learned more about John Muir from Frank than I have before or since, and it was entertaining for all ages. Check at the Grant Grove Visitor Center to find out exactly when he’ll be performing during your summer visit.

giant-sequoias

Kings Canyon:

In summer, families can drive into the famed canyon, stopping for short hikes along the way. Kings Canyon is home to fabulous backcountry as well: if you plan to backpack in Kings Canyon or Sequoia, apply for a free backcountry permit. The good news: they’re far easier to get than Yosemite permits!

Tip: if you have the opportunity to listen to the storytelling of John Muir impersonator Frank Helling, make time to do this! Frank is absorbing and entertaining, and I learned more about John Muir in the 45 minutes I listened to him than I have before or since! Frank conducts his performances when available; as a park ranger or at the John Muir Lodge about opportunities to hear him speak.

Where to stay:

Kings Canyon offers the busiest ‘village’ of tent cabins, lodging, general stores, and visitors centers at Grant Grove Village. In the off-season, it’s quiet and we recommend the adjacent John Muir Lodge. However, in the height of summer, we’d opt for the less congested Wusachi Village of Sequoia National Park, where you’ll find Wusachi Lodge. This village center houses only the lodge and its restaurant (no adjacent camping and conveniences), which makes it somewhat quieter year-round. Read reviews of John Muir Lodge and Wusachi Lodge.

How to get here:

Access either park from Highway 198 from Fresno California. If you’re doing a loop of Sequoia and Kings Canyon as well as Yosemite National Park (called the Majestic Mountain Loop and highly recommended), you’ll need to depart Kings Canyon and return to the valley floor, then loop around to Yosemite via Highway 41. It’s not possible to drive over the Sierras, which is a good thing for all of us enjoying the parks!

Camping in Death Valley National Park: Furnace Creek Campground review

We love Death Valley National Park’s Furnace Creek Ranch, but as room rates for this family-friendly Death Valley lodging option rise (justifiably…it’s a great place to stay), we’ve been exploring camping in Death Valley. Here’s what we discovered about fantastic Furnace Creek Campground!

furnace-creek-campground

Families have their pick of several Death Valley campgrounds, including Stovepipe Wells campground, and all fill up fast in the primary season from February through May. Families with RVs or trailers may do fine at one of the more exposed first-come, first-served campgrounds, but for tent camping in Death Valley, Furnace Creek Campground is the clear choice.

Families can reserve a site at Furnace Creek Campground up to six months in advance, and I highly recommend doing so. The campground is comprised of both hook-up rv sites and tent-only sites, with the tent sites sectioned off in their own walk-in loop. (There are also a few drive-in tent-only sites, but they are directly adjacent to RV spots.)

The walk-in loop includes sites 115-150, and offers the full range of site quality: from fully-exposed and completely non-private to shaded and reasonably secluded. After spending four nights tent camping in Furnace Creek Campground, we recommend sites 133, 134, and 130 as prime location, with 121, 120, and 119 coming in a close second. These sites offer the most shade and comfort. It’s important to note that while these tent sites are labeled as ‘walk in’, the distance is only a matter of feet from the sites to the parking area. It’s also worth noting that sites are organized three deep: if you’re in 134, for instance, you’ll walk through the camp of 131 and 133 before arriving at your site. We disliked this structure, but it’s the nature of the beast: the desert terrain is wide and open. A walkway would be welcome, however.

furnace-creek-campground

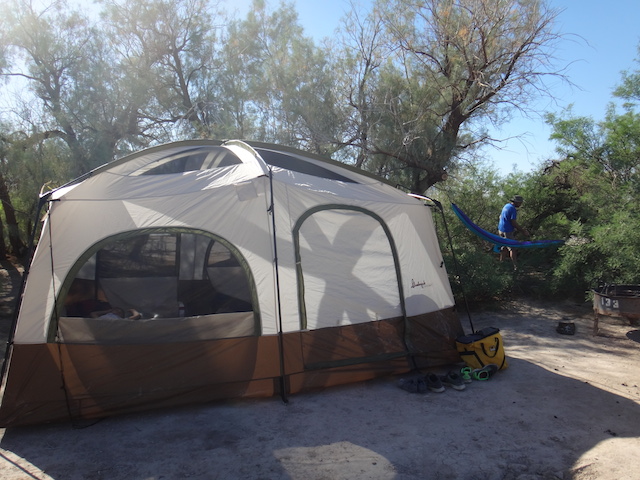
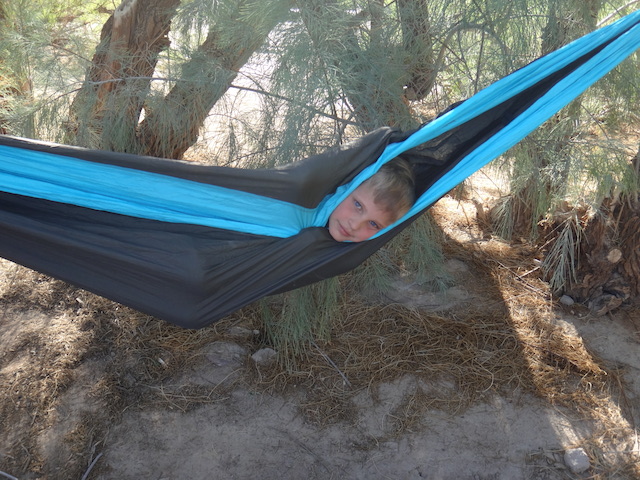
In our site of 133, we had three alcoves shaded by mesquite trees for smaller tents, space for a large tent, and room to hang two hammocks. While we wished for more space from our neighbors, everyone camping during busy spring break in this section of the campground was respectful and fairly quiet, as patrons of tent-only sections of national park campgrounds tend to be.

Amenities you need to know about:

Every loop at Furnace Creek Campground has restroom facilities with flush toilets, sinks, and water stations for filling drinking water containers, doing dishes, and the like. There are no showers. Every site has a fire pit with grate, and firewood can be bought at the Furnace Creek Ranch store. Garbage bins are located at the end of the tent-only loop, as well as camp stove fuel recycling bins.

Want more camping info? Get Pit Stops for Kids’ camping gear list!

The Furnace Creek Visitor Center is located adjacent to the campground, and offers an amphitheater, evening campfire programs, the Junior Ranger program, and a nice video overview of the park. This is definitely worth being your first stop.

Bonus! Using Furnace Creek Ranch facilities:

furnace-creek-pool

The campground is a five to ten minute walk from Furnace Creek Ranch, which houses motel-style rooms, a few restaurants, a general store, gas station, and a park-like setting with tennis courts, lawn games, a basketball sport court, and spring-fed swimming pool. Can campground guests use these facilities? Yes, but read on for details:

Obviously, the store and restaurants are open to all (more on that below), and while technically the tennis and other sport facilities are designated for ranch guests, there’s nothing to stop campground guests from enjoying them with their own sport equipment.

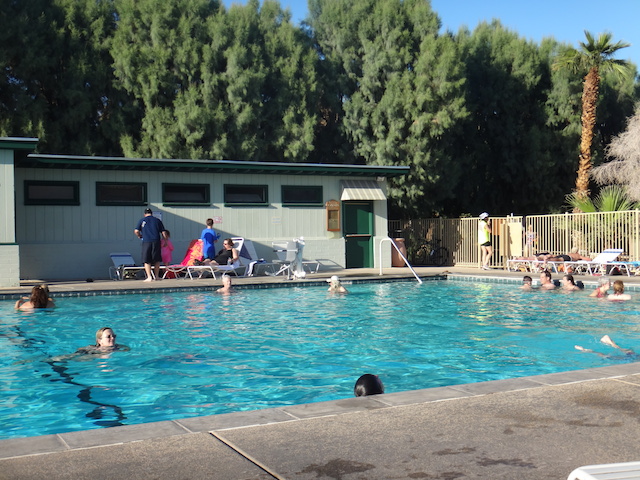
To use the Furnace Creek Ranch pool (which you definitely will want to do), campground guests need to buy day passes from the Registration building. Passes are on a first-come, first-served basis, so it’s worth stopping in during the morning before heading out to hike or otherwise explore the park. Use the pass in the afternoon. The pool house also houses showers, so take advantage of that amenity as well.

Tip: Don’t forget about gear! Everyone in your family will need quality hiking socks, and you can get additional camping and hiking gear information in our travel gear section!

Dining:

Obviously, campers will be cooking most meals in camp, but a dinner or breakfast out at Furnace Creek Ranch can be a welcome treat. Expect higher prices at the 49er Cafe (and even higher at the buffet restaurant next door), but you’re paying for the convenience of skipping dish washing, right? Fare ranges from burgers to pasta and steak dishes, and breakfasts are typical: omelets, griddle favorites, etc. There is no kids’ menu at breakfast, so consider ordering for young children a la carte. Grab dessert from the store next door: they have a soft-serve station we enjoy. You can also grab perishables here, such as milk, ice, and cold drinks.

Distance from the interstate:

Furnace Creek Campground is on Highway 190, about 30 minutes from Beatty (Highway 95).

Rates:

Tent-only sites were $16/night at the time of our visit. (Room rates at Furnace Creek Ranch were approximately $225.)

Directions:

From Highway 95 at Beatty, follow signs to Death Valley National Park (along Highway 190).

Five outdoor travel experiences any family can try

Good news parents: Most kids’ favorite vacations involve sleeping bags and campfires instead of five-star luxury and turn-down service. Traditional camping trips are a crowd favorite, but if you’re looking for something a bit further off the beaten path of family travel, check out one of the following outdoor travel experiences any family can enjoy, no prior wilderness knowledge necessary.

outdoor travel experiences

1. Spend a night in a fire tower lookout.

2014-02-18-pickettbuttebed.jpg

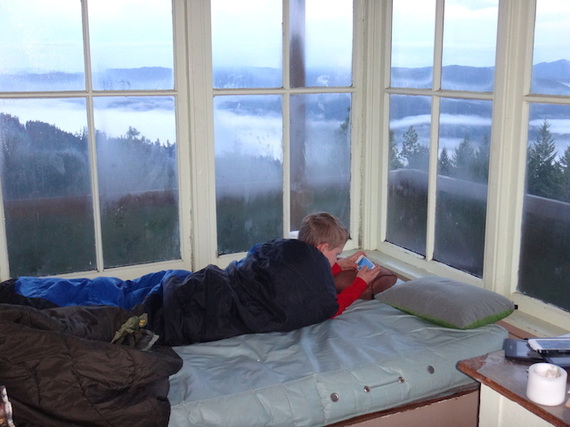
Un-used or seasonally manned fire tower lookouts dot US Forest Service lands, especially in the Western states. Many of these lookouts are available for seasonal rental. Our fire lookout stay at Pickett Butte, Oregon included two nights in an isolated three-story high tower, with plenty of room to play, hike, and let our dog roam. We enjoyed downtime, plenty of paperbacks, roaring campfires, and the excitement of sleeping above the treetops while the wind blew. Fire lookouts are available to reserve via Recreation.gov, just like state campground sites.

2. Book an overnight river rafting trip.

2014-02-18-rafts.jpg

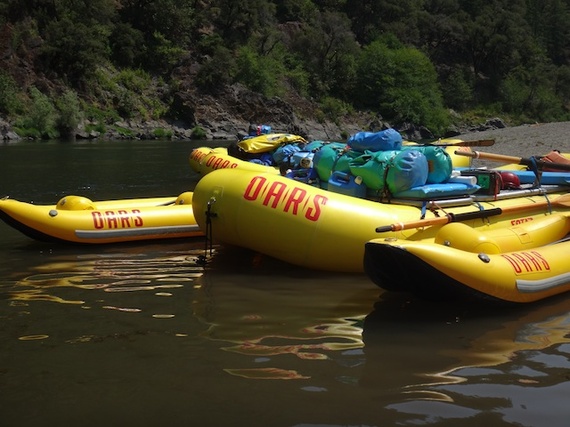
Untried on the river? Don’t try to plan an overnight float trip by yourself. We’ve seen the results first-hand (and they usually involve stuck rafts and miserable families). When we wanted to explore Oregon’s backcountry via the Rogue River, we entrusted our vacation to OARS, who took care of everything from experienced rafting guides to three-course meals. Rafting tours are available in most states, with the most popular overnight trips for families in California, Oregon, Utah, and Idaho.

3. Go dog sledding.

2014-02-18-BigWhitedogsledtrip.jpg

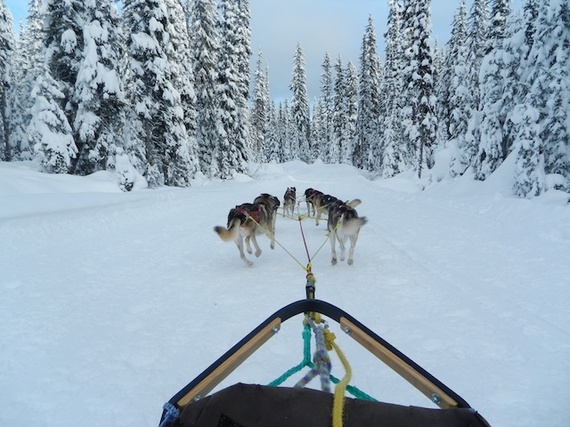
A day trip that involves speed, snow, and happy, barking canines? Sign us up! The best dog-sledding tours will include educational opportunities for kids to learn about the history and practice of dog sledding, as well as time to greet the dogs, learn about their care, and see where they eat and sleep. We loved our dog sledding tour in Big White, British Columbia, as well as our summer tour of a dog sledding training facility in Juneau, Alaska.

4. Rent a state park yurt.

2014-02-18-yurtstay.jpg

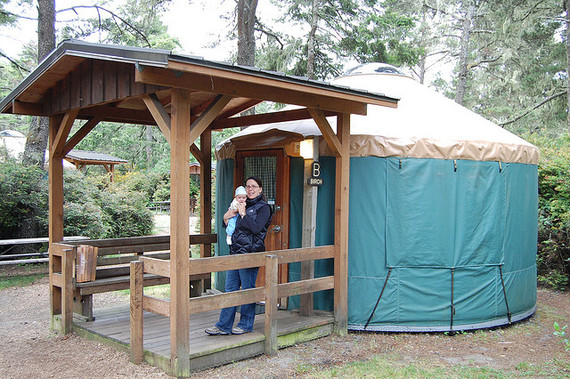
Want to camp in the Pacific Northwest in the off-season, but don’t have an RV or camper to keep warm? No problem: rent a state park yurt. Reservable via Recreation.gov, state park yurts in Washington and Oregon (as well as other states across the US) provide families with just enough comfort to still be considered a camping trip. Yurts along the Pacific coast provide heat, electricity, and beds… perfect for a weekend of whale watching or winter storm viewing. Reserve early: yurts are very popular!

5. Take a hut-to-hut ski or hike tour.

2014-02-18-amc.jpg

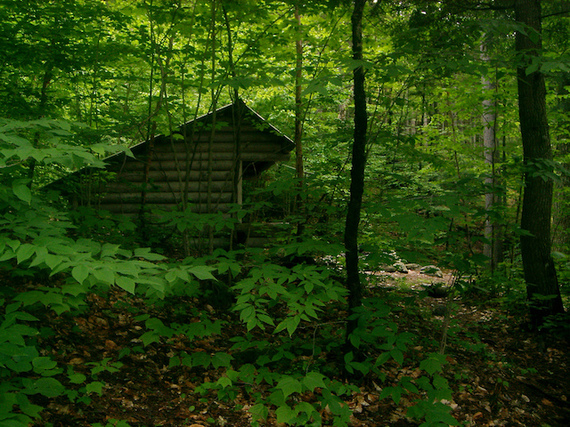
Perhaps you grew up taking overnight backpacking trips, but your children aren’t quite old enough to carry full packs of gear (yet). Or maybe you’d like to get into the sport, but are first-timers. Enter hut-to-hut hiking or skiing, where families can enjoy the backpacking experience combined with the comfort and security of a winterized (and sometimes stocked) hut at the end of each day’s journey. Our favorite hut-to-hut trips are located in the heart of the White Mountains, run by the Appalachian Mountain Club. Families can opt to trek on their own, or base in one of AMC’s family-friendly lodges such as the Highland Center Lodge for a guided day trip. Just in time for summer, AMC has extended their guided family vacations.

Photo credit: Amy Whitley, Flickr Creative Commons

Maine with kids: Baxter State Park backcountry itinerary for families

Baxter State Park is Maine’s largest expanse of untamed public wilderness. With almost 210,000 acres to explore, where do you start? Our Baxter State Park backcountry itinerary for families includes days in the frontcountry enjoying Baxter’s car camping options, several days in Baxter’s backcountry, then a rest day to play and explore before departure.

Baxter’s scope and size is on a national park scale, but unlike national parks, almost every lake, pond, waterfall and stream in the park is accessible only by trail. In very few places in Baxter can you drive up to see anything, and even then, you must drive miles upon miles on dirt roads. In other words, you earn you sightseeing! Baxter limits the number of visitors to the park daily, which means you won’t be rubbing elbows with crowds of tourists. It also means you have to be organized about your trip and get the required permits you need early. Here’s how!

The best way to experience Baxter State Park is by camping, though day permits are available as well (if you opt for that, stay in nearby Millinocket). Here’s our suggested itinerary, after doing most things right and a few things wrong during our five days in Baxter.

Day 1: Frontcountry camp at Roaring Brook Campground

In case you’re not sure, when I say ‘frontcountry camp’, I mean ‘car camp’, or camping via car access. Roaring Brook Campground is about eight miles into the park after you check in at the ranger station at the Togue Pond entrance, past Millinocket via dirt road. The campground, like all in Baxter, is remote and basic, with nicely-kept pit toilets, a place to purchase firewood (bring cash), and a staffed ranger station, but no other amenities, such as showers or potable water.

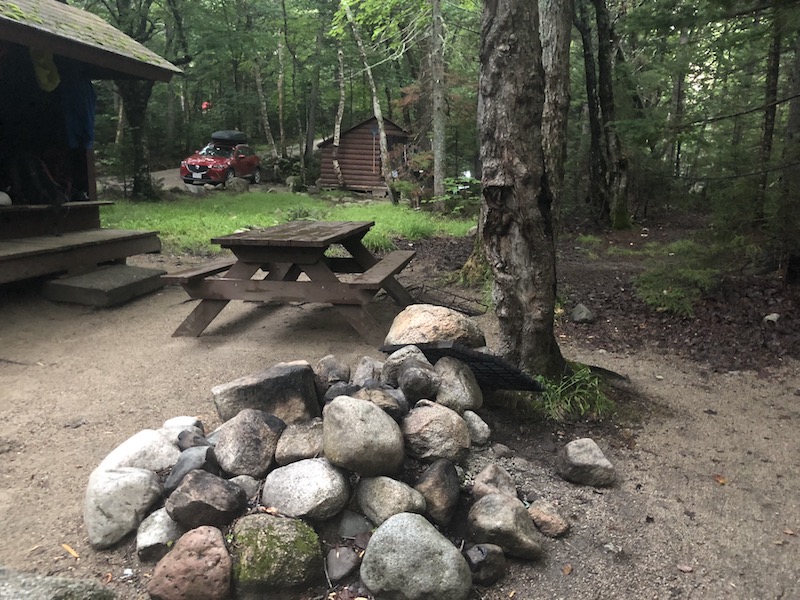
You can pick between tent sites and lean-to sites, and I recommend the latter, because they’re on the brook. You get a basic wooden shelter with a platform for each site, plus a picnic table and fire pit. We loved the shelters (lean-tos) throughout Baxter, as they provided just enough protection from the afternoon rainstorms and gave us a place to roll out our sleeping bags off the dirt. They’re not enclosed, however, and you won’t be safe from mosquitos there, so you can opt to set up a tent inside the shelter (but not outside of it). Roaring Brook is cold and clear, and we loved swimming in it.


Tip: You MUST enter Baxter State Park before 8:30 pm, so time your arrival accordingly. Also, the entirety of Baxter is ‘carry out’ for all your trash, so bring trash bags and plan on storing your trash in your car at night. You must also stow away all your food at night.

Day 2: Hike Mount Katahdin

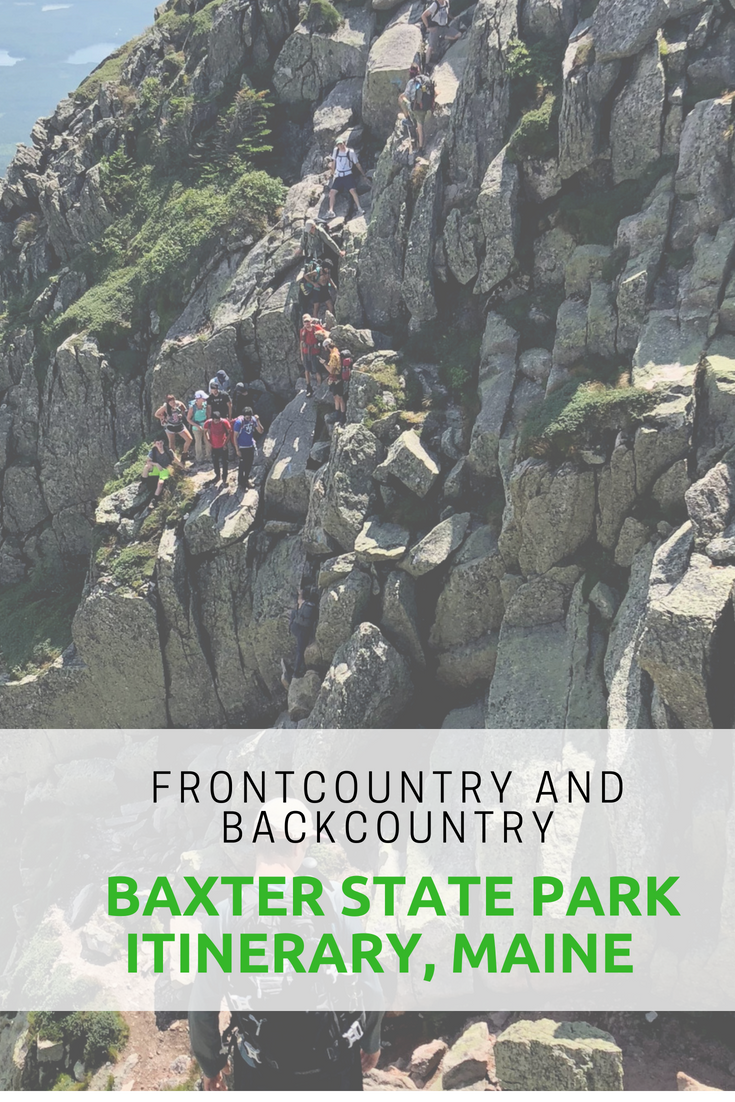
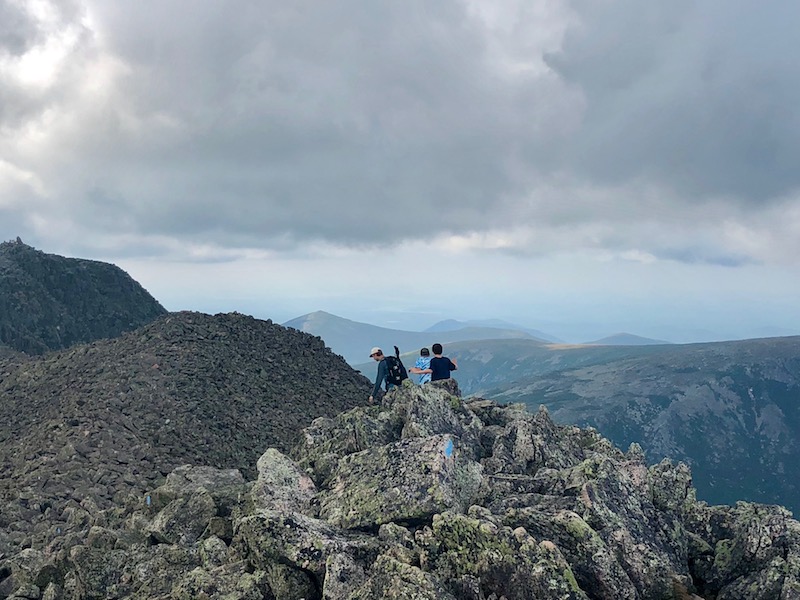
If summiting Mount Katahdin is on your to-do list in the park, do it early in your trip, while you’re still fresh. It’s 5.5 miles (pretty much straight up) from the Roaring Brook Campground, and it took our family (seasoned hikers) 12 hours to complete. The trail is extremely strenuous, and the final mile of the summit hike is along a ‘knife edge’ with some scary-looking drops. If you go: bring tons of water, and a means to filter more on the trail (you’ll need it). Also bring headlamps in case you’re caught hiking after dark. We took the following route: Roaring Brook to the Helon Taylor Trail, to the Knife Edge, to the Saddle Trail, to the Chimney Pond to Roaring Brook trail. It was 11 miles that took us forever to complete.

Note: Kids under age six are NOT ALLOWED above the treeline at Katahdin, though on our visit, we did not see a ranger monitoring this. I’m told there usually are. We took a seven-year-old, my niece, who rocked it, but she’s unusual in her awesomeness.

If you don’t want to tackel Katahdin, I recommend the Chimney Pond trail from Roaring Brook (3.3 fairly strenuous miles) to enjoy a picnic lunch at Chimney Pond, which has fantastic views of Katahdin right at the base of the mountain.

Day 3: Recover from Katahdin

This is where we made a mistake in our itinerary. We didn’t give ourselves a rest day after summiting Katahdin. Stay one more night in Roaring Brook and plan on sticking around camp. Enjoy the swimming and maybe go .2 mile to Sandy Pond, to try to spot the moose who like to hang out there at twilight. No nothing more!

Day 4: Head into the backcountry

If you’re prepared for backpacking in Baxter, depart Roaring Brook today, hitting the Russell/Sandy Stream trail. The destination: either Russell Pond Campground with lean-tos (7.2 miles away), or, if you don’t want to go quite so far, reserve at Wassataquoik Stream, which offers several more lean-tos with great swimming (5 miles away). If you’re ambitious, you could aim for Wassataquoik Lake, 9 miles distant, which doesn’t have a campground but does have several more lean-tos. Russell Lake has a staffed ranger office and lean-tos, a bear line, and pit toilets, and we settled in at two of them, adding a tent site for our group of 10.

Note: Baxter State Park is VERY strict about group size and where you can camp. This is a good thing, as it eliminates big groups in campsites they don’t fit into. If you reserve a lean-to made for four, you can ONLY have four people sleep there. Ditto for six-person lean-tos and tent sites.

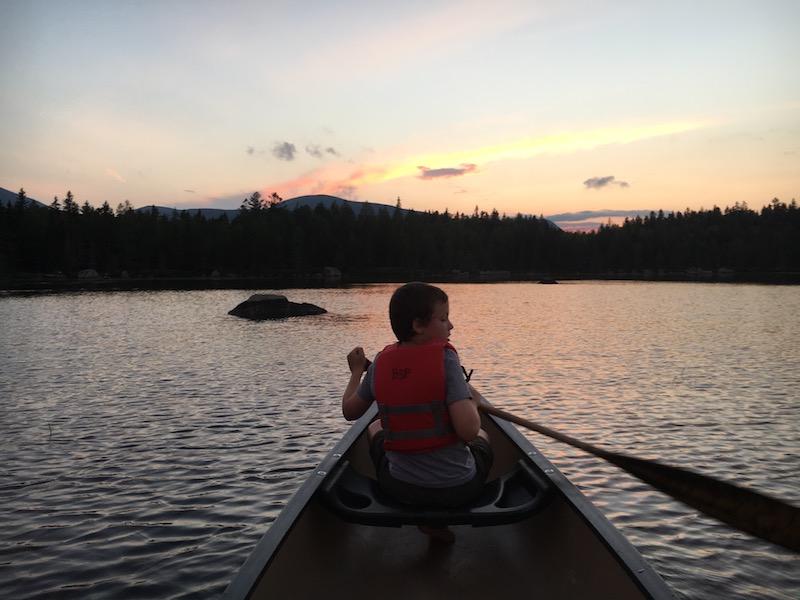
At Russell Pond, you can use the provided canoes at the dock for a small fee (I believe it was $1/hour, on the honor system) and you can swim, though we don’t recommend it (there are many leeches here). It is, however, a good place to spot moose. The Wassataquoik Stream lean-tos are better for swimming, and theWassataquoik Lake lean-tos offer a bigger lake (better for swimming) and more canoes.

Alternatively, you could backcountry camp at Chimney Pond instead of Russell Pond (see description above). It’s a shorter distance, though a rockier trail.

Day 5: Day hike from Russell Pond

We enjoyed hanging around camp and day hiking from Russell Pond to Wassataquoik Lake (2 miles) on this day. We played board games and cards in our lean-tos, picked blueberries in the wild patches nearby, and tried to spot moose.

Day 6: Hike back to the frontcountry

Return to Roaring Brook today, and spend the late afternoon cooling off in the brook. Pack up and depart Baxter the next morning, checking out additional parts of Baxter if time allows. We recommend Blueberry Ridges or Ledge Falls if so, and if not, hit a last swim spot just outside the park boundary at Togue Pond. You can grab a nice sandwich and some souvenirs from the North Woods Trading Post just outside the park toward Millinocket, and if you want a bigger meal, we recommend the friendly and affordable Sawmill Bar and Grill.

How to reserve your campsites:

Baxter State Park is popular, and as mentioned, entry is limited. To ensure you get your campsite, reserve far in advance. Baxter uses four month rolling reservations, so you’ll want to reserve exactly four months before you desired time. You can reserve online or by phone.

More tips:

  • If you’re day hiking Katahdin (staying in Millinocket), you’ll want to reserve your parking space (these are limited as well!). Here’s how. Parking reservations are only held for you until 7 am, then are given away on a first-come, first-served basis. Yes, you really need to start that early. If you’re camping in the park, you don’t need a parking reservation.
  • You’ll need to treat ALL your water in the park. Bring a good filter. We like the Sawyer Squeeze to bring on day hikes and the Platypus GravityWorks for in camp.
  • You cannot bring firewood into the park. You must purchase it in camp.
  • No pets are allowed, even in car camping campgrounds. Plan accordingly.
  • Check in at every ranger station as you hike. Bring a phone and treat it as an emergency device (you won’t get service in the park anyway).
  • Pack out all your trash…make it easier on yourself by reducing packaging on your food before you arrive. Store all food and trash in your car at night in the frontcountry, and on bear lines in the backcountry (use your sleeping bag stuff sacks to store food and hang it from the line provided).
  • Backcountry campgrounds DO include pit toilets with toilet paper. They were all in good condition during our visit.
  • Enjoy the Maine wilderness!


Family camping hack: Dispersed camping tips

Have you ever been on a road trip, paid around $100 a night to stay at a basic motel, and thought to yourself that you’d rather pay less and see more nature along the way? Or have you ever camped in a campground amid loud neighbors and wished you could find a place to pitch your tent away from the masses? If either question has crossed your family’s minds while traveling, dispersed camping might be a good option for you. If dispersed camping sounds intimidating, we have dispersed camping tips ready for you.

What is dispersed camping?

Dispersed camping simply means camping anywhere in the National Forest outside of a designated campground. No services will be available. such as trash removal, and little or no facilities will be at your disposal, such as tables and fire pits, or bathrooms or showers. However, dispersed camping is free, and you can usually count on finding a campsite where you can be alone in the wilderness, via car instead of hike-in.

You’ll be responsible for packing out everything you pack in (follow Leave No Trace principles), and you’ll need to remember to bring basics you might not think about when camping in campgrounds, such as potable water, toilet paper (and a shovel), and portable chargers for phones, lanterns and the like. Store all your food items in your car or in a bear canister at night, as food storage lockers will not be present. Think of dispersed camping as backpacking, but with your car: you need to be completely self-contained.

So how do you find dispersed camping locations?

This is the tricky part. You can use any road map to locate National Forest Service land in the vicinity in which you want to camp, but the best way to find out what areas are open to dispersed camping is to contact the nearest Forest Service office to the area you wish to visit. Many people drive out on forest service roads into the woods and find a clearing or a spot near a stream or with a view of the mountains. Use maps to find water sources near your desired camp area (but remember it will not be potable).

Only drive on existing roads to prevent resource damage. Dispersed camping is allowed in a one-mile perimeter away from campgrounds and 100 feet from any stream. To prevent resource damage please keep your campsite within 150 feet from a roadway.

Sometimes, though, it’s hard to identify exactly what is forest service land and what is private land. When we’re unsure, we’ve found its sometimes worth spending a few dollars to use Hipcamp.

Hipcamp is a website that mimics AirBnb, but for campsites. Private owners (hosts) post their camping options, which families can search for by location and date. Essentially, Hipcamp sites are dispersed camping on private land with permission. We have paid about $20 per Hipcamp site, paid via the website much as you’d do for AirBnb. The host then contacts you with exact directions to the site. Like when using AirBnb, it’s important to read reviews before booking, to make sure the host will be a good communicator and offer solid directions. And just like when disperse camping on forest service land, it’s crucial to pack everything out and leave the site as nice as when you found it (or better).

Hipcamp is popular with young adults looking to camp in groups (think festival-goers) but is a great option for families as well. Look for options with plenty of space in which to find a private area to camp. On a recent road trip through Nevada, we found a completely isolated Hipcamp location, and enjoyed a night to ourselves amid antelope and a perfectly starry sky. We brought a small stove, potable water, headlamps, food and a tent, and were completely cozy and self-contained for $20 instead of the $100 we would have spent on a not-so-great hotel room in a nearby town.

Have you disperse camped or used Hipcamp? Let us know in the comments!

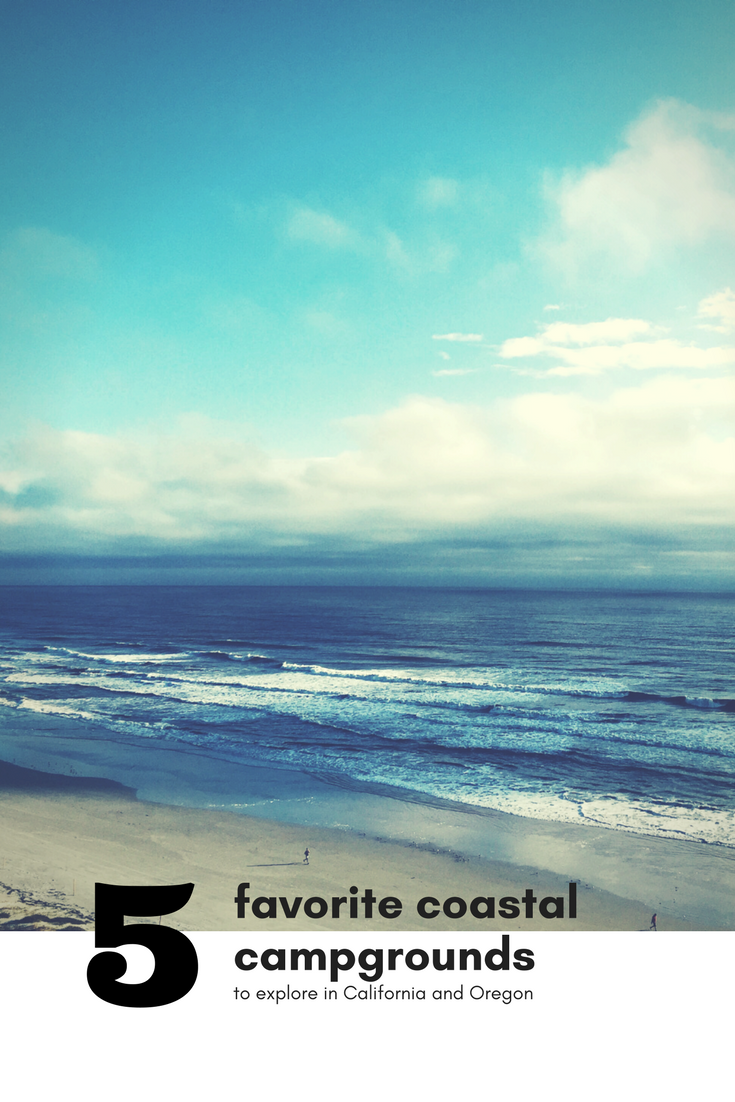
Five favorite coastal campgrounds for families

Families wanting to make the most of the camping season need to head to coastal, temperate zones to avoid temperature extremes (bonus if they can find yurts or cabins at the campground). Family camping is economical, easy to plan, and often close to home! We’ve compiled a list of our favorite coastal campgrounds for families in the Pacific Northwest and California. At each of the following state campgrounds, you’ll find miles of beach, shady trails, ample camping space, and programs for kids. Check the websites below for exact pricing, but on average, California and Oregon state park fees are very reasonable (under $20 a night for tent camping and under $30 for hook-ups). Don’t forget hot cocoa and most importantly, the s’mores!


Sunset Bay State Park OR: Located just outside Coos Bay, Oregon on Highway 101, it’s safe to say Sunset Bay is my family’s favorite coastal campground. The sites are nestled in a beautiful forest just steps from the beach, flat, paved loops allow for perfect bike riding around camp, the showers are heated and facilities up-to-date, and the beach itself is gorgeous. Best of all, yurts are available (reserve far ahead!), as well as two additional state parks within easy hiking distance.

Cape Blanco State Park, OR: The beacon of the Cape Blanco lighthouse welcomes campers to this windswept section of Oregon’s pacific coast, where rugged cliffs and high coastal plains lead from Highway 101 to the campground. The sites overlook the beach and light with lots of space for kids to play and explore. All sites are first-come, first-served at this park, but there are four rustic cabins that can be reserved ahead of time. I’ve never seen this park truly crowded, and love the stark beauty of the storm-battered coast along this exposed shore. In season, families can take a lighthouse tour, too!

Harris Beach State Park, OR: One of our favorite beaches for its natural beauty and natural playground qualities for kids, Harris Beach is located just north of Brookings, Oregon (again, on Highway 101). Kids love to explore the rock formations along the cliff sides of this beach, as well as the creek that feeds into it from the nearby campground. I love that the campground has plenty of sites, and is on the bluff overlooking the beach, giving campers wonderful views of the ocean (and keeping day crowds away from the sites). The town of Brookings is near enough to offer conveniences, but far enough removed that families truly feel away from it all. And like Sunset Bay, yurts are available to rent (but be sure to reserve early!).


Navarro River Redwoods State Park: This gorgeous state park just off scenic Highway 1 near Albion in Mendocino County boasts beachcombing, swimming, picnicking, and camping at Paul M. Demmick campground. The redwoods here are fantastic: in summer, you’ll be cocooned in a shady bower (when you’re not seeking the sunshine on the beach), and kids love playing in and around these massive trees while at the campground. For a fun way to spend the day, venture to the Russian river for a swim!

San Onofre State Beach, CA: This sunny California beachside state park near the city of San Cemente offers sunbathing, surfing, and boogie-boarding in addition to San Mateo Campground, which lies one mile away via sandy trail. The pros of this camping experience are many: think blue skies, warm evenings, and beautiful surf. There are, however cons: the proximity of both the freeway (I-5) and Amtrak train tracks are definitely annoying, and the beach can certainly get crowded in summer. With 3.5 miles of sand at your disposal however, you’re sure to find a place to lay your beach towels!

Bonus campground idea: Check out Hug Point State ParkHug Point State Park for a more economical beach trip near Cannon Beach, Oregon.

Want more camping info? Get Pit Stops for Kids’ camping gear list!

Tips for getting your RV summer-ready

Summer has arrived, and while you might be ready for a family camping trip, or road trip, can the same be said about your RV? If your Class C camper or trailer is still winterized, it’s time to get it summer-ready. You’ll want to begin your preparations a week or more before your first camping trip of the season, to ensure you have time to replace any necessary parts and pack for your trip.

rv-road-trip-tips

Getting your RV summer-ready:

Begin with a basic spring or summer maintenance check, which will ensure your safety while enjoying your RV. Start by checking your batteries and smoke detectors, and checking for any rips or tears in seams. Next, check for leaks to your water system. Run fresh water through the whole system, checking valves, and if desired, sanitize your water pump system with a bleach-water solution after filling your fresh water holding tank with water. Here’s how: turn the water pump on and run water through all hot and cold faucets until you smell the bleach (1/4 cup for every 15 gallons your tank holds). Close the faucets and let sit for twelve hours. Drain and re-fill the tank with potable water, running the water until you no longer smell any bleach.

Check all fluid levels next, then test your hydraulics (if you have them), kitchen appliances, and oil levels. You don’t want any surprises after you’ve left the comforts of home and the conveniences of retail stores.

The day of your camping trip, it’s time to pack up your RV, taking care to secure all loose items. It can be a good idea to place a pad or cushion on the floor of the RV in case items fall (you’ll probably pack a few to sleep on anyway).

Take a walk around your RV, making sure you’ve secured everything on the outside, too, such as bikes and scooters, lawn chairs, or awnings. Check antennas and satellite dishes, and lock all external doors (closing internal doors, too). Empty your black and gray water tanks, and disconnect any cables or cords connected to your RV.

Once you’ve secured everything for travel, it’s time for final safety checks to your headlamps, trailer brakes, tires, and mirrors. It will be hard enough backing into narrow campsites without worrying about your mirror placements!

Lastly, stock your RV with gear you’ll use all summer (the stuff that stays in your RV). These items include travel-friendly magnetic board games, flashlights and lanterns for outdoors (don’t forget batteries), pantry staples like flour, sugar, coffee and spices, and dishware (consider silicone cups, tumblers and wine glasses that won’t crash to the floor while driving…we love silipint’s bright designs.

family RV camping

Upon arrival at the campground:

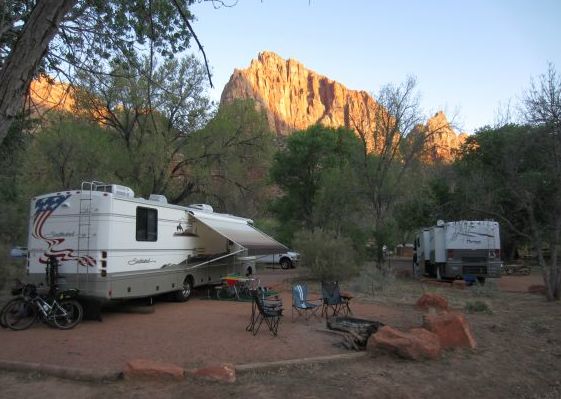
When you arrive at your campground, it’s a good idea to park near the entry booth (taking care not to block others) and first check out your campsite on foot. This way, you can double check that the needed amenities are ready to use, including any hook-ups or water, and you can make a plan for approaching the site in the RV (backing up or driving through).

Check for any low-hanging branches or rocks in the way, then be sure to stabilize your RV once you’re settled in your spot. At many campgrounds, a campground attendant or camp host is happy to assist with this process if the campground is not busy. Connect your water and power, ensuring they are in working order, then switch your refrigerator from portable power to plugged in power. Set up your campsite with any chairs or awnings, and take a stroll around the campground to meet your neighbors.
The small space afforded by most RVs can make camping challenging, especially if you like to camp in comfort, but it’s possible to save space while still bringing (most of) what you want. Focus on elevated space saving measures: hang items from magnets or hooks, install hanging trash receptacles and organizers, and add dividers or lightweight shelving to your top cabinets.

Dividing storage areas into smaller spaces can help you stay organized and find gear faster; divide bigger cabinets and shelves with office file folder baskets, tension curtain rods, or simple wooden slats.

Keep as much bigger gear outdoors as possible, including your grill, bikes, chairs, and larger kitchen items. Enjoy the great outdoors while keeping your RV neat and organized.


Source: Fix.com Blog
5 fun ways to view the total solar eclipse in Oregon

On Monday, August 21st, a total solar eclipse will cross over 14 U.S. states. In the week leading up to this rare event, tourists from across the world will converge to see the moon’s shadow touch the earth. The shadow (called the umbral cone) will make landfall in Oregon just north of Newport at 10:15 am PST, then make its way east across the state. Hotels along the path of the eclipse are already maxed out, and reservable Oregon campsites are completely filled.

total solar eclipse

If you haven’t made your reservations yet, don’t worry! Try your luck with dispersed camping on Oregon public lands, opt for a first-come, first-served campground, or check out one of these fun ways to view the total solar eclipse!

Bring the family to a Willamette winery:

Brooks Winery, located along the path in Amity, Oregon is hosting a Total Solar Eclipse Event August 20th-21st. On the 20th, families can participate in a BBQ supper followed by live music and a star talk, then are invited to camp right at the winery. On the 21st, the day will begin with yoga followed by a sparkling wine brunch and a talk by Professor Ethan Siegel, an astrophysicist from Lewis & Clark College. The eclipse viewing will then be followed by pizzas from the winery’s wood-fired oven and, yes, more wine. Families are also invited to bring their own picnics and explore the grounds. The two-day package will set you back $350, with a discount for just the 21st.

A little further south, Illahe Vineyards will host a similar eclipse viewing from 9 am – 12 pm on Monday, August 21st. Light food will be available for purchase, as well as complimentary eclipse viewing glasses for a prime panoramic viewing experience. Day only tickets are only $50, and include a wine flight for the adults and light food.

Attend Central Oregon’s Moonshadow Festival:

Running August 18-22nd, the Moonshadow Festival will be held at Wine Down Ranch near the Crooked River Valley. This 2100 acre traditional western ranch will provide camping options for both tent camping and RV camping, or day passes can be purchased for any of the four days of the festival. We recommend getting tickets early, however! Day passes are $50, and camping for the festival will set you back as much as $600 (still much less than a hotel room).

Go to the Willamette Country Music Festival:

This year’s festival is August 17-20th in Brownsville, but event planners have decided to extend one day to include eclipse viewing on the 21st. Tickets are only $25 for Eclipse day, and camping on site is another $200. There will be live music and entertainment during the day, as well as a fireman’s breakfast. Gates will open at 7 am on the 2st.

Head to the Salem fairgrounds:

In addition to an event at the actual capitol building, Salem will host an eclipse event at the state fairgrounds, hosted by the Oregon Museum of Science and Industry (OMSI). The event will start at 6 am, with the viewing at 10:17 am. OMSI is only selling 8,000 tickets at $8 apiece for adults and $6 for kids. Parking is only $5. As this is the best deal we’ve seen yet for eclipse viewing, ticket will go very fast!

Look for smaller events on the Oregon coast:

Want to escape (some) of the crowds? Head to where the eclipse will first be viewed, in Pacific City, Depoe Bay, Lincoln City, and Newport. Try to get a campsite in one of Oregon’s first come, first served state campground sites on the north coast or better yet, try camping on Oregon’s public lands, then drive to the eclipse towns early in the morning. Remember that most campgrounds will be hosting small events as well, including informational talks. Good luck to you!