Iceland has become a popular family vacation destination for many reasons: it is every bit as breathtakingly beautiful as it looks in photographs, there’s essentially no language barrier, it’s extremely family-friendly, and the outdoor recreation and sightseeing is almost endless.
What Iceland is not: cheap. Standard hotels can cost families as much as $400 per night on top of expensive rental car fees (especially if you need a 4×4 car for rough roads). Dining in Iceland is very expensive as well; fast food meals at a basic grill during the time of our 2017 trip were about $15 U.S. per person, and standard sit-down restaurant meals were closer to $45-50 per person. The solution: take an Iceland camper van road trip and combine your lodging and car rental cost and eliminate your restaurant dining out cost. Ready for Iceland camper van road trip tips? Let’s get started!
Start with your camper van rental:
The first stage of planning your Iceland road trip is booking your camper van rental. We used Kuku Campers, one of the largest camper van rental companies in Iceland. Kuku Campers offers just about every size and type of camper van, ranging from small vans that sleep 2-3 people to the larger style we rented, which sleeps five (both are Class C, which don’t require any additional training or know-how to drive). You can also opt between 2×2 or 4×4.
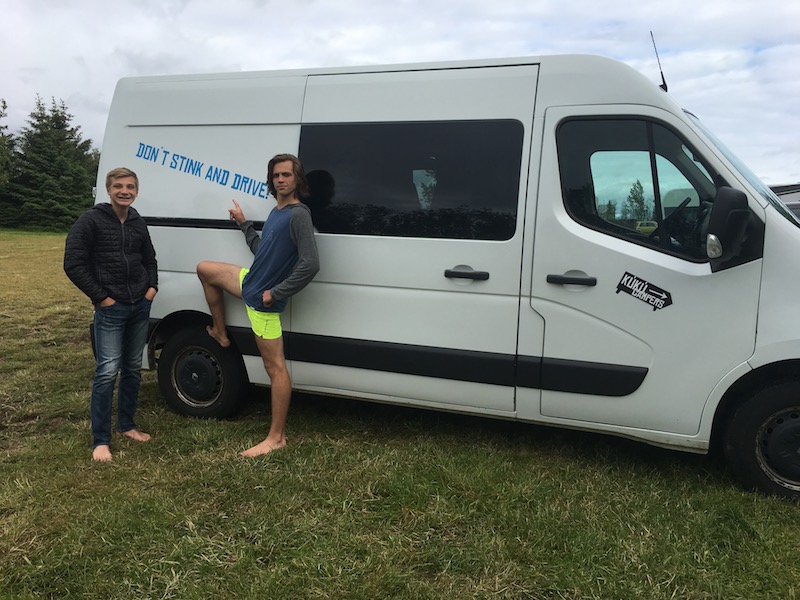
Kuku 2×2 category C camper
We picked this 2×2 van for five people (click on the link to see detailed interior photos) which cost approximately $1800 for nine days ($200 per night). This cost was significantly less than we’d spend on hotels and a rental car. Kuku Campers offers this van in standard (stick shift) or automatic. We opted for standard, as it was cheaper, and I am comfortable driving a stick shift.
Note: Do you need a 4×4 vehicle? If you’re a regular reader of Pit Stops for Kids, you know we’re a pretty adventurous family. We rented a 2×2 van, and were able to access everything we wanted, and more. You need a 4×4 vehicle only if you plan to drive F roads (Iceland’s most rugged dirt roads), which is needed if you plan to backpack or hike deep in the interior.
The features and configuration of our camper van:
In the front were two bucket seats (the driver’s seat and the front passenger seat). Behind those seats was the kitchen area: a countertop/food prep surface with sink and faucet, storage area for a portable stove/cook top, electric refrigerator (which runs when the car is running), dishes and kitchen utensils and silverware, a large water storage container, and a pantry area for food. Behind the kitchen was the main compartment of the van, which had a padded bench seat in a U shape, surrounded by a roomy kitchen table. Above this was a sleeping bunk. At night, the table and bench seat easily folded down to become a second sleeping area. The bottom slept three, and the top slept two. During the day, passengers could sit on the bench seat with seatbelt while the van was on the road.
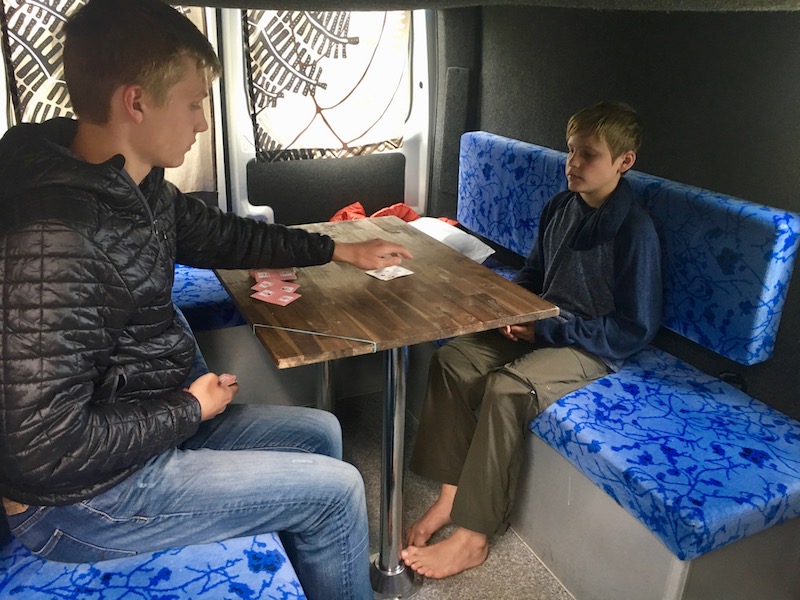
Lots of space: to the front of this photo would be the kitchen area.
In addition to the running water, which ran from a hose from the water container to the kitchen sink, the van had two overhead lights and a nighttime heater (which could be run when the van was turned off). There is no bathroom in the van, but this isn’t a problem (we’ll get to that soon). We found sufficient storage in the van for our bags under the bench seats and at the very back of the van, in addition to smaller storage areas above the front seats and above the kitchen. Lastly, there were useful hooks to hold jackets and rain pants, as well as curtains to pull around the windows at night. These hung on elastic cords, which we used to hang additional items like wet towels and swimsuits.
But was the van hard to drive?
At first, a little bit, yes. I don’t ever drive anything larger than a minivan at home, so for me, it took a day to get comfortable driving something taller and wider. Icelandic roads are narrower than US roads, so there is definitely a learning curve. I also needed time to get used to backing up the van (though it was far easier than trying to back up a van with a trailer). By Day 2, I was quite comfortable. Overall, driving the van was no big deal, even on dirt and gravel roads, though the van certainly got dirty!
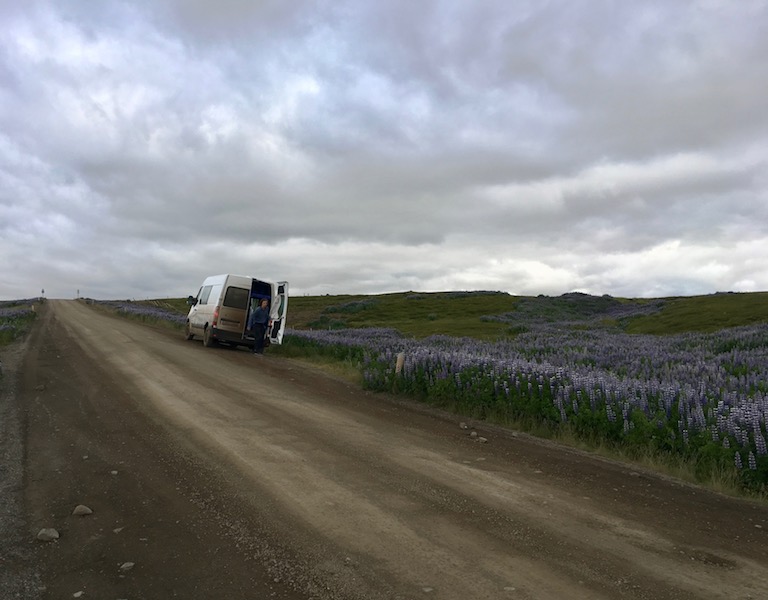
Stopping to make a snack and take photos on a gravel road. There are plenty of turn-outs to use!
The van took diesel fuel, which seemed to be easily available at every gas station, and it cost me about $160 to fill the tank. We drove for eight days, I filled up twice and topped off once, and I spent a total of $360 on gas. At all campgrounds and parking lots for trails, scenic overlooks, and historic sites, there was ample room to park the van. The only place I had trouble navigating parking was in downtown Reykjavik, and even there, I managed (but it was stressful).
Next plan your trip! Here’s what to expect:
I’m going to say something now that I never say on this site: don’t over-plan. If you allow your itinerary to stay flexible, you’ll be able to advantage of all the many moments of spontaneity possible in Iceland. There are natural wonders and historic sites every few kilometers at times; you can’t do it all, but you can decide what to do in the moment. We planned a general route which included the south, west, and east. We purposely didn’t travel the entire Ring Road because with only eight full days on the road, we wanted to spend more time on side roads than Route 1.
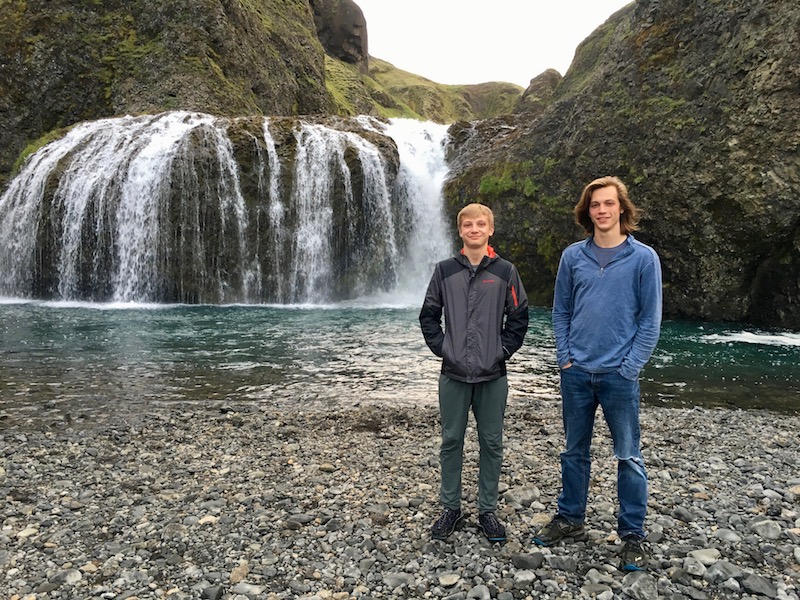
Waterfall at the base of one of our campsites.
I absolutely loved having our Kuku Camper, because of the freedom it offered. Every day, we traveled WITH our lodging and dining, so we never had to worry about getting to an exact place to eat or sleep each night. In Iceland, especially in the rural areas (which is most areas), we found that restaurants and shops closed relatively early in the day, even in the peak of summer. We were hard pressed to find dining options open after 6 pm, so we loved the ability to picnic our meals anytime, anyplace. We got into a routine of making breakfast in our camper at the campground in the morning, making a picnic or packed lunch to enjoy out and about, and then stopping at one of Iceland’s many, many scenic overlooks to BBQ or cook our dinner on the road. We arrived at each campground at night well-fed and ready to make camp. While we were driving, if someone was hungry, they could simply make a sandwich on the road, and if we decided at the last minute to detour to see or do something, we never had to care about missing reservations.
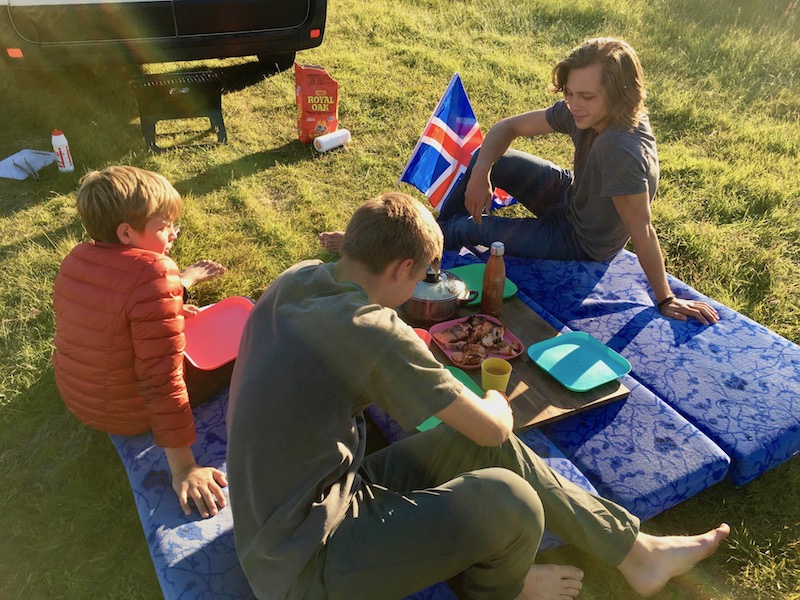
Iceland outdoor picnic!
The most unnatural thing to me, as a natural planner, was the fact that you do not need to make campground reservations. If you’ve tried to camp in popular campgrounds in the US in summer, you know this simply isn’t true at home. But in Iceland, they really do mean it when they say their campgrounds do not fill up. They really don’t. Not anywhere. Not ever.