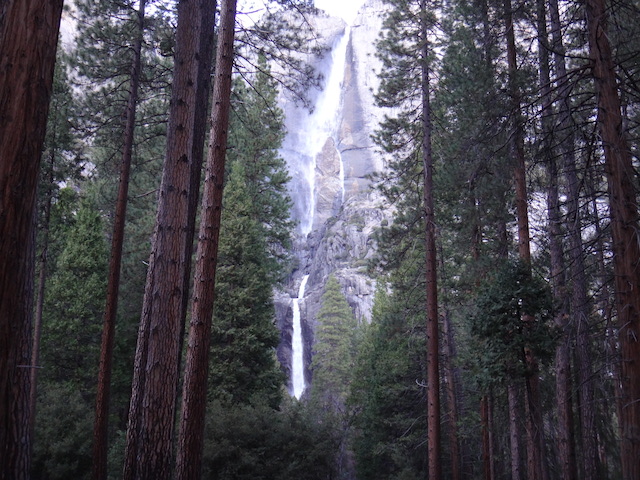
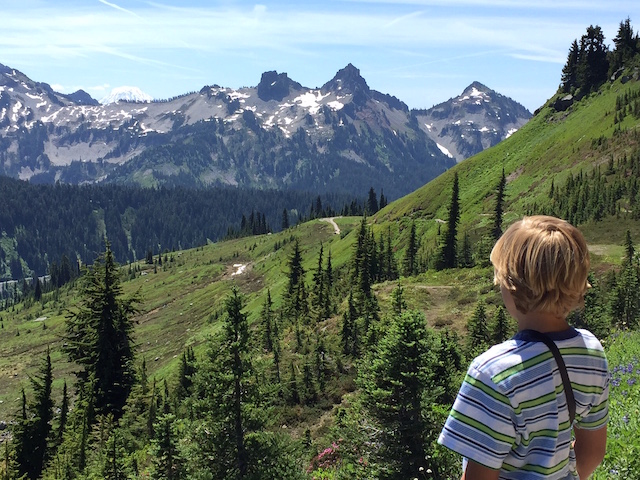
On the right day, Mount Rainier National Park can rival the scenery beheld at National Park greats such as Glacier and Canada’s Banff or Jasper.
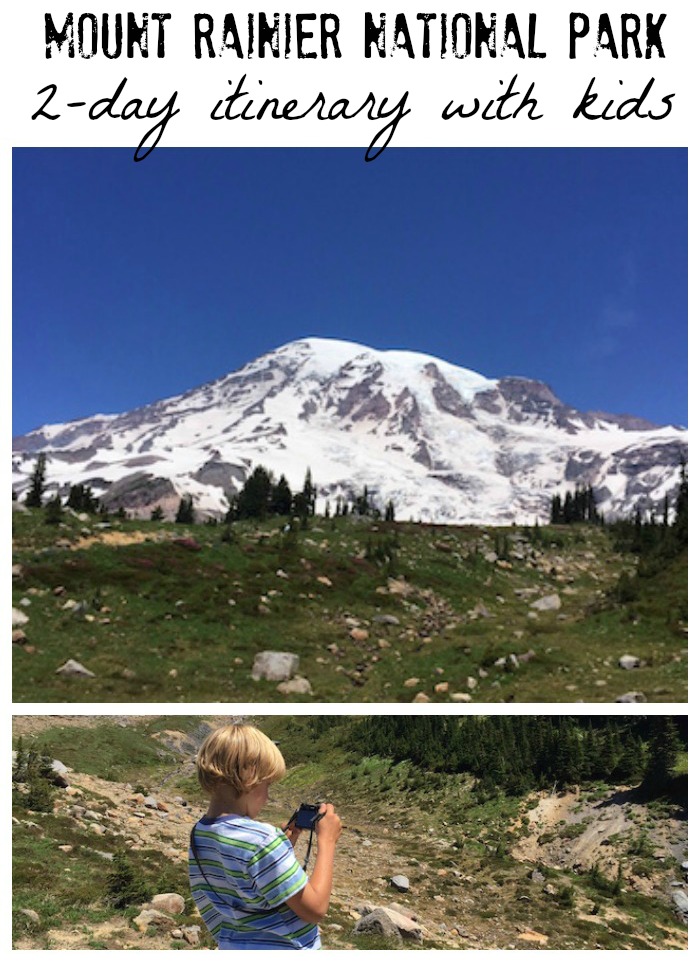
Often hidden in cloud, the mountain framed by blue skies is nothing short of breathtaking, and on clear days, the views from the Paradise end of the park reach from Mt. St. Helens to Mt. Hood to Mt. Baker. The day we arrived, looking from volcano to volcano across the Pacific Northwest, we felt awe and respect standing along the famed Ring of Fire.
Mount Rainier National Park is large, but 97% of the park is dedicated wilderness, which means families can reasonably see the best day hikes and visitors centers in two full days, or one full day and two half-days. The order in which you tackle these attractions will depend on how you enter and exit the park. We entered from the north (Seattle) through the White River Entrance, and exited to the south via the Stevens Canyon Entrance. Our lodging was located on the south end, so we toured what we could on the north end (Sunrise) after we arrived, then concentrated on the south end (Paradise and Longmire) for the remainder of our trip.
Mount Rainier two-day itinerary suggestions:
Day 1:
Arrival through White River:
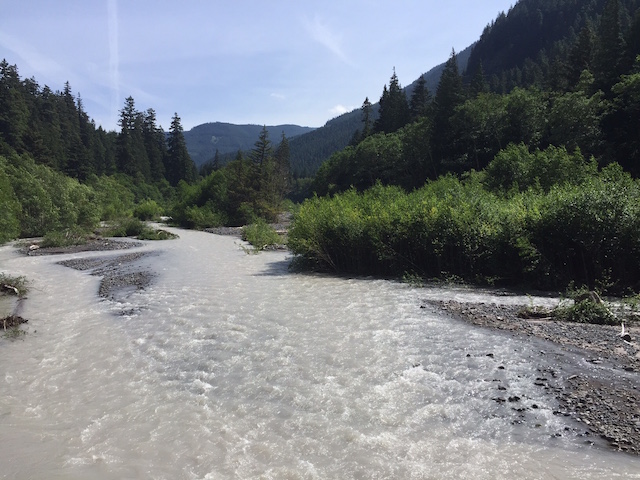
We enjoy entering the park at White River, as this milky-white river gives a good introduction to the volcanic activity on Mount Rainier. The river gets its name from the chalky powder that rubs off granite higher up due to glacial activity. Stop for a picnic at any one of the White River turnouts along Mather Memorial Parkway toward the Sunrise Road turn-off.
Sunrise area hike:
If you’re staying in the Sunrise area, skip the Sunrise Road for now, and head south to sample some Ohanapecosh or Paradise hikes, which will enable you to concentrate on Sunrise on Day 2. However, if you’re staying on the Paradise side, as we did, take the time to detour to the Sunrise Road now, to avoid needing to backtrack tomorrow.
The Sunrise Visitors Center is a good one to hit up for Junior Ranger booklets. Afterward, head to the Sourdough Ridge Nature Trail, which is an easy one-mile loop starting near the Sunrise complex parking lot. You’ll get nice views of Rainier and interpretive signs educating on the flora and fauna. As an alternative, Silver Forest is a two mile out-and-back hike, which starts with informative exhibits en route then moves through an area once-damaged by forest fire. What still stands are the ‘silver sentinels’; long-dead but erect trees that are surprisingly beautiful.
If you want a longer hike, the Naches Peak loop is about five miles, and offers small lakes, views of Rainier, and plenty of subalpine forests. Plus, it takes hikers on a portion of the Pacific Crest Trail, which can be fun.
Ohanapecosh-area hike:
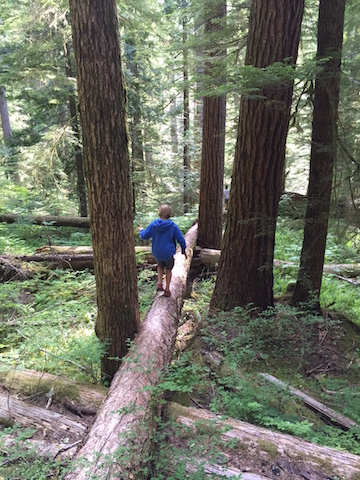
As you drive through the park toward the south, plan to stop for a short hike at either Grove of the Patriarchs or Silver Falls, near the Ohanapecosh Campground. The Grove of the Patriarchs is best if you’re short on time or have very young kids; it’s an easy one mile walk to see old-growth forest along the Ohanapecosh River.
For a longer and more satisfying hike, go into the Ohanapecosh Campground to the day-use/trailhead parking. Take the Silver Falls loop hike, which is about three miles. At the very start, you’ll be rewarded with hot springs activity. Feel the water temperature of the various springs as you go…they get progressively warmer as you get closer to the source of the hot springs. Be sure to detour onto the hot springs loop trail about a quarter mile into the Silver Falls loop, just to the bigger pool that’s jacuzzi-hot. Continue along the Silver Falls trail to the thundering falls along Ohanapecosh River; it’s absolutely worth the mileage! The loop will deposit you back at the campground.

Day 2:
Paradise Visitors Center:
For the Paradise portion of your visit, start early, as the Sunrise parking lots fill up fast in summer. (See below for best time of year to visit.) The Visitors Center offers a nice area of exhibits upstairs, and a 20 minute video that plays several times per hour. We always recommend watching videos to introduce visitors to new parks.
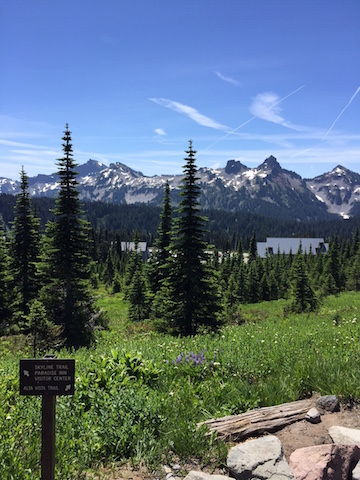
Skyline Trail hike:
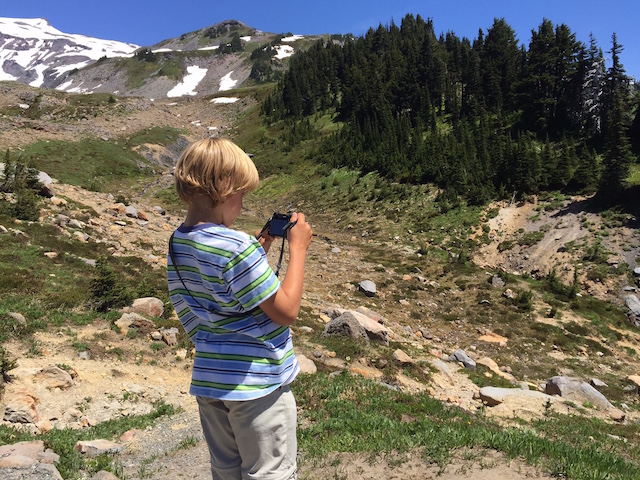
Right outside the Visitors Center, a network of trails are on offer. The Skyline Trail is one of the most popular hikes in the park, and while we usually shy away from potentially crowded areas, this one is worth it. This loop is over five miles, and takes hikers up in elevation from the Paradise parking lots seemingly to the edge of Mount Rainier itself. The first two miles are steep, but the continuous views of Rainier make this workout less painful, and the crowds drop away the further you go. There are a number of turn-around options in these first few miles; hikers could detour onto the Dead Horse or Alta Vista Trail, and return to Paradise. Everything is well-marked, and rangers are often on-hand at junctions to explain options. Note: the beginning and end of this loop are paved trail, to accommodate shorter hikes for all visitors.
For those wanting to go the distance (recommended if possible), continue up Skyline to Panorama Point, where you can opt between the Low Skyline Trail or High Skyline Trail. Either will continue your loop, but in early season, only Low Skyline is open. When we hiked in June, Low Skyline offered lots of snow across the Nisqually Glacier, which the kids loved. Cramp-ons are not necessary for the Low Skyline Trail, but be prepared to walk through snow (trekking poles are useful).
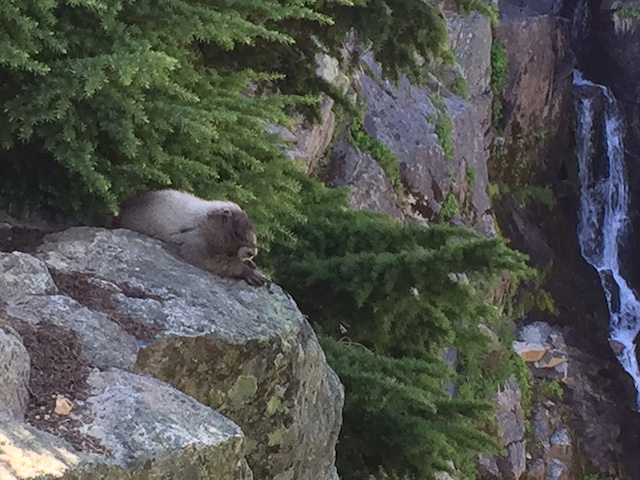
The Low and High Skyline trails merge again to start the long descent back toward Paradise, with an option to cut 1.5 miles off your loop by taking the more direct Golden Gate Trail down to Myrtle Falls, then the lodge area. We opted to stay on the Skyline loop, and were not sorry. The views continue to be spectacular, with creek crossings and wildflowers in the early season. At Myrtle Falls, the trail becomes crowded with visitors for the final few tenths of a mile. Look for marmots along the entire hike: we saw 4-5!
Rampart Ridge Trail Hike:
If you have time to venture further from Paradise to the Longmire section of the park, or if Skyline is simply too crowded on the day you’re visiting, the Rampart Ridge Trail is a good alternative. This trail is often hiked in summer by the many visitors who do not receive Wonderland Trail permits, and in early season or fall, it’s blissfully empty. The 4.6 mile loop begins at the Trail of the Shadows trailhead, and takes hikers through both wetlands and old-growth forest. The climbs along the loop start out quite gentle, then progress to a series of switchbacks. The reward: views of the valley below and Tumtum Peak. Further along the trail, the views continue, offering sweeping vistas of Longmire and Eagle Peak. When families reach the junction with the Wonderland Trail, a steep descent returns them to Longmire.
Best time to go:
The best time to visit Mount Rainier National Park is mid-June, early July, or September. While coming in June is a gamble (not everything will be open yet, depending on snow pack), it’s far less crowded. Mid-July through August are peak season. Come in fall, and the park will be yours alone!
Where to stay:
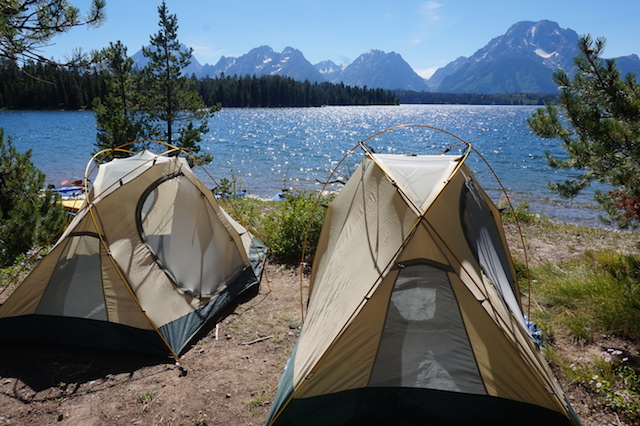
Campgrounds:
The campground facilities in the park are fantastic. We really liked the relative isolation and quiet of Ohanapecosh Campground, which is set apart from any visitors centers. The White River Campground is one of the most popular, but with the river nearby, we understand why. Check the national park site for campground information, including which can be reserved ahead of time.
Paradise Lodge:
This national park lodge is beautiful, but located in the thick of things. You’ll get pristine views of Rainier, and have immediate access to some of the best trails (no parking worries!) but also be staying in the midst of the crowds.
Packwood area:
We opted to stay three miles outside the Stevens Canyon park entrance, in the Timberline community of seasonal cabins outside of the town of Packwood. We rented our cabin via VRBO, and were cozy in a retro cabin sleeping six. Renting in the Timberline community, we had access to a community outdoor pool and tennis courts, and enjoyed a nice deck and mountain views, plus a full kitchen for cooking our own meals. There are a few dining options in Packwood (we tried the Blue Spruce Cafe, which served traditional pub food like burgers, fish and chips, and pizza), but you’ll want to do some grocery shopping. Note: AT&T customers will have no cell service in this area.
Have you visited Mount Rainier? Where did you hike and stay?