Hiking Safety: How to keep kids safe in the outdoors

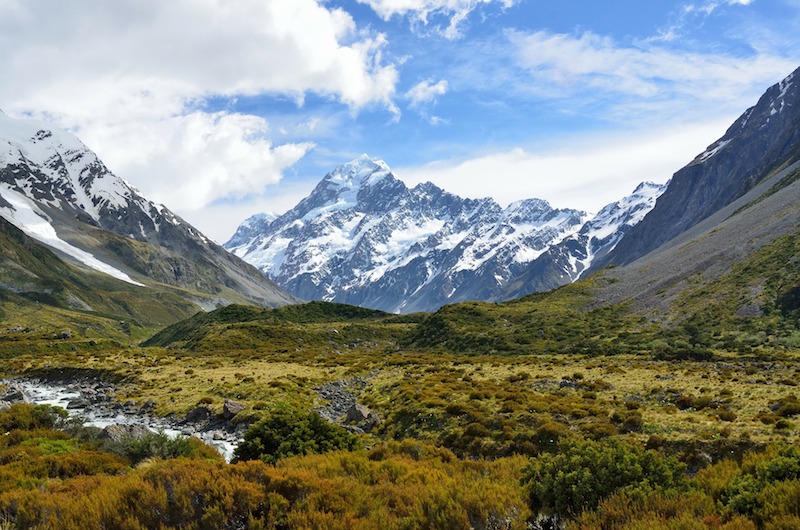
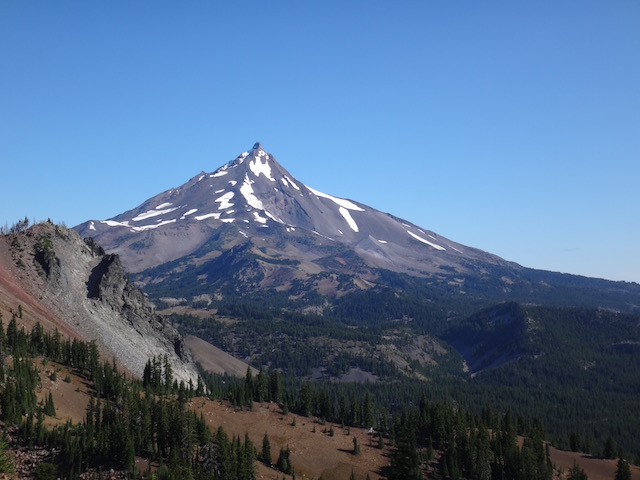
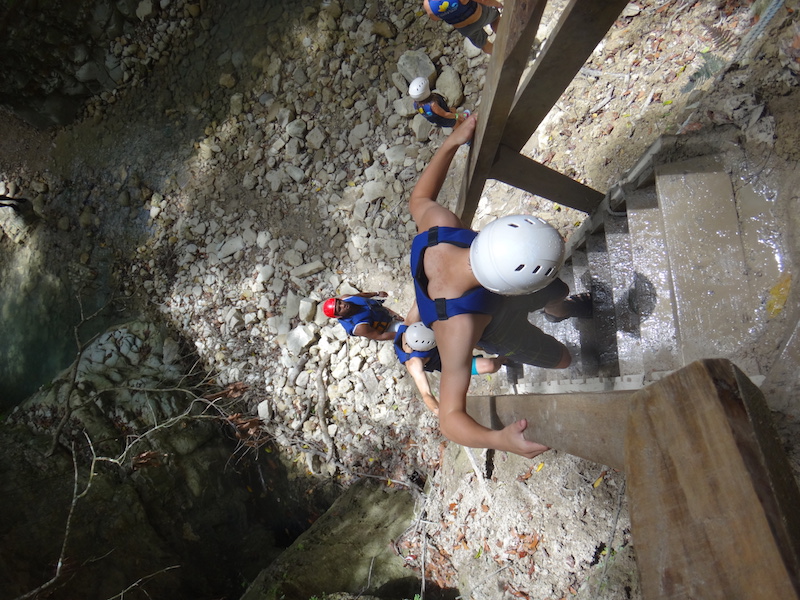
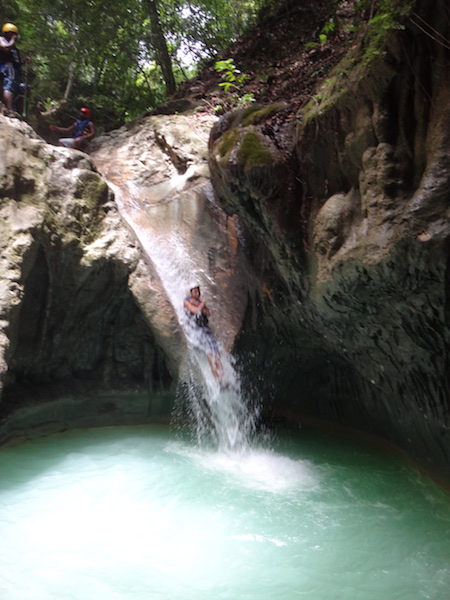
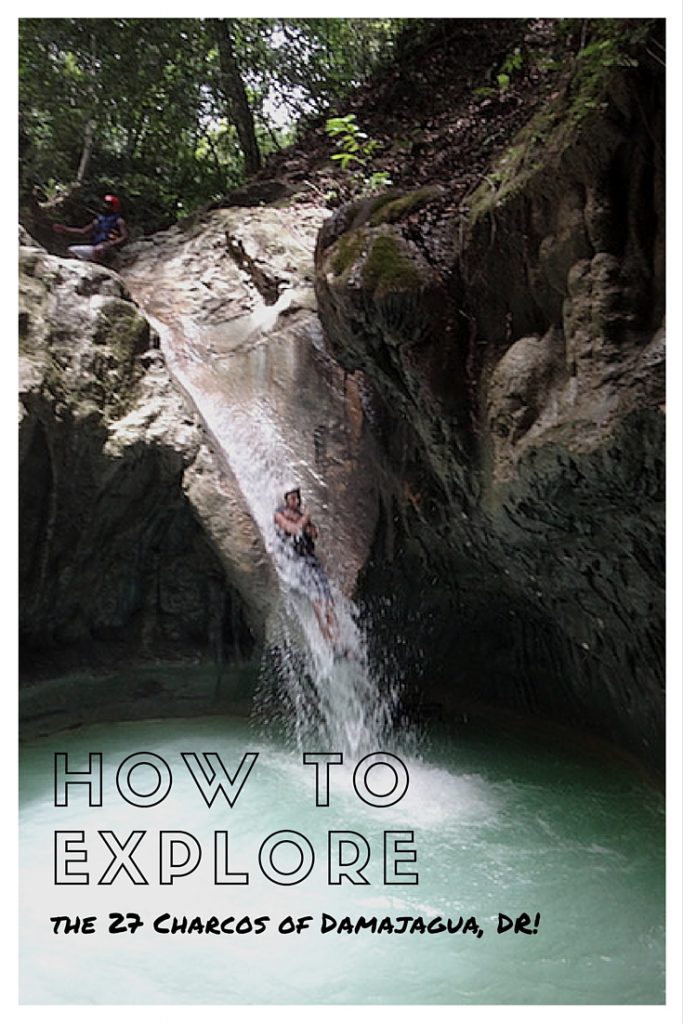
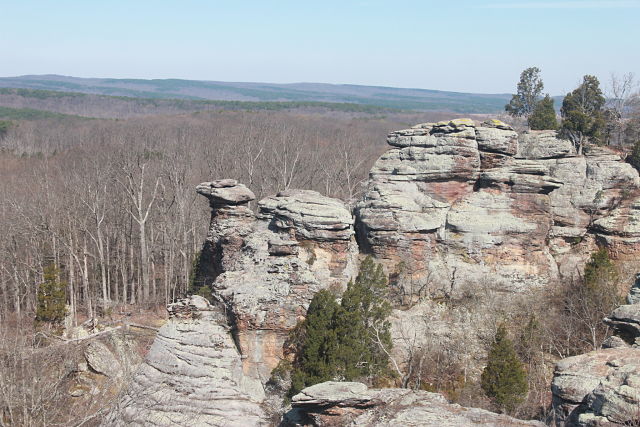
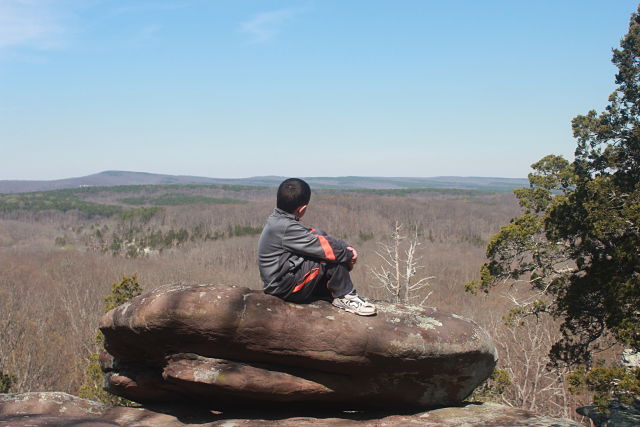
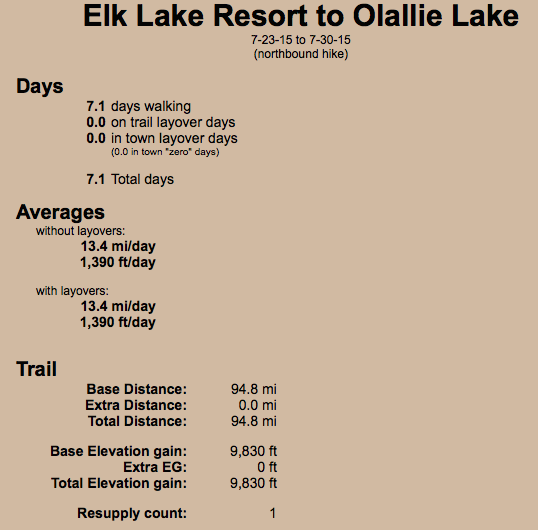
A ramble through the woods, a stroll across a mountain meadow, or a strenuous alpine hike with the reward of a breathtaking vista – it all sounds idyllic until something goes wrong. As a former search and rescue volunteer and EMT, hiking safety is very important to me. I’ve participated in too many wilderness searches that could have been avoided with a few precautions, a little know-how, and the right hiking gear.

nature-hikeTrust me – if golf is “a good walk spoiled,” so is a search for a missing hiker! If you’re planning to explore hiking trails in your region this fall and winter, know what is needed to have a fantastic outdoor experience (and make it home in time for dinner).

Safety Precautions

Before setting out on any wilderness hike, download or buy a topographical map of the trail network so you’ll be aware of trail crossings and alternative routes. Consider hiking with a buddy, or, if you must hike alone, always tell a friend or loved one where you’ll be and when you plan to be back. Many trailheads offer “sign-in stations,” where hikers can register their presence.

Lucky hikers will enjoy spotting wildlife en route; with very few exceptions, these animals will respect your presence if you respect theirs. Carrying bear spray is a good precaution against the rare event of an aggressive animal, but a camera will come in handy far more often.
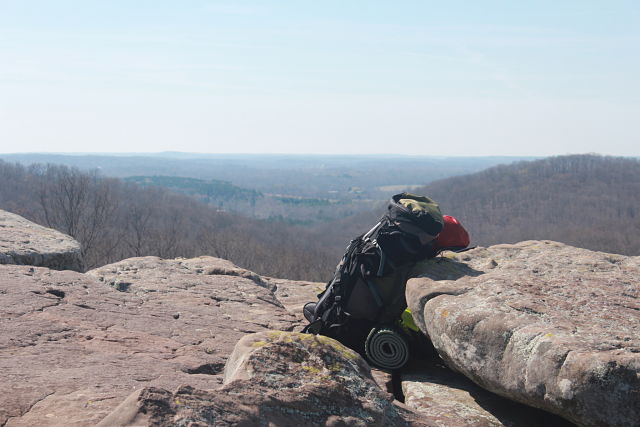
Gear to Take

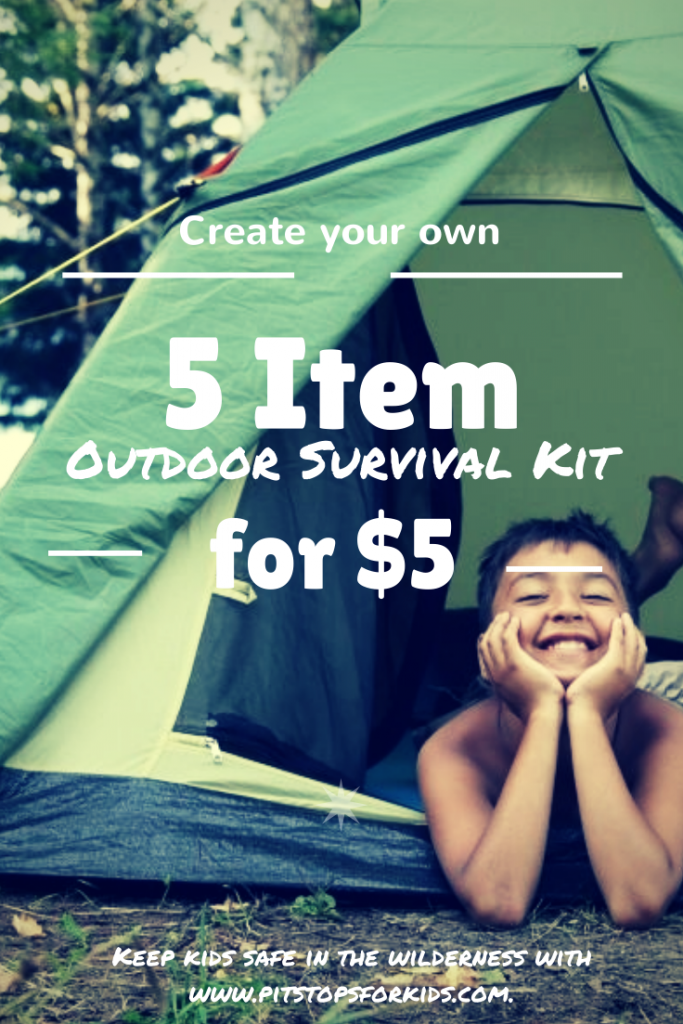
Most hikers remember to pack weather-appropriate clothing and their best hiking boots, plus to carry a water bottle when setting out, but they are surprised to learn what else should be in their day pack. While compasses and GPS units are useful, they don’t make the list of absolute necessities. Neither do high-tech hiking poles or hydration systems, despite being nice to have. In fact, hikers carrying just the following five items will greatly increase their chances of survival in the wilderness should they spend more time in the elements than planned:

  • Bandana
  • Whistle
  • Glow Stick
  • Plastic Poncho
  • CD or Mirror

All five of the items above can be purchased for under $10 at any outdoor store or dollar store. Keep all five safety tools in your hiking day pack permanently to ensure they’re at the ready on every hike.

Read our full article on fix.com.


Source: Fix.com

Where to find the best outdoor adventure activities in New Zealand

The unparalleled beauty of New Zealand’s outdoors beckons thousands of tourists ready to experience the most adventurous and exciting activities in this island country year after year. New Zealand’s virtually unspoiled natural expanses make it one of the greatest places in the world to enjoy the very best outdoor activities. A combination of mountains, rainforests, fjords, and the magnificent beaches of this gorgeous country provide abundant opportunities for wild outdoor adventures. There are plenty of New Zealand North Island tours as well as South Island exploring to fill your travels with. Below are five of the best outdoor adventure activities in New Zealand and where to find them!

new-zealand

Waitomo Glowworm Caves

New Zealand’s glowworm caves are quite a sight to behold, by displaying a fantastic light show in the Glowworm Grotto. If you traipse through the underground Waitomo River, you can get to the Glowworm Grotto where you will witness the magic of a thousand glowworms lighting the way forward for boat riders. The glowworm cave dates back to 120 years and forms an important part of New Zealand’s cultural history. You can also try out some more adventurous tours of the cave that include rock climbing, tunneling, abseiling, and cliff jumping!

Mills Reef Helicopter Wine Tasting

Go on a spectacular wine tasting journey to Mills Reef at Tauranga via a helicopter ride that offers stunning views of Tauranga Harbour and the Kaimai Ranges. Mills Reef Restaurant is highly acclaimed for excellent food and some delectable wines. On the helicopter ride, you can enjoy views of the surrounding beaches and Mount Maunganui.

Dolphin Cruise

If you take the Dolphin Cruise at the Bay of Islands, you will enjoy some gorgeous and diverse marine life. You’ll spot bottlenose dolphins and whales if you watch carefully enough! There’s also opportunity for swimming with dolphins if the conditions are right. Bay of Islands has many beautiful islands in its vicinity, many of which you can visit and relax on their beaches.

Cathedral Cove Boat Tour

Cathedral Cove is rich in marine life, mind-blowing sea caves, beaches, and islands. There are fun activities you can do here like swimming, snorkelling, kayaking, bird watching, and many more. Cathedral Cove is home to beautiful sea birds like the Gannet and the Blue Penguin. You can also take boat trips, go diving, or pay a visit to the Mercury Bay Vineyard.

Hot Water Beach

The Hot Water Beach at Mercury Bay has natural hot springs coming from an underground river of hot water. Along with the soothing hot water, you can surf as well as visit the beachside cafes and galleries. The beach is lined with the Pohutukawa Cliffs on either side, offering some breathtaking views.

Three northwest backpacking routes for families

Parents with young children: you absolutely can backpack with kids! Our family has found success by choosing backpacking routes that are short on distance but big on rewards, whether that be in the form of a fun lake or river to swim in, dramatic scenery, or both. The following three northwest backpacking routes for families deliver.

Before you read on, check out our tips for backpacking with kids!

northwest backpacking routes

Northern California’s Trinity Alps:

Just south of dramatic Mt. Shasta at the top of Northern California, the Shasta-Trinity National Forest offers some of the best backpacking for families. While word is now getting out, the Trinity Alps used to be very uncrowded, while still offering up vistas on par with the Sierra Nevada.

For families, we recommend the 5.2 mile route from Swift Creek Trailhead to Granite Lake. From the Swift Creek Trailhead of the Trinity Alps, families hike for one mile before crossing Swift Creek at a large bridge and taking the Granite Lake Trail. After that, it’s 4.2 miles of a pretty strenuous uphill hike. Take your time, knowing that you don’t have to hike too far but will be rewarded with one of the most stunning alpine lakes you could ask for.

Make a home base at Granite Lake, and spend an extra day day-hiking up above it (the terrain turns to sub-alpine granite with great views). If you want to make a full loop of it, you can continue to Horseshoe Lake, reconnecting with the original Swift Creek Trail to follow the creek back to the parking lot. We have always been content to simply play at Granite Lake, however.

How to get to the trailhead: Swift Creek Trailhead is at the end of Swift Creek Road, accessed from Highway 3. (From I-5, grab Highway 3 at Yreka.) You’ll pass a national forest ranger station near Fort Jones, where you can grab your backcountry permit.

backpacking-trail

On the Granite Lake Trail

Southern Oregon’s Sky Lakes Wilderness:

The Sky Lakes are beloved to our family. They’re right in our backyard, so we’ve logged a lot of hours on trails here. The great thing about Sky Lakes is the flexibility; there are multiple options for making larger or shorter loops between its many small alpine lakes. The elevation is lower than many backpacking routes, so the nights will remain warmer (but you’ll also experience more mosquitoes, so aim to visit in August or September).

The Sky Lakes are generally split between Lower Sky Lakes Basin and Upper Sky Lakes Basin. You can see it all in a 12 to 14 miles loop, but we recommend staying on the Upper Sky Lakes Basin end to see Trapper Lake and Lake Margurette. You can camp at either, and experience the other in a day hike, should you wish. Start at Cold Springs Trailhead, and when the trail splits, follow the upper toward Natasha and Margurette lakes. The entire hike is only about 3.2 miles, and isn’t too steep. If you’re ambitious, you can also access the Pacific Crest Trail above Trapper, and walk along it for a while.

How to get to the trailhead: Cold Springs Trailhead is located off Highway 140. From Medford (and I-5), take Highway 62 to Highway 140. At mile marker 41, you’ll take gravel road FR 3651 at the Cold Spring Trailhead sign, and follow it 10 miles to the parking lot.

stuffing backpacking bags

Setting up camp

Central Oregon’s Jefferson Park:

Very few wilderness areas are as breathtakingly beautiful as Jefferson Park. And yes, it is indeed a veritable ‘park’ of alpine creeks, lakes, trickling waterfalls, and towering peaks. You have to earn it though: the route in from either side takes some time for families. We recommend the slightly shorter route from Whitewater Trailhead (the other option is Breitenbush Trailhead further north).

You’ll go about four miles before reaching Whitewater Creek, with stunning views of Mt. Jefferson all the while. After the creek, you’ll join the PCT temporarily as you enter the park. Once in, you’ll see many trail options leading a short distance to multiple small lakes. We suggest Russell Lake or Scout Lake. Take fishing poles, and the fish seem to really bite here. You can rejoin the PCT for a long day hike should you wish, or can simply set up camp and enjoy the lake. No matter which lake you pick in the park, the round-trip mileage will be about the same: 11 miles or so.

How to get to the trailhead: Take exit 253 off I-5 in Salem. Drive 60 miles east on North Santiam Highway 22. Between mileposts 60 and 61 (10 miles beyond Detroit), turn left on Whitewater Road 2243. This gravel road forks in about 100 yards, keep right. Follow this road 7.5 miles where it dead-ends at a large parking area.

Jefferson-peak

Jefferson peak

I think it’s time for us to discover some shorter backpacking routes in Washington state next! While we have experience in this region, it’s for longer hikes for more experienced backpackers. If you know of great routes for families in Washington, please leave them in the comments. And always remember to call the local ranger station before your trip for weather and trail closure information, as well as any detailed driving directions you may need.

New Hampshire with kids: Lost River Gorge and Boulder Caves

The Lost River Gorge and Boulder Caves is a great location for exploration that families can take at their own pace. It starts with a three-fourth mile boardwalk through the gorge. You may remain on the boardwalk, or, if your kids love off-roading, you can explore the boulder caves. This is an excellent outdoor activity in the White Mountains of New Hampshire.

new-hampsire-with-kids

The Mysterious Boulder Caves

The site starts with a short walk descending approximately 300 feet along the entrance trail. The first stop from the trail is a viewing platform with great views of the gorge. From there, you enter the gorge and meet your first cave, The Sun Altar.

Next up, families explore more rock and boulder formations, caves, and waterfalls. We visited this spot in July 2016 with a five, seven, and 15-year-old. Basically it is about a mile long “trail” with boardwalks, ramps and ladders that takes you through about a dozen glacial caves. There’s “The Bear Crawl”, “Lemon Squeezer” and “Devil’s Kitchen’ to name a few. All three kids loved it! At each cave there was an alternate route in case someone in your group did not want to crawl on their hands and knees through a cave. It took us a little over an hour and we could have gone back around again if we’d had time. Although other groups were there, it never felt rushed or crowded. You can always let people go by you. Babies in backpacks couldn’t get through and those parents took the alternate routes. (Note: no strollers are allowed.) And not all the grandparents could make it through each area, or wanted to, either! There’s a very pretty waterfall at one point.

There’s plenty of parking and, of course, a gift shop. But there is not a restaurant. Pack a lunch! We thought we’d buy lunch there, but ended up with snacks like yogurt, granola bars, etc from the snack bar area. There are restrooms at the gift shop/ticket area but none along the trail.

There’s  a clever little “quiz card” kids can pick up at the ticket booth, fill out along the trail and then turn in for a sticker and prize. We also panned for treasure at the Lost River Mining Sluice after the hike.


new-hampshire-with-kids

Rates and Hours:

Open daily early May—mid-Oct (July and August 9 am-5 pm). Cost is $19/adults and $15/4-12  3 and under free.

Directions:

It’s about 40 minutes from the Montshire Museum in Vermont that has already been reviewed. It took us over 2 hours from Northampton. The address is 1712 Lost River Road, North Woodstock, NH.

Big Surf waterpark in Lake of the Ozarks

Big Surf waterpark, in Linn Creek, Missouri, is an exceptionally well-maintained waterpark at the Lake of the Ozarks, offering thrill levels appropriate for all ages and comfort zones.

Park Features:

big-surf

The wave pool

The centerpiece of the park is the wave pool, which runs ten minutes on and ten minutes off all day long. In the rest periods, it’s a massive zero-entry wading pool that, eventually, reaches a depth of 6 feet, though at least half of it is 3 feet or less. In the wave periods, you get deep swells and a few low breakers. The park rents single ($6) and double ($8) tubes, but truthfully we found good old-fashioned body surfing more fun—and easier on the stomach.

In this area of the park, music plays through loudspeakers, but unlike most pools and water parks, it’s kept to a good volume, loud enough to hear but not loud enough to have to shout over.

For little ones

For the little ones, Big Surf has two play areas. The first, with zero entry ranging up to about 18 inches deep, is aimed at little ones, with teeter totters and ride-on animals that squirt water, plus short open slides and even a bouncy swing for babies. The other, which reaches 4 feet deep, is aimed at the preschool/young elementary crowd, with short tunnel slides and a lily pad jungle gym.

For the more adventurous set

For the older crowd, the park offers five adventure rides. Several of these require riders to be 48 inches tall. The least intense involves riding an inner tube down a twisty slide and then bouncing through a series of short rapids separated by pools. The two most intense are the Space Bowl (think of a spiral wishing well, where you insert a coin and it rolls around on centrifugal force until it falls down the center) and Zambezi Falls, which involves a near-vertical drop. Where tubes are required, they are provided by Big Surf, and they are color coded for use in different areas of the park.

Lazy river

Threading between the adventure rides and the kiddie area is the Lazy River, which, along with the wave pool, was the favorite for our set of preschool- and elementary-age kids.

big-surf

Other considerations:

The water in the park is crystal clear, and the grounds and walkways are exceptionally clean and well maintained. One especially nice feature is the large (free!) supply of infant, child, and youth sized life jackets. Amusement parks can be chaotic, and having the extra layer of security added a lot to our peace of mind. The park is well-staffed with lifeguards, too, although signage is quick to emphasize that you still bear primary responsibility for your kids’ safety.

Three-sided tents are available for rent around the edges of the park, and there are many tables with umbrellas and lounge chairs lining the wave pool and the kids’ areas. You can also rent lockers in which to keep wallets, keys, and phones.

If everybody gets tired of water play, there’s also a small basketball court, playground, and sandbox on an upper level.

big-surf

Food/Shopping:

Outside food and drink are not allowed inside the park, but re-entry is permitted, so you can bring lunch and leave it in the car. A concession stand serves hot dogs, hamburgers, chicken fingers, and pizza as well as ice cream, pretzels, and funnel cakes. Meal combos are available. A gift shop sells branded merchandise at the entrance.

Hours/Admission:

Big Surf is open daily all summer and Saturday and Sunday until mid-September. Inclement weather closures are announced on the website header, Facebook and Twitter.

Single day tickets run $29.95 for ages 11-59 and $24.95 for kids 4-10, with discounted rates for non-swimmers, after-3 admission, and more. If you’re in town for a few days, hang onto your full-priced ticket. It’s worth a 50% discount for a return trip on another day. Also follow their Facebook page for specials and discounts.

Location/Parking:

Big Surf is located next to Highway 54 at Linn Creek, MO, a few miles south of the Lake of the Ozarks. Parking is free.

Our family enjoyed Big Surf Waterpark as guests of the Tri-County Lodging Association’s Lake of the Ozark’s Hospitality Bank, in exchange for an honest review.

Dominican Republic with kids: 27 Waterfalls of Damajagua

Located in the countryside outside of Puerta Plata, Dominican Republic, the 27 Waterfalls of Damajuana is the most talked-about experience on the north side of the island. Is it worthy of the hype? In a word, yes.

27-waterfalls

What is the 27 Waterfalls of Damajagua?

The 27 Charcos of Damajagua is exactly what it sounds like: 27 waterfalls in a row in the middle of the Dominican jungle. Unregulated until 2004, the waterfalls are now controlled by a private company thanks to Peace Corps volunteer Joe Kennedy (yes, of those Kennedys), and there’s quite the operation at the site. When you arrive, either by tour group or on your own, you’ll now find a dirt parking lot, tour booth, bathrooms and lockers, and outdoor dining area. Your group is paired with a guide from the falls, and you opt between navigating 27, 12, 7, or just one waterfall.

We wanted to do all 27, but the water level restricted us to 12. We went with Iguana Mama, and had a fun-loving guide, Raul. Our group of about 10 people were fitted with life vests and helmets (required), and we trekked almost two miles up a dirt trail. (The trail is around 3 km.) The youngest person in our group was eight, and the oldest was probably me, at age 40. The trail included steep wooden steps, rocks, and pretty severe inclines and declines, but overall was in good shape. The way was shaded as we hiked into the jungle canopy, and we were joined by a second guide, plus our guide who came with us from our cruise port.

charcos

When we reached the end of the trail to the 12 waterfalls (which took about 45 minutes), we climbed down another steep staircase and entered the river. In places, the water was only ankle deep, and in other places, over our heads. We began making our way back toward the ‘camp’ via the river, alternatively wading, swimming, jumping, sliding, and climbing in, over, under, and through the river. It was amazing.

At each of the 12 waterfalls, our guides would stop us and explain our options, which usually included leaping off a rock or outcropping into a deep pool of water below, sliding on our butts along naturally carved waterslides in the rock, or taking the ‘chicken’ way around waterfalls on questionable-looking ladders and staircases. Honestly, I think the most dangerous route was via those ladders!

climbing-waterfalls

Most of the time, I opted to jump (sometimes as much as 10 feet), but I also enjoyed sliding. The kids loved both options, and often, we’d climb back up ladders or ropes to do certain waterfalls a second time. There were groups ahead and behind us, which meant we had to keep to a schedule (see ’tips’ section below), but overall, we didn’t feel rushed. I don’t love heights, but I’m used to jumping off ledges, so the experience didn’t daunt me. If you REALLY don’t like heights, there are work-arounds for each waterfall, but they’re in the form of the aforementioned ladders, which, honestly, are just as scary.

In some places, you can swim underneath the waterfalls or explore partial caves carved out of the rock, and throughout the whole experience, the jungle canopy is above you, shading you and sheltering you. The sunlight cuts through gently (you don’t need sunglasses), and we didn’t find the hike or the swim to be buggy. The water is refreshing but not too cold.

waterfall-slide

The route down through the waterfalls took us about 1.5 hours, and afterward, we had a short hike back to the camp where we changed and had an included lunch of Dominican beans and rice, BBQed chicken, and a few kid pleasers like (oddly) spaghetti. Soda and rum and coke were included.

How to book a tour:

You can either arrive to the waterfalls on your own, taking a taxi from Amber Cove or an autobus from Puerto Plata, or you can book an excursion through Iguana Mama or Marysol Tours. The latter option is more expensive, but what you’re paying for is the convenience of the transportation (and the expensive gasoline required to make that happen). If you opt to arrive solo, you simply pay as you arrive (about $480 Dominican pesos for all 27), and guides are assigned to you on a first-come, first-served basis. This means you may have to wait a bit for the next guide.

waterfall-hiking

Tips for the waterfalls:

  • Book a tour early in the day to play in the water with fewer crowds. This ensures you won’t wait for a guide if you’re going solo, either.
  • Bring waterproof shoes (like Keens or Chacos) or an old pair of sneakers to get wet.
  • Put on bug spray and sun screen ahead of time.
  • Keep everything but your waterproof camera on the bus or in a locker.

Cost:

We booked a tour through Iguana Mama, because we wanted the convenience of a port pick-up. Our tour included lunch and cost just over $50 US per adult. If you opt out of a tour, the cost is significantly less per person (around $10), but does not include transportation or lunch. We were quoted everything from $40-100 US for a cab ride for five people from Amber Cove. It IS possible to negotiate a flat rate from taxis on the highway.

waterfalls

How to get there:

If you go on your own, get up-to-date directions at 27charcos.com. More information is found here.

27-waterfalls-of-Damagua

Things to do on the Great Barrier Reef with kids

The Great Barrier Reef is a magical place to visit. Most parents wouldn’t think that it is safe to tour Australia’s natural wonder with kids, but there are actually quite a few things you can do. Introducing them at a young age helps them learn about the biodiversity and the beauty first hand. There are over 6,600 species of flora and fauna that live in the Great Barrier Reef; this includes 1,500 species of fish, 400 kinds of coral, and 4,000 species of mollusks. In this article, we will cover the different things you can do with your kids on holiday on the Great Barrier Reef.

australia

Glass Bottom Boat Rides

You can charter a glass bottom boat ride from most port cities in Queensland adjacent to the Great Barrier Reef. The clear glass allows you and your children to see the marine life, the brightly coloured fish and the magnificent corals without getting wet or even needing to know how to swim. Safely peer down into the clear blue waters and introduce your children to a whole new world they will come to love and respect.

Island Excursions

There are many different islands among the Great Barrier Reef that make for a great holiday with the kids. You can hire a Budget rent a car easily, and be on your way to one of the islands. Each of the islands boast several white sand beaches just waiting for sand castles. Some islands have accommodations so that you can stay on the island and get to experience so much of the Great Barrier Reef right from the island. The shallow beaches allow little ones to get their feet wet and experience the Coral Sea without getting in too deep. Whatever your tastes and budget is, there are island accommodations for you. If you thought staying on a Great Barrier Reef island was out of reach for a modest single parent budget, think again. All types of accommodations are available from budget camping tents, cabins, cottages, lodges, and luxury resorts. Here are some specific kid friendly island activities:

great-barrier-reef

  • If you are looking for kid-friendly fun while on the island, check out Hamilton Island where you can plan to go bowling, take art classes, go-kart racing, mini golf, quad bikes and more.
  • From September to March you can see the Loggerhead and Green sea turtles come ashore to lay their eggs and then the babies hatch and make their way back into the water. This is an excellent phenomenon to see with your kids.
  • On Daydream Island (located in the Whitsunday Islands) the resort there has an amazing living reef that runs through it. The Living Reef is one of the largest man-made living coral reef lagoons in the whole world. Children get to experience a piece of the Great Barrier Reef in the shallow lagoon without the dangers of open water. There are more than 140 species of marine fish and 83 species of coral in the Living Reef. Guests of the resort can wade through the waters, explore, touch, and learn about the marine life swimming through it. There are daily educational seminars and feeding sessions to help educate everyone about the reef, its inhabitants, and the importance of conservation.
  • Low Isles is a small cay just off the coast of Port Douglas. It is easy to get to but access is limited; so if you plan ahead of time, you can be a part of a limited tour that is perfect for you and your kids. There is a lighthouse on the island and a shallow, sheltered lagoon in the bay that is perfect for swimming.

Kid Friendly Activities in Port Cities

Up and down the Queensland coast along the Great Barrier Reef are a series of major port cities: Cairns, Port Douglas, Townsville, Mackay, and Rockhampton. Each port city allows for easy access to destinations and charters on the Great Barrier Reef.

cairns-australia

Things to Do in Cairns:

  • Cairns Zoo
  • Mossman Gorge
  • Kuranda Rainforest
  • Barron Gorge National Park

Things to Do in Port Douglas:

  • Daintree Rainforest
  • The Rainforest Habitat Wildlife Sanctuary
  • Hartley’s Crocodile Adventures

Things to Do in Townsville:

  • The Strand Water Park
  • The Rockpool
  • Museum of Tropical Queensland
  • Reef HQ Aquarium
  • Billabong Sanctuary

Photo credit: Flickr/SummerDay, Flickr/RobertLinsdell, Flickr/PaulTooGood

Exploring Garden of the Gods, Illinois

One of the prime attractions in the Shawnee National Forest, which covers 280,000 acres in Southern Illinois, is Garden of the Gods, a collection of fantastic rock formations that towers above a vast expanse of wilderness. The short hiking trail there makes this a great place to let the kids get up close and personal with nature.

garden-of-the-gods

The most famous rock formation is called the camel, but there are many others along the trail, each one beautiful in its own right and showcasing different geological processes and features. It’s a paradise for kids who like to climb, and the views are expansive and beautiful.

A well-groomed walking trail lined with paving stones opens the rock formations to most families. If you have babies or new walkers, you’ll want a carrier or a jogging stroller. There are hills and a few steps, but our four-year-old did just fine on his own two feet. For older kids and adults, the U.S. Forest Service has provided QR codes and a call-in number for a guided tour as well as interpretive signs along the path.

garden-of-the-gods

The trail can be walked in 30-45 minutes, but if you explore the formations in depth, you can spend several hours. Garden of the Gods is largely wilderness, which means nothing is off limits for climbing. It’s a fabulous opportunity for the adventuresome souls in your party.

However, “wilderness” also means there are no safety railings. That being said, I was not overly worried about my crowd of four kids. From the trail, the dropoffs look abrupt, but once you get to the “edge,” you generally find several lower levels of rock preceding the long drop. Still, parents will want to take reasonable precautions. We kept our developmentally disabled daughter well away from the edge, and our four-year-old, who sees every even surface as a race track and every uneven one as a launch pad, was required to hold an adult’s hand when he ventured onto the rocks.

illinois-trail

This is a remote location and the only services are a pair of pit-style outhouses. Come prepared with your own water and snacks, but leave them in the car and come back when you need them, as they are not allowed on the hiking trail. Garden of the Gods is a place set up to enjoy the splendor of the outdoors in its natural state.

Location:

The Garden of the Gods lies southeast of Harrisburg, Ill., between Illinois Routes 34 and 1.

How to plan a multi-night PCT hike with kids

If you backpack with kids, your family will eventually become interested in tackling an iconic backpacking route such as the Pacific Crest Trail. Unless you have a lot of time and stamina, you probably aren’t ready to through-hike the PCT, but a shorter PCT hike with kids is absolutely possible.

backpacking-trail

Planning a PCT backpacking trip is complicated, so we turned to the experts before planning ours. The folks at pcta.org put us in touch with trail expert Dana Hendricks, who has led volunteer crews for AmeriCorps, the Appalachian Trail Conservancy, and the American Hiking Society. She has through-hiked much of the PCT herself. We asked Dana the following questions as we set to work planning our hike.

Who should go?

Dana recommended anyone planning to hike a section of the PCT ‘warm up’ with day hikes or shorter overnight backpacking trips. Our family backpacks regularly, but never more than four days at a time. Because this trip would be at least one week on the trail, we decided two adults and the teens would backpack the entire trip, and another adult and the youngest (10 years old) would meet us for three days of the trip.

Where should we go?

The PCT is three states long, and not all sections are created equal. Our first question for Dana focused on where we should spend the seven days we decided to devote to the PCT. The good news: many people opt for day or section hikes on the PCT, so there’s a lot of research out there. Dana suggested we pick up PCT books at pcta.org to find the best section for our needs. The Day and Section Hikes series are excellent: we found detailed information on starting and ending points, and trail conditions and elevations.

Dana told us the PCT was designed as a stock trail, so the grade is 10% or less. This means most sections are suitable for kids who are used to hiking. There were no sections she felt were ‘off limits’ due to terrain. There are, however, dry sections which require carrying more water, and sections where snow may be a factor. For the sake of simplicity, we decided to eliminate these areas (the CA desert, Crater Lake, and the high Sierras). We also eliminated any areas without many landmarks to make the hike interesting, or areas that may be crowded with day hikers.

stuffing backpacking bags

After studying day and section hike books, and looking at our own needs for bodies of water (lakes or streams) and forest, we decided on a section in Central Oregon. Our route, which we’ll tackle in July, spans approximately 90 miles from Elk Lake Resort, through Sisters, to Olallie Lake. Here’s a screen shot of our route:

PCT-section-hike

How long to stay out?

How long our 90 mile route would take us depended entirely on our hiking speed, of course. While many PCT hikers crush the trail, hiking up to 20 miles a day or more, we wanted a more leisurely pace. We used PCT Planner (above) to gauge our distance and time on the trail. It was easy: we just input our starting and ending points, then added our planned hiking time per day. At the pace we felt comfortable with, we’d spend seven days on the trail. This would be longer than our longest backpacking trip so far, which led us to our next question…

How to plan food drops?

backpacking with kids bear canisters

Dana explained that most PCT hikers arrange to have food drops well before their trip. Hikers can mail food to themselves to post offices along the trail, but the idea of leaving the trail and restarting during such a short trip didn’t appeal to us. Instead, we’ve decided to have friends and family meet us on the trail with a resupply of food. We have this luxury because the PCT section we’ve decided to hike is within a few hours’ drive of our home. We know we can comfortably carry four days’ worth of food from previous trips. We will be met on the trail by family members at the end of Day 3, which will coincide with our path through Sisters.  We couldn’t arbitrarily decide when they’d meet us, however: there are set places where it’s easy to access the PCT, and we needed to plan our reunion accordingly. Another way to tackle food drops is to have a non-hiking friend or family member meet you with food at a designated trailhead en route. All re-entry points along the trail are listed on PCT Planner.

How light should we pack?

While we backpack regularly, we’re not what you’d call ultra-light backpackers. We like our luxuries, like hammocks and coffee presses. While Dana agreed with me that some of these items will need to be left at home to leave room for more food, she did remind me not to compromise on any items that keep us warm and dry. A full list of tips for backpacking with kids can be found here. In short, we needed layers, waterproof clothing, shelter in the form of a lightweight tent, food and cooking supplies. We will bring books and a deck of cards, but no other major luxuries. By keeping our packs light, we’ll adjust more quickly to seven days of hiking. Tip: For basics in backpacking gear for kids, check our Backpacking Gear page and How to Plan a Multi-Day Backpacking Trip.

How best to follow Leave No Trace principles on the trail?

We always practice Leave No Trace while in the wilderness, and we wondered whether it would be harder than usual to find established camp sites en route on the PCT. Dana says no: we’ll be able to find established sites virtually everywhere on the trail. She reminded me to camp 100 feet from water sources, and to leave recovering sites alone if possible.

Additional PCT hikes suggested by Dana and PCTA:

There are many other route options for families looking to hike a section of the PCT, of course. Dana also suggests Mt Hood National Forest from Lost Lake to Wahtum Lake to Eagle Creek (a PCT alternate) into the Columbia Gorge or Rock and Snag Creeks, near Bridge of the Gods in Washington.  Dana describes the latter as kid-friendly, as either a short out and back day trip or a 22 mile section hike. Find additional staff recommendations here.

How to make a 5 item outdoor survival kit for $5

survival-kit-for-kids
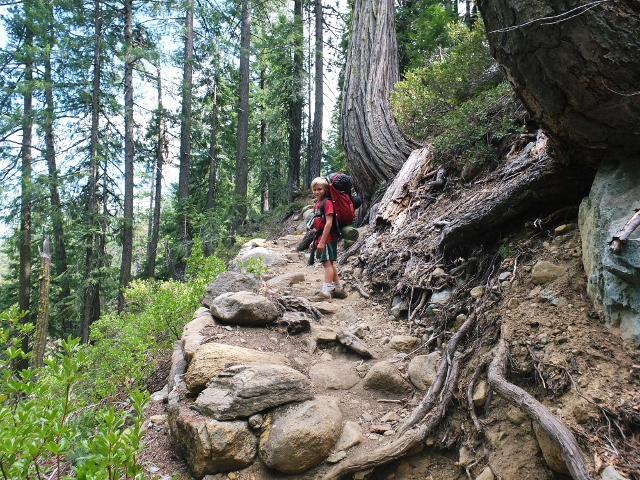
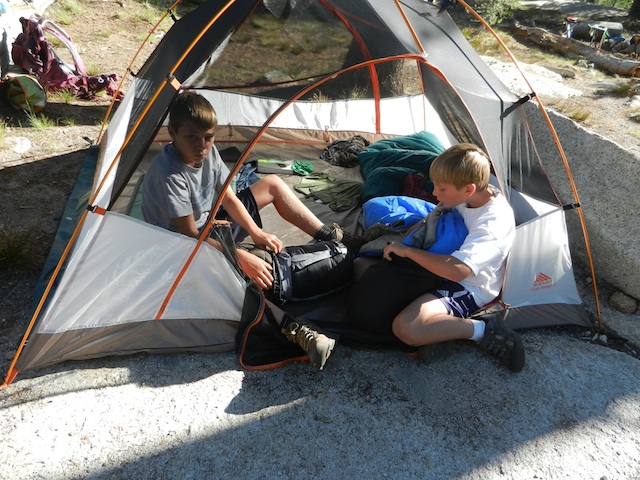
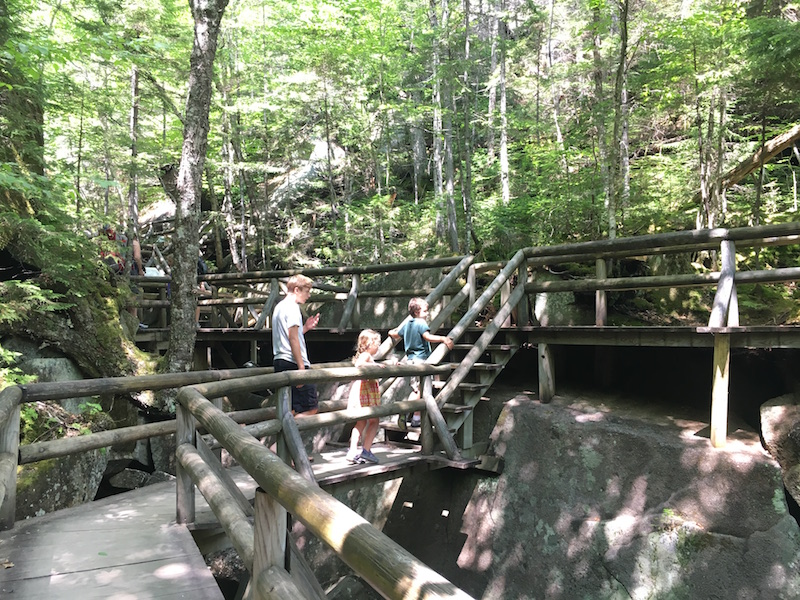
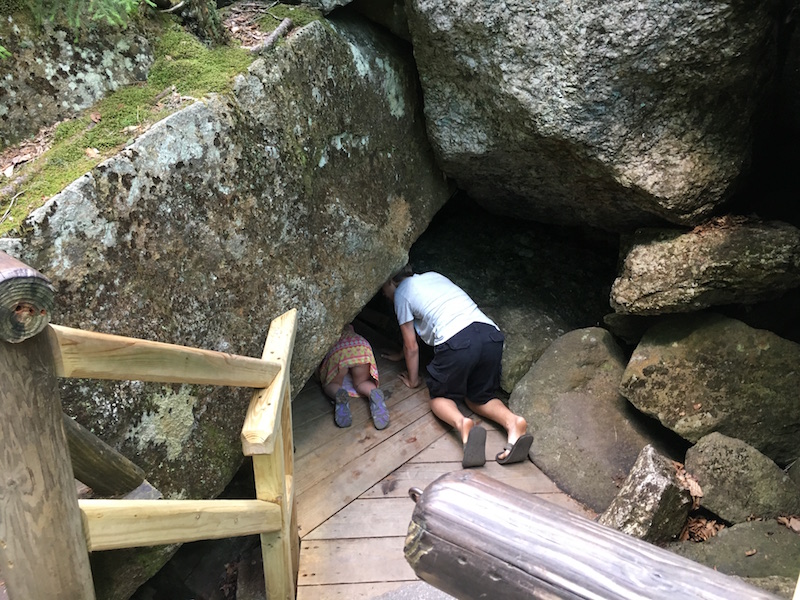
We love getting kids into the outdoors! At Pit Stops for Kids, we’re fans of backpacking, camping, climbing, mountain biking, geo-caching…you get the idea. But as a one-time Search and Rescue volunteer who has spent countless hours teaching school kids how to stay safe in the woods, I want families to be prepared. Kids can occasionally get lost in the wilderness, but by heeding the following advice and being prepared, almost all are found almost immediately by their parents.

The best advice to give your kids: if you get lost, stay in one place. 


The second best thing to do: make your kids this 5 item outdoor survival kit for $5. These items fit easily into a waist pack or into any day pack.

5 item outdoor survival kit for kids:

1. Whistle

Go to your local sports equipment store or dollar store, and buy a cheap whistle. Let your kids know this is an emergency whistle: not to be used for play. The sound of a whistle in the wilderness carries 10x further than a shout or scream, and doesn’t wear down with use. Instruct kids to blow their whistle in blasts of three if lost.

2. Plastic poncho

Is an expensive jacket better protection than a dollar store poncho? Sure, but chances are, your kid won’t want to bring it along on a hot summer day. A plastic poncho fits down to the size of a fist (or smaller) and weighs almost nothing. When needed, it retains body heat well.

3. Glow stick

Grab a cheap glow stick and put it in your kid’s kit. Glow sticks don’t require any batteries, and will give off light in 360 degree direction. A glow stick will last 12 hours, getting  a kid through a night if necessary.

4. Bandana

Search and Rescue volunteers are trained to look for anything out of the element when searching in the wilderness. Therefore, a bright color, such as neon green or yellow, will stand out and alert searchers to the presence of a person. Instruct kids to hang their bandana on a tree limb, wearing it on their head, or spread it out in the open. Alternative item: a used or blank music CD or DVD can be used as a cheap reflecting device, often seen by spotters in helicopters.

5. Non-perishable snack

Why not water? Because for almost any hike or outdoor excursion, parents have already thought to pack a water bottle for their child. In addition to water, a non-perishable snack is cheap and light to pack. We keep a Nature’s Valley granola bar in each of our kids’ packs. Power Bars or other energy bars last a long time, too. Alternative: a bouillon cube.

99% of the time, kids are completely safe in the wilderness. But for piece of mind, the above items in your kid’s pack will go a long way. For more information on kids’ wilderness safety, check out the Lost But Found Search and Rescue program I’ve been a part of.