20 Awesome Camping Hacks to Make Your Next Trip Easier

Camping can be a lot of fun, but it can also bring a lot of hassle. We have been camping for decades, and our experience in the outdoors has helped us learn some pretty great camping hacks along the way to help us spend less time on the hassle and more time enjoying the outdoors.

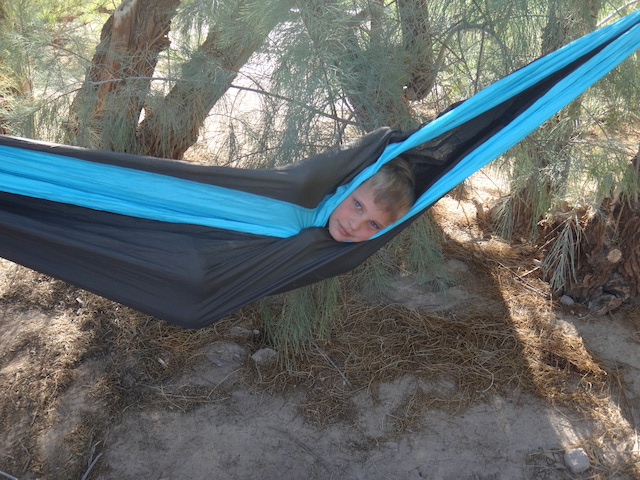
Glossy magazine covers and campground brochures highlight fun-filled days at the lake or river, restful afternoons lying in a hammock slung between two trees, roasting marshmallows by the fire, and snuggling into cozy sleeping bags at night.
furnace-creek-campground

If this idealized version of camping doesn’t exactly mirror your own family camping experiences, you’re not alone. My first few excursions into the great outdoors with my kids involved more work than play, more chaos than relaxation, and far more dirt (on everything) than I bargained for.

In the years since, I’ve learned some camping hacks that have turned my camping trips into the postcard version.

Want to ensure that your next camping trip is relaxing, stress-free, and focused on the fun, not the chores, in the outdoors? The following camping tips will ensure more time in the hammock and less time over a camp stove.

20 Camping Hacks to Make Your Next Family Vacation Better

1. Use Dryer Lint as a Fire Starter
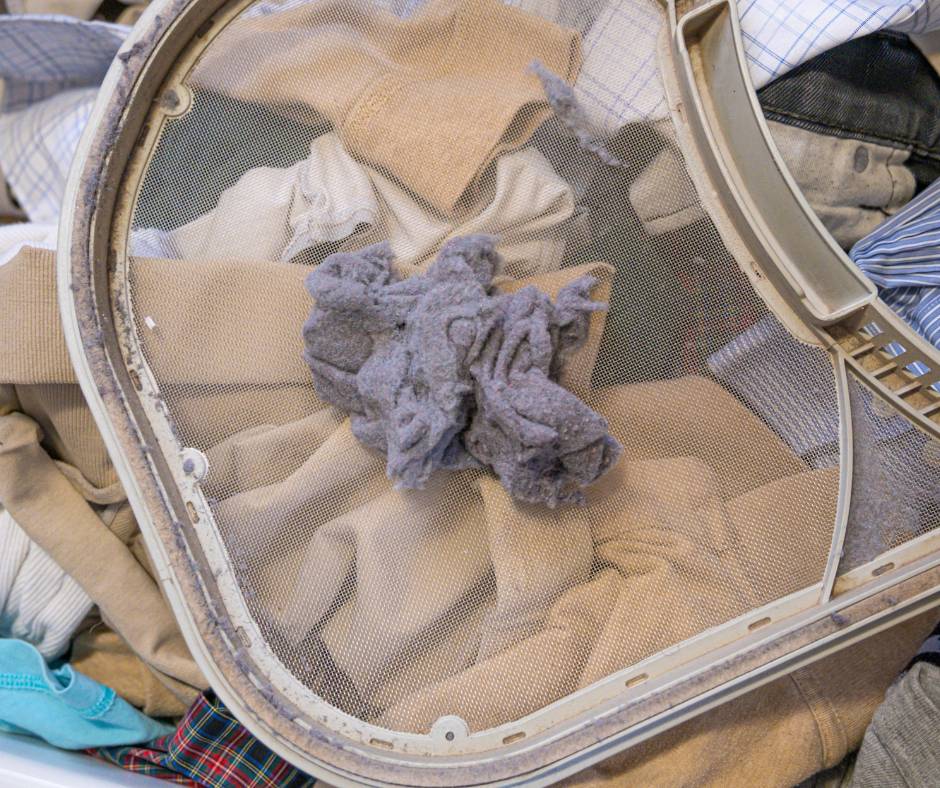
Why buy fire starter or chemical-based gel? Use dryer lint as your fire-starter: simply save lint in cardboard egg carton pockets, pour candle wax over each pod, then bring along to start your fire.

Use can also use cotton pads soaked in melted wax or coated in petroleum jelly as fire starters. They ignite easily and will help you get your campfire going.

Here are some of our favorite RV rental tips.

2. Re-Purpose Your Shower Tote
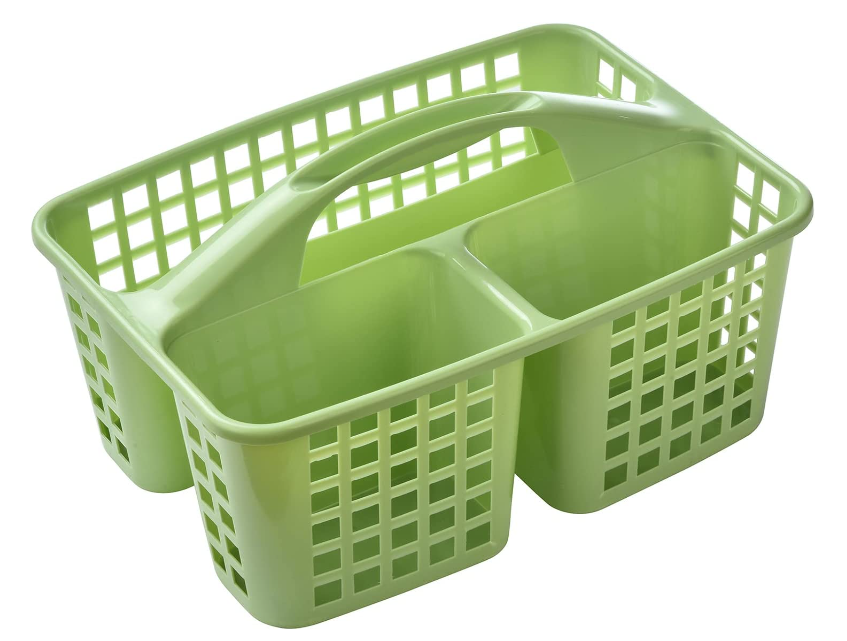
Bring a cheap shower tote with you when you camp. You can use it to tote your toiletries to the bathroom but you can also use it to store camp kitchen supplies, such as spices or grilling tools. You can typically find these handy-dandy items at dollar stores, making them a very cheap investment for a little organization.

3. Keep a Shoe Organizer Hanging with Essentials in Your Tent
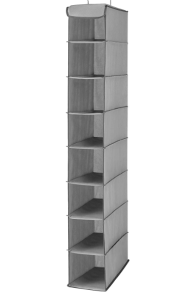
Shoe organizers also act as a great way to organize toiletries or any other small items you want easy access to. You can even hang them inside of your tent! It is like having your own little shelving unit while you camp.

We have found shoe organizer for storage to be good for when we van camp. Plus, they pack flat and take up almost no space when you pack. This one is from Amazon, but Home Goods sometimes has these as well for a bargain.

4. Cleverly Store Your Spices
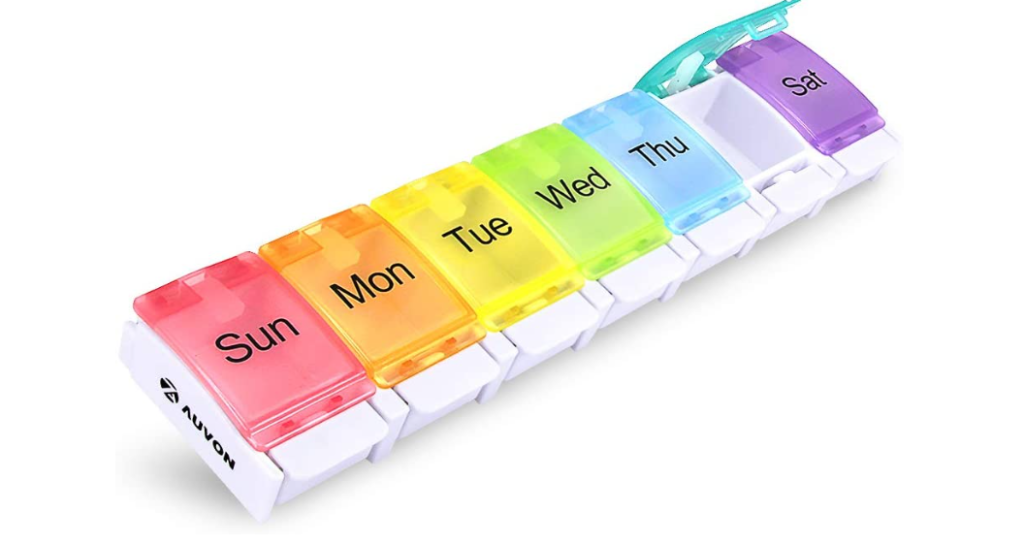
Those days of the week pill organizers that you use to store you meds have more than one use- they are also a great option for spices! Pack all your favorite spices into one convenient carrier and skip the bulk of trying to bring all those bottles from home. You can find these at a dollar store as well.

5. Freeze Water Bottles
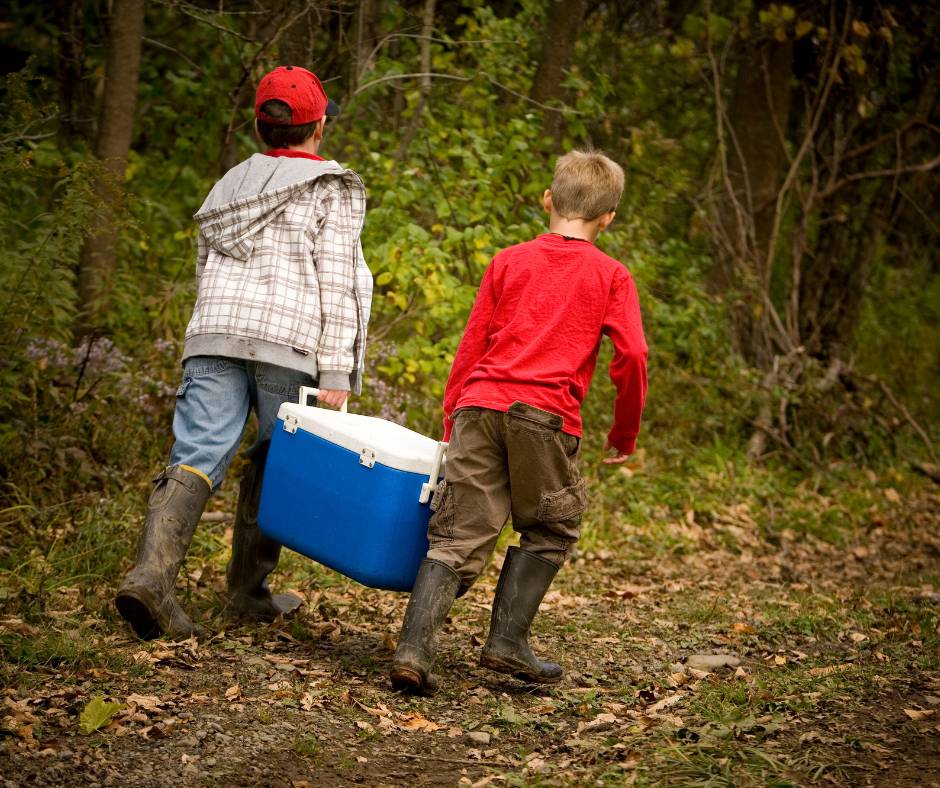
Instead of hauling bags of ice (and dealing with the mess), freeze plastic water bottles and let them slowly melt, first cooling your food, then ensuring hydration.

Simplification is the key to creating a relaxed camping atmosphere. Reduce clutter around the campsite and shorten your packing list by bringing a few ordinary objects that can double as useful camping tools.

If your family prefers to stick to reusable water bottles, buy blocks of ice instead of just cubes. Blocks take longer to melt. Another great option is to buy jugs of water, freeze them for your cooler, and then use that water in your refillable bottles as it melts.

6. Skip the Bulky Lantern
Skip the bulky camping lantern: instead, simply wrap a standard headlamp around a clear plastic water jug. It will light up the entire picnic area for games of cards after dark. You can also use a flashlight that is turned on with a milk or water jug placed on top of it.

7. Let Your Sleeping Pad Play Double Duty
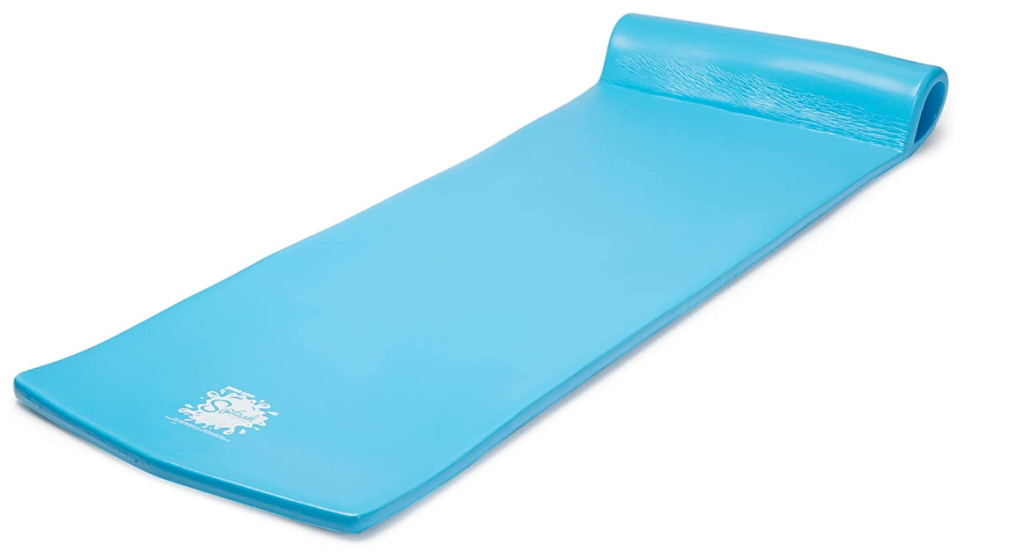
Why bring sleeping pads and water floats? Sleep on plastic blow-up air mattresses or foam pool floats that can go straight from the tent to the lake. Float on them during the day (or take a nap!), then return them to the campsite each night.

8. Make Foil Packet Dinners
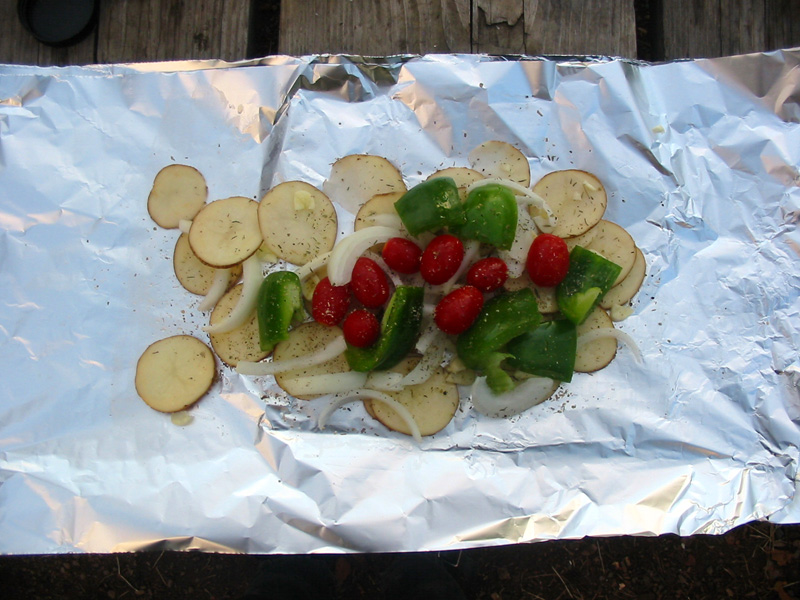
Cooking should be easy and mess free when camping. Create pockets using heavy duty aluminum foil and fill with sliced potatoes, zucchini, onions, bell pepper, pre-cooked sausage, and spices, and then let them cook in the coals.

Each pocket is customizable and fun to eat! When you are finished you can easily can ball them up and toss them.

9. Make My Family’s Favorite Lazy Camp Meal

I learned this trick when on a rafting trip with OARS. Simply grab a couple cans of canned, cooked chicken and mix it into a pre-made bag of Caesar salad that you can pick up at the grocery store.

We find this to be a great option when we have spent all day exploring and don’t want to bother with the camp stove or a fire and best of all, everyone loves it! If you want to get fancy, throw some cherry tomatoes into the mix.

10. Pack Milk Substitutes or Ultra-Pasteurized Milk to Save Cooler Space
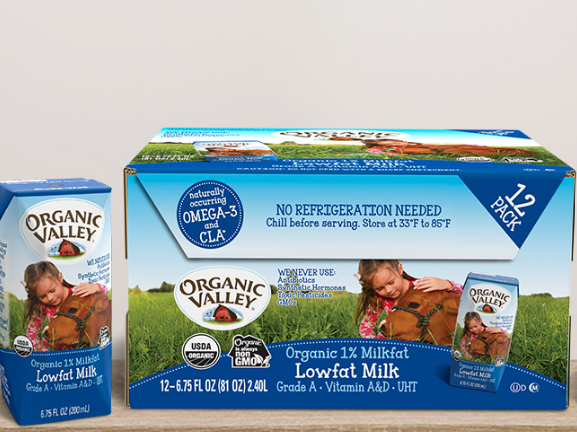
Shelf Stable Milk

Many milk substitutes like soy, almond, and rice milk don’t have to be refrigerated. They also can come in fun flavors which appeal to kids. If your kids are sticklers for moo juice, Organic Valley sells a shelf stable milk that comes in individual servings which are great for travel.

11. Use a Shower Cap to Cover Dirty Shoes
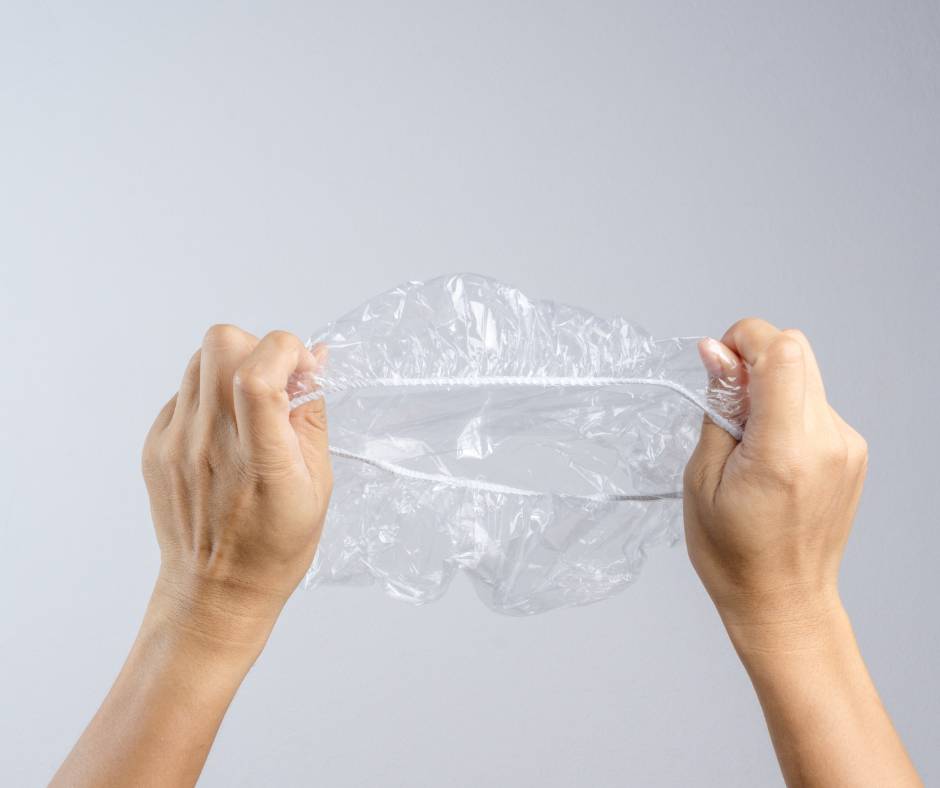
Shower Cap

Dirty shoes can be a big problem while camping. Before packing your shoes, place a shower cap over them. Then, when you get back to camp after a day of exploring, use the shower cap to cover the shoe soles to keep the dirt and mud contained.

This will also keep your clothing from getting covered in dirt when you repack your shoes as well as keep your car cleaner if you come back and change your shoes after a muddy hike.

Shower caps can easily be picked up at a dollar store. We find these to work better than shoe covers because they stretch more and can handle my family’s large shoe sizes.

12. Make a Camp Pillow Using Your Clothes

Pillows take up a lot of room in the car and we have had different members of our family forget theirs on more than one occassion. Fear not! Take the bag your sleeping bag is stored in and fill it with clothes. Instant pillow!

13. Bring a Welcome Mat

Welcome mat

Pack a small rug or welcome mat from the dollar store and keep it outside your tent or van entrance. It helps prevent dirt and debris from being tracked into your sleeping area.

14. Make Single-Use Soap Leaves
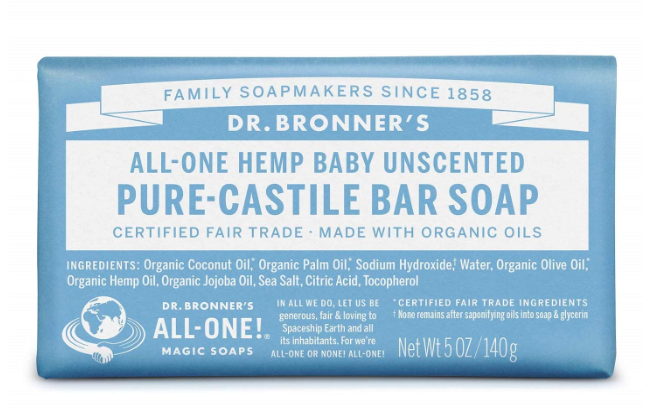
Single use soap leaves are a great camping hack

Use a vegetable peeler to shave small soap flakes off a bar of soap. Collect the flakes in a small container or plastic bag. Then you can use the leaves for handwashing or dishwashing. Dr. Bronner’s makes a soap that is good for dishes and heands and is environmentally friendly.

15. Create a Portable Handwashing Station
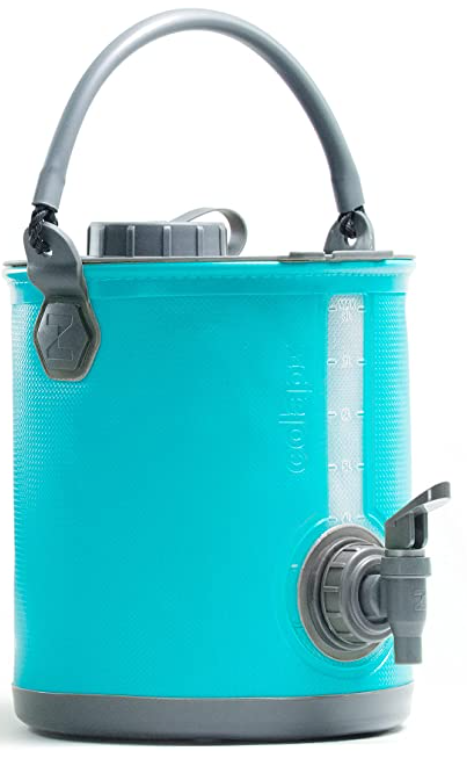
Collapsible water jug

Hang a water jug with a spigot from a tree and tape a bag of soap leave to it. Drape a dish towel over the back of the jug. This allows you to wash your hands right at camp.

If there are no trees nearby, the edge of a picnic table can work. You can also purchase this collapsible, refillable water jug with a spout that is super duper cool.

16. Always Bring Ziploc Bags
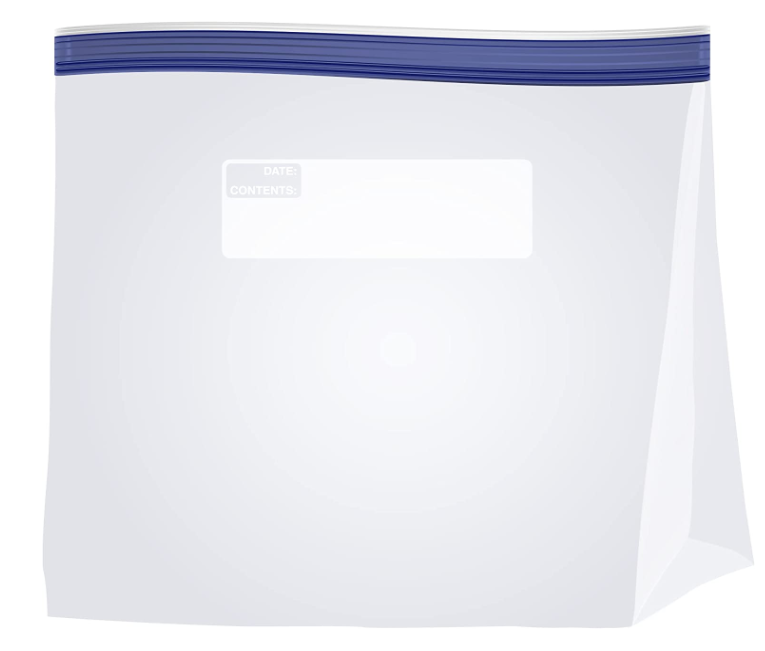
Ziploc Bags

I always fill a gallon-sized bag with more gallon, quart, and sandwich-sized bags when I travel. You never know what you might need them for- snacks to take on a hike, wet clothes, storage for potty accidents you can’t clean right away, leftovers, and so much more. Plus, they pack flat and take up hardly any space.

17. Store Eggs in Ziploc Bags

cracked eggs

Speaking of Ziploc baggies, it is always a good idea to pre-crack your eggs and put the proper amount in a plastic bag for each meal you will be using them for on your trip. Then you will have that egg carton available for your fire starters (see #1)!

18. Use Your RX Bottles to Keep Matches Dry
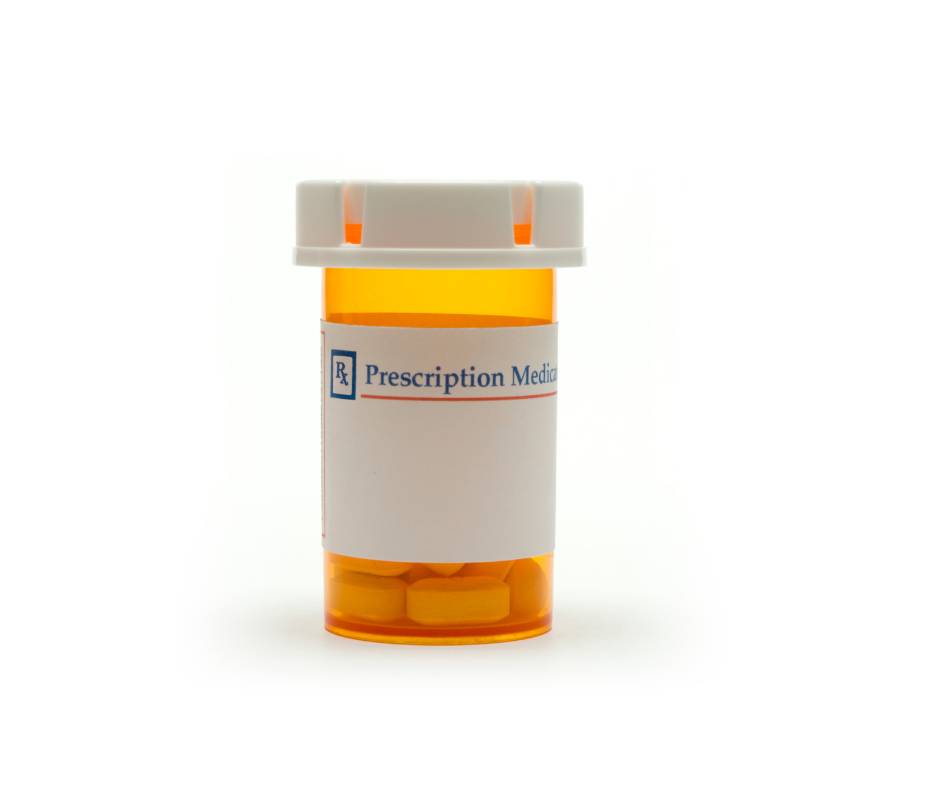
rx bottle

I always love to reduce my trash and repurpose things. Plastic prescription bottles are water tight and the perfect thing to use to store matches.

Wet matches make it really hard to start a campfire and enjoy those S’mores! Be sure to throw a small piece of sandpaper in there to use to strike the matches against and light them.

19. Pack a Collapsible Bucket
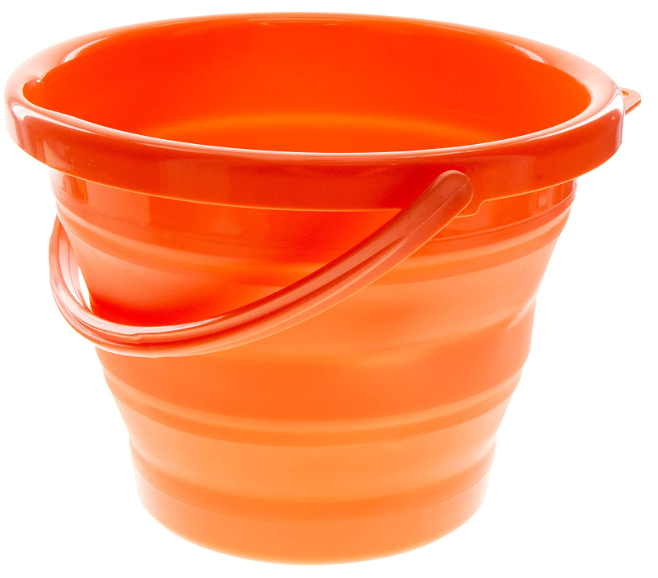
Collapsible Bucket

Why didn’t I think to invent a collapsible bucket? They have tons of uses and are so easy to store! Use it as a wash basin for dishes, ice bucket for drinks, bucket for collecting kindling, or simply for the kiddos to play with at the beach.

20. Take Your Campfire to the Nest Level with Mystical Fire
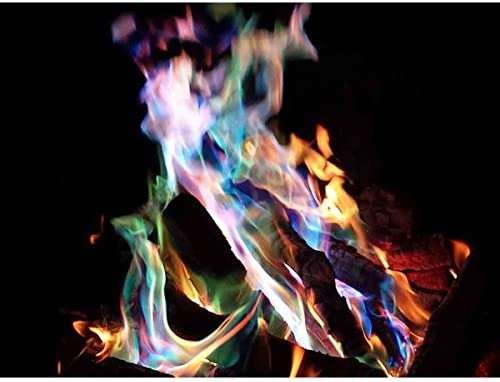
Mystical Fire

I’m not gonna lie, my neighbors and I are kind of obsessed with Mystical Fire. It was a discovery we made during our bi-weekly social distance cul-de-sac fire pits that we still can’t get enough. Just throw a packet or two into your campfire (after you are done cooking) and prepare to be dazzled.

Ready to go camping? Subscribe to our Pit Stops for Kids seasonal newsletter, and get an exclusive camping gear list, free! Click here!


Source: Fix.com

Intrigued? Read more of our camping hacks on fix.com.

Subscribe to our Pit Stops for Kids seasonal newsletter, and get an exclusive travel ‘cheat sheet’, free! Click here!

5 tips for successful holiday family ski trips

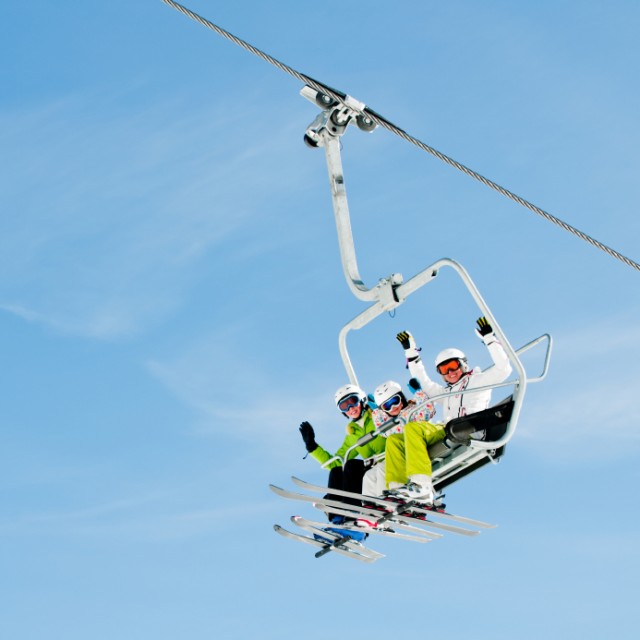
We spend many Christmases away for the holidays. By far our favorite holiday vacation: a holiday family ski trip in a ski resort condo. Three years ago, we spent Christmas tucked away in a South Tahoe HomeAway vacation rental, and past Christmases have found us exploring Big White Ski Resort in Kelowna, BC Canada and the North Shore of Tahoe. Spending the holidays away allows us to focus on our family and leave busy schedules behind, but it can also seem daunting. Below are our best ski trip tips for enjoying a family ski vacation away for the holidays.

holiday family ski trip

1. Go before Christmas Day.

Ski resorts (much like theme parks and beach resorts) remain relatively quiet until December 25, after which they experience their peak season crowds (through early January). No one wants to spend their family ski trip waiting in lift lines, so if you can swing it, book your trip in the first half of your kids’ winter school vacation (or earlier). You’ll experience fewer crowds but also lower lodging costs. Plus, stress-fee pre-Christmas holiday travel is easier to come by.

2. Consider your ski trip one of your family gifts.

Older kids can understand that a family ski vacation costs considerable money, and can be considered a family gift. Plus, bringing a mountain of holiday gifts along on your vacation can be difficult: we bring everyone’s Christmas stockings and one special present for each child if our ski trip will extend to Christmas Day. Kids can also be gifted with experiences: surprise them with a day on zip lines or a sleigh ride at your ski resort as an extra holiday gift you don’t have to bring with you.

3. Bring holiday traditions with you.

You may not want to pack a lot of extra items on your family ski vacation, but some things are worth the space. We like to bring our usual Christmas linens so we can set our table for Christmas Eve, and we bring stockings and special Christmas pajamas. It’s easy to bring a travel Hanukkah menorah, and Hanukkah gifts can double as travel toys. If you like to have a tree in your living room, find out if your ski resort is near forest service land that permits Christmas tree cutting. If so, it’s relatively easy to obtain a permit and have a family outing finding the perfect vacation tree.

4. Make your own holiday meals.

We always book ski trip lodging with a full kitchen. During the holiday season, this allows us to make our usual holiday meals, which makes it feel more like Christmas when we’re away. Find the local grocery store when you arrive, or check to see if nearby stores offer grocery delivery service to your ski resort (many do).

Northstar lodging

5. Use a ski trip checklist (and check it twice).

Before you pack and depart, write a ski trip checklist with needed gear and supplies. Everyone remembers to bring the basics: skis or boards, boots, and outerwear, but did you remember to pack the following lesser-known items on our ski trip checklist?

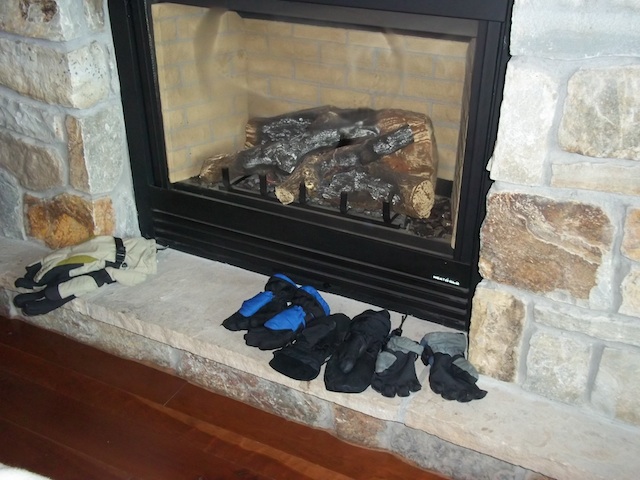
extra pair of gloves for everyone
hand warmers (just pack them in coat pockets before leaving home)
chapstick for everyone
laundry detergent and dryer sheets (you’ll want to at least dry outerwear a few times)
base layers or long underwear for all
the makings of s’mores
a cheap box of Christmas ornaments or decorations for the room or condo
a strand of Christmas lights (this can help you find your window or door easily)
batteries or chargers for those new toys

Are you planning a holiday ski trip? What tips can you share for enjoying your time away?

Five tips for successful holiday ski trips

Jamestown Settlement and Colonial National Historical Park

While visiting Colonial Williamsburg with kids, definitely budget half a day to visit Jamestown. Learning about this first viable settlement of Virginia rounds out the historical understanding of the area (the residents of Jamestown later migrated 10 miles to settle Williamsburg).

jamestown-with-kids

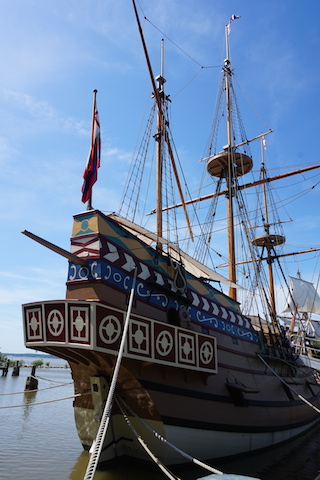
Jamestown is divided into two sections: the Historic Jamestowne Colonial National Historical Park is the National Park property, and features the archeological dig site of the actual Jamestown fort. The Jamestown Settlement is run separately, and features recreations of the colonists’ fort, a Powhatan village, and replicas of the three ships used by the Jamestown colonists. It also houses one of the most impressive museums in the area. Which to do? Both!

Start with the Jamestown Settlement:

jamestown-with-kids

We recommend starting here, watching the 30 minute film, and touring through the massive indoor museum first. Yes, even in the heat. Why? The museum gives families an excellent overview of the time period (both in the colonies and in England and Africa), and really helps kids know what they’re about to see outside. The museum follows the journey of the Jamestown colonists, and then continues chronologically all the way through the 1690’s, when Jamestown gave way to Williamsburg as a the main settlement.

jamestown-with-kids

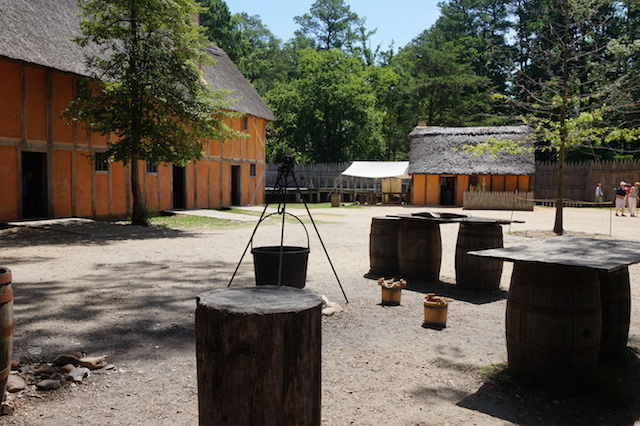
Then head outside: here you’ll find the fort, Powhatan village, and ships, all with interpreters in period costume ready to answer questions and demonstrate 17th century skills. This living history tableau rivals those in Williamsburg, with scheduled programs and impromptu conversations. We especially loved the canon firing demonstration and learning about the various levels of period dress.

jamestown-with-kids

In total, budget at least three hours for the Settlement. Picnic food is permitted in the picnic area out front (just show your museum map to regain entry) and there’s also a cafe on-site.

Admission:
Tickets are $16 for adults and $7.50 for kids 6-12. Separate admission is required at the national park site. It’s also possible to buy Historical Triangle tickets at Williamsburg that allows entry into both Williamsburg and Jamestown Settlement.

Then head to Historic Jamestowne to see the dig sites:

jamestown-dig-site

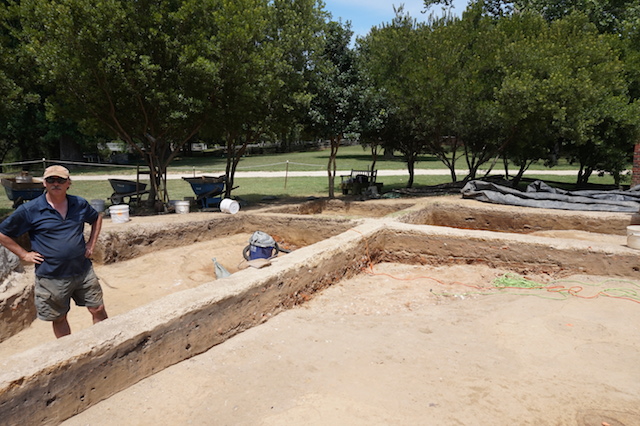
This section of Jamestown is located approximately one mile away (clearly marked) and is a national park site. This is where Jamestown actually stood, discovered by archeological dig only 20 years ago. There’s a good museum here too, but if you’ve toured the Settlement museum, you may wish to skip this to head out along the boardwalk to the fort site. Here, kids can talk to working archeologists who are currently excavating the site, and see original brickwork and artifacts emerging. The site is right on the James River, and very interesting. We are only stayed one hour, but are very glad we included it in our day.

Admission: Adults are $14 and kids are free (15 and under). Pass holders are $5.

Date last visited:

June 2014

Distance from the interstate:

Twenty minutes from I-64.

Directions:

Both sites are approximately 10 minutes from Williamsburg. Follow signs along the Colonial Parkway from the Williamsburg Visitor’s Center.

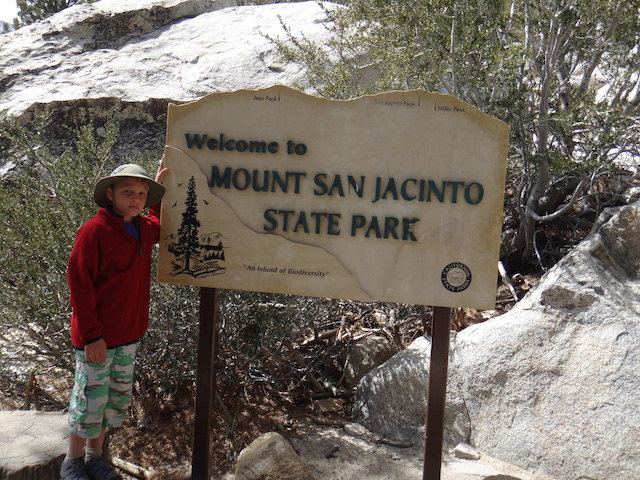
Palm Springs Aerial Tramway and Mt. San Jacinto State Park

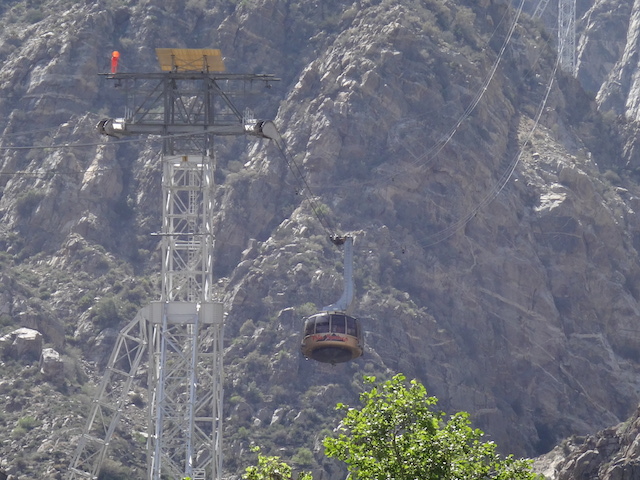
If you have a few days in Palm Springs, a trip to the Aerial Tramway  is well-worth your time. This ‘world’s largest rotating tram’ takes visitors from the desert floor to over 8,000 feet in elevation to Mt. San Jacinto State Park in just a few minutes. The tram ride itself is fun for everyone (even those who experience ski resort gondolas and trams often), but the real gem is at the top. Mt. San Jacinto Park offers 54 miles of hiking trails in over 14,000 acres of alpine wilderness. Everyone can enjoy the novelty of soaring from a desert environment to an alpine forest within minutes, and once there, they can spend as much time as desired exploring the mountain scenery.

palm-springs-aerial-tramway

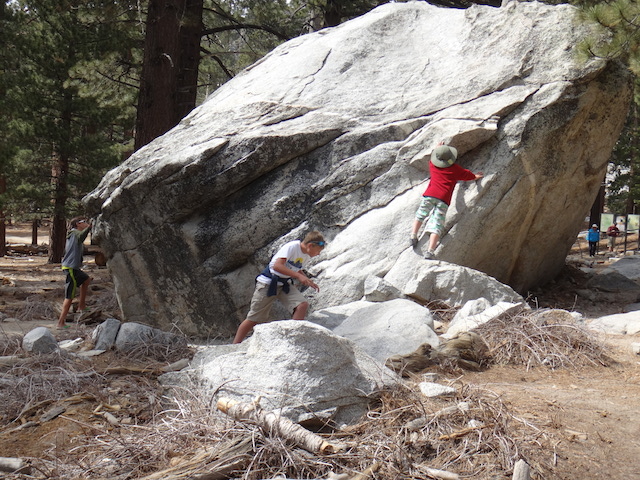
Hiking trails are well-marked, the three major trails offering something for everyone: the easy 1.5 Desert View Trail can be done in under an hour, or the Round Valley Trail offers a 4.2 mile loop more suitable to families with older kids. There’s also a 12 mile loop up San Jacinto Peak for experts. Once families depart the tram at the Mountain Station, they follow a paved walkway down to Long Valley, where the wilderness awaits. Since we’d done a lot of hiking in previous days of our trip, we opted to let the kids rock scramble and play at will in the valley area. In winter, an Adventure Center in the valley offers sled and snowshoe rentals plus gear.

san-jacinto-state-park

Tramway tips:

  • The temperature changes dramatically between the desert floor and the Mountain Station, so families will need to bring extra layers. A good rule of thumb: expect the temperature to drop by 20 degrees.
  • Buy tramway tickets online to ensure your departure time. If you buy tickets at the Valley Station, expect a slight to moderate wait. During the time of our visit on a weekend during Spring Break, we waited an hour before boarding.
  • Expect the process of boarding to take awhile, from the time you park and take a tram bus to the entrance of the Valley Station to the time your departure time is called to board.
  • Due to the time and cash investment, plan to spend the better part of the day at the Mountain Station area.

Dining:

There are ample opportunities to purchase food, both at the Valley Station (where there’s a snack area and bar) and the Mountain Station (where families find a quick service type restaurant with pizza, sandwiches, and the like) as well as a sit-down dining experience. Outside food is also allowed, and picnic tables are located at both stations. Bring water bottles and fill them at drinking fountains.

aerial-tramway

Distance from the interstate:

The tramway is located six miles from downtown Palm Springs off I-10.

Admission cost:

Adult tramway tickets are $23 and children’s (12 and under) are $16. Discounted tickets can be had after 4 pm. Hours vary by season.

Directions:

From Palm Springs, take Highway 111 to Tram Way.

Travel Gear We Use: All-time favorite healthy travel snacks

Today’s Travel Gear We Use segment isn’t exactly gear, but does help us as we travel: we’re rounding up our favorite healthy travel snacks. There are many, many products out there that claim to be wholesome, organic, and tasty. We’ve tried almost all of them. Yet, this list is short. Very short. Why? Let’s be real: most so-called healthy travel snacks are gross. Even my kids, who know their way around a natural foods store, go to schools that are GMO-free, and live in hippie-friendly Oregon, have their limits. Here are the winners that are kid-tested and kid-approved in our house. Buy these snacks for your next road trip or air travel day, and you won’t be wasting your money.

road-trip-snacks

SunRidge Farms mixes:

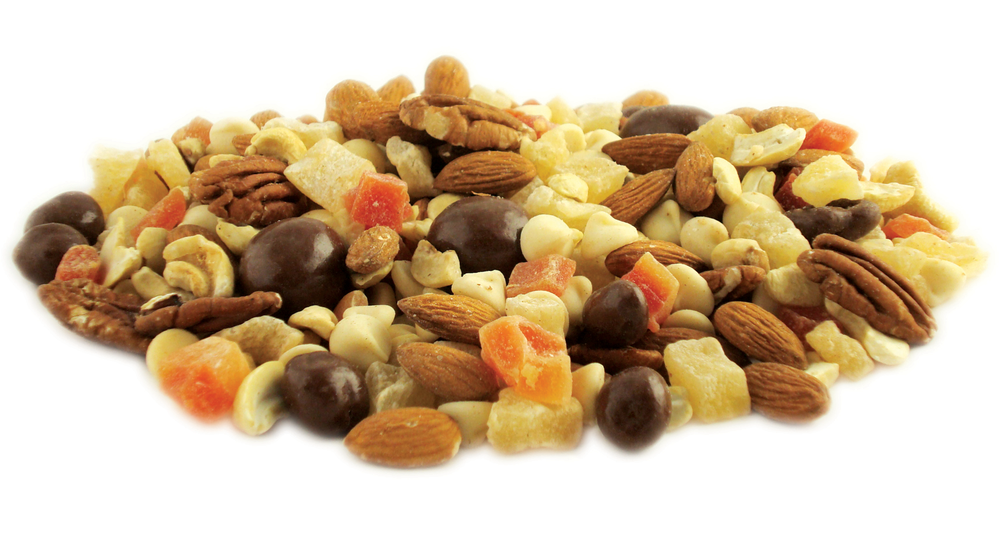
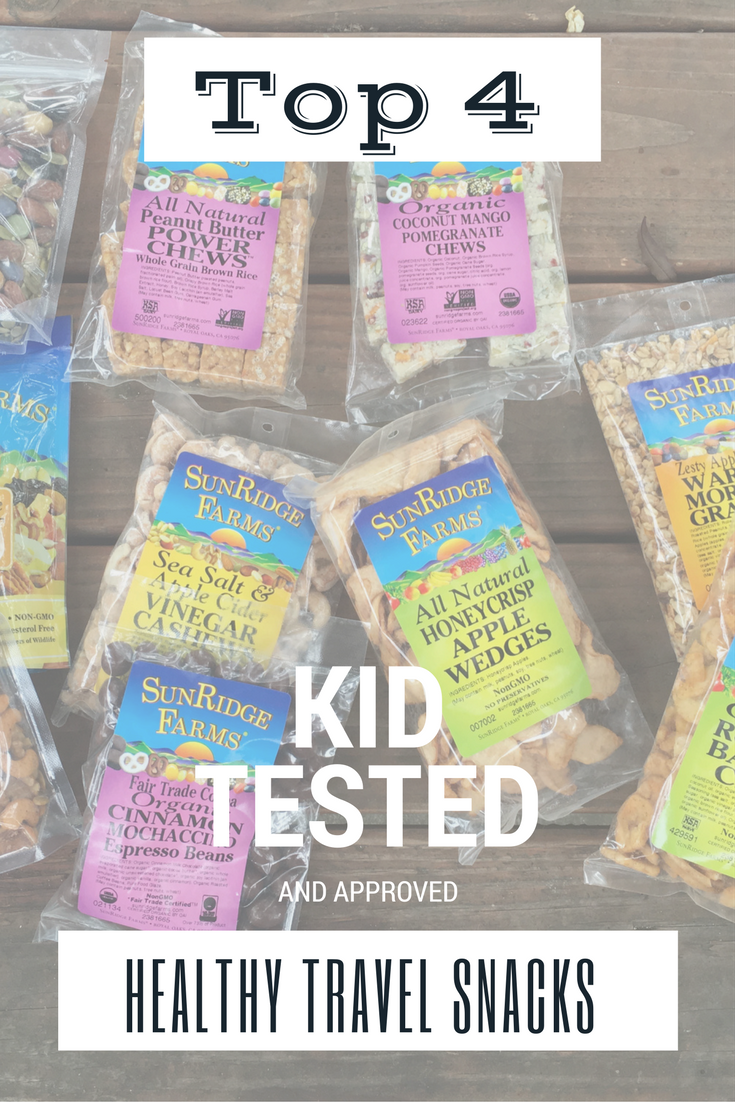
sunridge-farmsOMG, you guys. If you want to ensure everyone in the family has a healthy, delicious and dare I say, downright exciting trail mix to call their own for your next trip, check out SunRidge Farms. Their many, many trail mix varieties can be bought in 6-8 ounce bags, but also come in bulk. I love this option, as we bring our own containers and bento boxes when we travel to cut down on waste. You can create your own trail mixes by looking through their many nut, seed, dried fruit, and organic chocolate offerings, but save yourself some time and check out their pre-packaged ones. We love the Berries and Chocolate. You can also get square protein chews that my kids gave a thumbs up: the peanut butter power chews are a favorite. I love that SunRidge Farm’s production facility is powered by solar energy and that their foods are GMO-free, organic, and much of the chocolate and coffee offerings are Fair Trade. Yes, SunRidge Farms’ trail mixes are more expensive than average, but we found them on Amazon and if you buy in bulk, you’ll get high quality snack food for a reasonable price! You can even get gummies for a treat on the road you don’t have to feel guilty about!

Kate’s Real Food:

kates-real-food

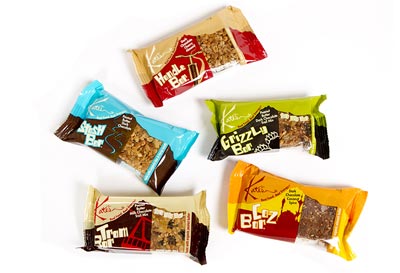
Haven’t heard of Kate’s Real Food bars? I love these all-natural, organic creations originating in Jackson Hole, WY. Kate’s bars have been embraced by serious hikers, mountain bikers, climbers, and skiers all over the West, so you know it’s good enough for road trip noshing, too. We love that these bars are made from locally-sourced ingredients whenever applicable, and they never freeze…even when skiing or in the cold car. My kids quickly tire of the usual protein bars and granola bars, but Kate’s are just wholesome enough that they taste like, well, real food, instead of chalk or powder. And bonus: they’re on Amazon in bulk, too!

Nut butters from PB Crave

This high energy, high protein food is perfect for road trips because it can survive just fine without refrigeration and doesn’t melt (too much) in a hot car. Kids find peanut butter to be boring? They won’t if you try PB Crave. These peanupb-cravet butters come in super fun flavors, like Cookie Nookie (chocolate chips and cookie dough flavor) and Razzle Dazzle (dark chocolate, white cocoa butter drops, and natural raspberry flavor). They taste very sweet (maybe too sweet for grown ups), but all PB Crave flavors are sweetened with wild honey, and their more affordable than ‘gourmet’ nut butters. We put a jar in the car and toss in crackers, bread, or apple slices to eat with it.

Matt’s Munchiesmatts-munchies

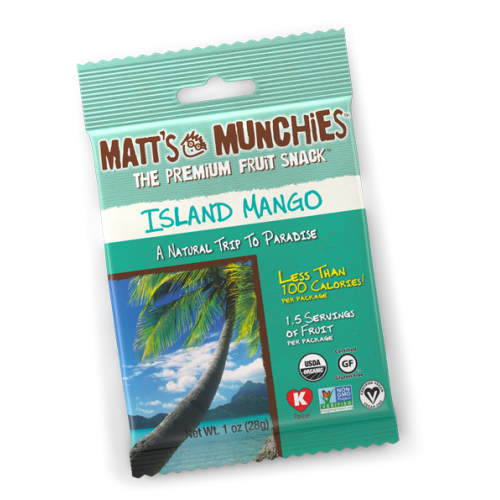
Forget about any other fruit leather or fruit roll-up, and definitely forget about those artificial fruit snacks. My kids LOVED Matt’s Munchies dried fruit strips, and I loved that each package could feed two hungry kids…no skimping here! We love the tropical flavors with real strips of coconut blended in, but get a variety pack to start with and discover your favorites. For picky eaters used to basic flavors, try the Apple-licious.

As a peanut butter alternative, you can also try an almond butter. It could also be used as a good travel snack. Here’s a review on the best almond butter from Kitchenistic.

Bottom line: can you supply your family with travel snacks for less money? Sure, we know that. And our family can’t realistically buy these types of snacks every day. But eating healthy, wholesome, naturally sweetened snacks while traveling can enhance every part of your vacation. Kids will feel better, be better behaved, and have more energy to play and explore. And the truth is, so will you!

Subscribe to our Pit Stops for Kids seasonal newsletter, and get an exclusive travel ‘cheat sheet’, free! Click here!

Top 4 healthy snacks for travel

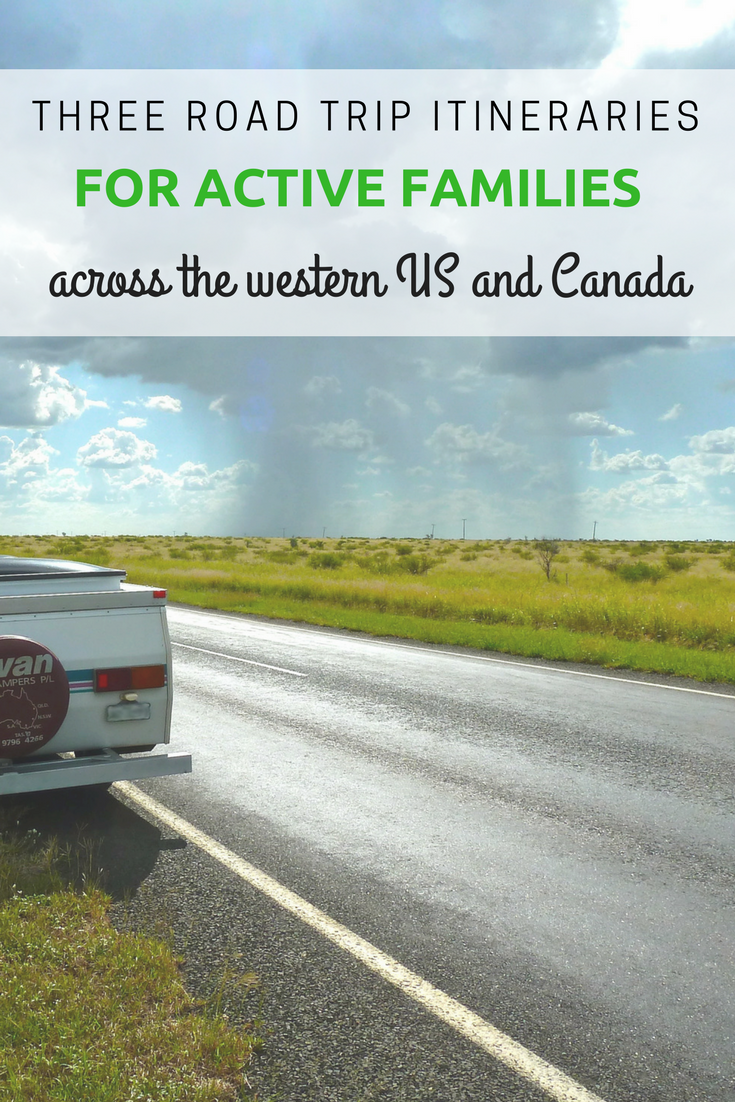
Three best road trip itineraries for active families


best-road-trips

No matter how much we vacation, road trips remain one of our favorite modes of travel. Why? Road trips offer a sense of adventure and freedom that’s hard to beat. Plus, they’re often more affordable, more flexible, and allow us to see the country up-close and personally. I’m offering up our three best road trip itineraries for active families in the western US and Canada:

1. Northern California Coastal Road Trip

Think a road trip down California’s fabled Highway 1 is only for romantic getaways, ideally in a convertible? Well sure, that’d be nice, but a Highway 1 road trip is excellent with kids in tow, too. Our trip started in San Francisco and ended in San Simeon, with both city and country stops.

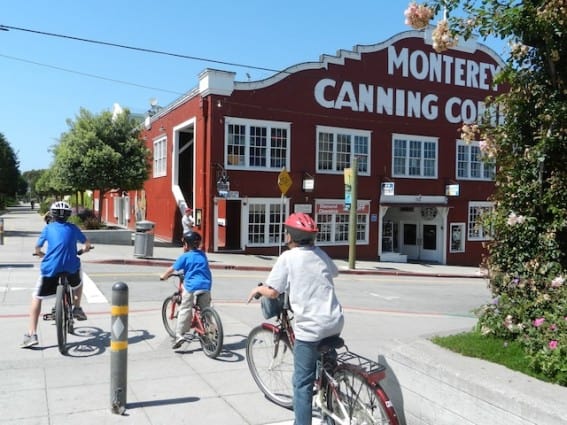
monterey bike path

Highlights for active families:

  • Hiking along Big Sur
  • Biking along Monterey Bay
  • Kayaking and seal watching
  • city exploration in San Francisco

Read our full Highway 1 itinerary.

2. Vancouver Island Road Trip

Head over the border to Canada, and explore all the rugged beauty of Vancouver Island, BC. We started in the city of Vancouver, then took a BC ferry at Horseshoe Bay. Once we were on Vancouver Island, we explored the east coast of the shore (known for its sunny weather), then crossed the island for breathtaking views and wildlife spotting on the western side.

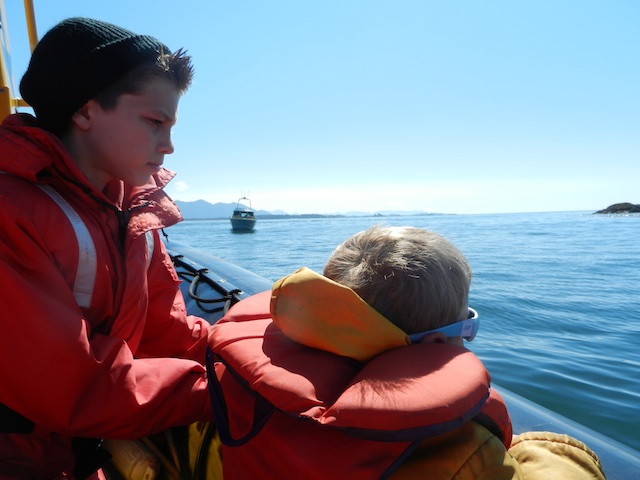
remote passages

Highlights for active families:

  • Kayaking in Ucluelet
  • Whale watching via zephyr boat in Tofino
  • Exploring Pacific Rim National Park
  • Ferrying to old growth forests in Meares Island

Read our full Vancouver Island itinerary. Want to add a bit more Pacific Northwest south of the border?  Explore San Juan Islands, WA as well.

3. Western National Parks road trip: Montana, Wyoming, and Utah

Want to see Glacier, Yellowstone, Grand Teton, and Zion, but can’t decide which epic national park to visit? Neither could we! For this national park-focused road trip, we started in Spokane, WA, and drove to Montana to see Glacier, then dropped down Big Sky for some outdoor playtime before driving to Wyoming to see Yellowstone and Grand Teton. Next, we headed to Park City, Utah for a breather before driving south to Zion.

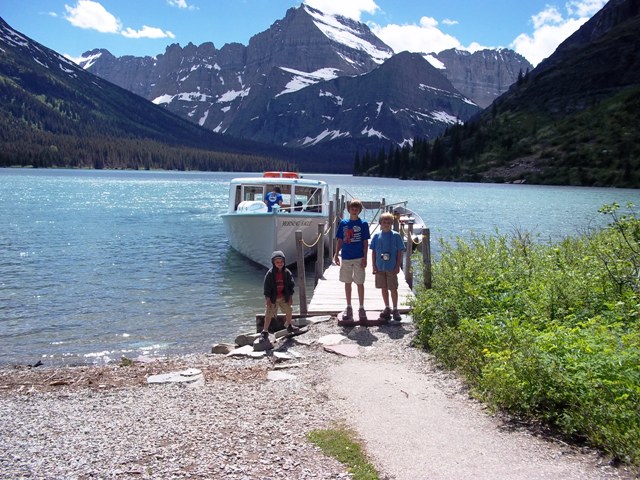
swiftcurrent cruise Many Glacier

Highlights for active families:

  • Exploring 4 national parks in about 3 weeks
  • Camping in yurts and tents
  • Playing on ropes courses and zip lines in Park City and Big Sky
  • Boating on Glacier lakes
  • horseback riding in view of the Tetons

Read our full Western National Parks itinerary. Need a great detour? Drive to Cody, Wyoming after visiting Grand Teton to learn about Buffalo Bill and explore cowboy country.

Additional picks:

Pin it for later!


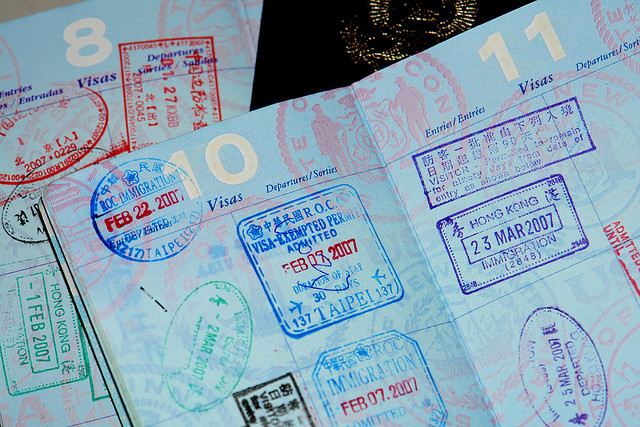
Hassle-free guide to getting your US passport for kids

Need a US passport for kids? Getting your child his or her first passport doesn’t have to be as intimidating as it sounds. Yes, you need to clear an afternoon or morning to the task, and yes, there’s a wait time involved, but the process is simpler than most people realize. Here’s what you need to know for getting a US passport for kids:

going-through-customs

Where should I go to get the passport?

In most cases, you’ll need to go to your local post office. I know, I know, but at least it’s better than the DMV, right? To find an office or agency issuing passports in your area, simply plug in your zip code into this site, and get a list of locations.  Many people hope it’s possible to apply for a first passport online or by mail: this is not the case. You’ll need to physically apply in person. And your kids will need to be there too! Call and ask if the office closest to you accepts appointments. If not, prepare to wait in line. Note: most passport offices run on government business hours and close early (ours takes its last passport appointment at 3:45 pm), and are closed on weekends. In order to get the whole family there to apply, you may need to take kids out of school for an hour or so. Annoying? Yes. Necessary? Often.

When should I apply?

Apply at least 12 weeks before international travel. When we applied for our kids’ first passports, they came in the mail well before this time period (more like four weeks), but trust me, you don’t want to sweat it right before your departure. Nor do you want to pay for an expedited process if you don’t have to. Plus, applying early gives you wiggle room should something go wrong: it’s fairly common that photos need to be retaken or addresses get entered incorrectly. This way, you have time to re-do the process.

What passport type does my child need, and how much will it cost?

If you’ll be traveling internationally by air, your child needs a Passport book (the standard passport you’re probably picturing in your mind). If you’ll be traveling by cruise ship, you’ll need to check with your cruise line, as various countries have different requirements, but may be able to travel only with a Passport Card. If you’re traveling by car to Canada, parents will need passport books, but kids can enter the country with valid original birth certificates (as of the time of this posting). However, it’s a much faster process at the border if kids have passport books that can be scanned like their parents’.  Note: if only one parent is bringing kids into Canada from the US, any parent with joint custody must submit a signed letter of consent. Notarize it and bring it with you!

Passport books for kids (0-16 years) are $80 and must be renewed every five years. Passport cards are only $15. Start here to determine eligibility and passport type.

What documents will I need?

When you’re applying for passort, you must go to the passport agency or passport office with your child or children (the passport applicants) and bring his or her original birth certificate, plus a photo ID for you. You’ll need to give parental consent for the passport, fill out all forms (if you haven’t filled them out at home), and pay all fees. You can download the application right here to save time.

Where should I purchase passport photos?

To apply for a passport, passport photos can almost always be taken (and paid for) at the passport office where you apply, but can sometimes be cheaper elsewhere. For convenience, we took our children’s passport photos at the post office when we applied, but if you decide to go elsewhere, make sure the photo is 2″ by 2″, and has the proper background. I’d only trust this task to a photo or portrait business who specializes in passport photos.

Not so hard, right? You’ll be given a receipt onsite, then can expect your passports to arrive in the mail within 12 weeks. Now, you just need tips for going through customs with kids!

Five resort towns with 4th of July parades

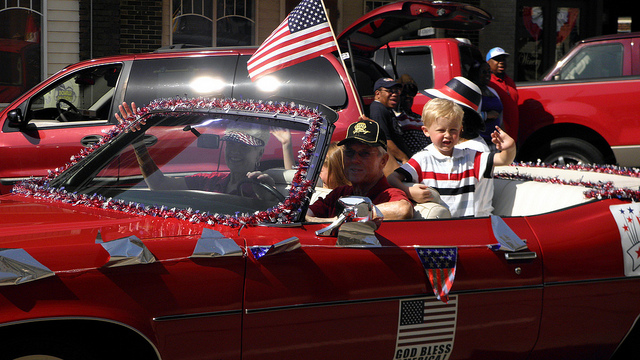
Due to summer travel plans, we usually spend 4th of July away from home. Sometimes, missing our hometown 4th of July parades bums the kids out, so wherever we find ourselves, we try to seek out the local parade festivities. As a result, we’ve experienced new customs, enjoyed local culture and foods, and Toby, always outgoing, has always made new friends. Below, find details on the 4th of July parades in five of our favorite resort towns across the U.S.! Maybe they’ll be on your family vacation route this holiday. Happy birthday, America!

4th of July parades

Jackson Hole, Wyoming:

Jackson Hole’s Howdy Pardners 4th of July parade always begins on Snow King Avenue from the Rodeo Grounds to Glenwood, continues on Broadway, and ends on Willow Street. If you’re staying in town, grab a curbside seat early in the day. While one parent holds everyone’s place (a thankless job!), the other can take the kids over to the Amazin’ Jackson Hole Maze for some water gun fight action. Kids rent water guns, pick teams, then spread out in the large maze area complete with water barrels for refills and platforms for scoping out the enemy. Kids are paired as best as possible by size and age, but very young kids may get scared. The parade starts at 10:30, but families will want to stay for the 6 pm town square frontier shoot out or the evening rodeo.

Where to stay: overnight a short car drive away in Grand Tetons National Park’s Colter Bay Village to combine a small town holiday with national park adventure. Alternatively, stay in town in a VacationRoost vacation home.

Park City, Utah:

This iconic ski town is transformed in the summer months to reflect Park City Utah’s love of the rugged outdoors in warm weather. Start your day with muffins or scones in one of the town’s many breakfast restaurants, or participate in 5K run. Then get a spot for the parade down the main street, which includes over 70 floats and an Air Force fly-over. You’ll still have most of the day to go mountain biking or hiking to escape the crowds, or you can stay for the fireworks.

Where to stay: Westgate Park City Resort is far enough from town (located at The Canyons Resort) to offer some tranquility when you’re ready for it.

Seaside, Oregon:

Families celebrating the 4th of July in Seaside might just as likely be wearing windbreakers as swim suits and shorts, but fog, wind, or sun, the party is happening! The Celebrate Freedom 4th of July  parade starts at the Seaside Museum, ending at the annual Old-Fashioned Social. The party goes on all day until it’s dark enough for fireworks on the beach. While not waiting for the parade, buy taffy at the famous Seaside Candy Man or make sand castles on the wide, open beach.

Where to stay: find a vacation home near the beach and rent it for the whole week to enjoy the town before and after the crowds descend.

Branson, Missouri:

Among the most patriotic resort towns in America, Branson’s celebration starts with a parade-type event families can participate in! The Spirit of ’76 celebration at Branson Stockstill Park and Branson Landing traditionally starts at 9 am, during which you can join others donning their red, white, and blue for a family-friendly event. Ice cream and flags are complimentary, which you can bring with you to one of the many fireworks displays on nearby Table Rock Lake or in Moonshine State Park.

Where to stay: the Chateau on the Lake Resort is the site of the best evening fireworks, and offers swimming, boating, a full-scale spa, and dining for the remainder of your vacation in Branson.

Stowe, Vermont:

The Moscow parade starts the celebration, which doesn’t end until Stowe’s annual fireworks display. Between events, check out the Village Festival from 11 am to 3 pm, for face painting, music, carnival-type activities for the kids, and a full seven miles of shoppingThe parade starts at 10 am, and kids can watch local softball and soccer tournaments, a 4th of July tradition in Stowe.

Where to stay: Settle in near Stowe at Smuggler’s Notch Resort, where kids will stay just as busy the rest of the vacation week with kids’ club activities, hiking and biking, golf, and kid-focused parties. 

Photo credit: inparistexas

This post written in partnership with VacationRoost.


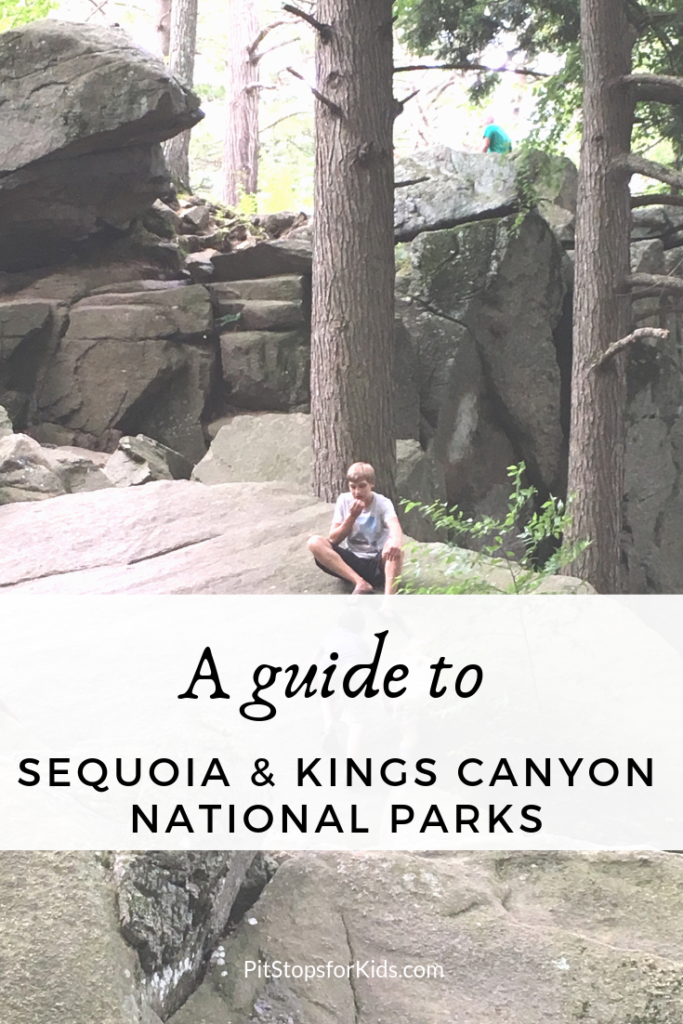
Guide to Sequoia and Kings Canyon National Parks with kids

On a recent tour through several California National Parks, I heard the same thing over and over again from fellow guests and even park employees: “We love Yosemite, but we’ve actually never been to Kings Canyon.” Or, “We come to Yosemite annually, but haven’t experienced Sequoia, yet.” This tells me two things: Yosemite National Park is one of the most popular in the nation (no surprise there), and neighboring Sequoia and Kings Canyon National Parks will be vastly less congested nearly all year long. Are they worth visiting? Absolutely!

Park overview:

Sequoia and Kings Canyon are two distinct national parks with one planning site. They have separate entrances, though the same entry fee will get you into both. They sit side-by-side along the General’s Highway off Highway 198 (accessed from Fresno, California) and sit at impressively high elevation: between 6,000 and 8,000 feet for the most part.  We suggest at least two days in the parks in the off-season, and three in summer, with the majority of your time spent in Sequoia.

What to do:

Giant Forest: 

giant-sequoia-trees

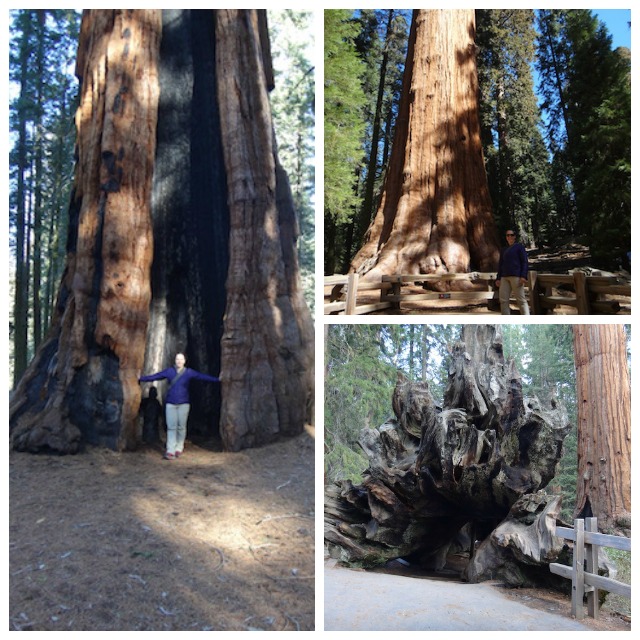
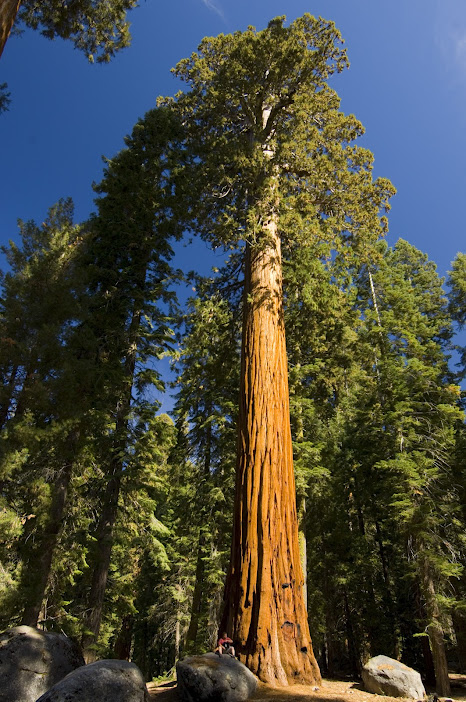
Most of us come to Sequoia for the Giant Sequoia trees. And yes, they’re absolutely worth the trip. These towering giants reside in this region because of the ideal conditions: they cannot grow like this anywhere else in the world. Take the Big Trees Trail to walk amid these giants (you’ll find the hush of the forest soothing…unless you have restless kids with you!). The General Sherman Tree is the largest tree in the world. Bear in mind: the General Sherman is not the tallest tree in the world, but rather the biggest, measured in circumference around its trunk.  The nearby Giant Forest Museum is worth a stop (in the off-season, it opens at 10 am).

Moro Rock:

moro-rock

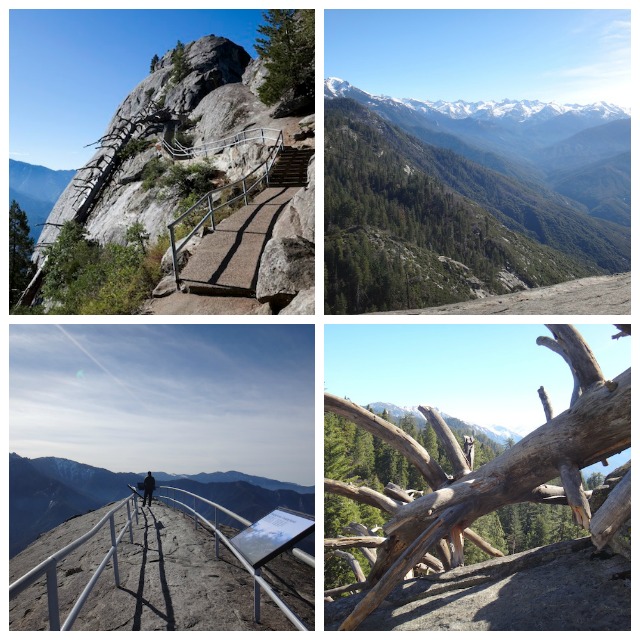
Absolutely plan an hour or so at Moro Rock in the high season. This overlook includes a short but steep hike up the cliff-like rock, which will feel unsettling to anyone with fear of heights. I fall into that category, but had no problem with this short hike, because guard rails are set at key locations. There’s nothing to stop small children from wandering, however, so extreme attention is necessary. From the top of Moro Rock, the views are unparalleled. It’s possible to see the valley floor from one side of the viewing platform, and the peaks of the Sierras from the other. Point out the tops of the Giant Sequoias to kids: they look like bunches of broccoli from this height. Tip: after Moro Rock, continue a very short distance on the same road to drive through Tunnel Log and picnic in Crescent Meadow. Wolverton Snow Park is another nice resting stop in any season.

Crystal Cave:

I had no idea hundreds of caves lay under the surface of Sequoia National Park! The only cave available to tour is Crystal Cave, and it’s only accessible in summer. If you visit during the high season, this should be on your list.

sequoia-sightseeing-tour

Tip: Take a tour with Sequoia Sightseeing Tours with Paul Bischoff! Paul is a long-time resident of the area, and runs the best sightseeing tour I’ve taken from a private concessionaire in a national park. We spent a full morning with Paul, and learned more about the parks in a few hours than we ever could have guessed. Paul knows where the animals are, the best ways to avoid crowds, and can walk guests right to the most interesting trails and natural wonders.

Grant Grove of Giant Sequoias:

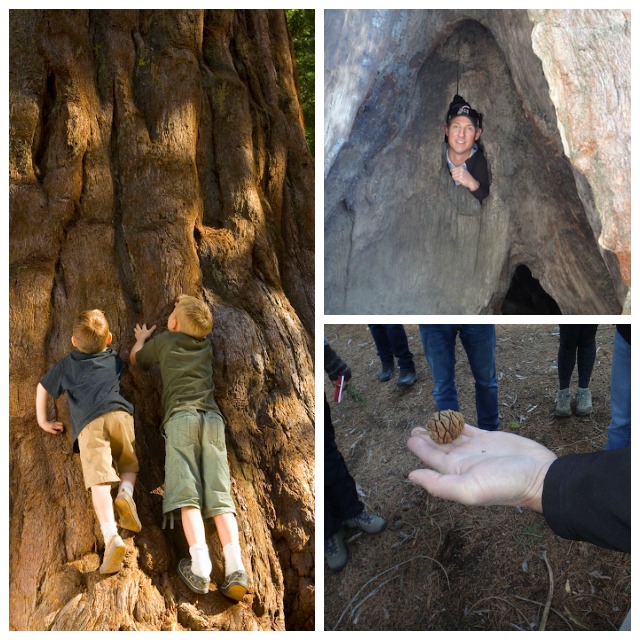
In Kings Canyon, the Grant Grove offers the General Grant Tree, plus a nice, easy hiking loop of additional Sequoias which includes some naturally downed trees. This is a great place for kids to see the root system of these giants, crawl through a fallen Sequoia log, and walk through a Sequoia tunnel! The Grant Grove Visitors Center is nearby as well, but we found it to be pretty limited.

Tip: While staying at Kings Canyon, catch the John Muir impersonation program by talented Frank Helling. Frank performs most Fridays at the Grant Grove evening campfire program during the summer months. I learned more about John Muir from Frank than I have before or since, and it was entertaining for all ages. Check at the Grant Grove Visitor Center to find out exactly when he’ll be performing during your summer visit.

giant-sequoias

Kings Canyon:

In summer, families can drive into the famed canyon, stopping for short hikes along the way. Kings Canyon is home to fabulous backcountry as well: if you plan to backpack in Kings Canyon or Sequoia, apply for a free backcountry permit. The good news: they’re far easier to get than Yosemite permits!

Tip: if you have the opportunity to listen to the storytelling of John Muir impersonator Frank Helling, make time to do this! Frank is absorbing and entertaining, and I learned more about John Muir in the 45 minutes I listened to him than I have before or since! Frank conducts his performances when available; as a park ranger or at the John Muir Lodge about opportunities to hear him speak.

Where to stay:

Kings Canyon offers the busiest ‘village’ of tent cabins, lodging, general stores, and visitors centers at Grant Grove Village. In the off-season, it’s quiet and we recommend the adjacent John Muir Lodge. However, in the height of summer, we’d opt for the less congested Wusachi Village of Sequoia National Park, where you’ll find Wusachi Lodge. This village center houses only the lodge and its restaurant (no adjacent camping and conveniences), which makes it somewhat quieter year-round. Read reviews of John Muir Lodge and Wusachi Lodge.

How to get here:

Access either park from Highway 198 from Fresno California. If you’re doing a loop of Sequoia and Kings Canyon as well as Yosemite National Park (called the Majestic Mountain Loop and highly recommended), you’ll need to depart Kings Canyon and return to the valley floor, then loop around to Yosemite via Highway 41. It’s not possible to drive over the Sierras, which is a good thing for all of us enjoying the parks!

Joovy Qool review: travel-ready stroller

UPDATED FOR 2018

The Joovy Qool lives up to its name. With a sleek design and luxury features that mirror those of the most expensive brands on the market, the Qool makes it look easy. Which is definitely the point, for those of us wanting our strollers to go the distance while traveling.


Our baby gear tester Karyssa tested to Qool in 2014 with her son, and is back with an updated review of the newest Qool model with her newborn daughter (with Deklan now along for the ride as a preschooler). Designed for babies three months and up (or from birth with a car seat attachment), the Qool is still not the lightest stroller on the market, but like most Joovy strollers, it manages to fit into the lightweight category while not skimping on features.

Joovy Qool review:

I was excited to try out the new Joovy Qool stroller with bassinet with my daughter. The package arrived promptly, and my husband started putting it together as soon as it arrived. The instruction booklet is pretty thick, but he was able to do most of the assembly without the instructions fairly easily. He only referred to the instructions once. Total assembly including the bassinet took about 15 minutes.

Initially looking at the stroller I thought that it would be heavy because of the larger wheels and wider base. That was not the case. The stroller is so easy to lift into my car, much lighter than it looks. Breaking it down or opening it up is a breeze and takes about 5 seconds.

The ability to attach the bassinet to the stroller and allow my baby to sleep comfortably is so convenient. Attaching the bassinet to the stroller is really simple just line up the bassinet and click. We did not get the car seat adapter for the stroller because it wasn’t available for the brand of car seat we have. Honestly, I am happy that we didn’t because I am more likely to put her in the bassinet and she will be more comfortable. The Mayo clinic does not recommend for babies to be in car seats for long periods of time outside of the car.

Joovy made the fabric inside the bassinet super plush and soft it almost has a velvety feel. It is white though, so I lay a blanket down between the baby and the mattress in case of spit up or accidents. The sun visor has 50+ sun protection and comes with a great zip cover the also works to protect your little one from extreme weather. My only wish is that the visor came down a little lower or had an option to completely shield my baby from the sun. If I am walking in the middle of the day I have to put a thin blanket over the top to completely shield her from the sun.

The stroller rolls great on and off the pavement and I think the large wheels help make it a smoother ride. 

My four-year-old loves to sit on the Qool bench seat and doesn’t even mind being buckled. It’s great for the longer walks when he decides he is too tired to walk or he just wants to sit and take a break. Unfortunately, we can’t use the seat with the bassinet but otherwise it is an amazing addition to the Qool. There are several position options for the Qool bench seat and the stroller in the instruction booklet.

Storage is plentiful in the bottom of the stroller. It will fit my diaper bag, blankets, another backpack and more. I am certain that it would fit all of my shopping bags and diaper bag during a shopping trip at the mall. My four-year-old even thought that he should crawl under there and make sure it fit him, and it did.

Joovy Qool at a glance:

Want the highlights? Here’s Karyssa’s quick takes:

  • Easy access brake
  • Maneuvers easily through tight places
  • Nice leather grip
  • Medium sized basket storage (can hold a purse but not a large diaper bag)
  • Expandable cover shields baby from rain and sun
  • Wheels glide over bumpy terrain
  • Doubles as a jogging stroller
  • Compacts and folds to fit tightly in small spaces
  • Lightweight
  • Leather bumper for baby to hold or attach toys
  • Adjustable handlebar makes for easy steering at any height
  • Cushy gel-like seat (which is removable)
  • Front wheel locks from swivel at a push of a button
  • Difficult to fold for some (I had trouble; husband and son could fold it in 6 seconds)
  • Cover window not large enough for baby to view out of easily

Pit Stops for Kids Joovy Qool Review for one toddler:

If you’re using the Qool with one child, is easy to maneuver through tight areas that can often frustrate parents pushing a stroller. I tested the Qool at a large sporting event with mobs of people. The stroller turned effortlessly through the crowds. A major advantage is that this stroller fits in tight areas at department stores and turns on a dime around racks that can otherwise hang up stroller wheels.

The brake is easy to find and engage in the middle of the rear wheels, and virtually anyone can push the stroller comfortably with the adjustable handlebar. The handlebar has a nice comfortable leather grip and a cup holder can be easily attached as an additional accessory.


The expandable sun and rain cover kept my little one sheltered but still able to see out the front.  My only caveat: the peek-a-boo window is on the small side, and doesn’t provide much of a view.

The seat is really cooshy with a gel like liner unlike any other stroller seat I have seen. The shoulder harness is easily adjustable for different sizes. I jogged with the stroller over bumpy sidewalks and bricks without ever feeling a jolt. The wheels have major shock absorption and I was very impressed that it handled so well. The front wheels can also be locked by just pushing a button above the wheel.

Initially I thought the Qool was tricky to fold up, but my husband and twelve year old could handle it no problem. Once I tried again it was super easy. It can be folded down tightly with the seat in about five seconds. After it is folded down it can’t be pushed or pulled; it has to be lifted. It is extremely lightweight so that makes up for it.

Tip: Not sure which Joovy stroller is right for you? Compare the Qool to the Joovy Caboose VaryLight, also reviewed by a Pit Stops for Kids mom!


Buy the Qool for $549 on Joovy.com, or Pick it up on Amazon for about 20% less!