How to take travel photos on your phone

There are many benefits to using your phone to take photos while traveling. First of all, when you learn how to take travel photos on your phone, you won’t have extra equipment to pack; chances are, you’re already bringing your phone. It’s always with you during the day, and thanks to excellent technology, your phone probably comes packed with features better than or at least equal to those on your point-and-shoot camera. Your phone is portable, and with the right case, it can be waterproof and dust-proof, which is crucial for some travel spots.

bryce-national-park

Photo opportunities, and how to make the most of them:

You don’t have to be a photography expert to take great travel photos with your phone, but it does help to keep some basic photography techniques in mind. If you don’t remember anything else, remember that a great travel photo tells a story, showcases a subject (whether it’s an object or person), and captures a moment in time. To achieve these goals, follow these basic photography rules.

  • Rule of thirds: Turn on your camera’s grid feature, which will show you a nine-square grid overlaying your framed shot. Use this grid to frame your subject proportionally. Place your primary subject in the middle three squares of your grid, or try an off-centered subject for an eye-catching effect.
  • Place that sun behind you: Sunshine is lovely, but when you take a photo directly into the sun, your photo will be washed out, and you’ll lose the detail of your subject(s). Especially when you’re taking photos of other people, place the sun at your back. Yes, your subjects will be tempted to squint as they’ll be looking into the sun, so suggest they close their eyes, count to three, and then open them for the photo!
  • Pay attention to exposure: Many people don’t realize that they can adjust the lighting of a shot with one touch on a phone. Tap and press on the subject of your photo to make sure the shot is properly exposed before taking it. You’ll see the lighting adjust on your screen.
  • Go horizontal: Most of the time, you should get in the habit of taking horizontal photos. Video should always be horizontal, not vertical. Why? Horizontal videos use the most screen space when you show your work on a computer or TV screen. Vertical videos will appear as just one strip of the screen.
  • Get to know your flash setting and when to use it: Placing your flash on auto will work most of the time, but in low light, indoors, and in fully dark settings, play with your flash to get your desired result. If you’re taking a selfie in the dark, such as in a nightclub or at a concert, turn on a flashlight app if you don’t have a front-facing flash (which can be the case with older phones).

Get creative when you take travel photos with your phone:

Now that you know how to use your settings, it’s time to make your travel photos more interesting. Remember how every travel photo should tell a story, focus on a subject, and capture a point in time? It’s easy to do that with your phone on any vacation, whether it’s a bucket list-worthy trip or a road trip to grandma’s.

Start by getting new angles. Your phone is mobile, so make yourself mobile too! Get down on the ground to take a shot from below your subject, or get elevated to get an overhead angle. Notice the shot everyone around you is taking, and do something different. If everyone is taking a long-range photo of a mountain, focus your shot on the trail leading up to it or the trees in the foreground, for instance.

When you’re taking photos of people, shots of smiling groups are nice, but they’re nothing remarkable. Focus on emotion instead. Try to capture a laugh, an expression of joy or surprise, or a look of wonder on the faces of your subjects. The best way to do this is to have your phone ready to shoot as your friends and family discover new experiences or see a new sight.

Last, to use your phone camera to its fullest, don’t forget to try your high dynamic range (HDR) setting. This setting can feel intimidating to those who rely on auto settings on their cameras, but it can greatly enhance your travel photos. Your HDR setting will help you properly expose your photo much better than simply pressing a finger on the screen to adjust the lighting. This is because doing so only adjusts the subject, and it can over- or underexpose the background. In your HDR setting, your phone is essentially taking three photos for every one and then layering them for ideal lighting. However, this means it takes longer to take the shot, so you need to hold the camera still.

To make sure your HDR setting is being used to the fullest, use a tripod or brace your elbows on a ledge or table when shooting. Your subjects need to hold still as well. For this reason, I only turn off HDR when I’m shooting wildlife that will not cooperate or when I cannot hold the camera steady (such as when I’m on in a moving boat).


Source: eReplacementParts.com

Have your phone at the ready and take lots of shots! Have photo tips? Share them in the comments!

Teaching Kids About Travel Photography Etiquette

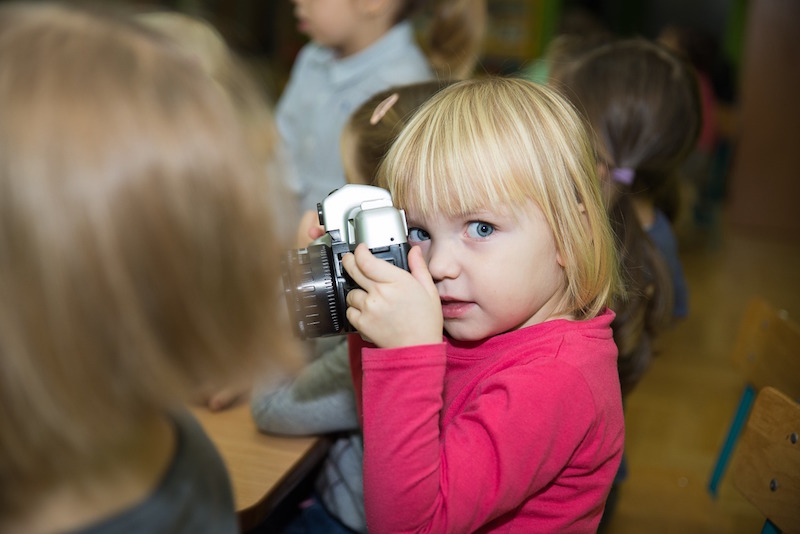
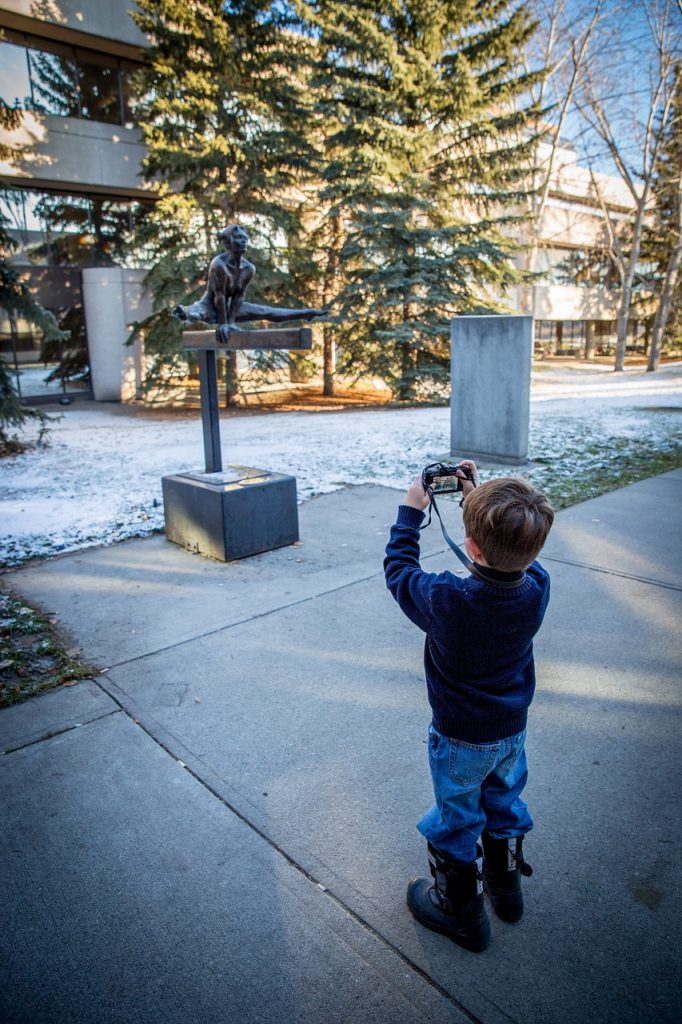
Everyone takes photos when traveling—it’s part of the whole experience. Now if you enjoy traveling to new and exciting places with your kids, then at some point they are going to want to take some photos of their own. Children today are particularly tech-savvy and can work most devices without needing much instruction, so photography is something that you can (and should) allow and encourage them to learn. Parents can even provide their children with a simple, kid-friendly camera to practice on, so that they won’t have to keep whipping out smartphones or iPads (a surefire way to attract thieves) to capture the sights.

kids-photography

But before you give your child a camera, remember that there are certain rules in travel photography that everyone (even non-professional shutterbugs) need to adhere to. Here are some of the most important rules of photography etiquette that you need to teach your kids:

Always ask permission from a parent, guardian, or any adult companion.

In travel photography, the golden rule is to ask permission from the people whom you plan to feature in your photos. But for your children, the golden rule should be to ask you for your permission before taking photos of anything—at least until they are old enough to know how to discern which situations are appropriate for taking photos and which are not. This way, you can properly guide them, as well as facilitate their interactions with the locals. After all, someone will still need to ask permission from whomever your child wants to take photos of—a crucial step that you cannot forego, particularly in foreign countries where the customs and norms may be different from where you are from.

kids-photography

Having your child inform you first before taking pictures prevents him from breaking certain social rules (regarding photography)—and getting himself into trouble—in the country you are visiting. Some places, like in Indian or Japanese temples, have a strict ban on any type of photography. In other places, it may be considered rude to take photos of people in the street. You cannot expect your child to be aware of or remember all these different rules, so it’s best to have him ask you before he whips out a camera.

Respect personal boundaries.

If you have yet to teach your kids about the concept of personal space and boundaries, then this is the perfect time to address it. Unlike adults, children are accustomed to affectionate physical interactions (mostly with their parents, grandparents, siblings, and even their friends). It is completely normal for a child to, say, touch his mother’s face or sit on his father’s lap, which is why he might find it strange that this type of interaction may not be accepted or welcomed by other adults.

Before you decide to trust your child with a camera on your travels, you need to teach him about the “personal bubble.” Most children would normally have no qualms about thrusting a camera into someone’s face or squeezing beside someone to take a quick selfie, so it is important for your child to understand that some people are very particular with their personal space and may possibly take offense when other people—children included—violate their sense of space by entering their “personal bubble.”

Avoid using the flash (unless absolutely necessary).

As you probably already know, some tourist spots—particularly art galleries, museums, or zoos—do not allow flash photography within the premises. But children aren’t particularly fond of reading signs, so there’s a very good chance that they wouldn’t automatically know this important rule. Therefore, you need to make sure that your child is made aware of these crucial rules and that he learns how to turn the camera’s flash on or off before allowing him to take photos in public places. Otherwise, this can lead to some very embarrassing situations.

Also, people generally don’t like having a bright camera flash go off in their faces, so make sure that your child knows to turn off the flash when taking photos of the locals and other tourists.

Don’t block the view.

Children aren’t always aware of what is going on in their surroundings, so it’s important to remind them that they have to be mindful and considerate of other people when taking photos. For instance, when you visit a tourist hotspot like a historical landmark or any of the other popular photo-op spots, there will most likely be a horde of other tourists and photographers there who are also trying to take photos of their own. Remind your child not to block anyone’s shot or “photobomb” another tourist family’s photo session. Teach him to patiently wait his turn until other people are finished, so that he can take his photos without bothering anyone or ruining other people’s photo-ops.

Being polite when taking photos in tourist spots must be a continuous learning process—it doesn’t end with just telling your kid what he can or cannot do. Keep an eye on your little one’s behavior, remind him if you must, and don’t forget to give words of affirmation every time he does something right.