Traveling with kids with Down Syndrome

In honor of World Down Syndrome Day, it’s my pleasure to share a personal post from our midwest travel contributor, who travels with her family of four kids, one of whom has Down Syndrome.

Ten years ago, I found out that my newborn daughter had Down syndrome. At that moment, I was far too worried about things like walking and talking to consider the implications her diagnosis might have on our ability to explore the larger world. But as our life with Julianna has unfolded, I’ve found that a disability doesn’t have to be a death sentence on dreams of travel and adventure.

julianna

Author’s daughter Julianna on a beach trip.

First, a word of caution. There’s a truism among the disability community: “If you’ve met one person with Down syndrome, (or autism, or any other disability), you’ve met one person with Down syndrome.” This post is the experience of one family, whose child is both verbal and mobile. Still, I hope it illustrates that traveling with kids who have disabilities is a reachable goal.

1. Plan around your family’s unique situation.

The key for our family has been planning around the abilities of all our children—not just Julianna. By the time Julianna turned eight years old, she had visited Mackinac Island (twice), Rocky Mountain National Park, and Disney World. Some of these trips were more successful than others, but each one fine-tuned our understanding of our kids’ limits and, equally important, our own. When we look at available activities, we choose what is appropriate for our whole family. Sometimes—often, even—this means we don’t get to do some of the things that would be more interesting to us as adults. (Sound familiar?)

2. Look for child care where you’re going.

On the other hand, some places—cruise ships and some nicer hotel/resorts—offer group programs or vetted babysitters for hire. We have taken advantage of that both at Mackinac’s Grand Hotel and on a Royal Caribbean cruise ship. Of course, some kids with more significant special needs will need a special kind of child care provider—but don’t rule out the possibility before you take the time to talk to the people in charge. You’ll never know unless you ask.
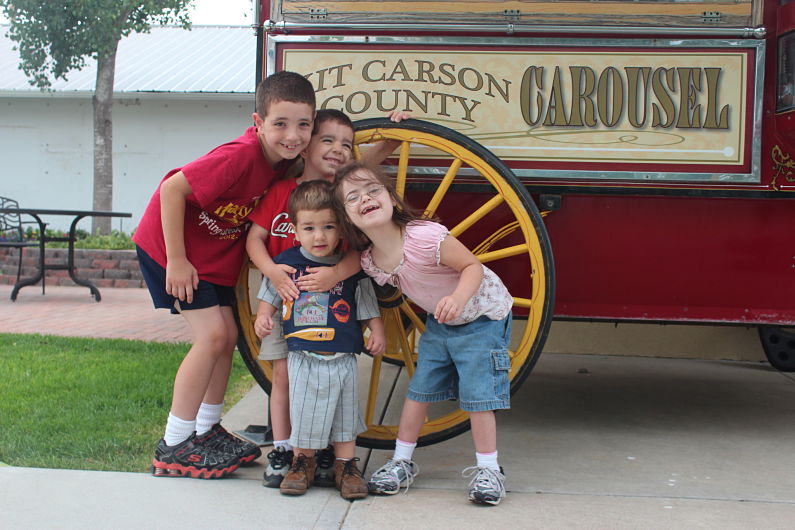
burlington CO

3. Ask about accommodations for disability.

Many places go out of their way to accommodate people with disabilities. For example, Disney World offers a disability pass that gives families a set return time (much like a Fast Pass) so you don’t have to wait in long lines. Many other amusement parks offer similar services.

4. Look at travel as an opportunity to increase awareness.

I remember sitting in a Golden Corral in Valdosta, Georgia, and realizing that two or three adults were staring at my daughter. But not an ugly, cruel stare—on the contrary, they had the look of dawning understanding. I could see them realizing, through seeing my vivacious and charming daughter interact with other people, that disability is not a curse—that it can, in fact, be beautiful.

In this way, Julianna serves as an ambassador for Down syndrome. She loves people, and she functions at a high enough level that she can overcome—or perhaps the better term might be “overwhelm”—most people’s inhibitions.

One particularly memorable New Years Eve, we were taking shelter from a tornado in a McDonald’s in Nashville, Illinois. While we were trying to keep her brothers entertained, 3-year-old Julianna slipped away. We found her walking up and down the aisles saying “Ah! Ah!” (how she said “hi” at age 3) and waving to other refugeed travelers. When we caught up, she was sidling onto a bench and eyeing someone else’s box of french fries. We ended up in conversation with that family and several others, comparing weather reports and swapping travel stories. It was a moment of connection we would never have had without her.

DisneyWorld

5. Take reasonable precautions.

Of course, there’s a flip side to having a child with a developmental disability who’s never met a stranger. One December, we were waiting in line to tour the “Holiday Train” when Julianna simply disappeared.

It’s every parent’s nightmare: a big space, lots of exits, thousands of people, and a child who, although verbal, has trouble making herself understood. She didn’t yet know how to ask for help, and worst of all, we knew she wouldn’t even recognize she needed it.

Eventually, we found her riding the kiddie train at the end of the terminal. Mind you, this was a train that cost $5 to ride. We asked the operator, “How did she even get in?”

She answered, “Well, she just acted like she belonged there…”

After this, we ordered a medical bracelet and necklace with our mobile numbers engraved on them. We also have tags that attach to her shoe laces. Julianna has been coached extensively and repeatedly on what to tell an adult if she doesn’t know where we are.

It’s worth it!

As Julianna gets older, she’s less prone to wandering and better at following instructions. Traveling has given her lasting memories—from the fire-breather at the Chinese Lantern Festival to meeting Tinker Bell—that she still talks about.
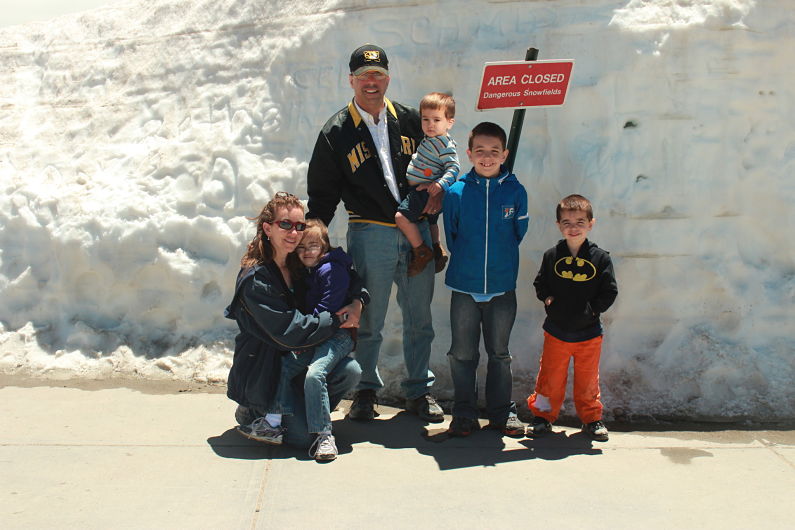
Rocky Mountain National Park

Your special needs child will likely always face limitations the rest of the family does not—but you know how to plan around that; you do it every day. The rules don’t change when you travel—they just require a little more advance prep to be familiar with the possibilities and prepare for the possible pitfalls.

You want to travel with your special needs child? Go for it. You’ve got this.

How to take travel photos on your phone

There are many benefits to using your phone to take photos while traveling. First of all, when you learn how to take travel photos on your phone, you won’t have extra equipment to pack; chances are, you’re already bringing your phone. It’s always with you during the day, and thanks to excellent technology, your phone probably comes packed with features better than or at least equal to those on your point-and-shoot camera. Your phone is portable, and with the right case, it can be waterproof and dust-proof, which is crucial for some travel spots.

bryce-national-park

Photo opportunities, and how to make the most of them:

You don’t have to be a photography expert to take great travel photos with your phone, but it does help to keep some basic photography techniques in mind. If you don’t remember anything else, remember that a great travel photo tells a story, showcases a subject (whether it’s an object or person), and captures a moment in time. To achieve these goals, follow these basic photography rules.

  • Rule of thirds: Turn on your camera’s grid feature, which will show you a nine-square grid overlaying your framed shot. Use this grid to frame your subject proportionally. Place your primary subject in the middle three squares of your grid, or try an off-centered subject for an eye-catching effect.
  • Place that sun behind you: Sunshine is lovely, but when you take a photo directly into the sun, your photo will be washed out, and you’ll lose the detail of your subject(s). Especially when you’re taking photos of other people, place the sun at your back. Yes, your subjects will be tempted to squint as they’ll be looking into the sun, so suggest they close their eyes, count to three, and then open them for the photo!
  • Pay attention to exposure: Many people don’t realize that they can adjust the lighting of a shot with one touch on a phone. Tap and press on the subject of your photo to make sure the shot is properly exposed before taking it. You’ll see the lighting adjust on your screen.
  • Go horizontal: Most of the time, you should get in the habit of taking horizontal photos. Video should always be horizontal, not vertical. Why? Horizontal videos use the most screen space when you show your work on a computer or TV screen. Vertical videos will appear as just one strip of the screen.
  • Get to know your flash setting and when to use it: Placing your flash on auto will work most of the time, but in low light, indoors, and in fully dark settings, play with your flash to get your desired result. If you’re taking a selfie in the dark, such as in a nightclub or at a concert, turn on a flashlight app if you don’t have a front-facing flash (which can be the case with older phones).

Get creative when you take travel photos with your phone:

Now that you know how to use your settings, it’s time to make your travel photos more interesting. Remember how every travel photo should tell a story, focus on a subject, and capture a point in time? It’s easy to do that with your phone on any vacation, whether it’s a bucket list-worthy trip or a road trip to grandma’s.

Start by getting new angles. Your phone is mobile, so make yourself mobile too! Get down on the ground to take a shot from below your subject, or get elevated to get an overhead angle. Notice the shot everyone around you is taking, and do something different. If everyone is taking a long-range photo of a mountain, focus your shot on the trail leading up to it or the trees in the foreground, for instance.

When you’re taking photos of people, shots of smiling groups are nice, but they’re nothing remarkable. Focus on emotion instead. Try to capture a laugh, an expression of joy or surprise, or a look of wonder on the faces of your subjects. The best way to do this is to have your phone ready to shoot as your friends and family discover new experiences or see a new sight.

Last, to use your phone camera to its fullest, don’t forget to try your high dynamic range (HDR) setting. This setting can feel intimidating to those who rely on auto settings on their cameras, but it can greatly enhance your travel photos. Your HDR setting will help you properly expose your photo much better than simply pressing a finger on the screen to adjust the lighting. This is because doing so only adjusts the subject, and it can over- or underexpose the background. In your HDR setting, your phone is essentially taking three photos for every one and then layering them for ideal lighting. However, this means it takes longer to take the shot, so you need to hold the camera still.

To make sure your HDR setting is being used to the fullest, use a tripod or brace your elbows on a ledge or table when shooting. Your subjects need to hold still as well. For this reason, I only turn off HDR when I’m shooting wildlife that will not cooperate or when I cannot hold the camera steady (such as when I’m on in a moving boat).


Source: eReplacementParts.com

Have your phone at the ready and take lots of shots! Have photo tips? Share them in the comments!

Introducing Twist: a digital magazine celebrating family travel

Who has not been inspired to try a new destination after seeing gorgeous photos of a friend’s trip? Or has not turned the pages of a glossy magazine and drooled over a hotel spread? We all have, and I know that for me, I often get new travel ideas from other parents who have adventured before me. The idea of sharing travel ideas through personal experiences is, of course, the message and intent behind Pit Stops for Kids, and any story I write elsewhere.

Twist magazine

Introducing Twist travel magazine:

I’m proud to say that I’m now contributing to another, new outlet for sharing travel experiences and inspiration: Twist magazine. Twist is the brain child of Keryn Means of Walking On Travel and Andrea Fellman of Wanderlust Living, and will come to your computer screens in high resolution, digital magazine glory. I know that when I previewed this first issue of Twist, I was inspired myself by the travel destination pieces packed into its pages. There are now 2-3 new places I cannot wait to take my kids!

TWIST

In addition to destinations, Twist issues will always feature gear reviews and travel style and trends for both parents and kids, plus practical advice and currently trending travel services and tour companies. Because TWIST will be seasonal, and features over a dozen contributors who are all family travel experts, you can expect to get the very latest in travel news, travel deals, and travel inspiration.

Please go HERE to download your first issue of Twist. I am confident it will not be your last!

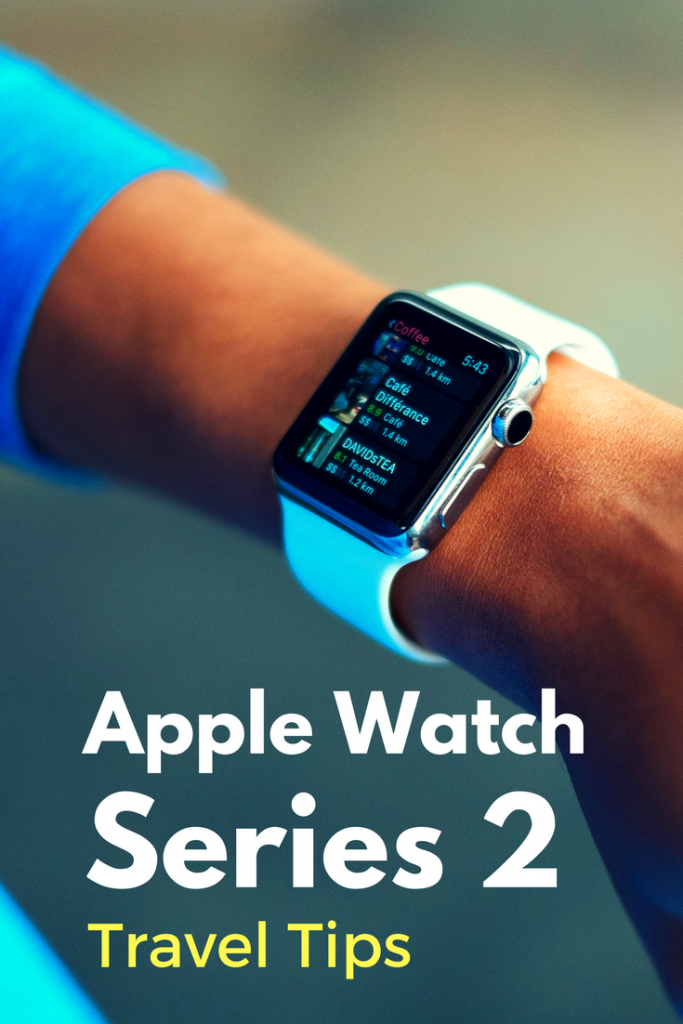
Apple Watch travel tips

I bought my Apple Watch for heath and GPS exercise tracking. I regarded its travel uses with skepticism. After all, I have a phone, which already accompanies me on trips, and saw no need to carry two devices for the same purpose. However, after using the Apple Watch for a few months, I’ve found it to be an extremely useful travel tool. It’s not great for everything, but it’s helpful enough that I no longer travel without it. Ready for some Apple Watch travel tips?

How, when, and why to use your Apple Watch while traveling

Apple Watch travel tips:

For me, the prime benefit of traveling with my Apple Watch Series 2 is the ability to keep my hands free and my phone stashed away. Using the apps on my watch means I can keep my backpack or tote bag closed, my eyes up, and my distractions to a minimum. Here are the uses I’ve found for my watch on travel days:

Boarding passes in Passbook:

When I check into my flight online, I use the appropriate airline app on my phone. Then I save my mobile boarding pass to Passbook. When I open Passbook on my watch, my boarding pass is right there. I can scan it at the gate and at security and never have to dig my phone out of my bag. I also keep the airline apps I use on my watch, because they will alert me of any changes to my flight right on my wrist.

Note: the TripIt app is now available for Apple Watch too, and I find it very helpful to get their alerts.

Directions on my wrist:

I have no sense of direction, so when I travel, I rely heavily on my Maps app. When I use Maps with my phone, I’m distracted, looking down at my screen while I walk unfamiliar streets, or worse, glancing too often at my phone while driving in unfamiliar cities. When I set up mapping directions on my phone before I depart, they sync to my watch, which gives me point-by-point directions as I go. I wasn’t sure if I’d like haptic touch (where the watch buzzes and vibrates to indicate which way to go), but I find I love it. I can drive and be confident about when to turn without taking my eyes off the road.

News bites in real time:

I have the CNN and New York Times apps on my watch, and appreciate how I can stay up-to-date on news as I travel. Yes, I could see updates on my phone, but how often, on a busy day, do I actually take the time to open a news app and read? With CNN and NYT on my wrist, short, one-line news bites are delivered to me, helping me be more aware as I travel.

Note: there are many other great news sources; for my watch, I chose CNN and NYT because their app headlines are particularly succinct and digestible…good for the small screen of my watch.

Apple pay on the go:

I can’t tell you how many times I’ve approached the register at an airport newsstand store or dining venue and had to dig around in my bag for my wallet or phone to pay. It’s time consuming, and can be unsafe to open everything up…important things could easily fall out of my bag. I use Apple Pay on my watch, and I’d say it works easily 70% of the time. The other 30%, it’s a big pain in the butt because it doesn’t work for some reason and I have to dig my wallet out after all. So there are negatives to using Apple Pay, but still worth trying.

GPS tracking for safety:

Some people don’t like to track their GPS, and I get that, but when I’m in a new city, I still like to run outdoors when it’s possible. I appreciate the fact that with just my watch, I can track my route, so I can easily find my hotel again. Also, in the case of anything going wrong, my route is tracked on my phone (which is back at the hotel room), so my family can more easily find me. It’s just a precaution, but one I appreciate.

A few of my favorite Apple Watch apps (not mentioned above):

  • TripIt: great to plan travel and get live updates on your travel plans
  • Timer: fun to time waits in line (so you can prove to kids that they haven’t been ‘waiting forever!’)
  • Breathe: a nice relaxation tool on travel days
  • Uber: I’ve found it to be pretty seamless as long as your account is up-to-date on your phone
  • 1Password: for when I’ve forgotten a password that I need to enter on my phone and my computer isn’t handy
  • Music: I pair with bluetooth headphones and listen to music on the go

What I never use Apple Watch for:

  • Email: heck no! Way too small a screen
  • Photos/video: though I know people who like the remote camera app
  • Banking/Paypal: no real reason other than the small screen
  • Social media: I like to see Instagram, Facebook and more on a bigger screen

Do you have an Apple Watch? Do you use it for travel?

Tips to keep your family safe while traveling

Traveling the world is a great way to introduce your family to different cultures while having a fun time abroad. While in our experience, travel tends to be safer than your average day in your own hometown, every trip raises the possibility of risk. Before you leave home, study the following three tips to keep your family safe as you travel the world.

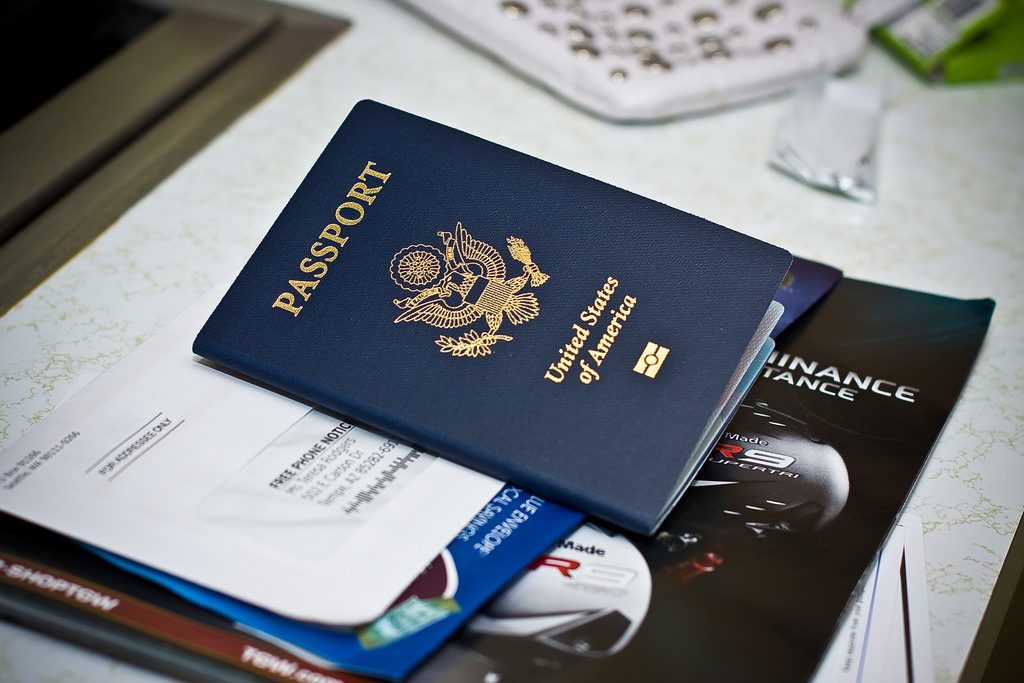
passport

Make a Copy of Your Passport

Losing your passport can make traveling between countries difficult. If you don’t have your passport, you may not be able to re-enter the United States. Making a copy of your passport will enable you to replace it more easily.

Make two copies of your passport. Give one to a person you trust to keep it safe. Keep the other copy with you while you travel. You can email a copy of the passport to yourself so that you can access the information when needed.

If you plan to email the copy, make sure the places you visit have email access and printers. If those places do not, then you should carry a printed copy.

Learn About Possible Travel Advisories

The U.S. Department of State (DOS) maintains a list of travel advisories that will help you avoid unsafe countries. If a country has a travel alert or warning, then you should read about potential hazards that could affect your trip.

The DOS divides travel advisories into two groups: warnings and alerts. Warnings usually refer to long-term problems such as civil wars, frequent terrorist attacks, and unstable governments. Some of the warnings stay in place for years, so you should think carefully before visiting these countries.

Travel alerts usually refer to short-term events such as elections, elevated risks of terrorist attacks, and outbreaks of viruses such as H1N1. Travel alerts aren’t as serious as warnings, but you should still learn about the reasons for the alerts and plan to keep yourself safe. You may want to delay your trip until the threats have passed.

Get a MedjetAssist Membership

No amount of preparation can protect you from unforeseen medical issues. You never know when a simple slip and fall could break one of your limbs or an unknown medical condition will affect your health.

Unfortunately, many countries do not have reliable health care services that you would expect to receive in the United States. Some countries don’t have the capital to invest in high-tech medical facilities. Some rural locations are so far from large cities, which can delay medical assistance.

You can keep yourself safe during a medical emergency by becoming a MedjetAssist member. MedjetAssist arranges air medical transportation for its members when they are hospitalized. You can’t predict what will happen while you travel the world, but you can prepare for unexpected events.

While avoiding countries or regions with civil unrest or threats of terrorism is best when you’re considering international travel, you should still prepare for unexpected situations you may encounter during your travels. As long as you follow the tips outlined above, you can help your family to have a safe and enjoyable time abroad.

Image via Flickr by seantoyer

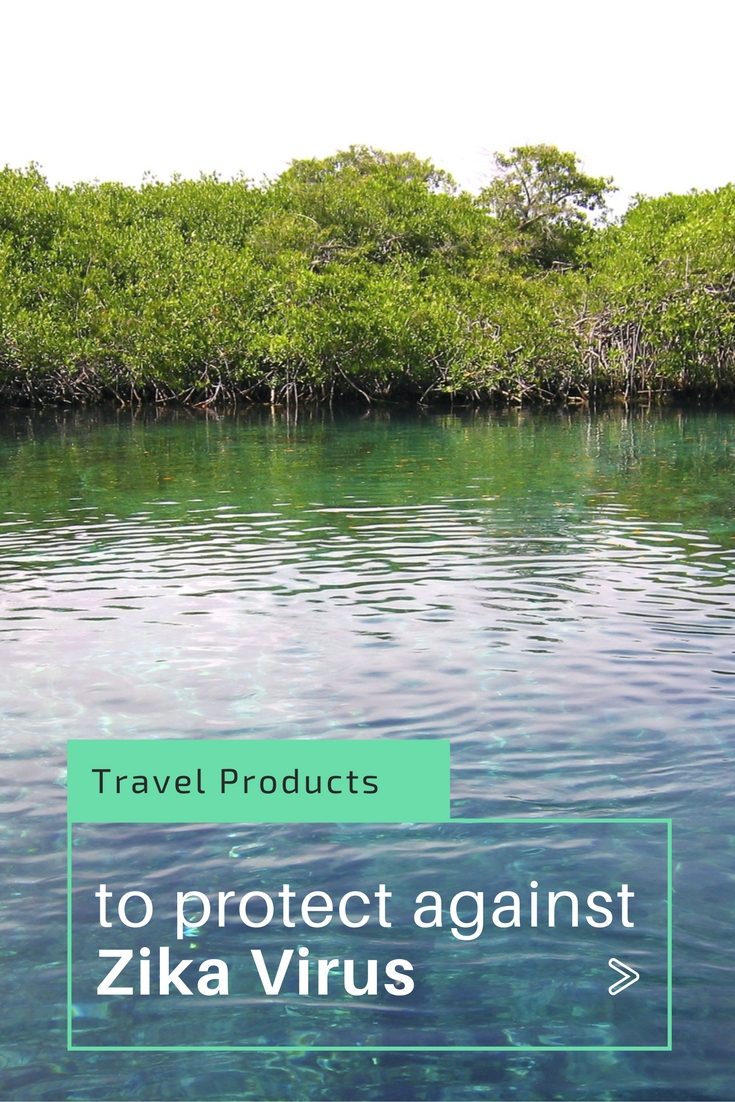
Travel products to protect against Zika Virus

We love family adventure, but we’re careful to be mindful of threats to family safety while we travel. Before you go to Central or South America, or the Caribbean, make sure you pack these travel products to protect against Zika or other mosquito-borne illnesses. And of course, always consult a health care professional before any trip to a destination known to have a Zika threat, to discuss any danger to your family.

zika-virus

Ben’s Insect Repellent Wipes:

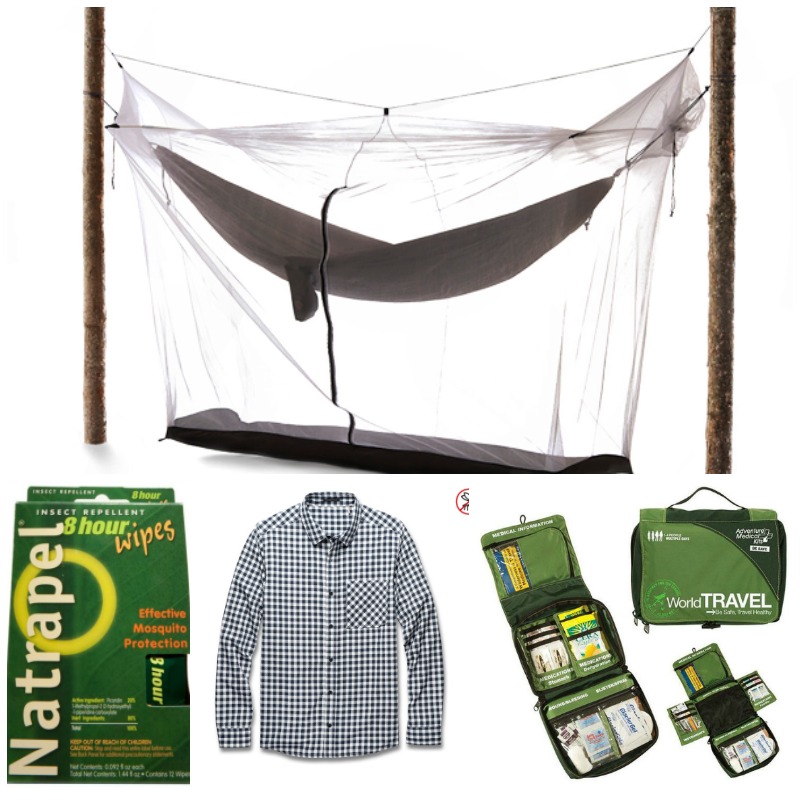
The first step in protecting your family against Zika is to keep mosquitos away. We don’t like using DEET on our skin, but in the case of mosquito-borne illness, it may come down to choosing the lesser of two evils. Ben’s repellent is a brand I’ve come to trust,  and it does offer protection from ticks and insects that may carry the Zika Virus, West Nile Virus (WNV), Lyme disease, Malaria, Eastern Equine Encephalitis (EEE), and other infectious diseases. Pick up a bottle of Ben’s in a TSA-complient size on Amazon. 

Natrapel Wipes:

We’re a family that spends a lot of time outdoors, and Natrapel is the only DEET-free insect repellent we’ve found to significantly work. It uses a CDC-recommended 20% Picaridin formula, and lasts 12 hours. We use the wipes, simply because our kids tolerate them best, but it also comes in a spray bottle form. Pick up a package of wipes for under $9 on Amazon.

Adventure Medical Kits World Travel kit:

I cannot emphasize enough how important it is for every family to have a well-stocked medical and first aid kit when they travel. Yes, medical supplies and medications are available almost anywhere, but that doesn’t mean they’re readily available, and it doesn’t mean you’ll be able to communicate your needs or find the right place to buy them. Sometimes, they’ll be packaged differently or have a different brand name, making matters more confusing. Even in first-world countries like Ireland and England, I’ve had trouble finding the over-the-counter medicines I’ve occasionally needed.

We use Adventure Medical Kits when we camp and backpack, and their World Travel kit has everything you’ll need for a family of four. It’s fairly bulky, but I love that there’s extra room for your personal medications, too. It’s incredibly well designed, with different pockets for everything, and each flap is labelled, so you can easily get to the right space for intestinal medications, bandages, allergy meds, etc. It comes with a diagram for communicating your needs in several languages, and a pretty thick booklet on basic first aid. For trips when I’m short on space, I may remove the book to save space and weight. Pick up a World Travel kit on Amazon at a discount.

zika-protection

Scarf or head net:

I almost never travel without an organic cotton or wool scarf. I find so many uses for one, from a wrap on the chilly airplane to an optional headdress or bandana while in foreign countries. In Central and South America, my scarf has doubled as bug protection. I love Aventura Clothing scarves, but use what works for you. In some cases, you may even want to upgrade to a mosquito net for your head. We have used Sea to Summit mosquito head nets. Pick one up for under $10 on Amazon.

Insect repellent clothing:

For travel to the Caribbean and Central and South America during which you know you’ll be outside a lot, such as when we were volunteering in the Dominican Republic or our upcoming trip to Panama, when we know we’ll be visiting national parks and preserves, we decided we would rather invest in travel clothing treated with insect repellent rather than spray ourselves with it daily. I love the Toad & Co DeBug line for women, and have also traveled with ExOfficio’s BugsAway line extensively. ExOfficio is the first US company to offer insect protection in clothing, and their BugsAway items keep their repellent for 70 washes. I’m still wearing my ExOfficio crew shirt from 2013. For this fall’s travel, my husband is now wearing ExOfficio’s Baja Sur shirt, which is lightweight but tough as nails.

For kids, Columbia Sportswear’s PFG Bahama long-sleeved shirt helps repel both sun and mosquitos (though it is not treated with repellent).

Mosquito-free shelter:

Part of the fun of a tropical destination is sleeping outside in warm weather. If you think you’ll be sleeping outdoors, whether in a hammock on the rental home porch or in a backcountry environment, consider a mosquito shelter like Grand Trunk’s Mozzy Net. This 144″ by 30″ shelter includes spreader bars and guy lines, so you can expand it fully, like a tent, giving you plenty of room. And it packs down small into its own stuff sack for easy transport. Pick one up on Amazon for under $60.

amzn_assoc_placement = “adunit0”;
amzn_assoc_search_bar = “true”;
amzn_assoc_tracking_id = “pitstoforkid-20”;
amzn_assoc_ad_mode = “manual”;
amzn_assoc_ad_type = “smart”;
amzn_assoc_marketplace = “amazon”;
amzn_assoc_region = “US”;
amzn_assoc_title = “My Amazon Picks”;
amzn_assoc_linkid = “87cfb6f6de58c95d5111725a5c4ebbe0”;
amzn_assoc_asins = “B001ARBSTO,B001AIFLX2,B011AQVC2M,B0106RYAIY”;

Have you traveled to Central or South America or the Caribbean lately? What precautions have you taken?

Subscribe to our Pit Stops for Kids seasonal newsletter, and get an exclusive travel ‘cheat sheet’, free! Click here!

Travel Gear We Use: family tents for camping

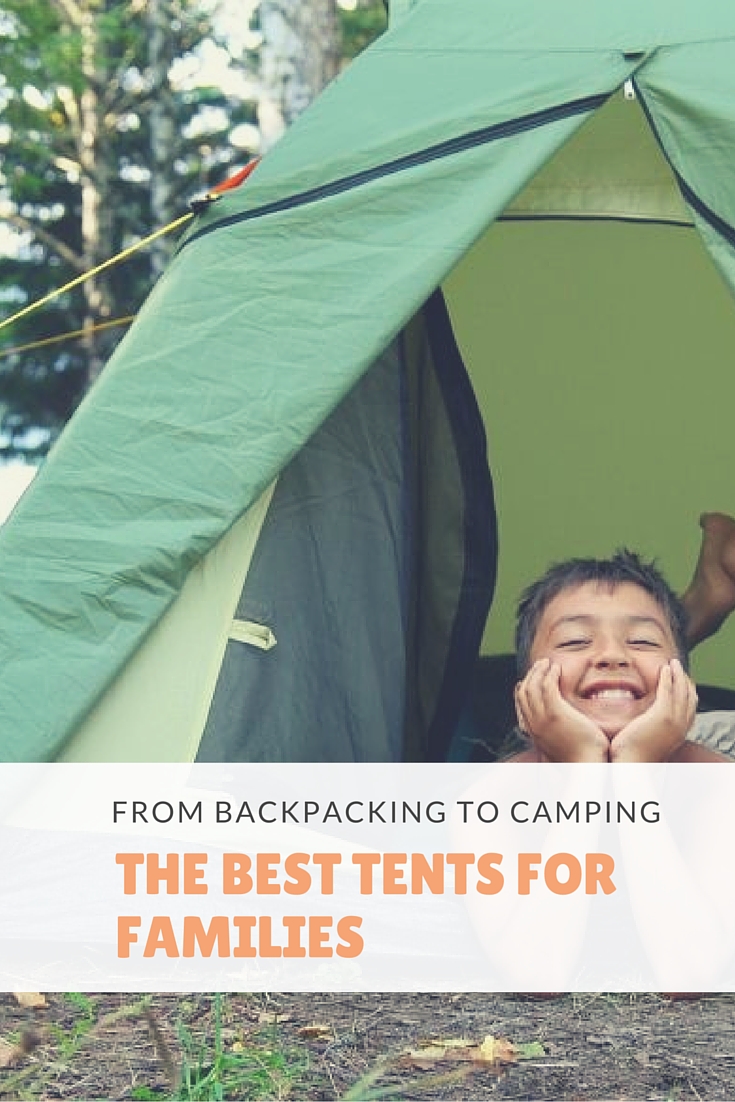
This week in our Travel Gear We Use series, we’re talking about best family tents for camping. There are a mind-boggling array of family camping tents on the market, in a very wide price range. What’s best for your family will depend on where you’re camping, how often you camp, and the size of your family.

camping-tips

Best family tents for minimalists or backpackers:

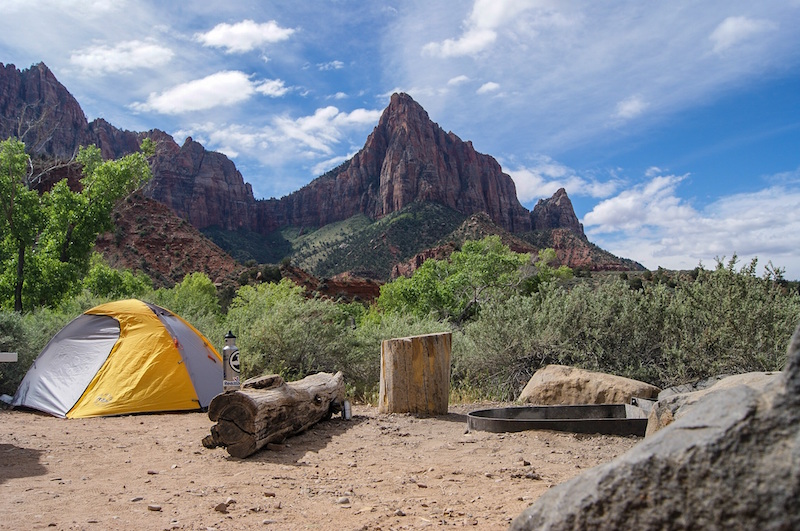
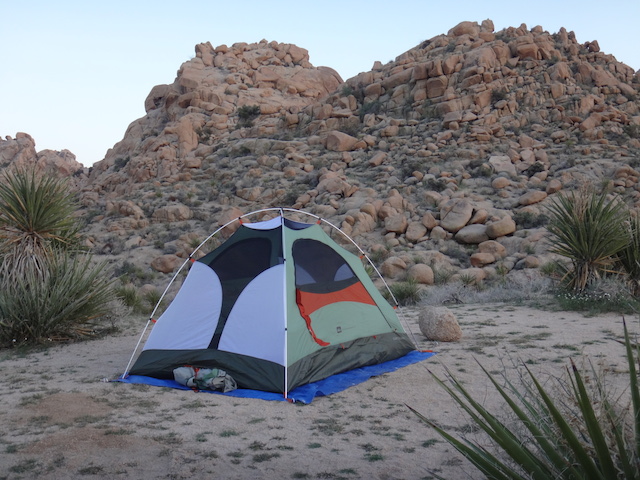
All purpose: We love, love, love Kelty’s Trail Ridge tent.The Trail Ridge 4 is affordable yet high quality, making it a great double-duty tent: it can be used backpacking or car camping. It falls in the middle weight range for family backpacking–not the lightest tent you’ll find, but also not the most cumbersome-and it’s beautifully affordable at only $279. It technically sleeps 4, which to us, means it sleeps 3 (we always reduce the sleep number by 1 to be comfortable). Another solid option is the REI Half Dome tent, which is one of the easiest to set up of any we’ve tried.

Ultralight: Want to carry as little tent weight as possible? Camping with just one kid or as a couple? Try the Nemo Meta. The Meta is our go-to tent for these situations. It weights just two pounds, but is roomy for a two-person tent, with respectable height too. The catch: you set up the Meta with trekking poles (it does not come with tent poles at all). Set up takes some getting used to, but once you learn how to do it, it only takes about five minutes. You need to stake the tent every night, in order to keep it upright, and of course, you need to be hiking with trekking poles, which we do.

Only need a single person tent? Sometimes you have one extra person or are planning a solo adventure. Our teen checked out the Big Agnes Fly Creek UL1 during his PCT hike, and loved it so much, he uses it all the time now. Like the Meta, it’s just over 2 pounds, but on the Fly Creek, this includes the tent poles. If you want to get really posh, get the Fly Creek with Big Agnes’ light system, Mtn Glo. This LED light system illuminates the interior of the tent, freeing you up to go without a headlamp or flashlight inside. We’re spoiled now!

Best backpacking and small family tents at a glance:

amzn_assoc_placement = “adunit0”;
amzn_assoc_search_bar = “true”;
amzn_assoc_tracking_id = “pitstoforkid-20”;
amzn_assoc_ad_mode = “manual”;
amzn_assoc_ad_type = “smart”;
amzn_assoc_marketplace = “amazon”;
amzn_assoc_region = “US”;
amzn_assoc_title = “My Amazon Picks”;
amzn_assoc_linkid = “2b3ff3efebcf632ee007032e7c7a5424”;
amzn_assoc_asins = “B012FCHED6,B019UFVLKI,B00GSYH1T0,B012W1NT34”;

Best family tents for car camping or large families:

joshua-tree-camping

Best big tent: As our family grows (in height and age, not number!) we’ve found the need for a larger, less portable tent for family car camping adventures in campgrounds and state or national parks. Enter the Slumberjack Grand Lodge 8-Person Tent. Sounds pretty fancy, doesn’t it? And to our minimalist standards, it feels pretty fancy, too: the Slumberjack has room dividers, multiple entrances and windows, and great ventilation. We can even stand up inside it! The Grand Lodge comes in an 8-person or a mind-boggling 12-person. Even for the 8-person, you’ll want to make sure your tent space is large in your campsite! The downside of such a large tent is the set up time: it takes considerably longer to set up the Slumberjack than the Kelty, and it’s definitely not pack-ready. However, it does get easier with experience, and does pack down into its own (large) duffel for car or garage storage.

Coleman-tent

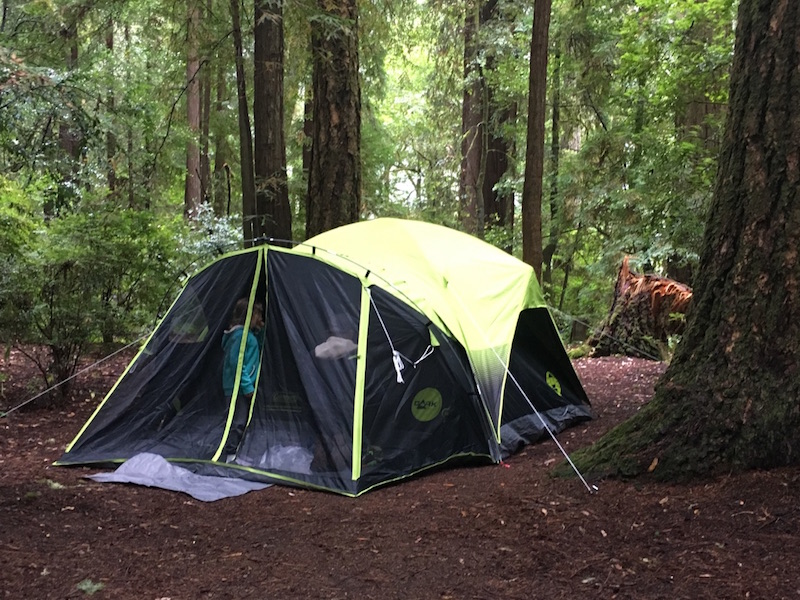
Six person or less: Don’t need the 8-person capacity of the Slumberjack? Try the Coleman Carlsbad. This six-person tent includes a screen room attached, PLUS has ‘dark room’ technology, which is designed to help kids fall asleep when it’s still light out (does the sun EVER set in summer?). We’ve found our kids, naturally early risers, also sleep in with this tent. It does feel dark when you’re inside, however, so this isn’t the tent to hang out in during the daytime. It also comes in a 4-person size.

All the bells and whistles: Want lots of storage space and technology in your tent? Try the Eureka Jade Canyon. This six-person tent has 10 x 10 feet of space, with lots of built in pockets and sleeves. It even has a media pocket, where you can prop up your iPad in a transparent pocket to view movies or TV. It also features E!Luminate, which is Eureka’s technology that enhances light. You simply place the provided panels on your ceiling of the Jade Canyon, and your headlamp or lantern light will shine brighter. It really does work.

Best large family tents at a glance:

amzn_assoc_placement = “adunit0”;
amzn_assoc_search_bar = “true”;
amzn_assoc_tracking_id = “pitstoforkid-20”;
amzn_assoc_ad_mode = “manual”;
amzn_assoc_ad_type = “smart”;
amzn_assoc_marketplace = “amazon”;
amzn_assoc_region = “US”;
amzn_assoc_title = “My Amazon Picks”;
amzn_assoc_linkid = “2b3ff3efebcf632ee007032e7c7a5424”;
amzn_assoc_asins = “B00SPOA2G0,B0068BGQKS,B019YDV6A6,B001RPIOMI”;

Pin it for later!

best-tents

Want more camping info? Get Pit Stops for Kids’ camping gear list!

Teaching Kids About Travel Photography Etiquette

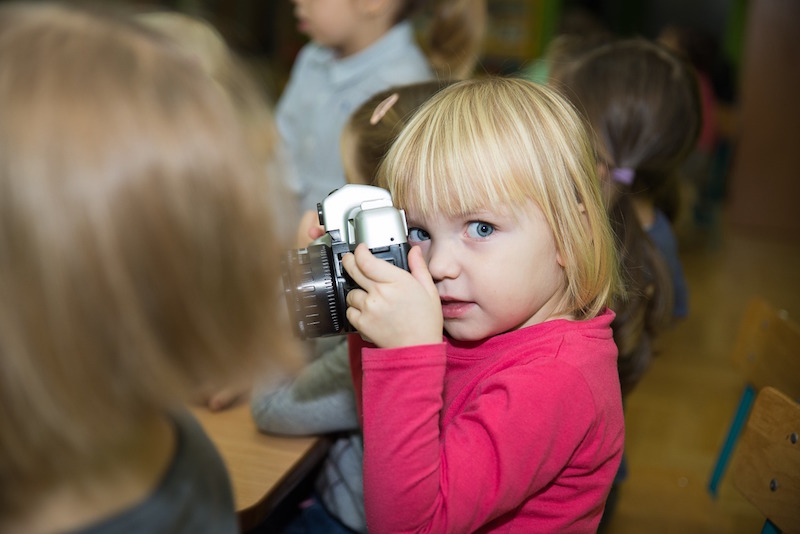
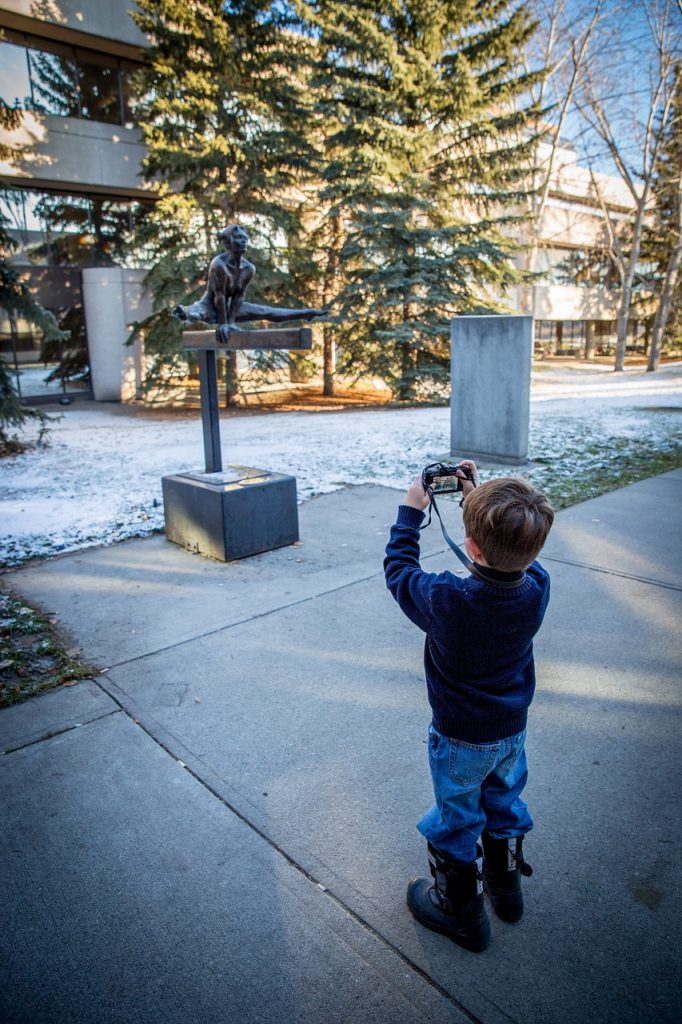
Everyone takes photos when traveling—it’s part of the whole experience. Now if you enjoy traveling to new and exciting places with your kids, then at some point they are going to want to take some photos of their own. Children today are particularly tech-savvy and can work most devices without needing much instruction, so photography is something that you can (and should) allow and encourage them to learn. Parents can even provide their children with a simple, kid-friendly camera to practice on, so that they won’t have to keep whipping out smartphones or iPads (a surefire way to attract thieves) to capture the sights.

kids-photography

But before you give your child a camera, remember that there are certain rules in travel photography that everyone (even non-professional shutterbugs) need to adhere to. Here are some of the most important rules of photography etiquette that you need to teach your kids:

Always ask permission from a parent, guardian, or any adult companion.

In travel photography, the golden rule is to ask permission from the people whom you plan to feature in your photos. But for your children, the golden rule should be to ask you for your permission before taking photos of anything—at least until they are old enough to know how to discern which situations are appropriate for taking photos and which are not. This way, you can properly guide them, as well as facilitate their interactions with the locals. After all, someone will still need to ask permission from whomever your child wants to take photos of—a crucial step that you cannot forego, particularly in foreign countries where the customs and norms may be different from where you are from.

kids-photography

Having your child inform you first before taking pictures prevents him from breaking certain social rules (regarding photography)—and getting himself into trouble—in the country you are visiting. Some places, like in Indian or Japanese temples, have a strict ban on any type of photography. In other places, it may be considered rude to take photos of people in the street. You cannot expect your child to be aware of or remember all these different rules, so it’s best to have him ask you before he whips out a camera.

Respect personal boundaries.

If you have yet to teach your kids about the concept of personal space and boundaries, then this is the perfect time to address it. Unlike adults, children are accustomed to affectionate physical interactions (mostly with their parents, grandparents, siblings, and even their friends). It is completely normal for a child to, say, touch his mother’s face or sit on his father’s lap, which is why he might find it strange that this type of interaction may not be accepted or welcomed by other adults.

Before you decide to trust your child with a camera on your travels, you need to teach him about the “personal bubble.” Most children would normally have no qualms about thrusting a camera into someone’s face or squeezing beside someone to take a quick selfie, so it is important for your child to understand that some people are very particular with their personal space and may possibly take offense when other people—children included—violate their sense of space by entering their “personal bubble.”

Avoid using the flash (unless absolutely necessary).

As you probably already know, some tourist spots—particularly art galleries, museums, or zoos—do not allow flash photography within the premises. But children aren’t particularly fond of reading signs, so there’s a very good chance that they wouldn’t automatically know this important rule. Therefore, you need to make sure that your child is made aware of these crucial rules and that he learns how to turn the camera’s flash on or off before allowing him to take photos in public places. Otherwise, this can lead to some very embarrassing situations.

Also, people generally don’t like having a bright camera flash go off in their faces, so make sure that your child knows to turn off the flash when taking photos of the locals and other tourists.

Don’t block the view.

Children aren’t always aware of what is going on in their surroundings, so it’s important to remind them that they have to be mindful and considerate of other people when taking photos. For instance, when you visit a tourist hotspot like a historical landmark or any of the other popular photo-op spots, there will most likely be a horde of other tourists and photographers there who are also trying to take photos of their own. Remind your child not to block anyone’s shot or “photobomb” another tourist family’s photo session. Teach him to patiently wait his turn until other people are finished, so that he can take his photos without bothering anyone or ruining other people’s photo-ops.

Being polite when taking photos in tourist spots must be a continuous learning process—it doesn’t end with just telling your kid what he can or cannot do. Keep an eye on your little one’s behavior, remind him if you must, and don’t forget to give words of affirmation every time he does something right.

Travel Gear We Use: GoTenna review

When we visited Paris last winter, we spent a wonderful day in the Louvre. At least, it was mostly wonderful, except for the two hours we spent looking for each other. My husband had our two older sons in one section, and I had our youngest in another, and our plans to ‘find each other later’ went woefully sideways. We both had phones, but had put them in airplane mode to save on our international data plan. When I turned my phone on to contact him, he had his turned off, and vice versa.

GoTenna-review

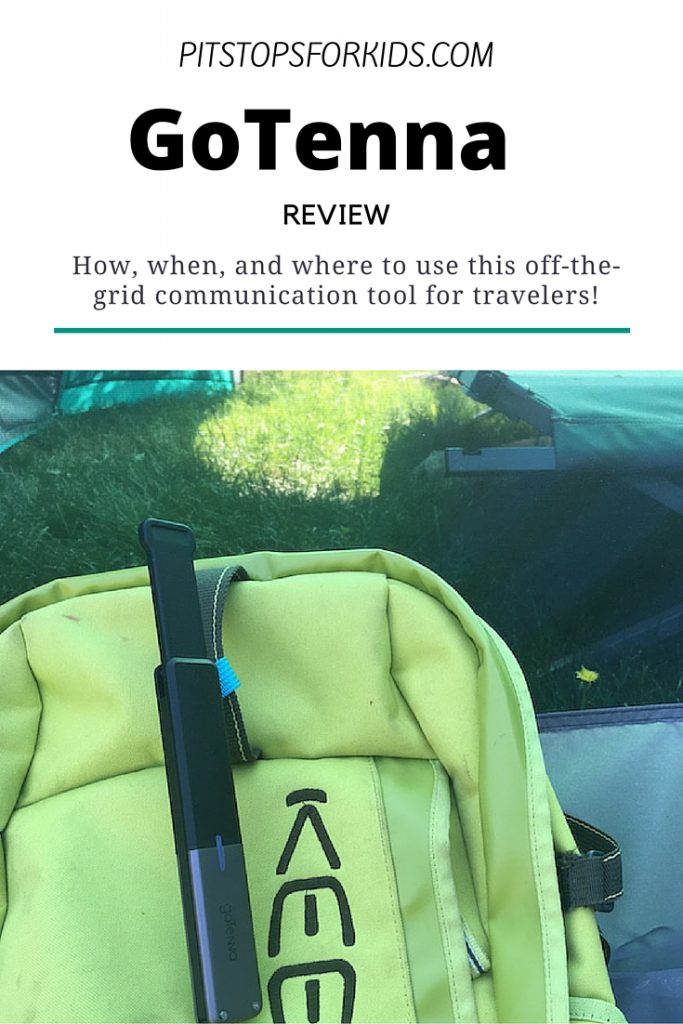
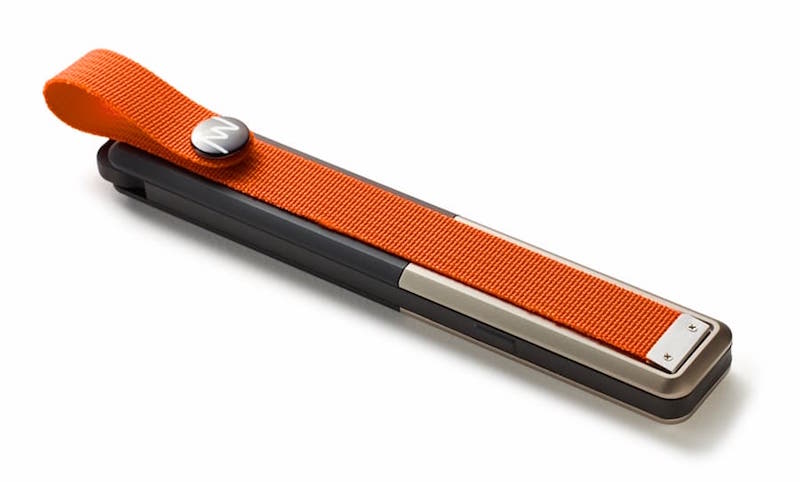
Months later, I was introduced to GoTenna. The minute I saw what it did, I knew we could have used it in Paris. And in Rome. And in Costa Rica. And so on and so forth. GoTenna is a thin, 2-ounce wand that connects to a smartphone app via Bluetooth low energy (LE). It creates a low-frequency radio wave network for its iOS and Android app that reaches about 1 mile in skyscraper-filled urban areas, and, supposedly, up to 9 miles in most open outdoor areas (even longer on mountain tops).

How to use GoTenna:

When you buy GoTenna, it comes in a pack of two (for $199). I had ours set up in about two minutes. You just take the wands out of the package, and pull the little tab on each to extend the stick. When it clicks, you can see whether the GoTenna wand is charged by waiting for the light to blink. If it does, you’re in business. If not, charge the wands first using the included USB cords.

gotenna

Once they’re ready, turn them off, and download the free GoTenna app. It will walk you through the activation steps, which, again, took me only a minute or so. You turn the GoTenna back on to pair it with your phone via Bluetooth (one wand per phone), add your phone number and name, and you’re in business. You can import your contacts, so it’s easy to find other people when you need to contact them (more on that in a minute) and download maps to use off-line (more on that, too).

Once you and a partner both have the wands paired to your phones, you can use them offline to contact each other. Each GoTenna has a nylon loop so you can attach it to a backpack, jacket, or hat. You don’t hold it; you need it to have a clear path to get a signal. Think of GoTenna like a messaging app: it has the capability to send messages and location, but not much else. You cannot use GoTenna to send photos or video, make phone calls, or scroll through social media. It’s like a walkie-talkie, only much better.

You do everything you want with GoTenna from the app.

GoTenna-app

  • Send one-on-one messages: this is the primary thing we’ve done with it. You can send messages to anyone in your contacts who also has a GoTenna (this is the reason for the pack of two).
  • Send Shout messages to everyone in the area with a GoTenna: A ‘shout’ message is basically a general message that will go out to everyone with a GoTenna within range. Not many people have these, so it’s not much of an issue right now, but in theory, you could use this feature to send out a general invite to meet up at a location at a concert or festival to meet other users, or send an ‘all call’ as an emergency.
  • Send emergency messages: this feature is deceiving, because GoTenna cannot actually connect with emergency services (a con to using it, for sure). It can only connect with other GoTennas (not satellites), so this emergency feature is just a ‘shout’ set in priority mode. If anyone nearby is also using GoTenna, they’ll get a message that someone needs assistance. I guess it’s better than nothing.
  • Use maps: I love this feature. While online, you can download tons of pre-existing maps in GoTenna’s app. (This feature is under ‘location’). Then you can use the maps while offline. We could have used this in Paris, and we will be using it in Central America this fall.

When and why to use GoTenna:

GoTenna is touted as a solution for communicating in the outdoors, when traveling without coverage, and during natural disasters other situations when off the grid. I initially thought I’d like using the wands while backpacking and camping, but in practice, we leave GoTenna at home during outdoor trips. Why? The range isn’t long enough for hikers or campers to communicate with family back at home (reason #1 I’d use it), and to use it hiker to hiker, we’d also have to carry multiple cell phones in the wilderness, which would require bringing solar chargers. While we might do this occasionally (I love the Waka Waka solar charger for this purpose), most often, we’re tech-free in the wilderness.

So what DO we use GoTenna for? International travel. We’re also glad to have it in case of a natural disaster when we may need to communicate off the grid, but primarily, it’s a wonderful tool for travel. When we travel internationally, we pay for limited service plans, so more often than not, we’re in Airplane mode and offline. With GoTenna, we can continue to communicate when we separate during the day, and we can use the maps. The teens and I used GoTenna last month in the Caribbean, when we were doing different service projects a few miles apart, and we’ll use it again in Costa Rica and Panama later this year. The only place we’ve used GoTenna where it’s only worked so-so was on a cruise ship. I think all the metal walls and doors messed with it.

Pick up GoTenna for $199 or look for it at REI. If you travel even a few times per year off the grid (or in Airplane mode), it’s well worth the investment.

Disclosure: We were given a GoTenna to test, for the purpose of review. As always, all opinions are our own.

Subscribe to our Pit Stops for Kids seasonal newsletter, and get exclusive tips, free! Click here!

Jet lag: kids get it too! Tips for dealing

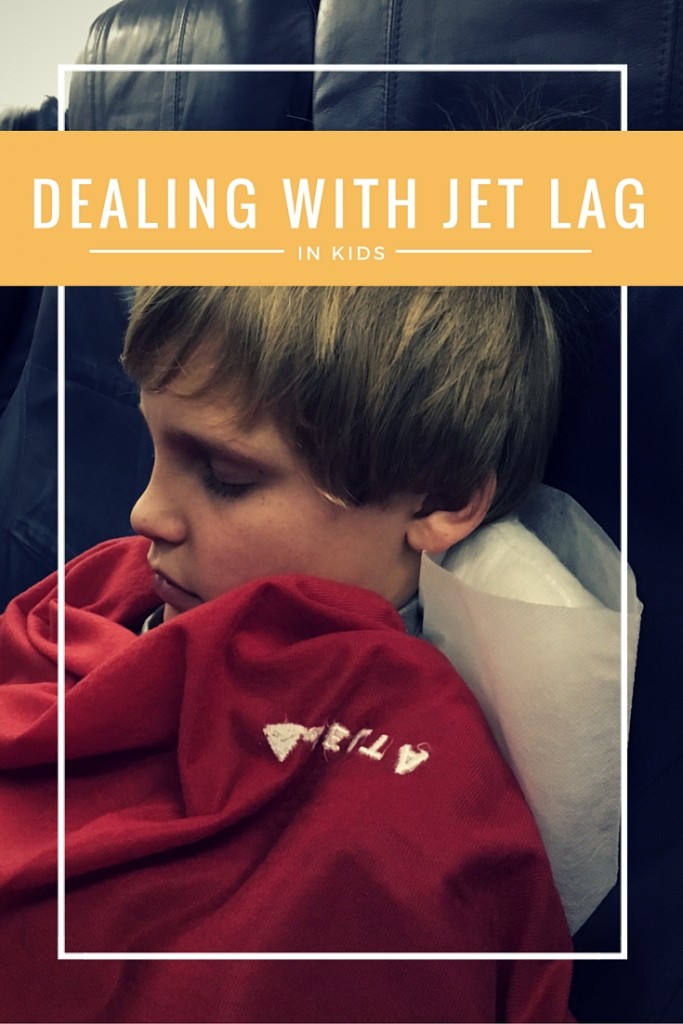
On my kids’ first cross-Atlantic journey, we did everything we could to ease the effects of jet lag. We drank a lot of water, got as good a night’s sleep beforehand as possible, and established a ‘bedtime’ on the plane. And everything went well…until our 11-year-old began vomiting as we weaved our way through customs. Not a pleasant story, I know, but nausea is a more common symptom of jet lag than you’d think. Read on for what to watch for, best prevention, and how to deal with jet lag…kids, adults, everyone! 

jet-lag-in-kids

Prevention of jet lag in kids is best:

As noted above, there are steps you can take to help ease the effects of jet lag in kids. Here they are in a nut shell. (And no, we have not found any of the gimmicky natural remedies to work.)

  1. Drink lots of fluids, especially water. We already drink a large amount of water per day at home, so we thought this would be no problem in flight. However, water is only available every so often. Bring your own refillable water containers and stock up in the airport before your flight or flights. Sip often.
  2. Pound the Vitamin C. It helps to stay heathy when dealing with jet lag, and traveling across time zones can really wear out your body. This includes your immune system, and the immune systems of kids. We brought Airborne chewables to take every few hours, plus mandated that kids order at least 1-2 glasses of orange juice during complimentary drink services onboard.
  3. Get sleep the night before. Of course, this is easier said than done if you’re overnighting in an airport hotel or if you have an early morning departure. But do your best. Don’t be tempted to think kids will sleep better on the plane if they skip sleep the night before. An overtired body doesn’t deal with jet lag well.
  4. Bring pillows, eye shades, ear plugs, and a plan for ‘bedtime’. Again…this is easier said than done. We established a time for our kids to stop watching airplane movies at their seat and lean their seats back to try to sleep. It sort of worked. Banning drinks with caffeine in the evening helped.

Dealing with jet lag once you arrive:

  1. Drink more water. Be aware that public drinking fountains may be scarce (we find them much more plentiful in the States than abroad). Be prepared to spend a significant sum on bottled water.
  2. Get Vitamin D, but continue with Vitamin C. Get outside as soon as you can. Take a walk in the neighborhood of your hotel or vacation rental. Avoid going into darker spaces the day you arrive, such as museums or movie theaters.
  3. Put your watches and clocks on local time immediately, and make yourself (and your family) honor it. Yes, it may feel like 3 am to you, but if it’s lunchtime, eat lunch and be as active as possible. Do your best to prevent naps. It’s far better to allow an early bedtime than to allow kids to nap immediately, unless of course, you want to be up all night.
  4. Leave an ‘empty’ morning in your itinerary for the day after you arrive. We’re early risers, but after arriving in Paris at about 3 pm local time and pushing ourselves through to 8 pm before going to bed, we still woke at 8 am. We needed those twelve hours of sleep, so I’m glad I didn’t plan a morning activity.
  5. Consider a sleeping aid for Night 1. We opted to medicate with a mild sleeping pill. This is a personal choice of course, but we found that it helped our older kids fall asleep more easily those first few nights.

jet-lag

A dose of realism: what to look for and expect:

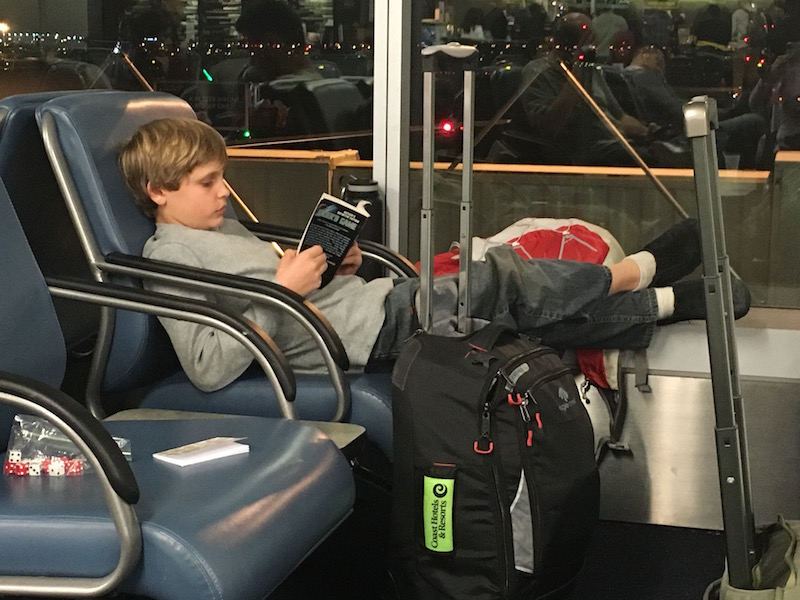
  1. Difficulty getting to sleep: This seems odd, but even if you or the kids feel very tired, it can be hard to get to sleep if your body thinks it’s mid-day. We found this problem persisted for 4-5 days. To combat it, we did move bedtime back (which allowed for some later evenings out), but still forced ourselves to lie in bed with the lights off before we felt tired. After several days, our bodies made the minor adjustment to be truly on schedule. A natural sleeping aid, reading, or a cup of non-caffeinated tea at bedtime helps, if that’s your thing.
  2. Nausea: Our son started feeling nauseous and dizzy on the last leg of our three-leg set of flights. By this time, he’d been awake almost 24 hours, with only a few cat naps. Luckily, we grabbed an air sickness bag from the plane before we disembarked, because he lost his breakfast by the time we were queuing for customs. Not fun, but we dealt with it with water and some fresh air. He felt fully recovered by the time we arrived at our accommodations.
  3. Constipation: Pack an over-the-counter medication of your choice. Check in with kids about their bathroom habits during the first few days. If you have teens, this will embarrass them horribly, which is a fun silver lining.
  4. Headaches: We also brought Tylenol for headaches, which are common while fighting jet lag. Ultimately, sleep and hydration will fix this problem best.

Realistically, you may not be able to prevent young kids, or even teens, from falling asleep upon arrival. We let ours take a nap between shorter flights (we landed in Rome and took a small jet to Paris) but once we had arrived at our final destination, we immediately went outside, grocery shopped, and explored our neighborhood. Were we tired? Goodness yes. Was it hard to deal with the language barrier while fallowing a grocery list in an unfamiliar store with tired kids? Double yes. But it was worth it when we fell into bed that night!

What are your best tips for combatting jet lag? I’d love to hear them in the comments.