As soon as I was made aware of Cascade Huts, a system of backcountry cabins in the Mt. Hood wilderness near Government Camp, Oregon, I knew we had to review it! Set miles away from civilization, each of Cascade Huts’ three rustic cabins are situated along backcountry ski and bike trails accessible in winter from any of three area sno parks. Overnight guests snowshoe or cross-country ski in, stay a night (or two or three!), and hike out on any of several available routes.
We’re avid backpackers, but even so, the idea of packing in overnight supplies (even to a shelter) in winter with the kids was intimidating. From the moment I contacted owners James and Don, my worries were set aside. James emailed me many times, answering all my questions in a very professional and knowledgable manner. One of the nicest things about the Cascade Hut system is its flexibility: guests can opt to hike a short or long distance, choose difficult or easier (note I didn’t say easy) terrain, and even navigate their own routes if they’re skilled in GPS navigation.
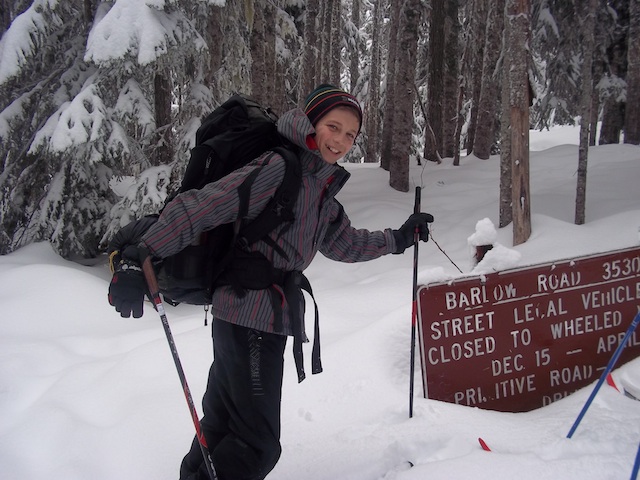
Since we’re not expert navigators, I asked James to choose the best route for our single overnight to the White River Hut. Because I was trekking in with kids who are new to cross-country skiing, and I’d be using the provided maps and directions instead of a GPS unit, he suggested we travel the historic Barlow Road from the Barlow Pass Sno-Park, on Highway 35 (longer in distance, but easier to navigate). On the provided maps, I noted that this route was marked as ‘intermediate’, as opposed to the ‘expert’ route also available.
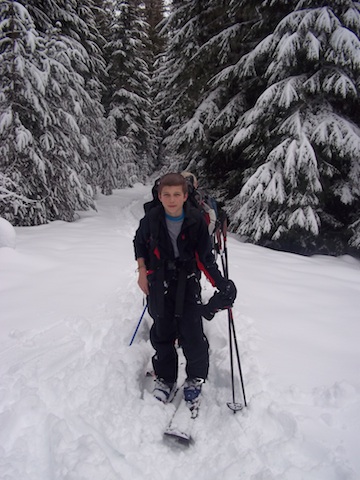
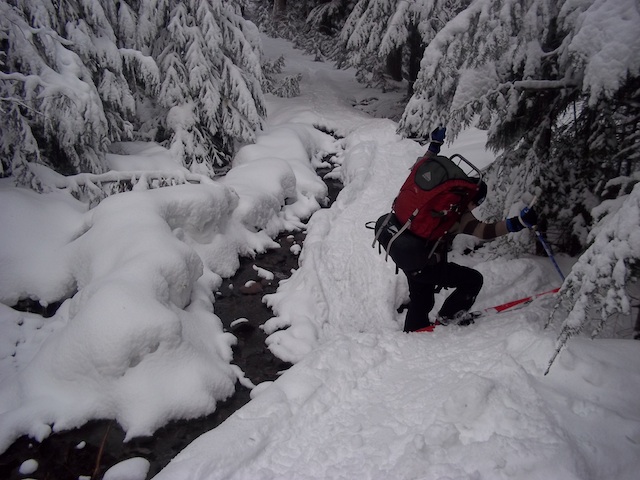
Even so, the Barlow Road was no joke: we navigated the six mile wet powder trail (with multiple small creek crossings and over 1000 feet of elevation change) in just over five hours, needing to stop often to make adjustments, carefully cross creeks, and pick each other up! Luckily, we had planned to be on the trail most of the day, so we’d gotten an early start and made sure to have a picnic lunch ready for the route. Note: even in winter…especially in winter…make sure you include enough water for all members of your group, and keep hydrated.)
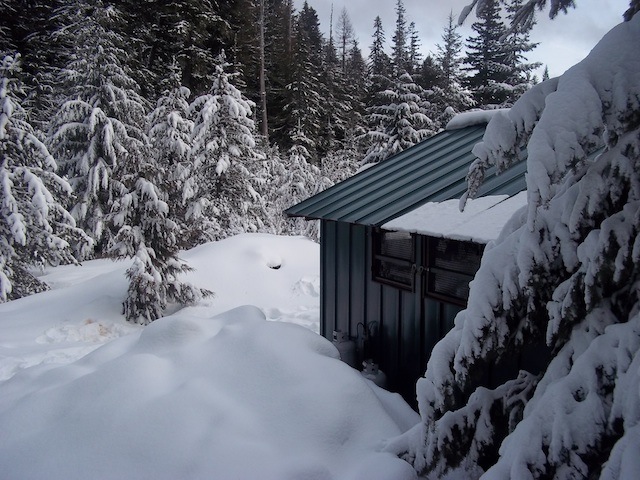
We arrived at the White River Hut before sundown, and trust me, it was a welcome sight! The kids (with their endless energy) made snow forts outside while we prepped the cabin: detailed instructions await you upon arrival, and include turning on the propane to run the heater, stove, and gas lanterns. The hut is 256 square feet and sleeps up to eight people. Four bunks line two walls, a third wall features a kitchen counter, supplies, and a stove, and the fourth houses the front door and wall-mounted propane heater. Small windows provide adequate light and ventilation (be careful of CO2 poisoning while using propane!), and a table and chairs provide a nice space to eat and play games.
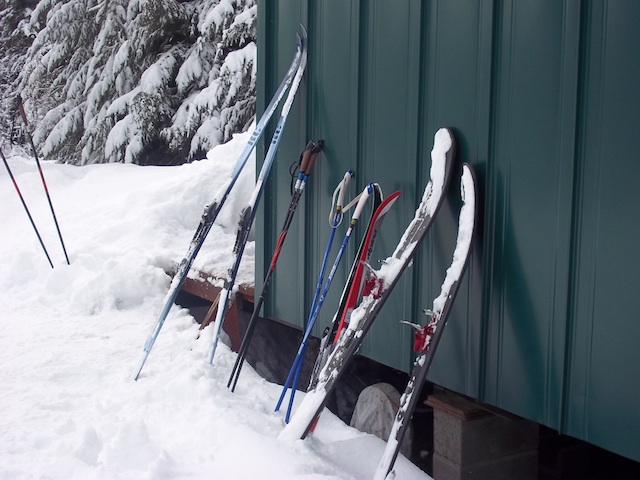
While staying in Cascade Huts, there’s no need to overpack! I admit, we did just that; not being certain what would be provided (better safe than sorry), we packed in more equipment and water than necessary. Though there is no running water (or electricity), the cabin-side creek was running freely in February, and we were able to both pump clean water and boil snow on the stove for drinking water. In the cabin are sleeping bags (just bring liners), lots of board games (we didn’t need to haul in our poker chips and cards!), all kitchen utensils, pots, pans, plates, and mugs (could have saved pack space there!). Also stocked was a good first aid kit, toilet paper, a snow shovel, and plenty of extra gas cylinders for the portable heater. There’s also an outhouse about 40 yards down the trail, but we found it very difficult to access in the winter, due to a nearby stream.
Note: Summer guests are provided with food and water as well, but in the winter, it would freeze!
Once we figured out the propane and various features of the cabin, we were quite comfortable (cozy, even!) all night. It’s important to bring plenty of layers of clothing for each person, as drying out wet gear is tough. We brought two sets of gloves, hats, and under layers for everyone, and were glad we did, when we were caught in a snow/rain storm on our hike back out.
If you go:
1. Make sure you feel comfortable in the backcountry. The Mt. Hood wilderness is very remote, and all guests should be comfortable following topographical maps and/or GPS units. We had several maps as well as a compass, and used all three. You won’t get cell phone service at the cabin, but it still doesn’t hurt to bring one along. My iPhone didn’t get a signal (though my compass app came in handy), but T-Mobile BlackBerry phones or other smart phones might. Cascasde Huts does a great job of preparing guests (and putting them at ease), and every guest signs a waiver, which isn’t only due to liability, but also ensure their location is known on the date they’ve reserved the cabin(s), an important safety step.
2. If cross-country skiing or snowshoeing is new to you, take a trial run. Since we’re expert downhill skiers, we underestimated the difficulty of cross-country skiing. Though I grew up with the sport, it was Nate (12) and Calvin’s (10) first time, and there was a slight learning curve. The terrain to the huts is steep in places, involves obstacles like logs, creeks, and rocks, and shouldn’t be taken lightly.
3. If you need to rent equipment, go to MountainTracks in the nearby town of Government Camp. You can reserve what you need ahead of time online, making for an easy pick-up!
4. If you’re going the distance (six miles or more), opt for skis instead of snowshoes. Maps of all routes will be sent to you from Cascade Huts, but I also recommend picking up a snowshoe and backcountry trail map at MountainTracks.
Check out the Pit Stops for Kids’ Kid Cam video for a better glimpse of our experience:
Date last visited: February 20, 2012
Distance from the interstate: The Barlow Pass Sno Park (trailhead) is on Hwy 35 (just shy of Hwy 26). The area is approximately 1 hour from Portland, OR.
Nightly Rate: In winter, a Cascade Hut cabin can be reserved for $150 per night (for up to eight people). Additional nights (up to three) can be reserved for a discounted price. In summer, mountain bike routes are available, and prices start at $300 per person for a 4-day, 3-night itinerary that includes meals.
Directions: Depending on your route and hut destination, trailheads are located at any of three area sno parks. Our adventure began at the Barlow Pass Sno Park, located one mile from Government Camp on Highway 35. Be sure to get a sno park permit!
Thanks to Cascade Huts for providing us with one night’s lodging at the White River Hut. This compensation came with no expectation of a positive review.


